This guide will show you how to change the air conditioner pollen filter on a Holden VF Commodore. This filter is commonly known as a ‘Pollen Filter’ or ‘Cabin Filter’.
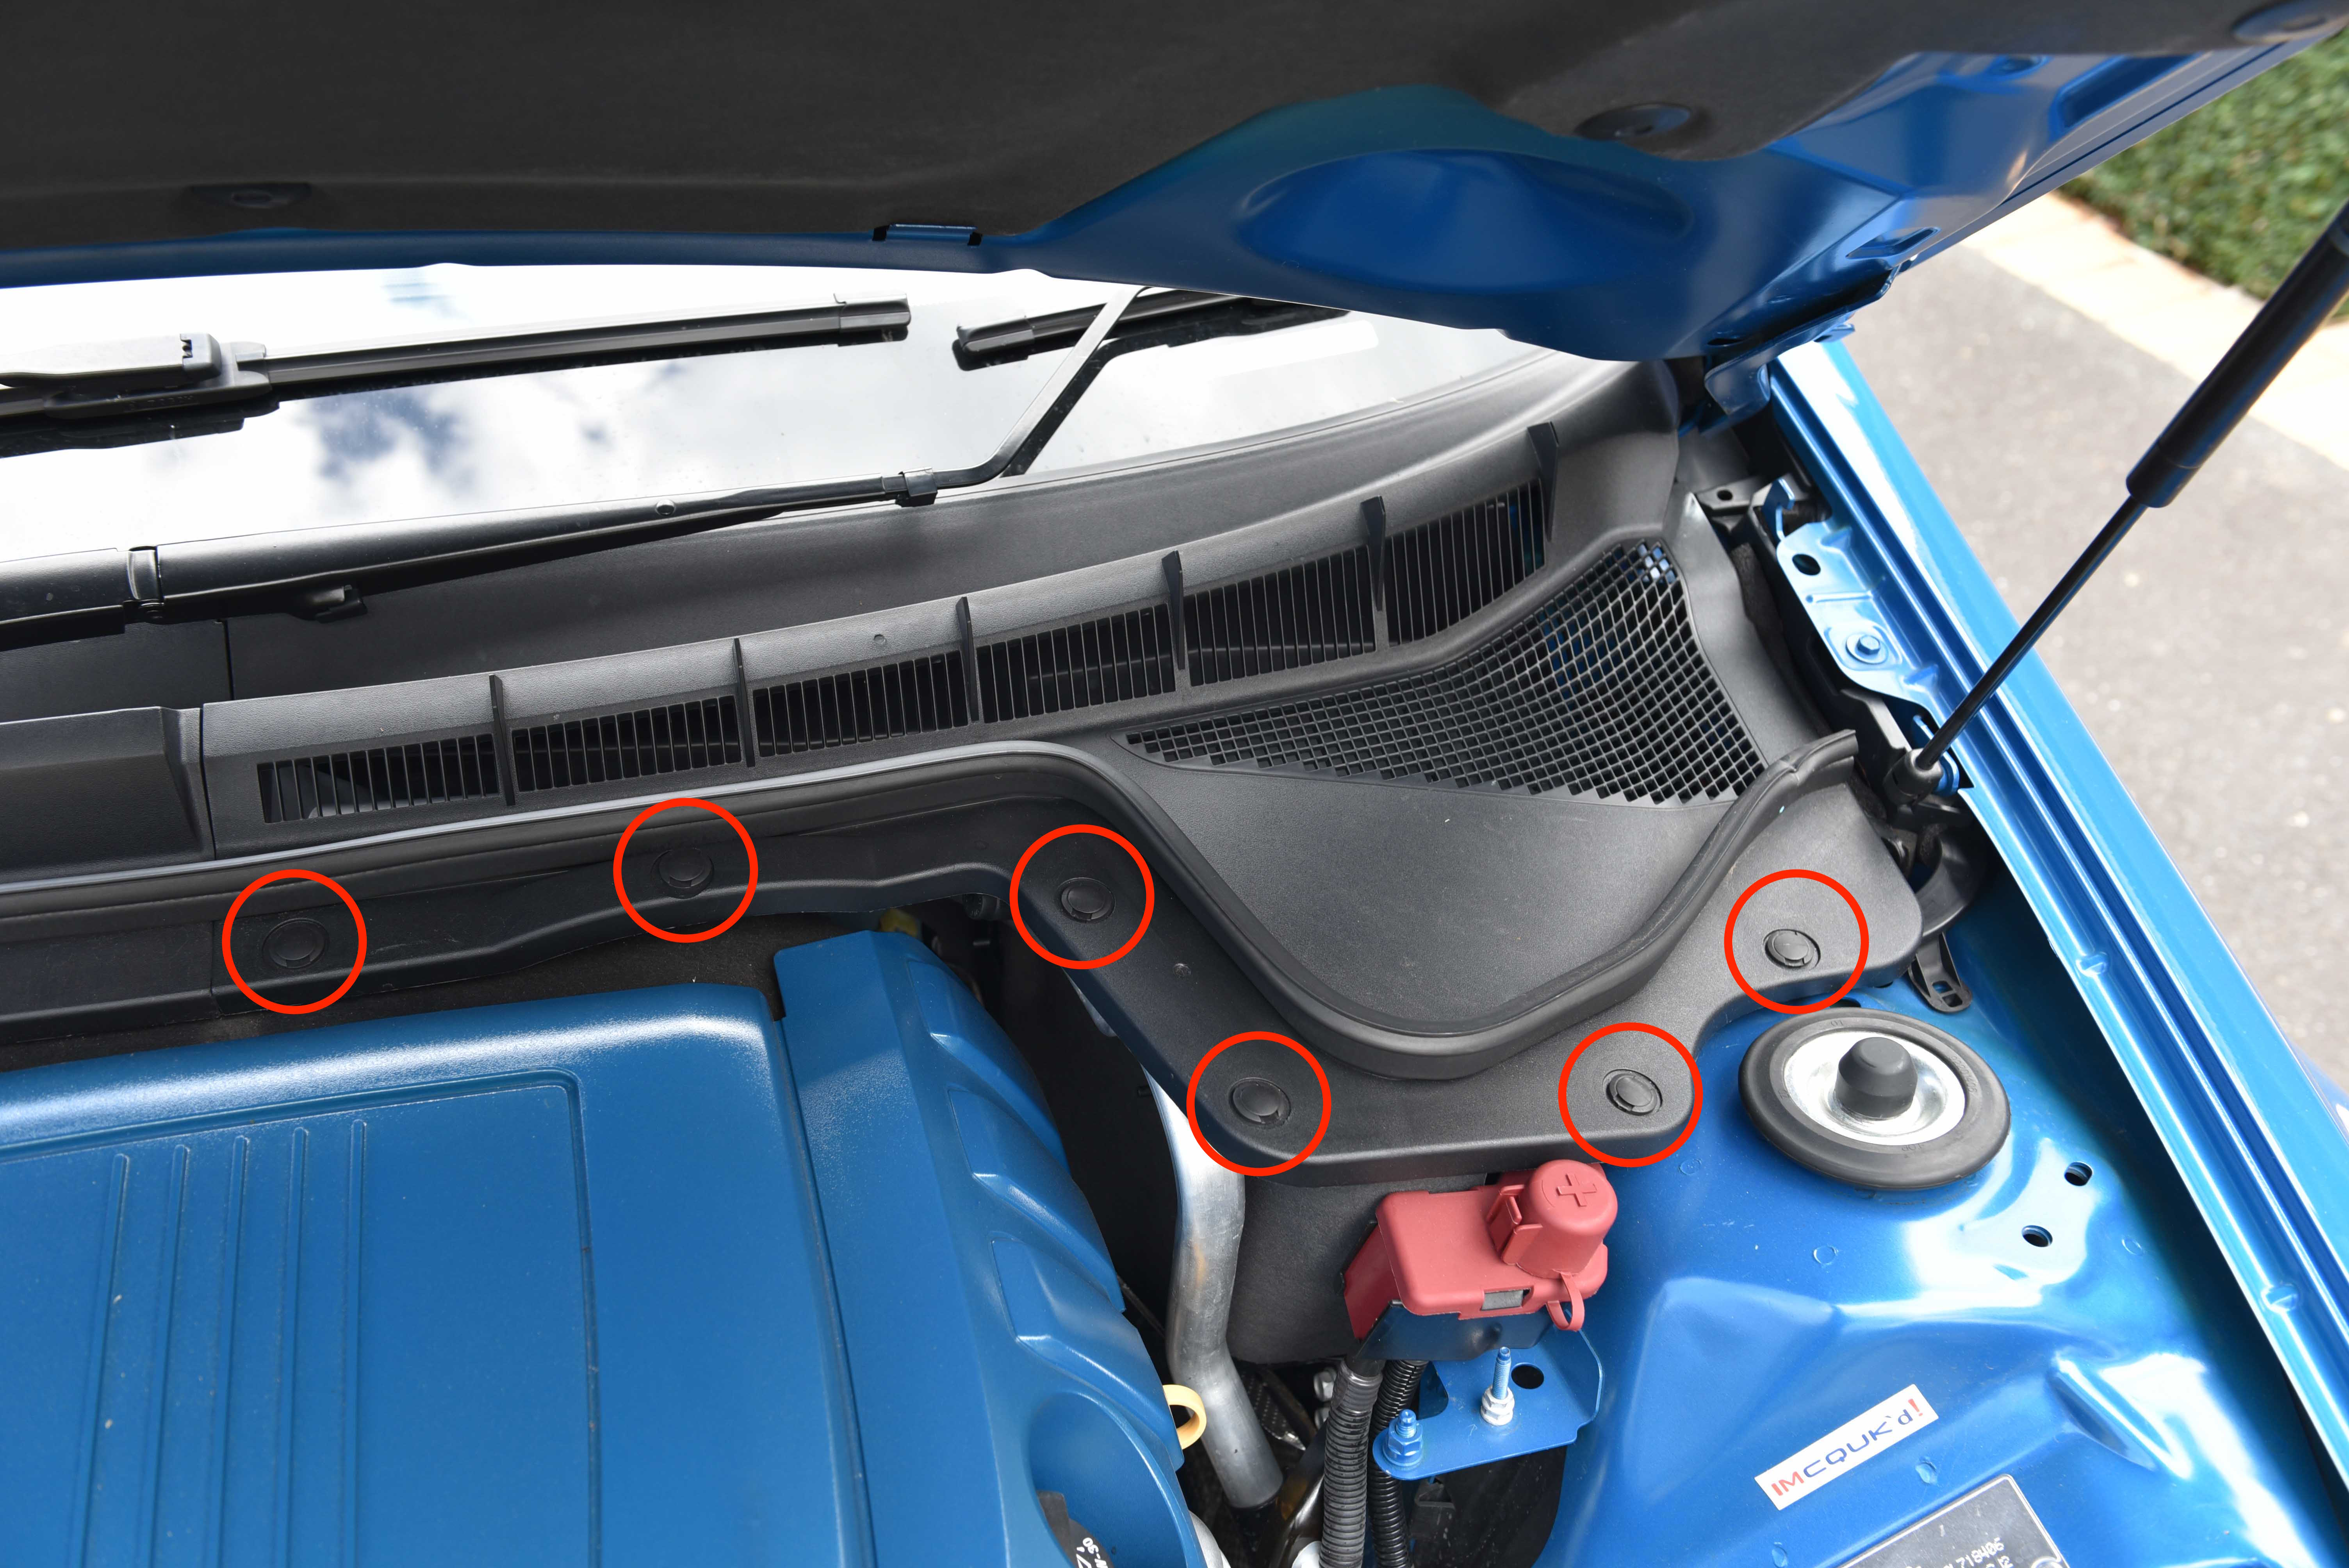
Remove the six scrivets located across the plenum cover.
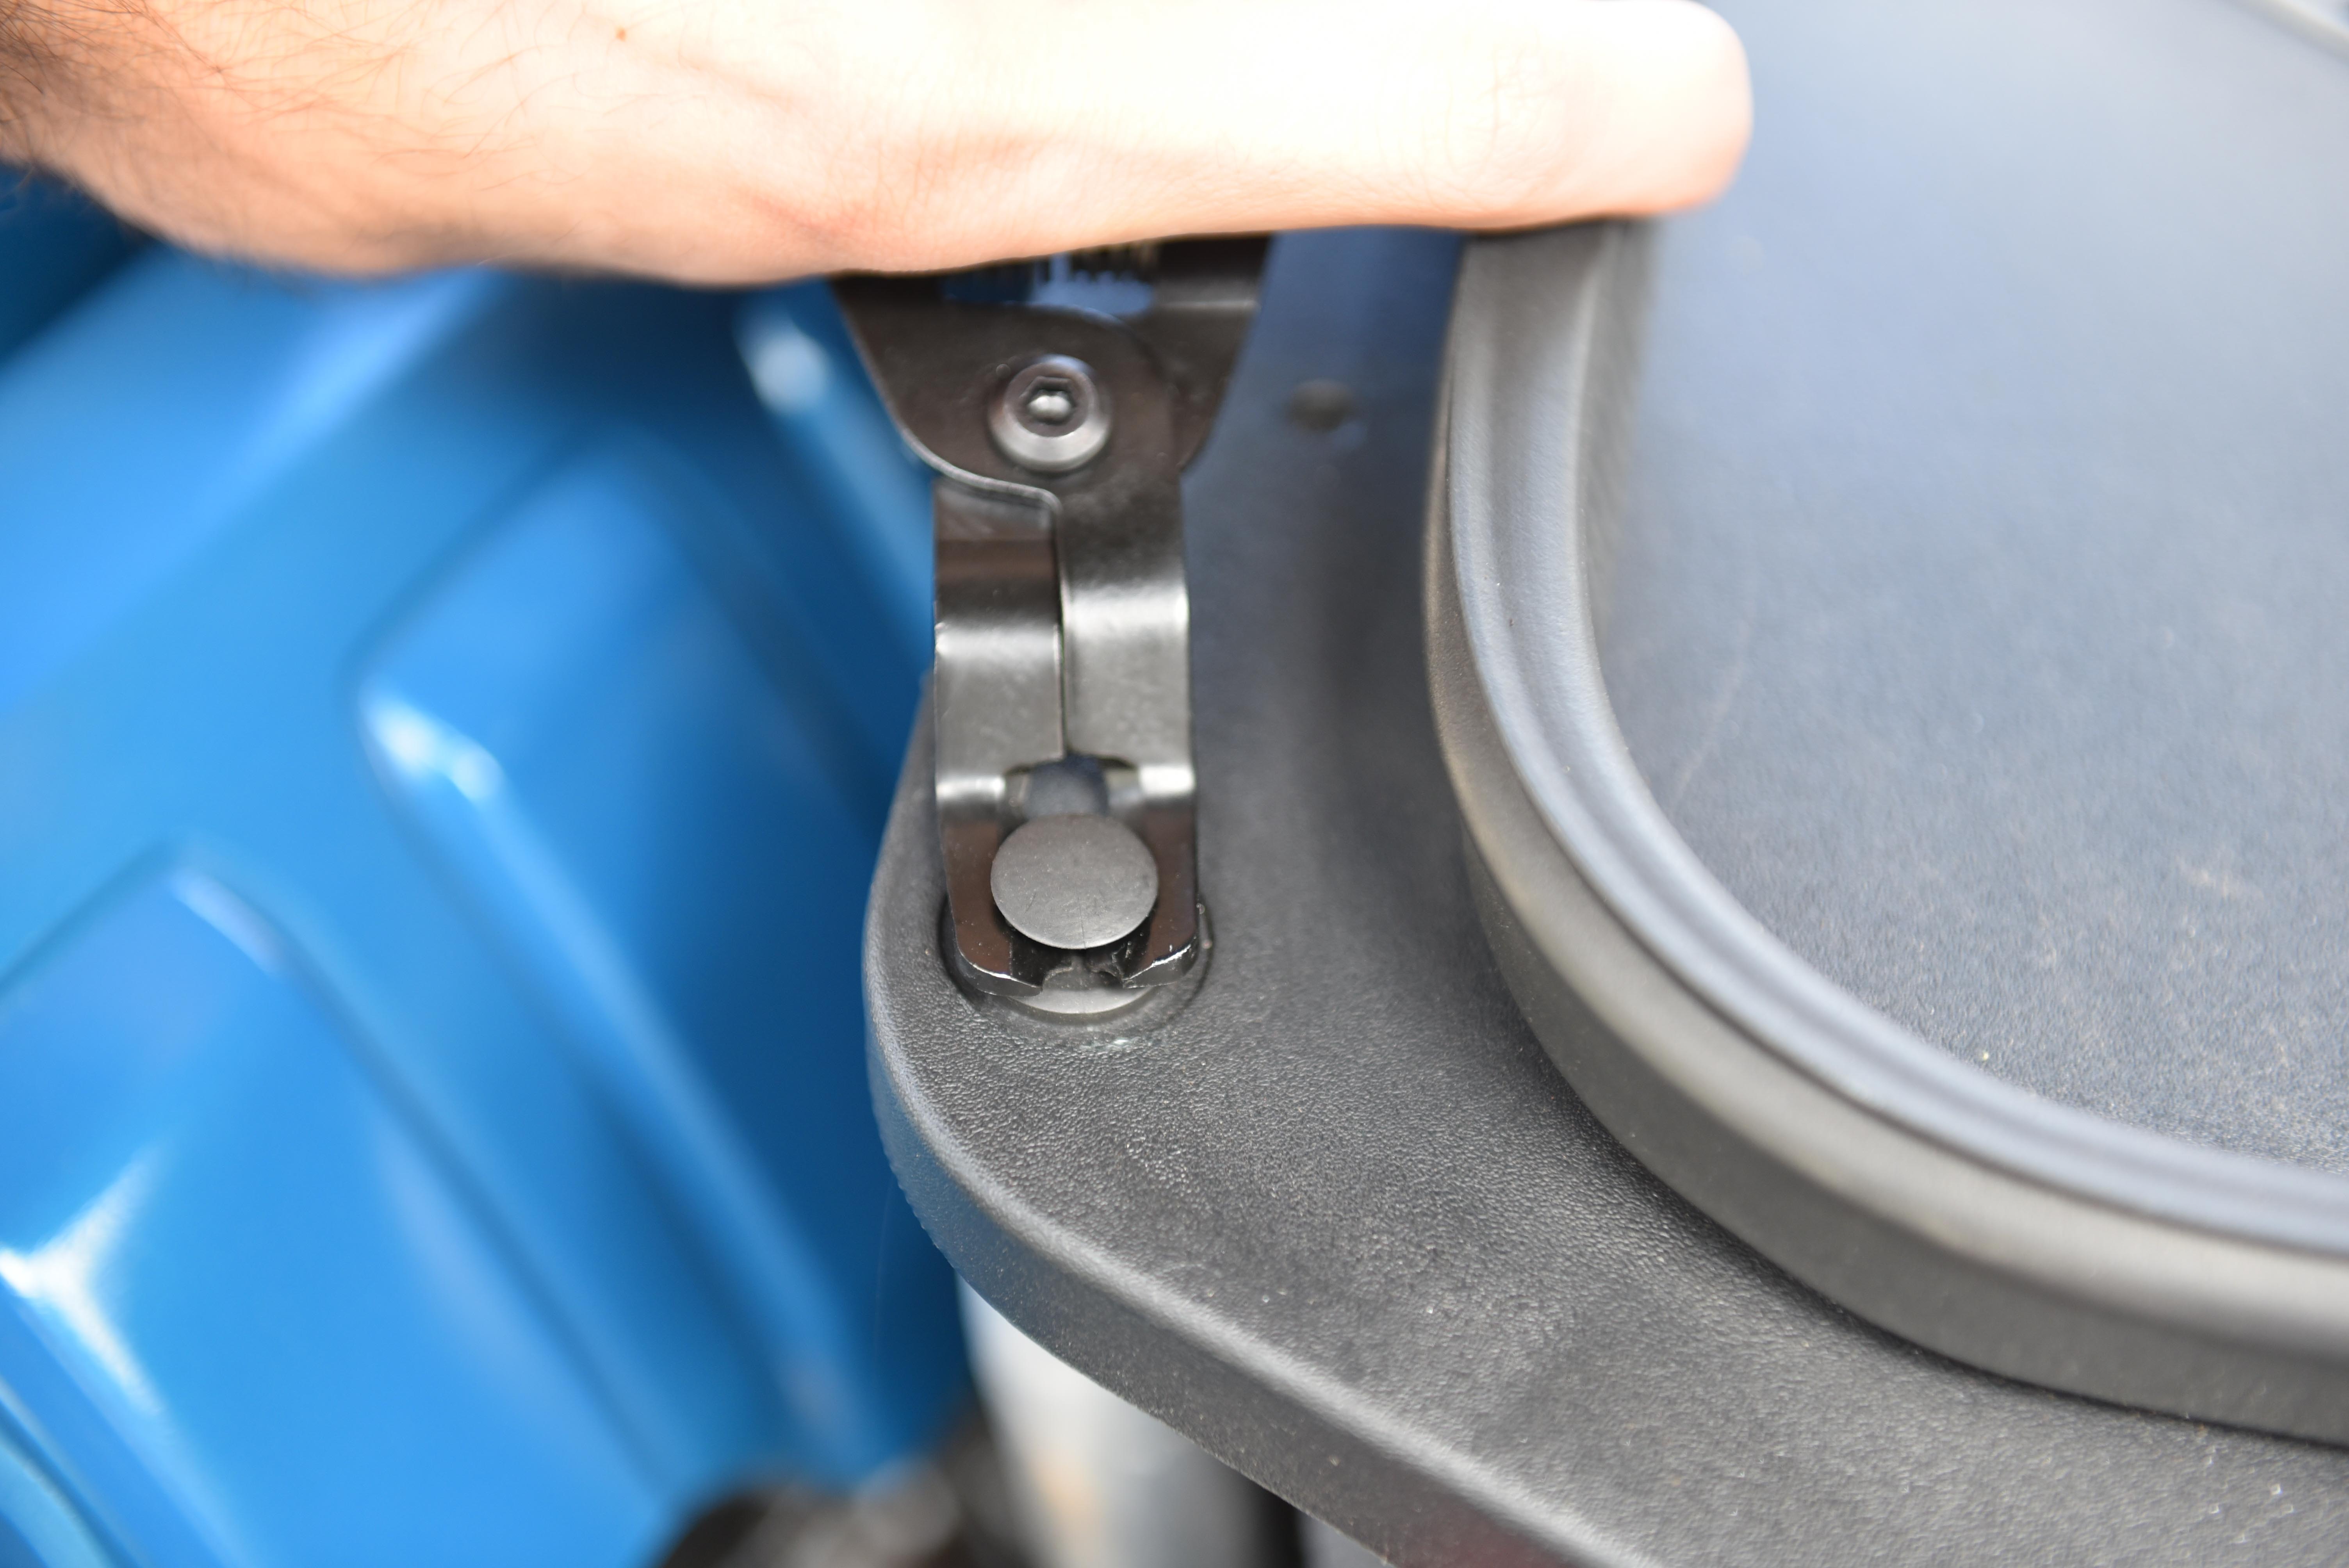
Step 2
Scrivets are removed by pulling up the centre with a screwdriver or suitable tool, then pulling out the entire scrivet.
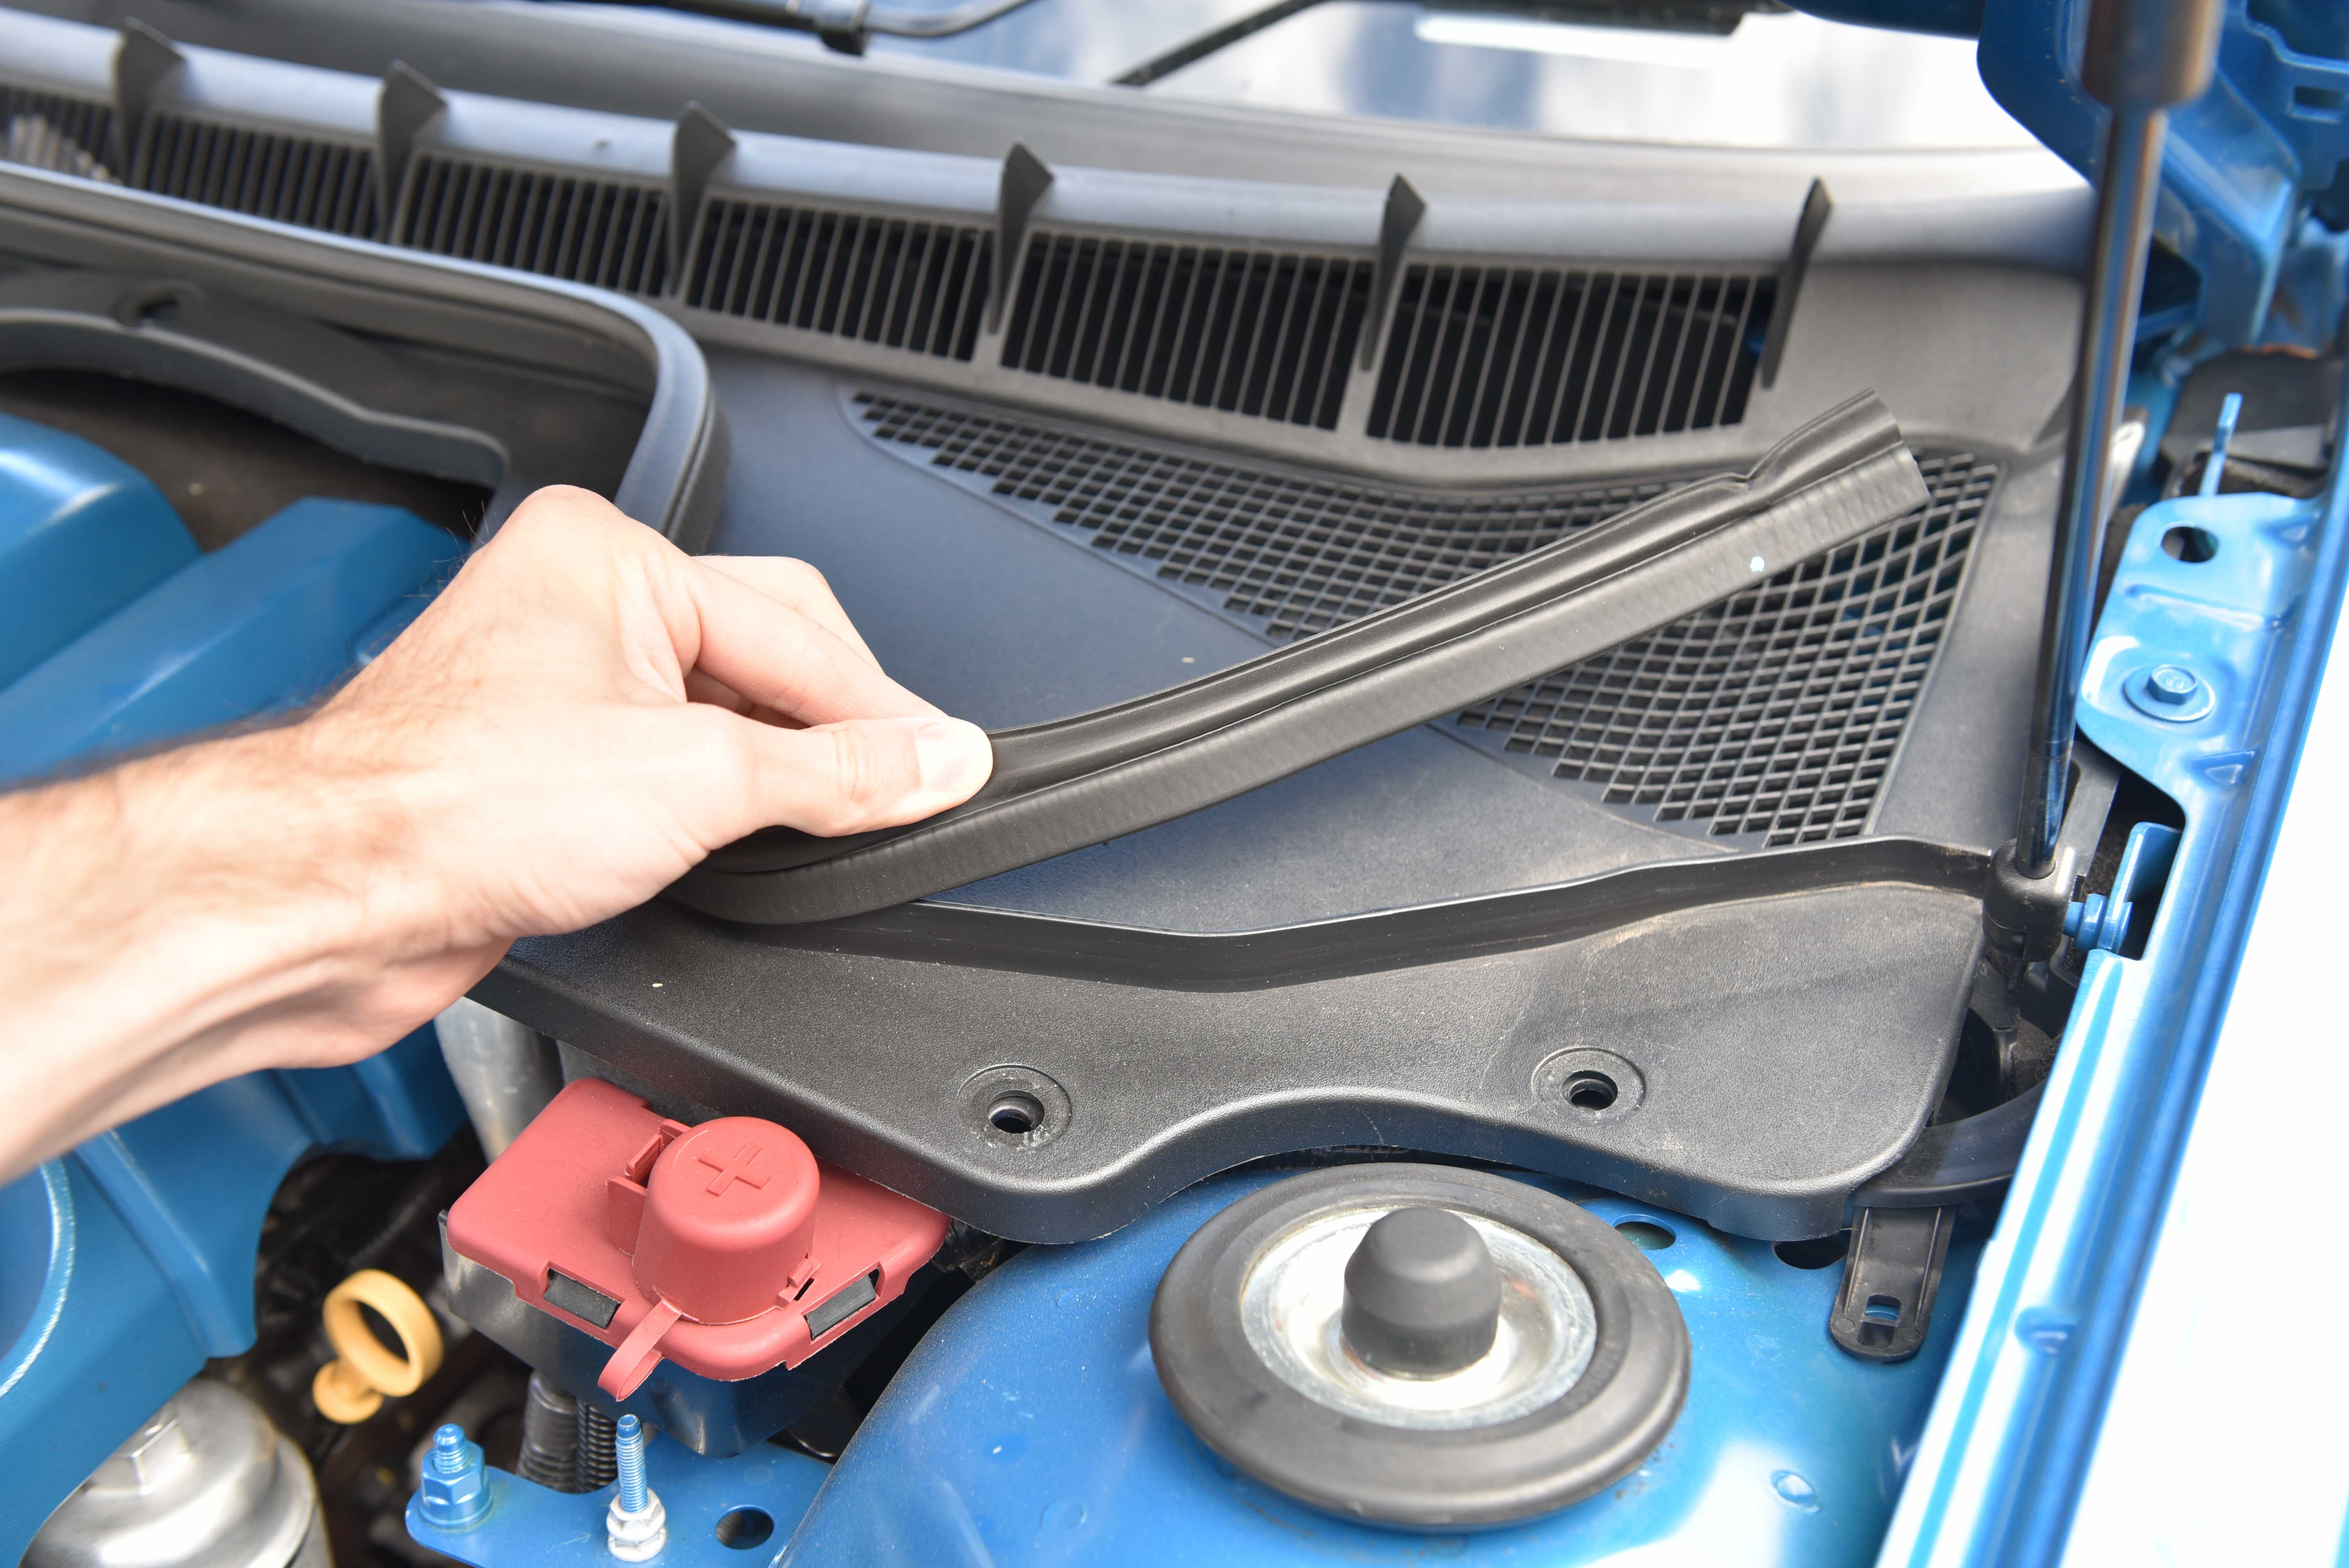
Step 3
Peel up the bonnet seal strip
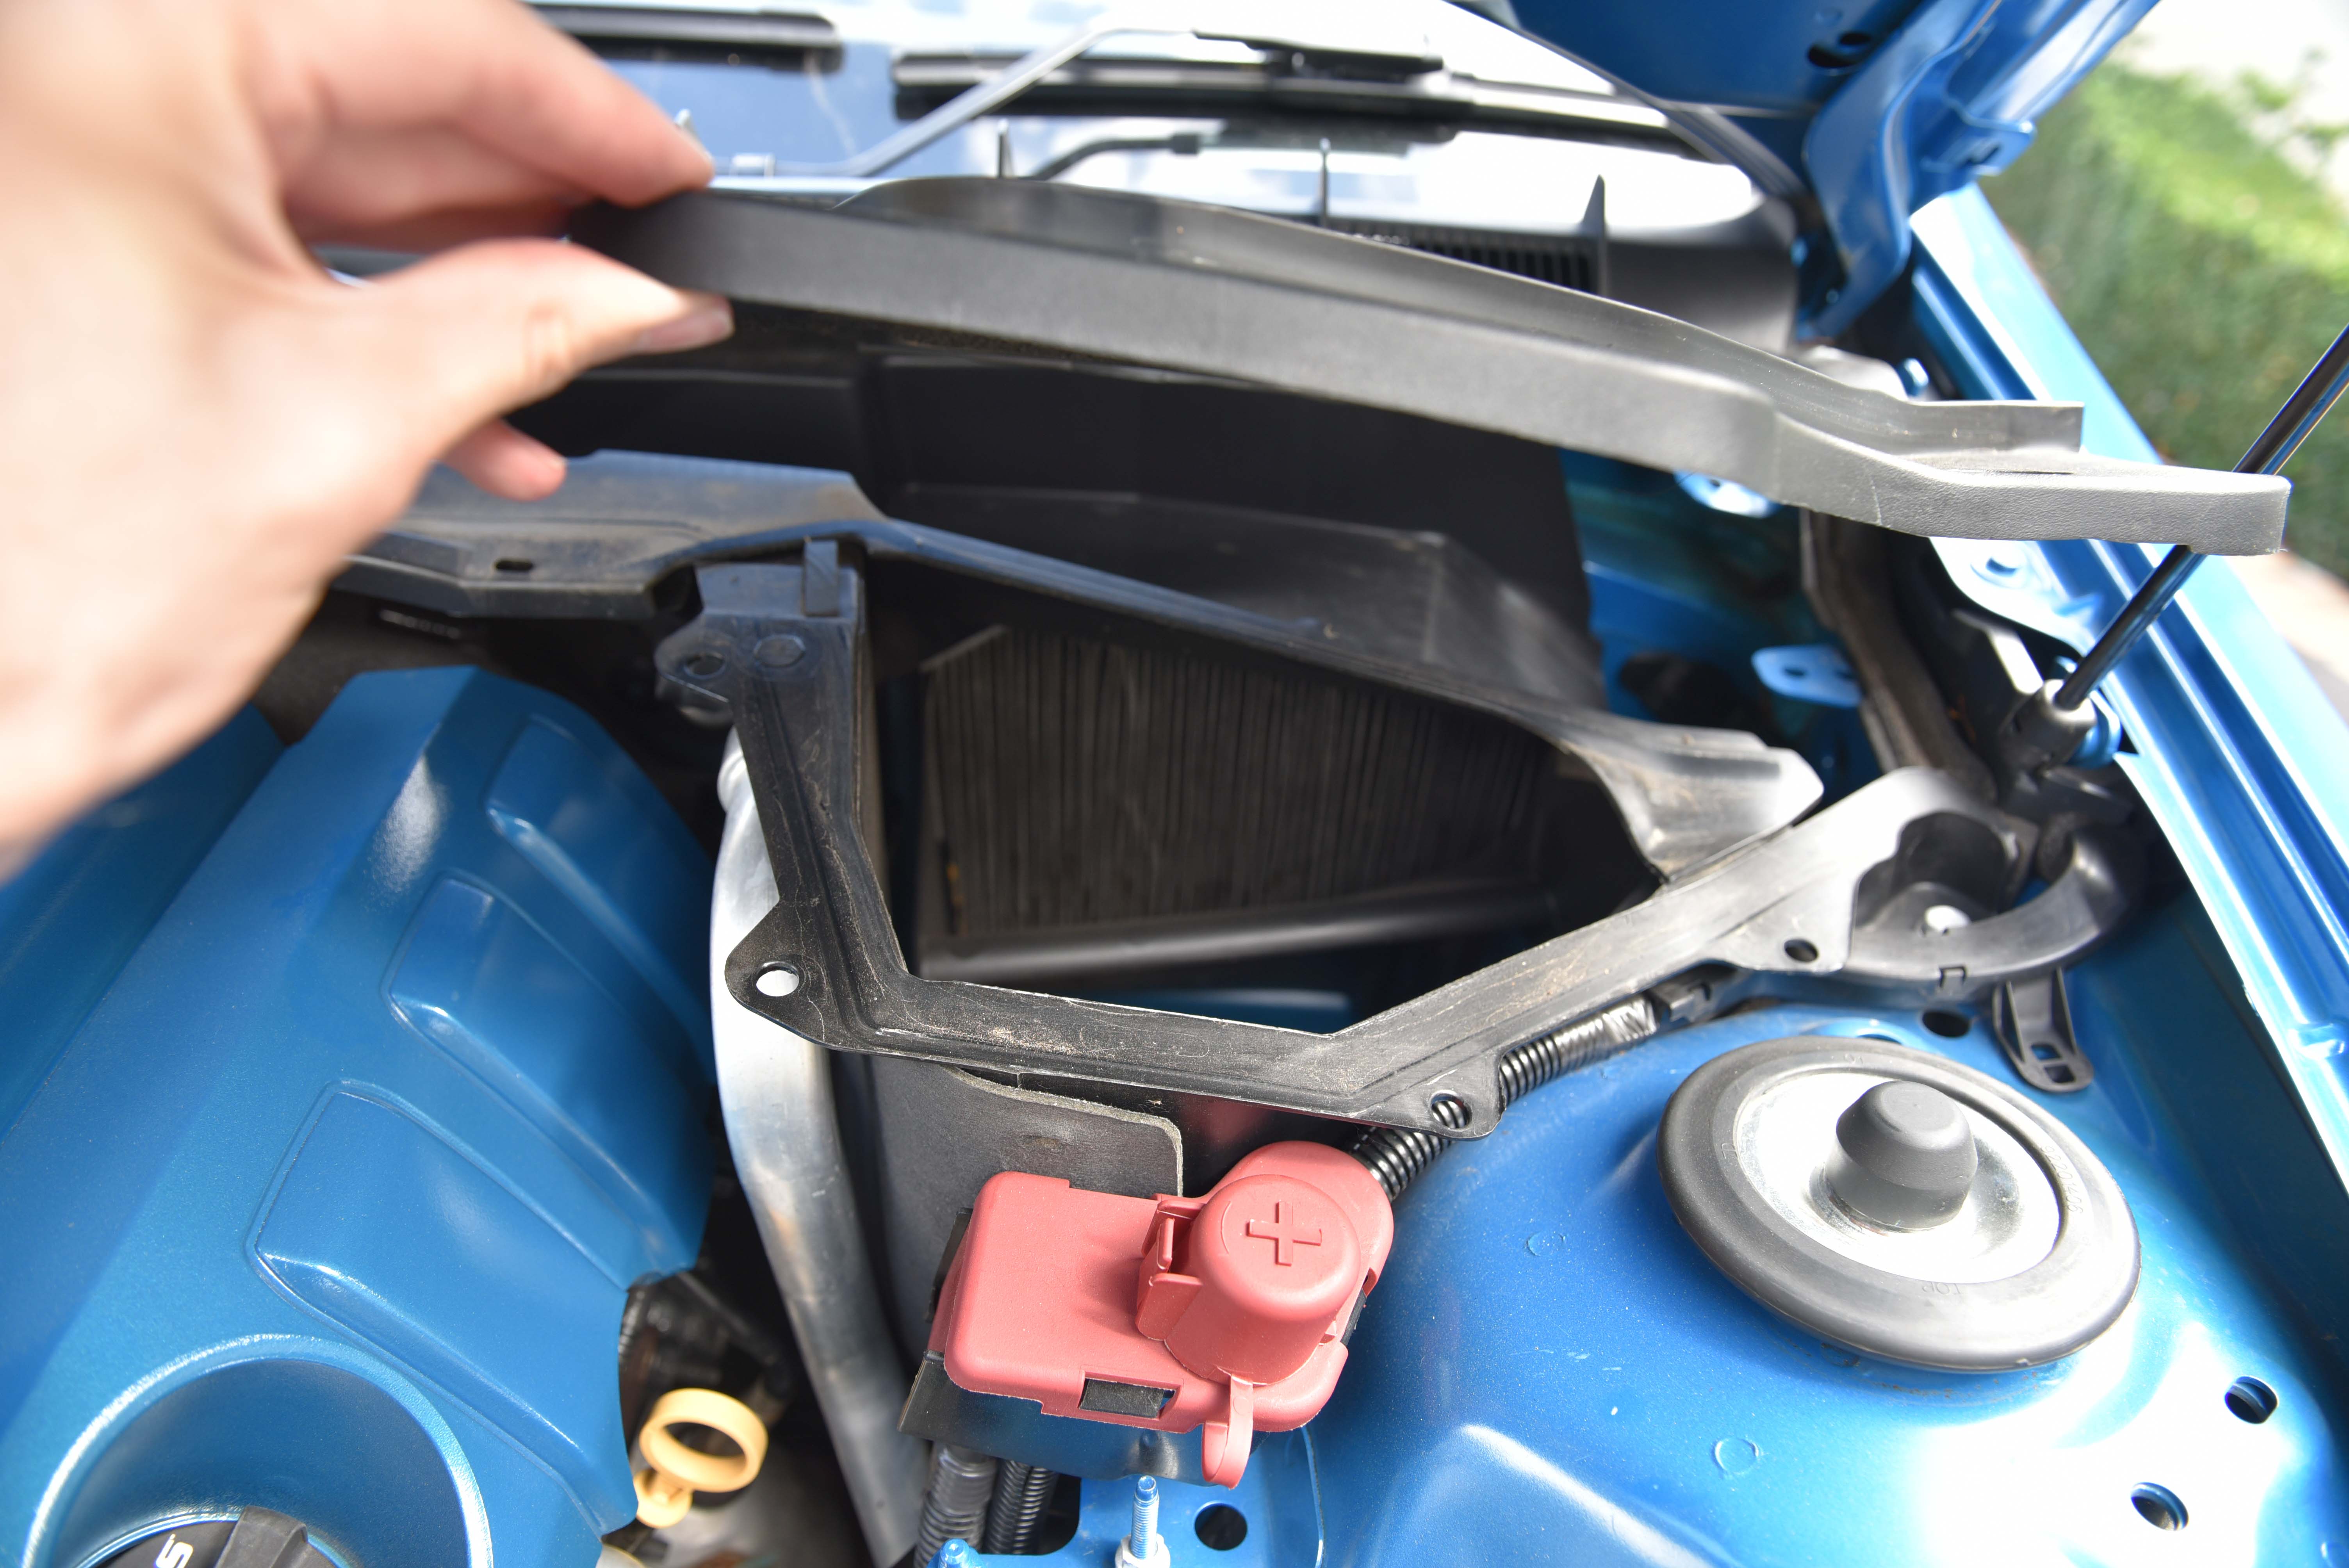
Step 4
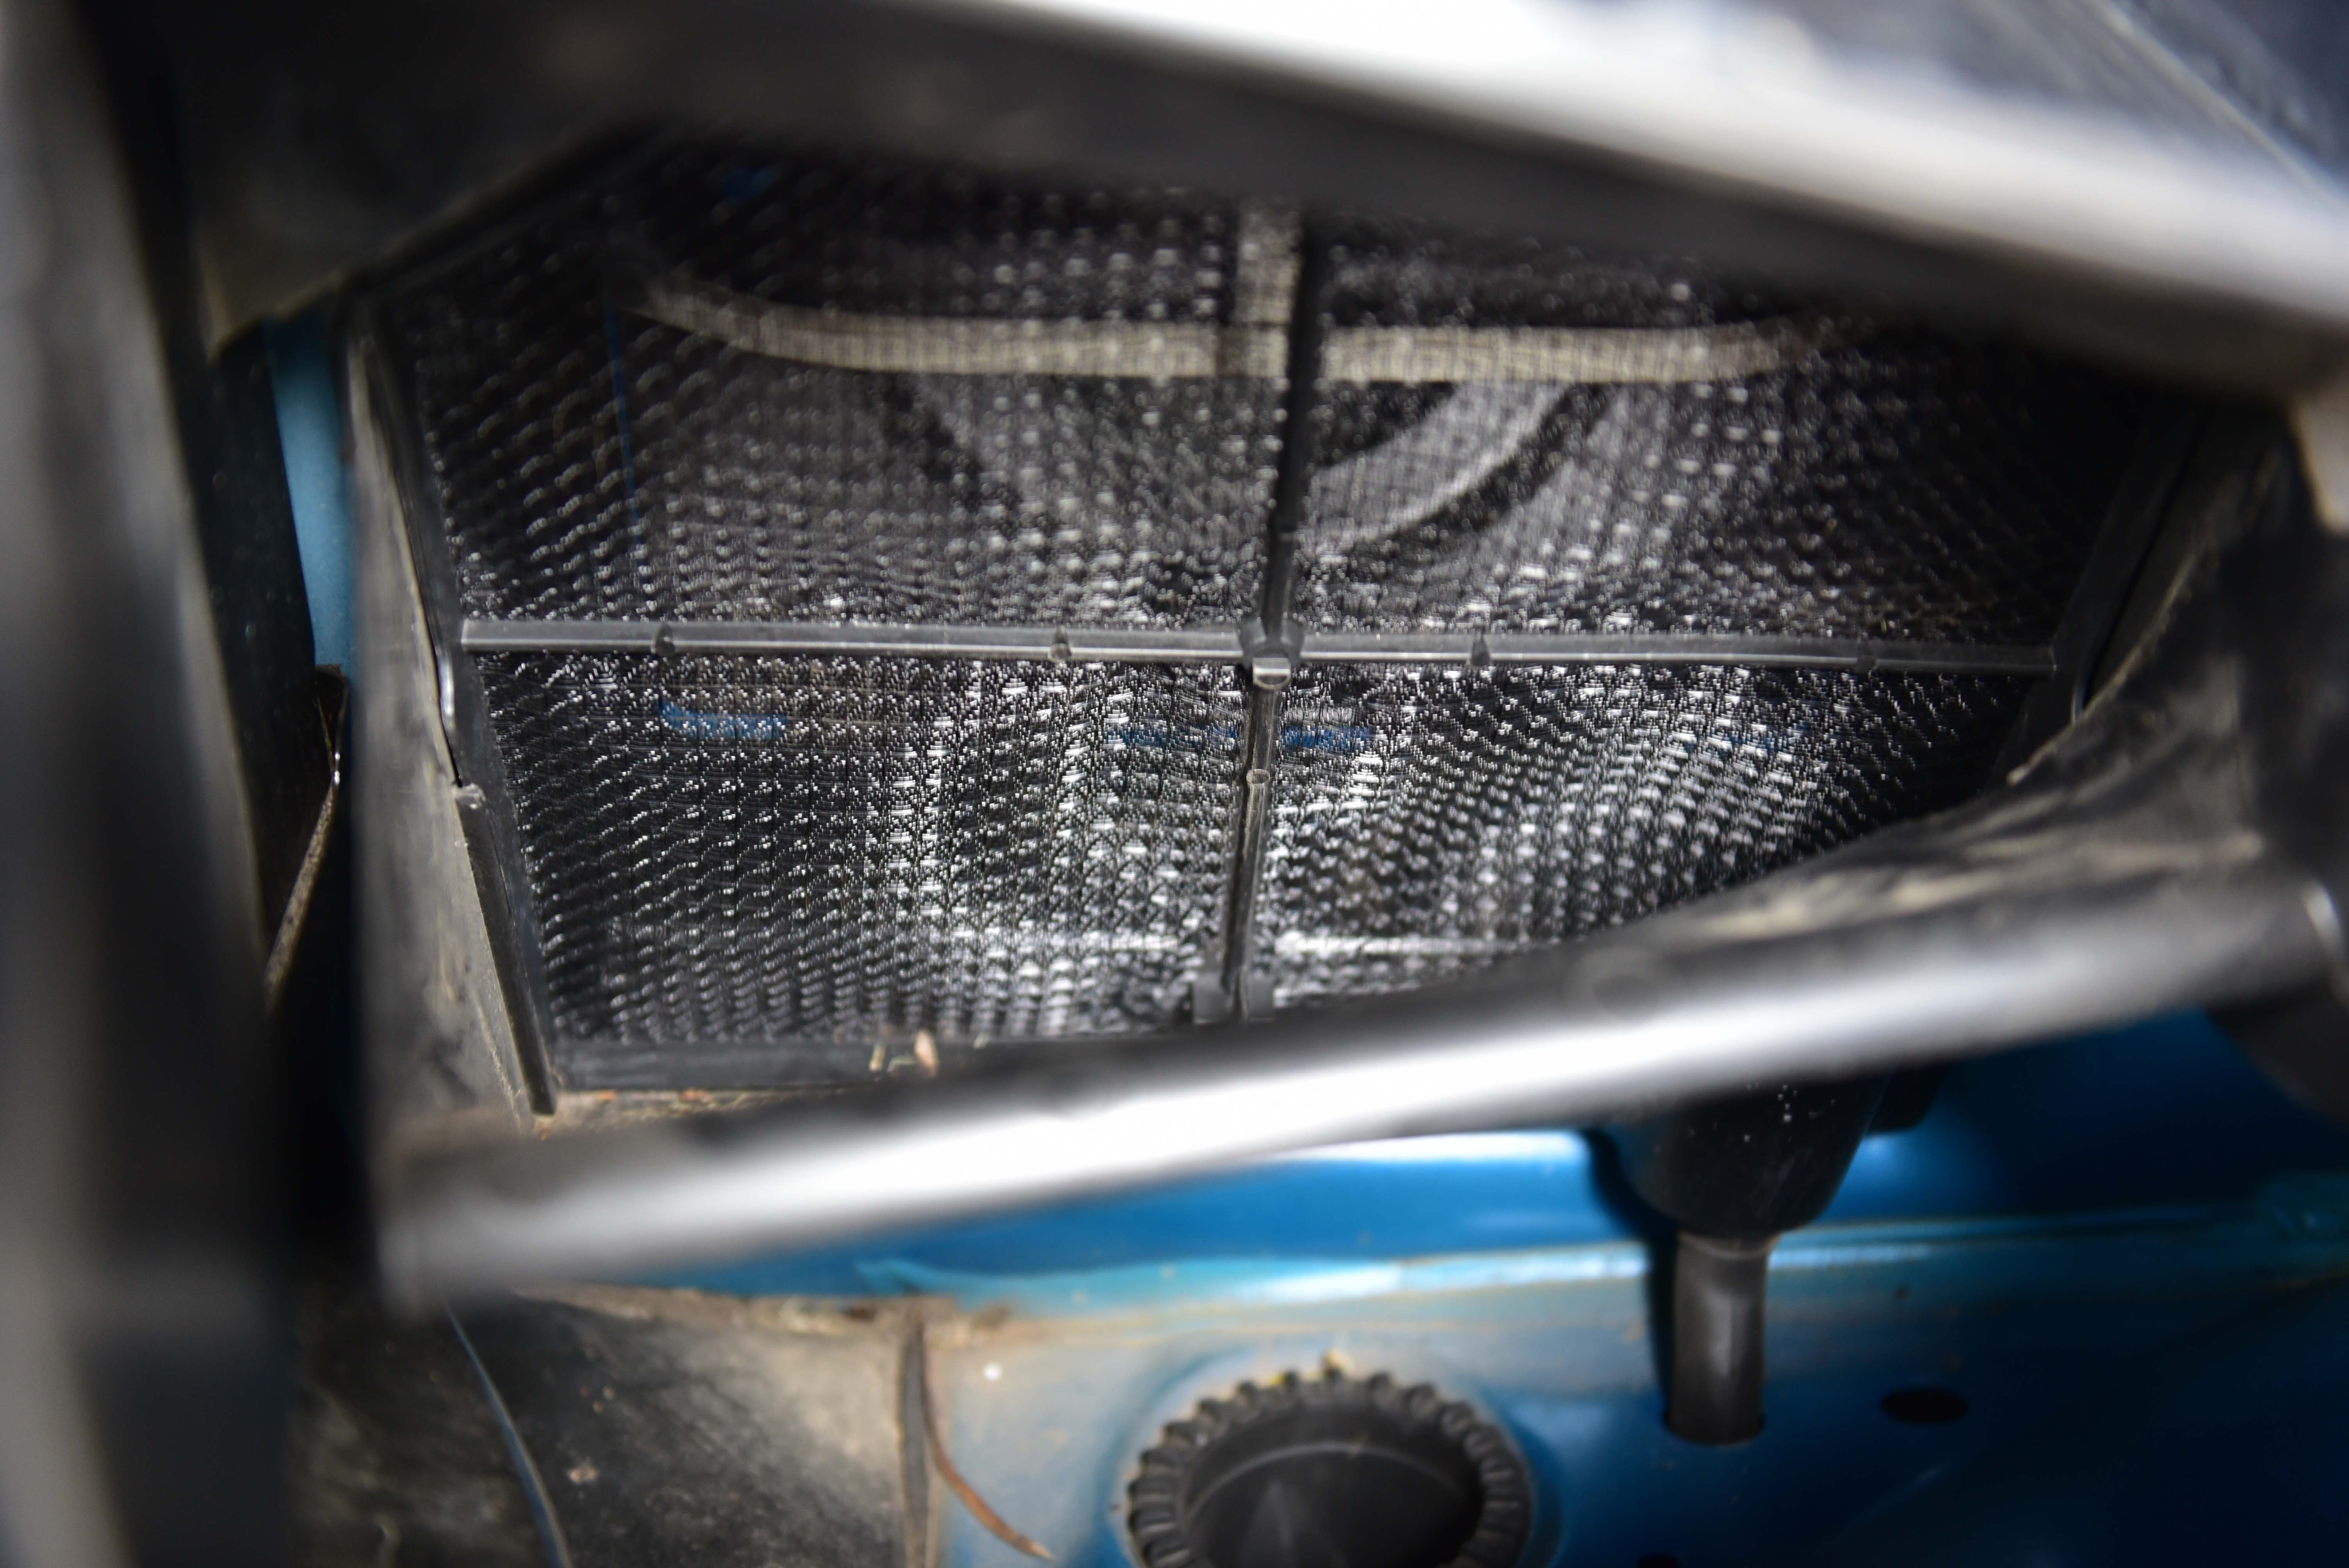
You can now lift up the plenum cover and you will see the pollen filter or factory mesh filter.
Step 5
Often you will find a mesh filter as seen here comes standard on most Holden Commodores. Unfortunately it does no provide a good level of filtration, only blocking leaves and large debris. All dust and fine particles will pass straight through the filter and into the cabin.
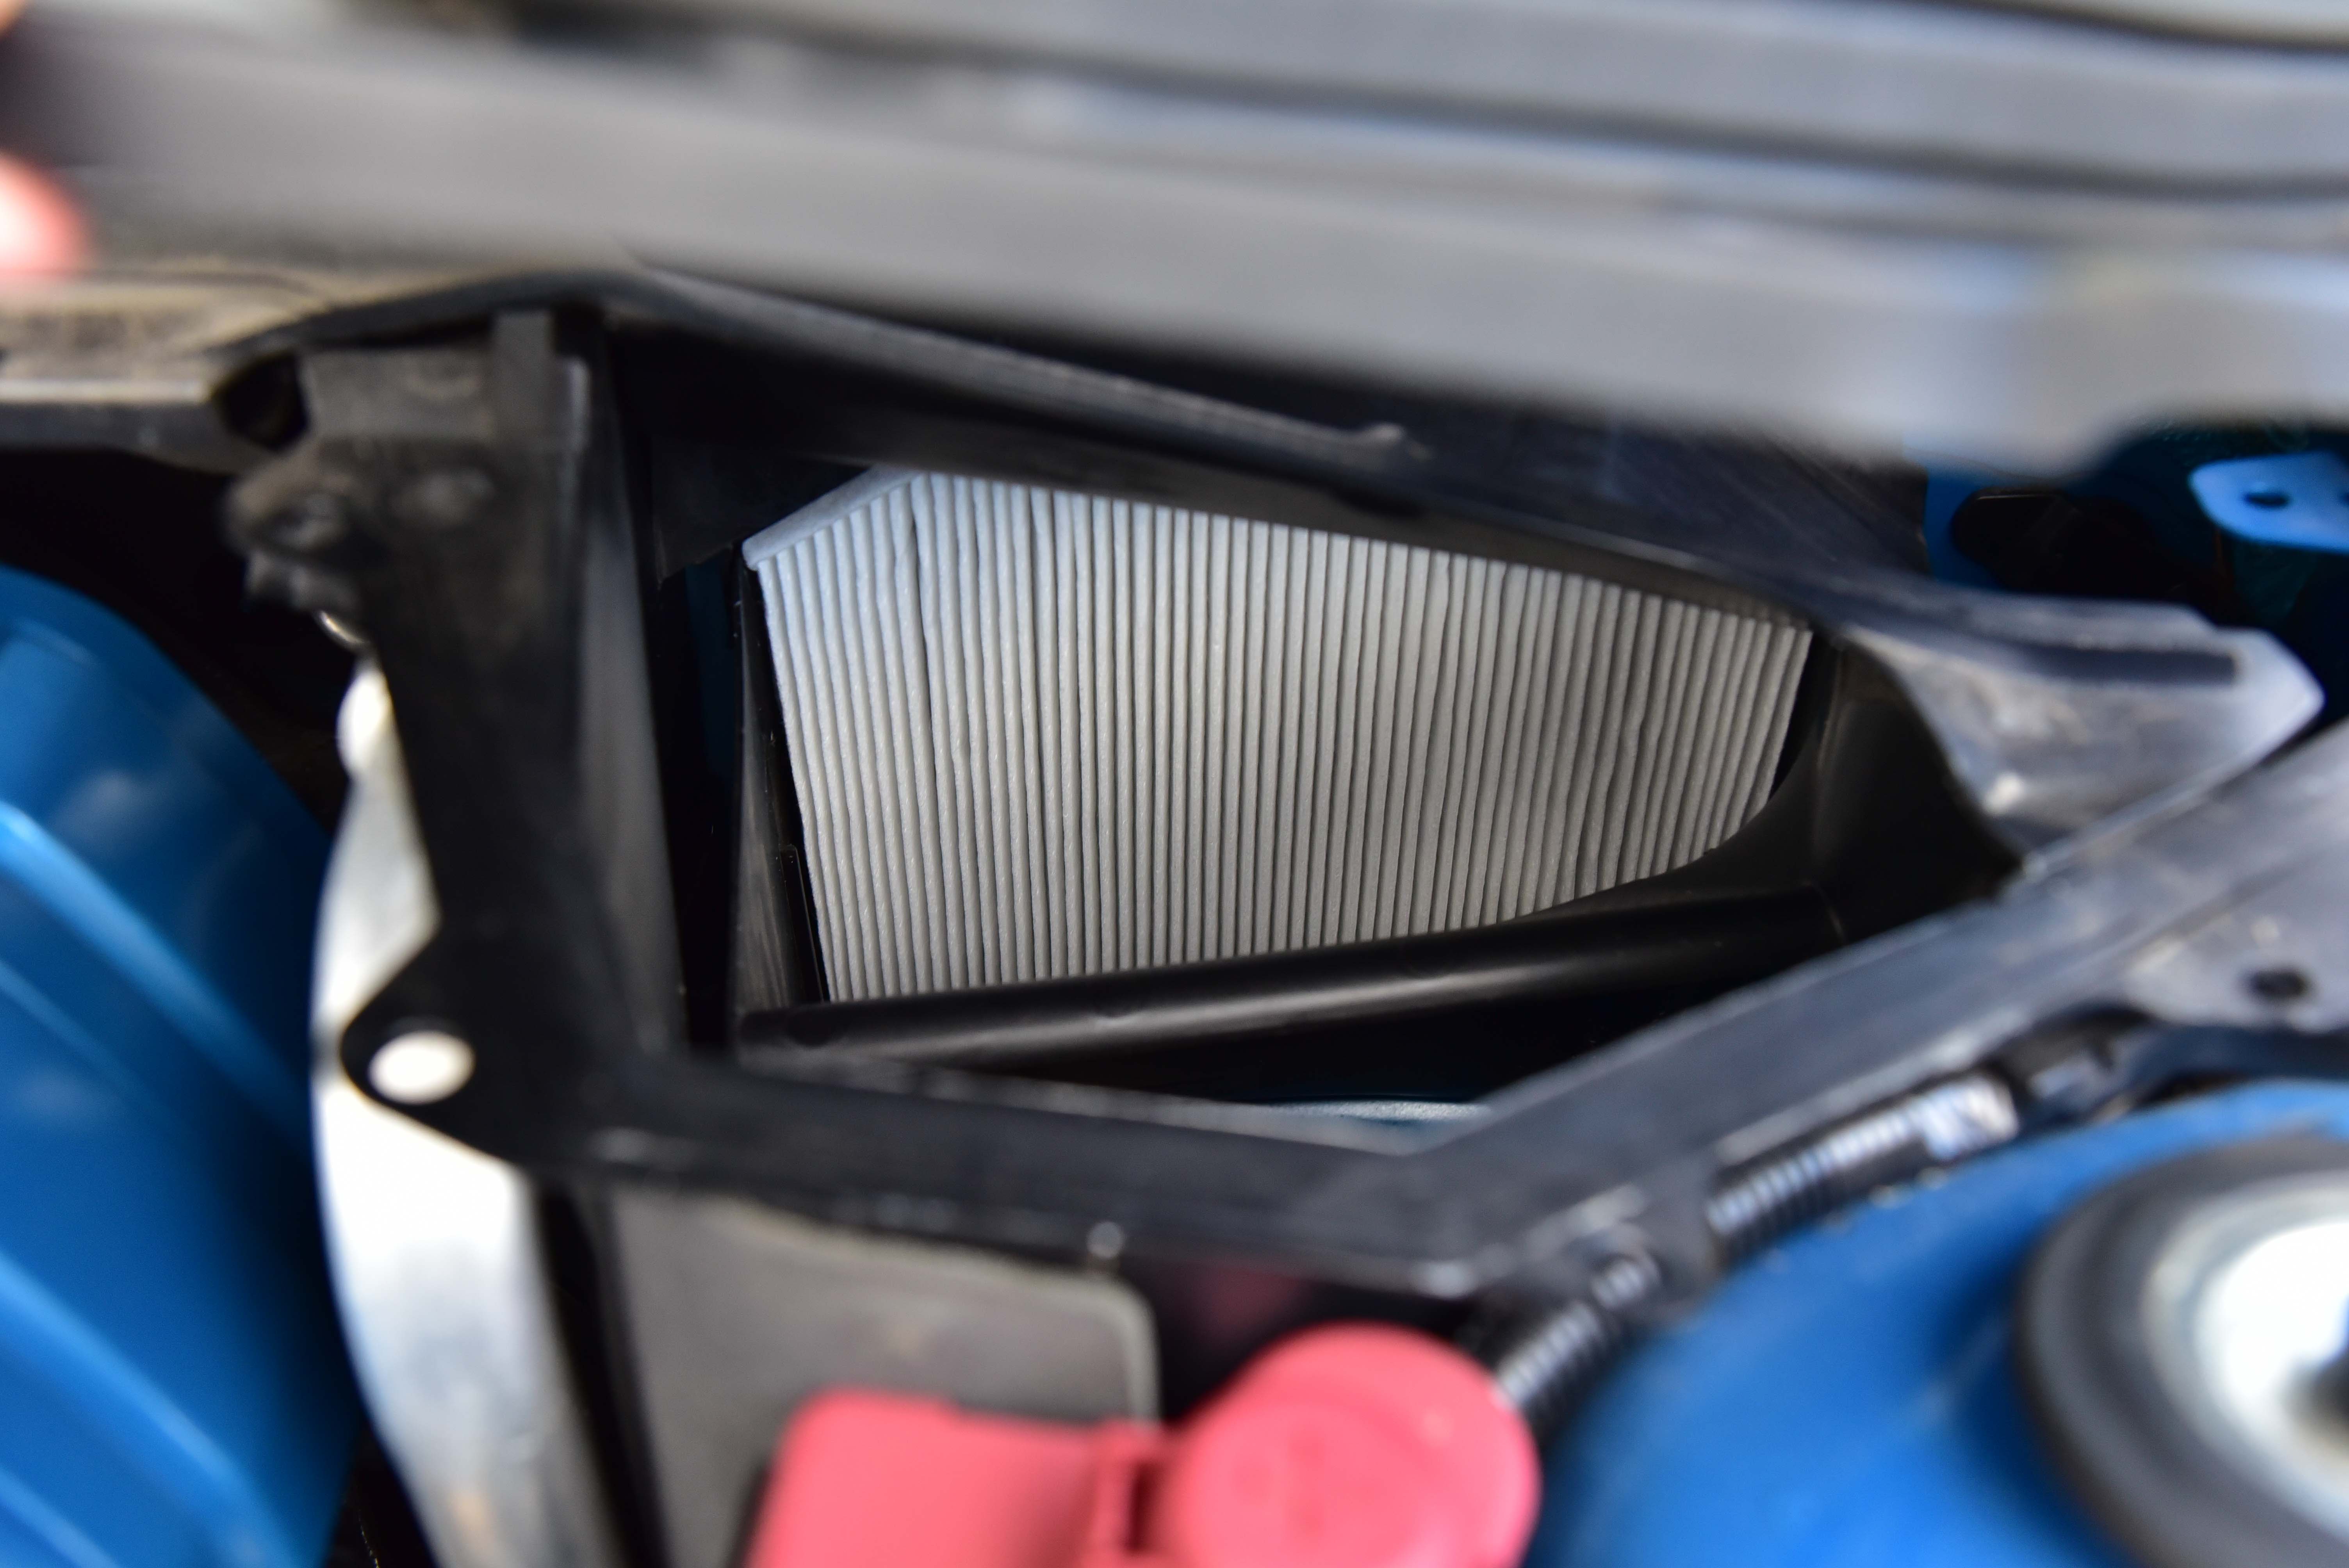
Step 6
The optional pollen filter provides a much higher level of filtration, blocking large leaves and debris, alongside most pollen and dust particles. These filters are a cheap investment for better air quality within the vehicle. It also keeps the cabin and air conditioner system clean.
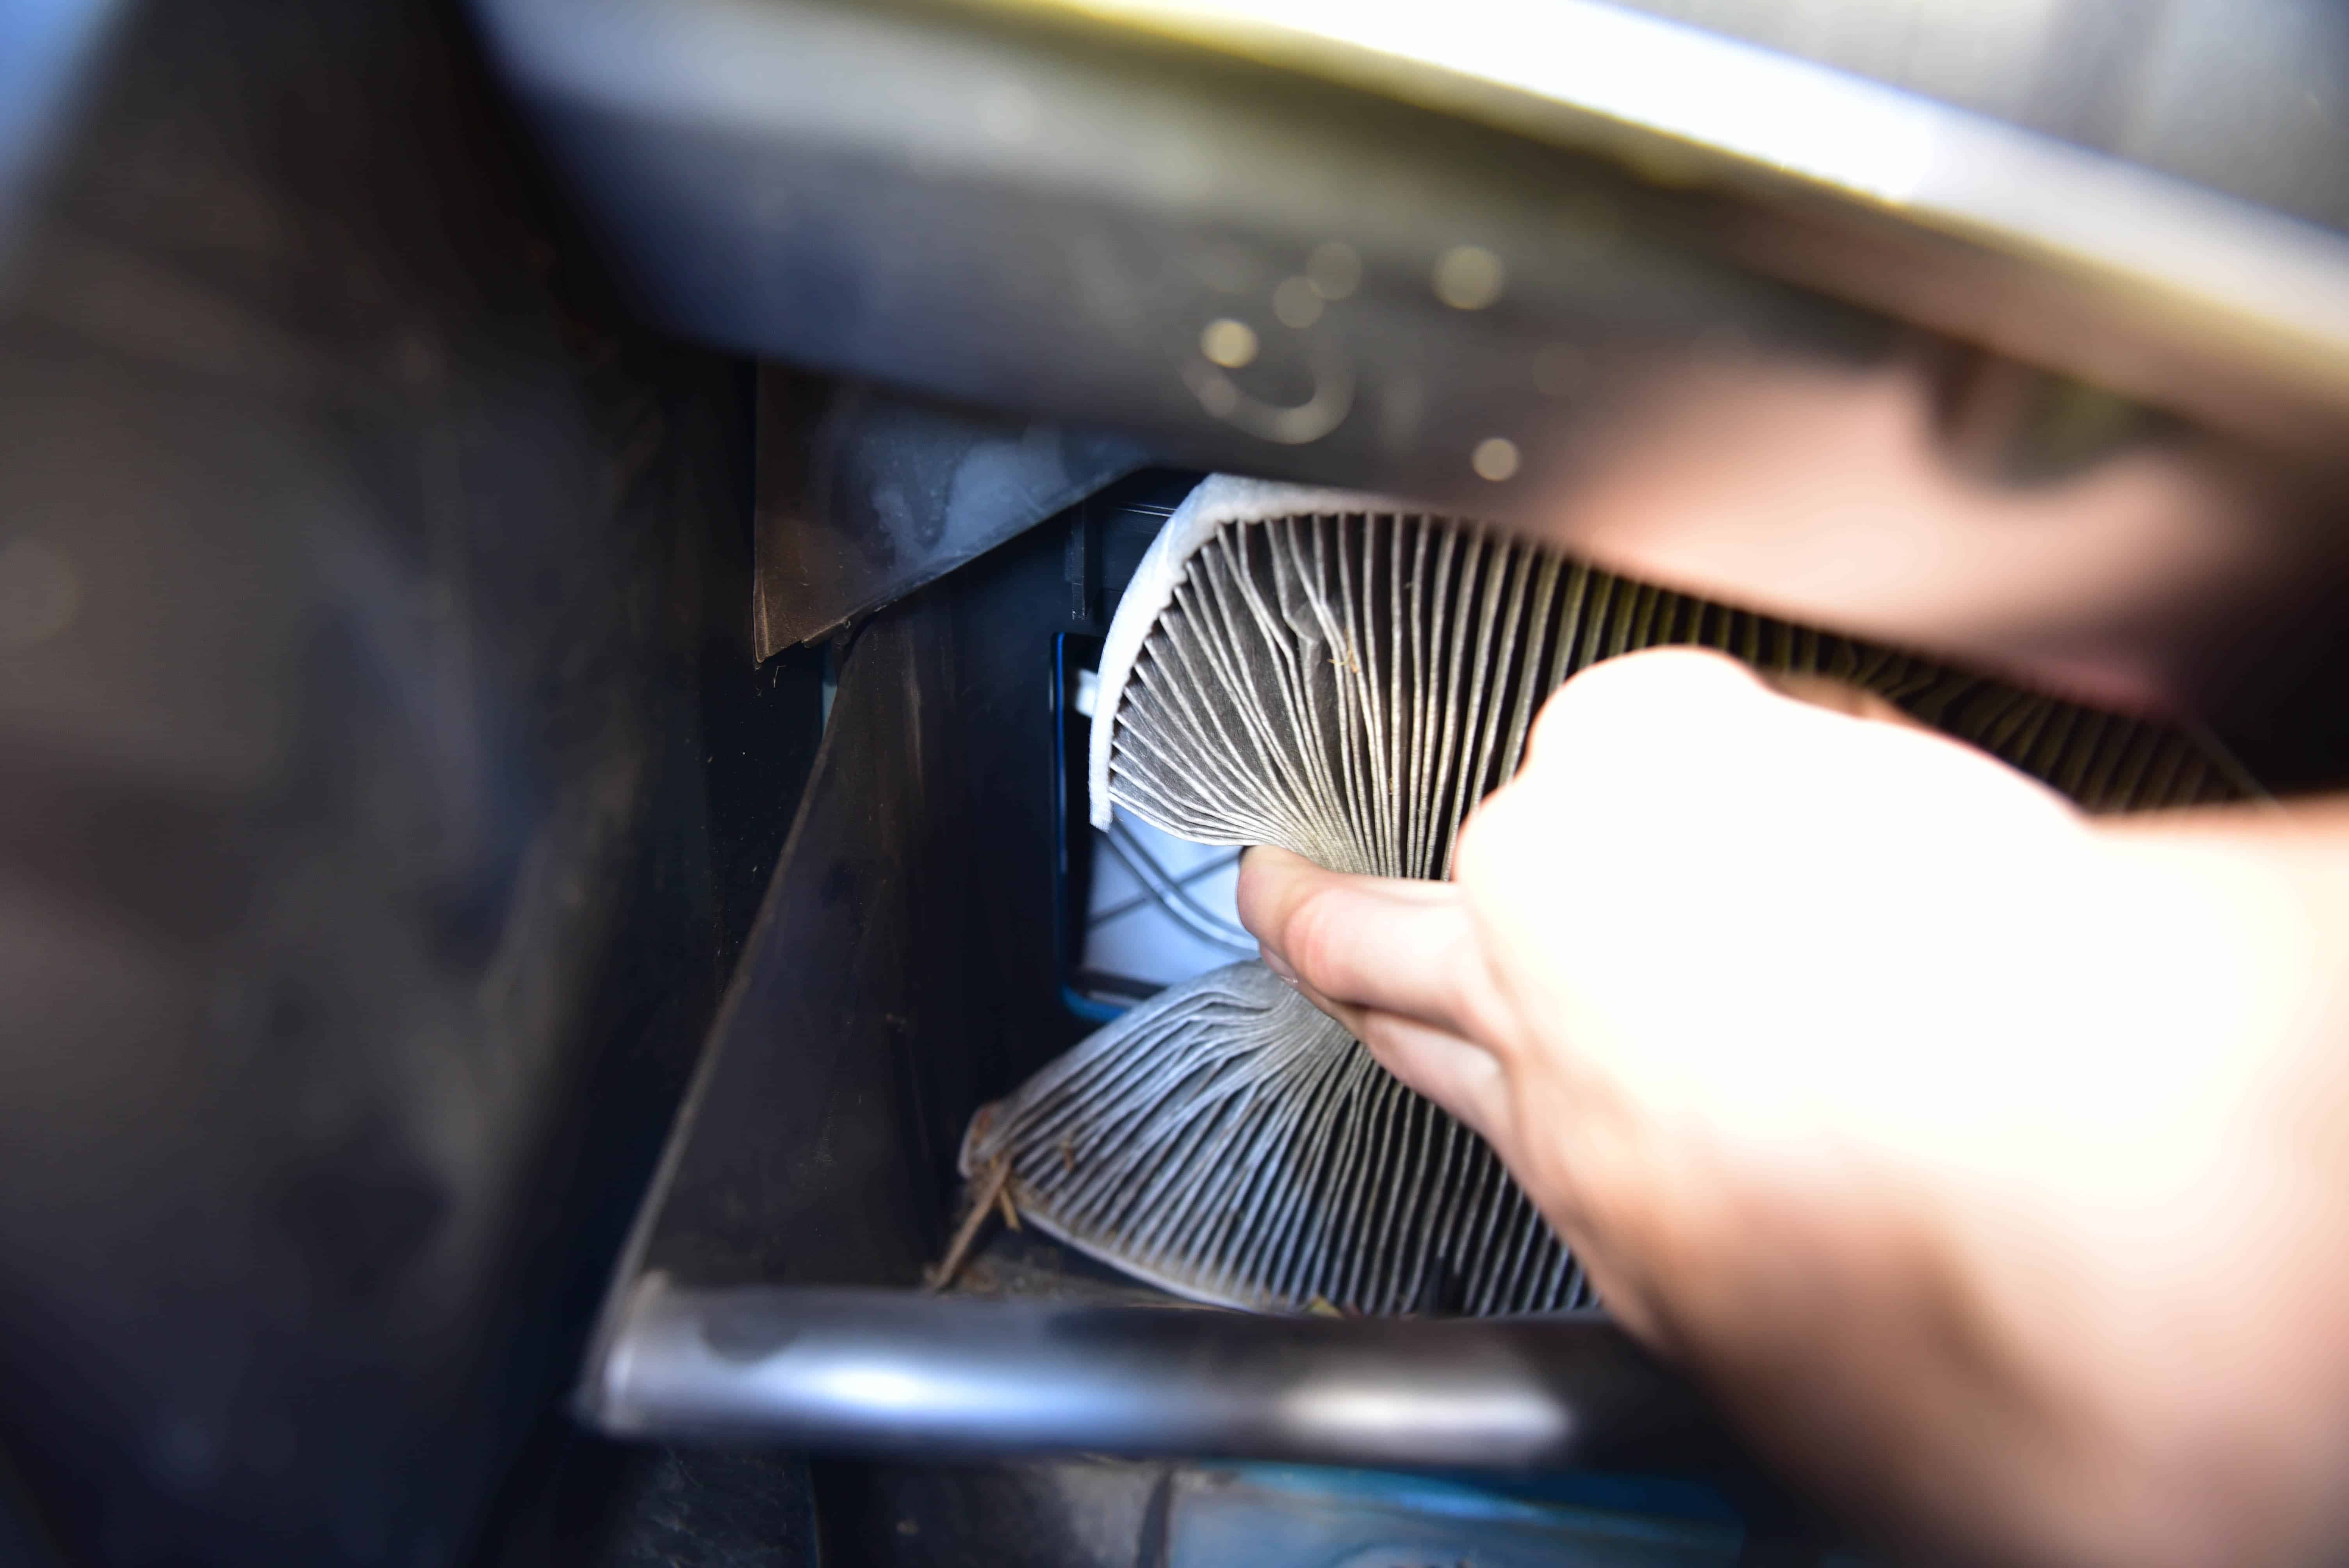
Step 7
If you have the factory mesh filter installed and you’re looking to replace it with a pollen filter, the mesh filter must be removed. This can be done by prying the filter out with a large screwdriver.
If you’re replacing a pollen filter, you can simply squeeze and collapse the filter and remove it from the vehicle.
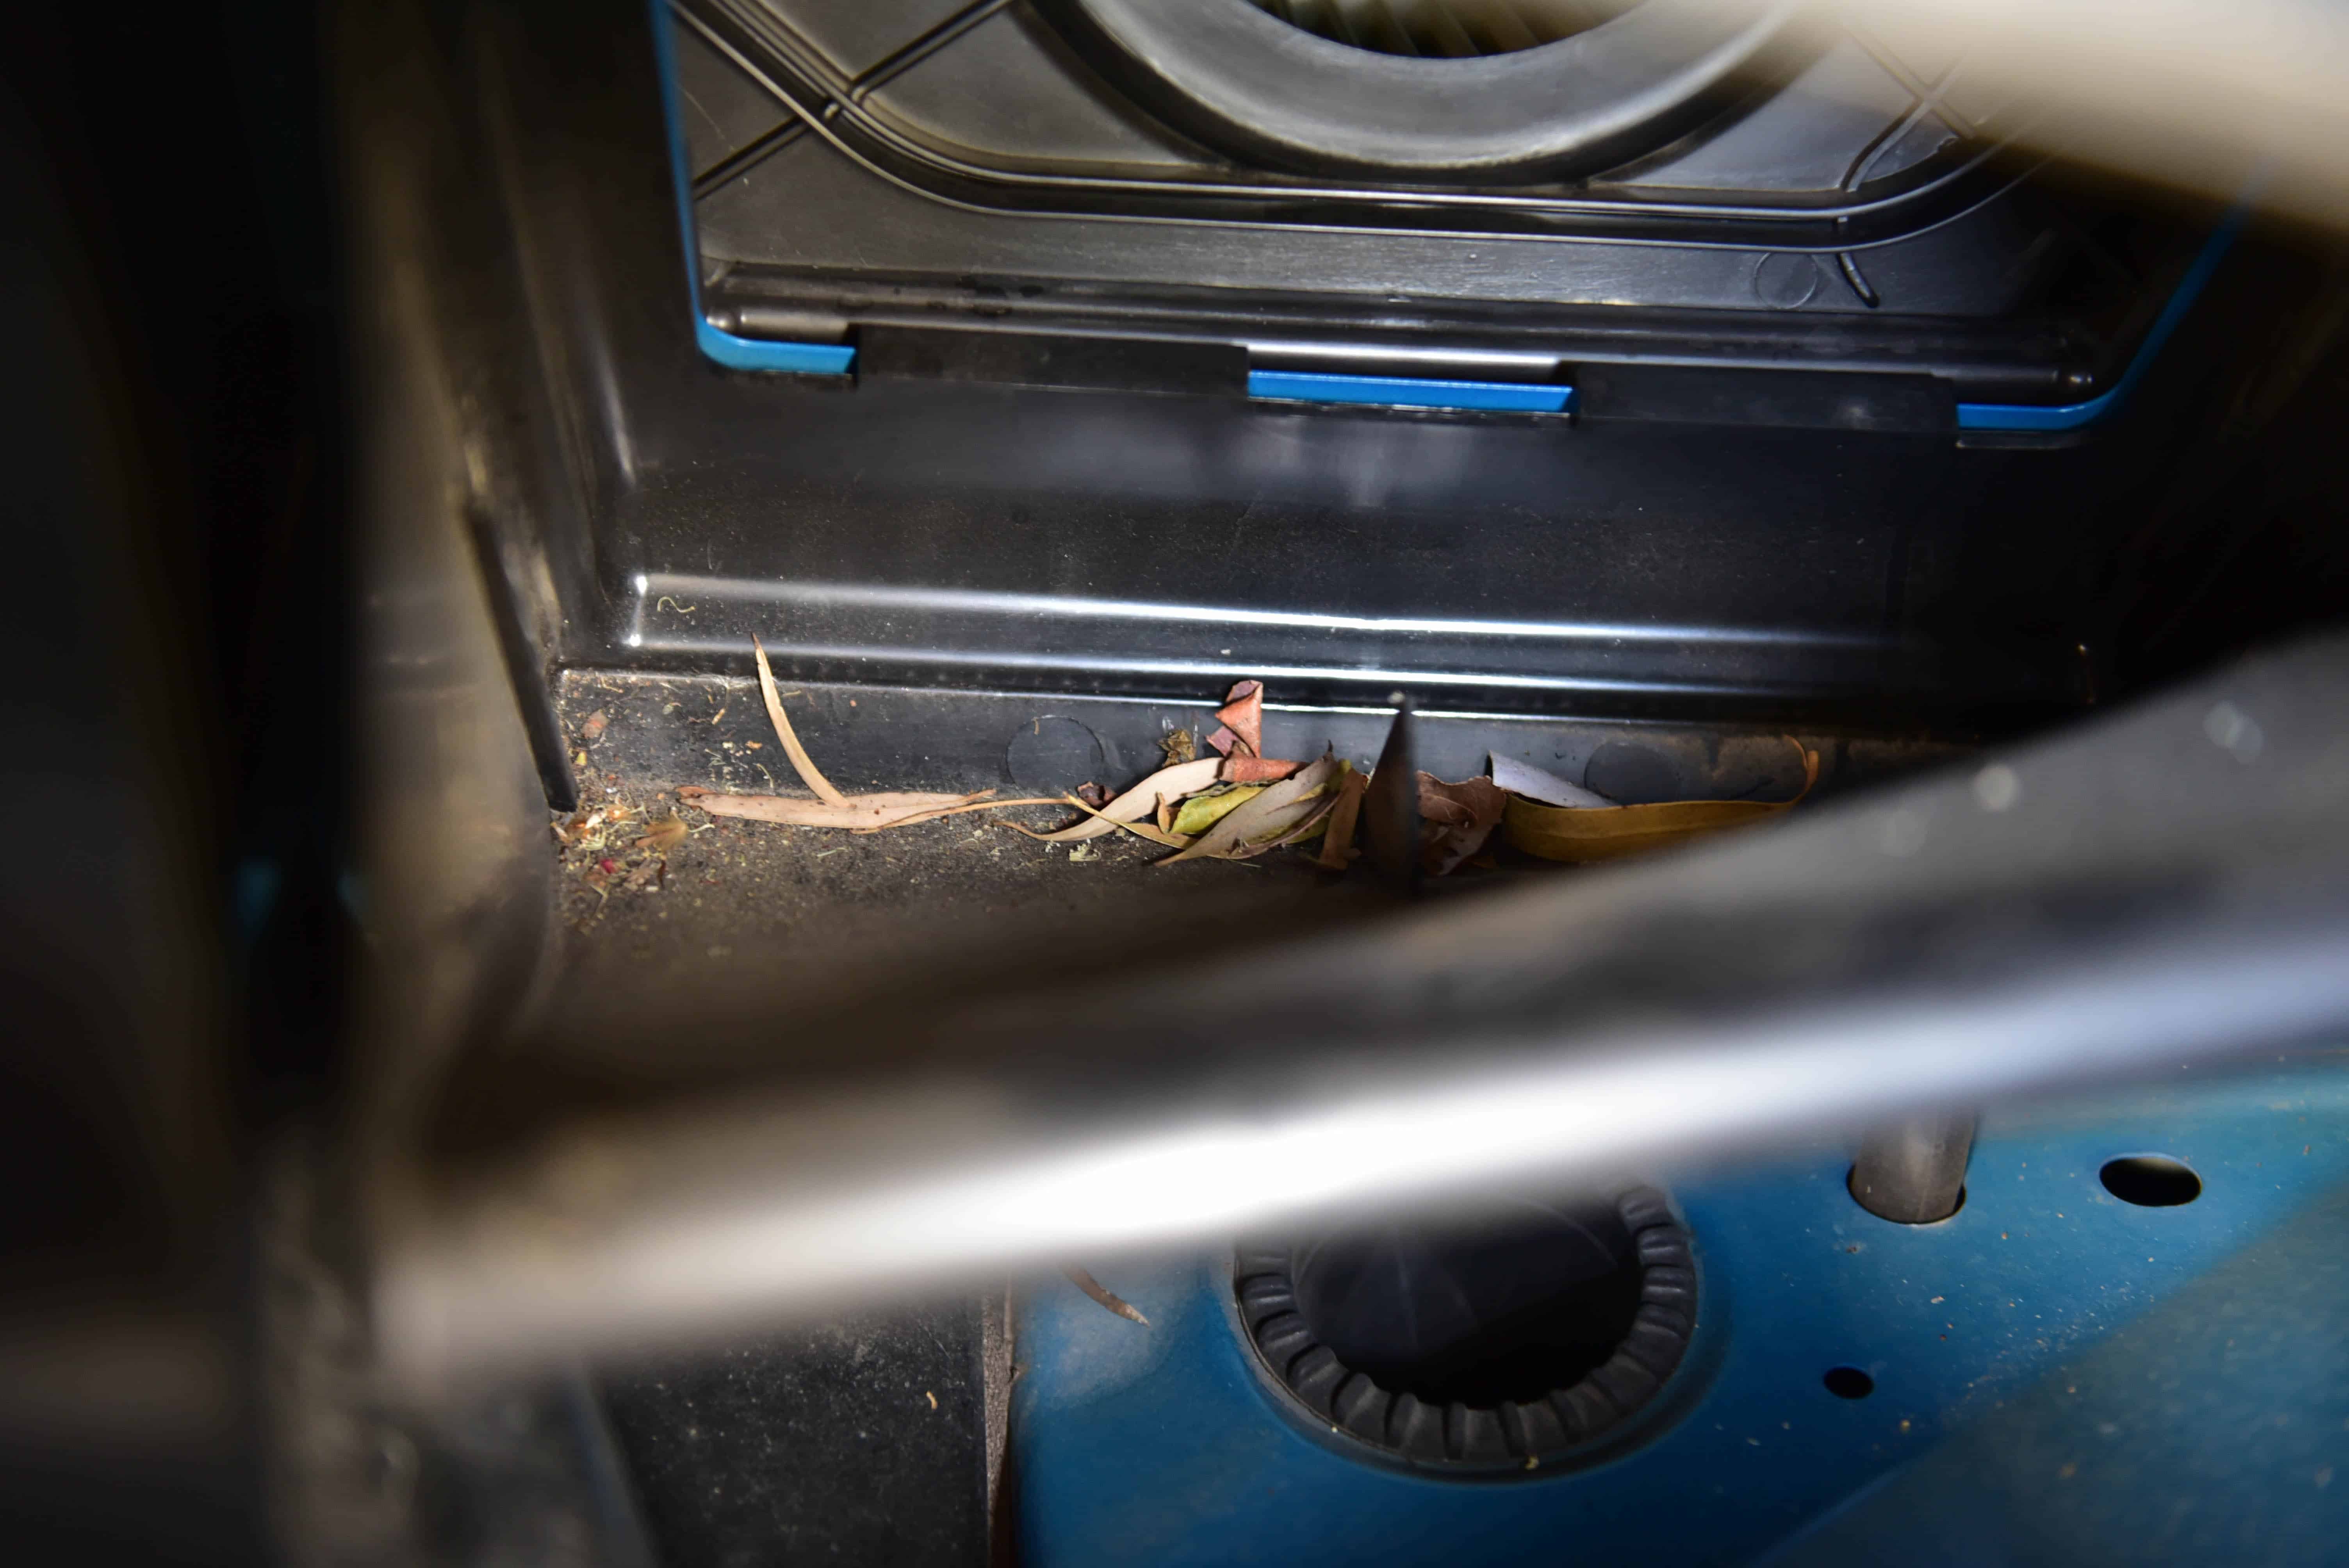
Step 8
With the filter removed, clean out any leaves and debris with a damp cloth.
Step 9
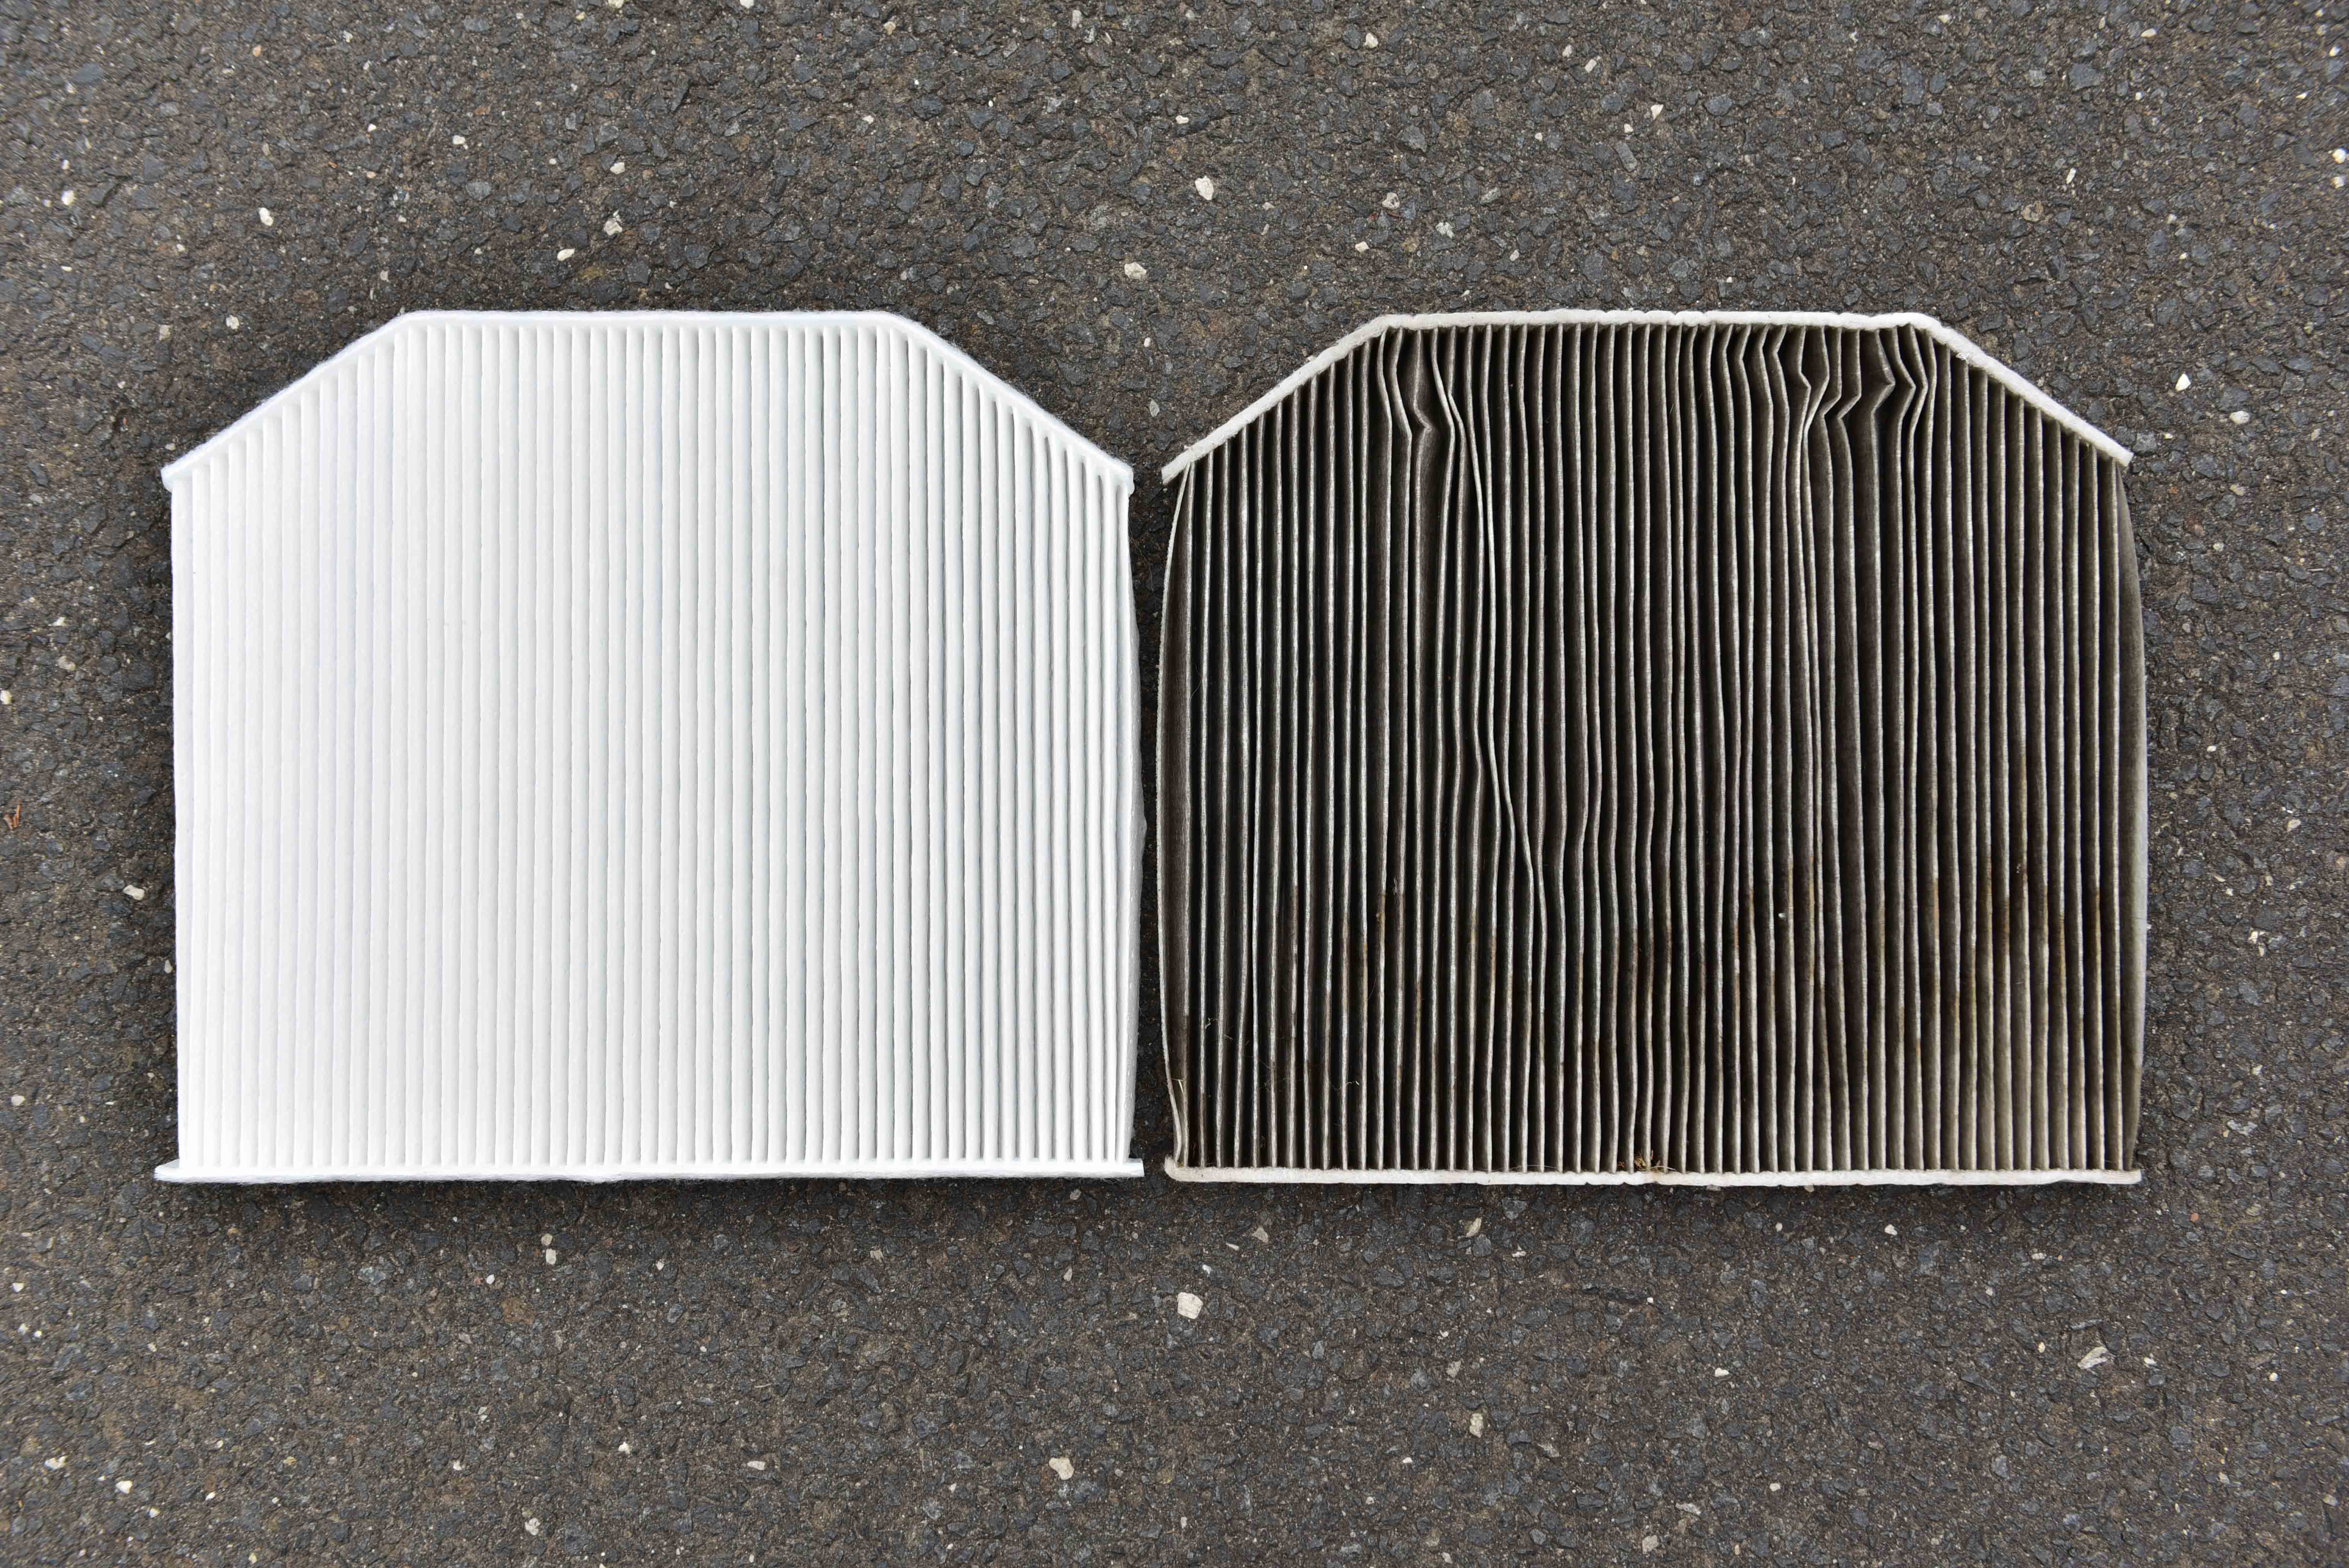
New and Old
Here is a side-by-side comparison of a new and old pollen filter. The old filter on the right was installed in the vehicle for two years, and is full of dust and dirt.
Step 10
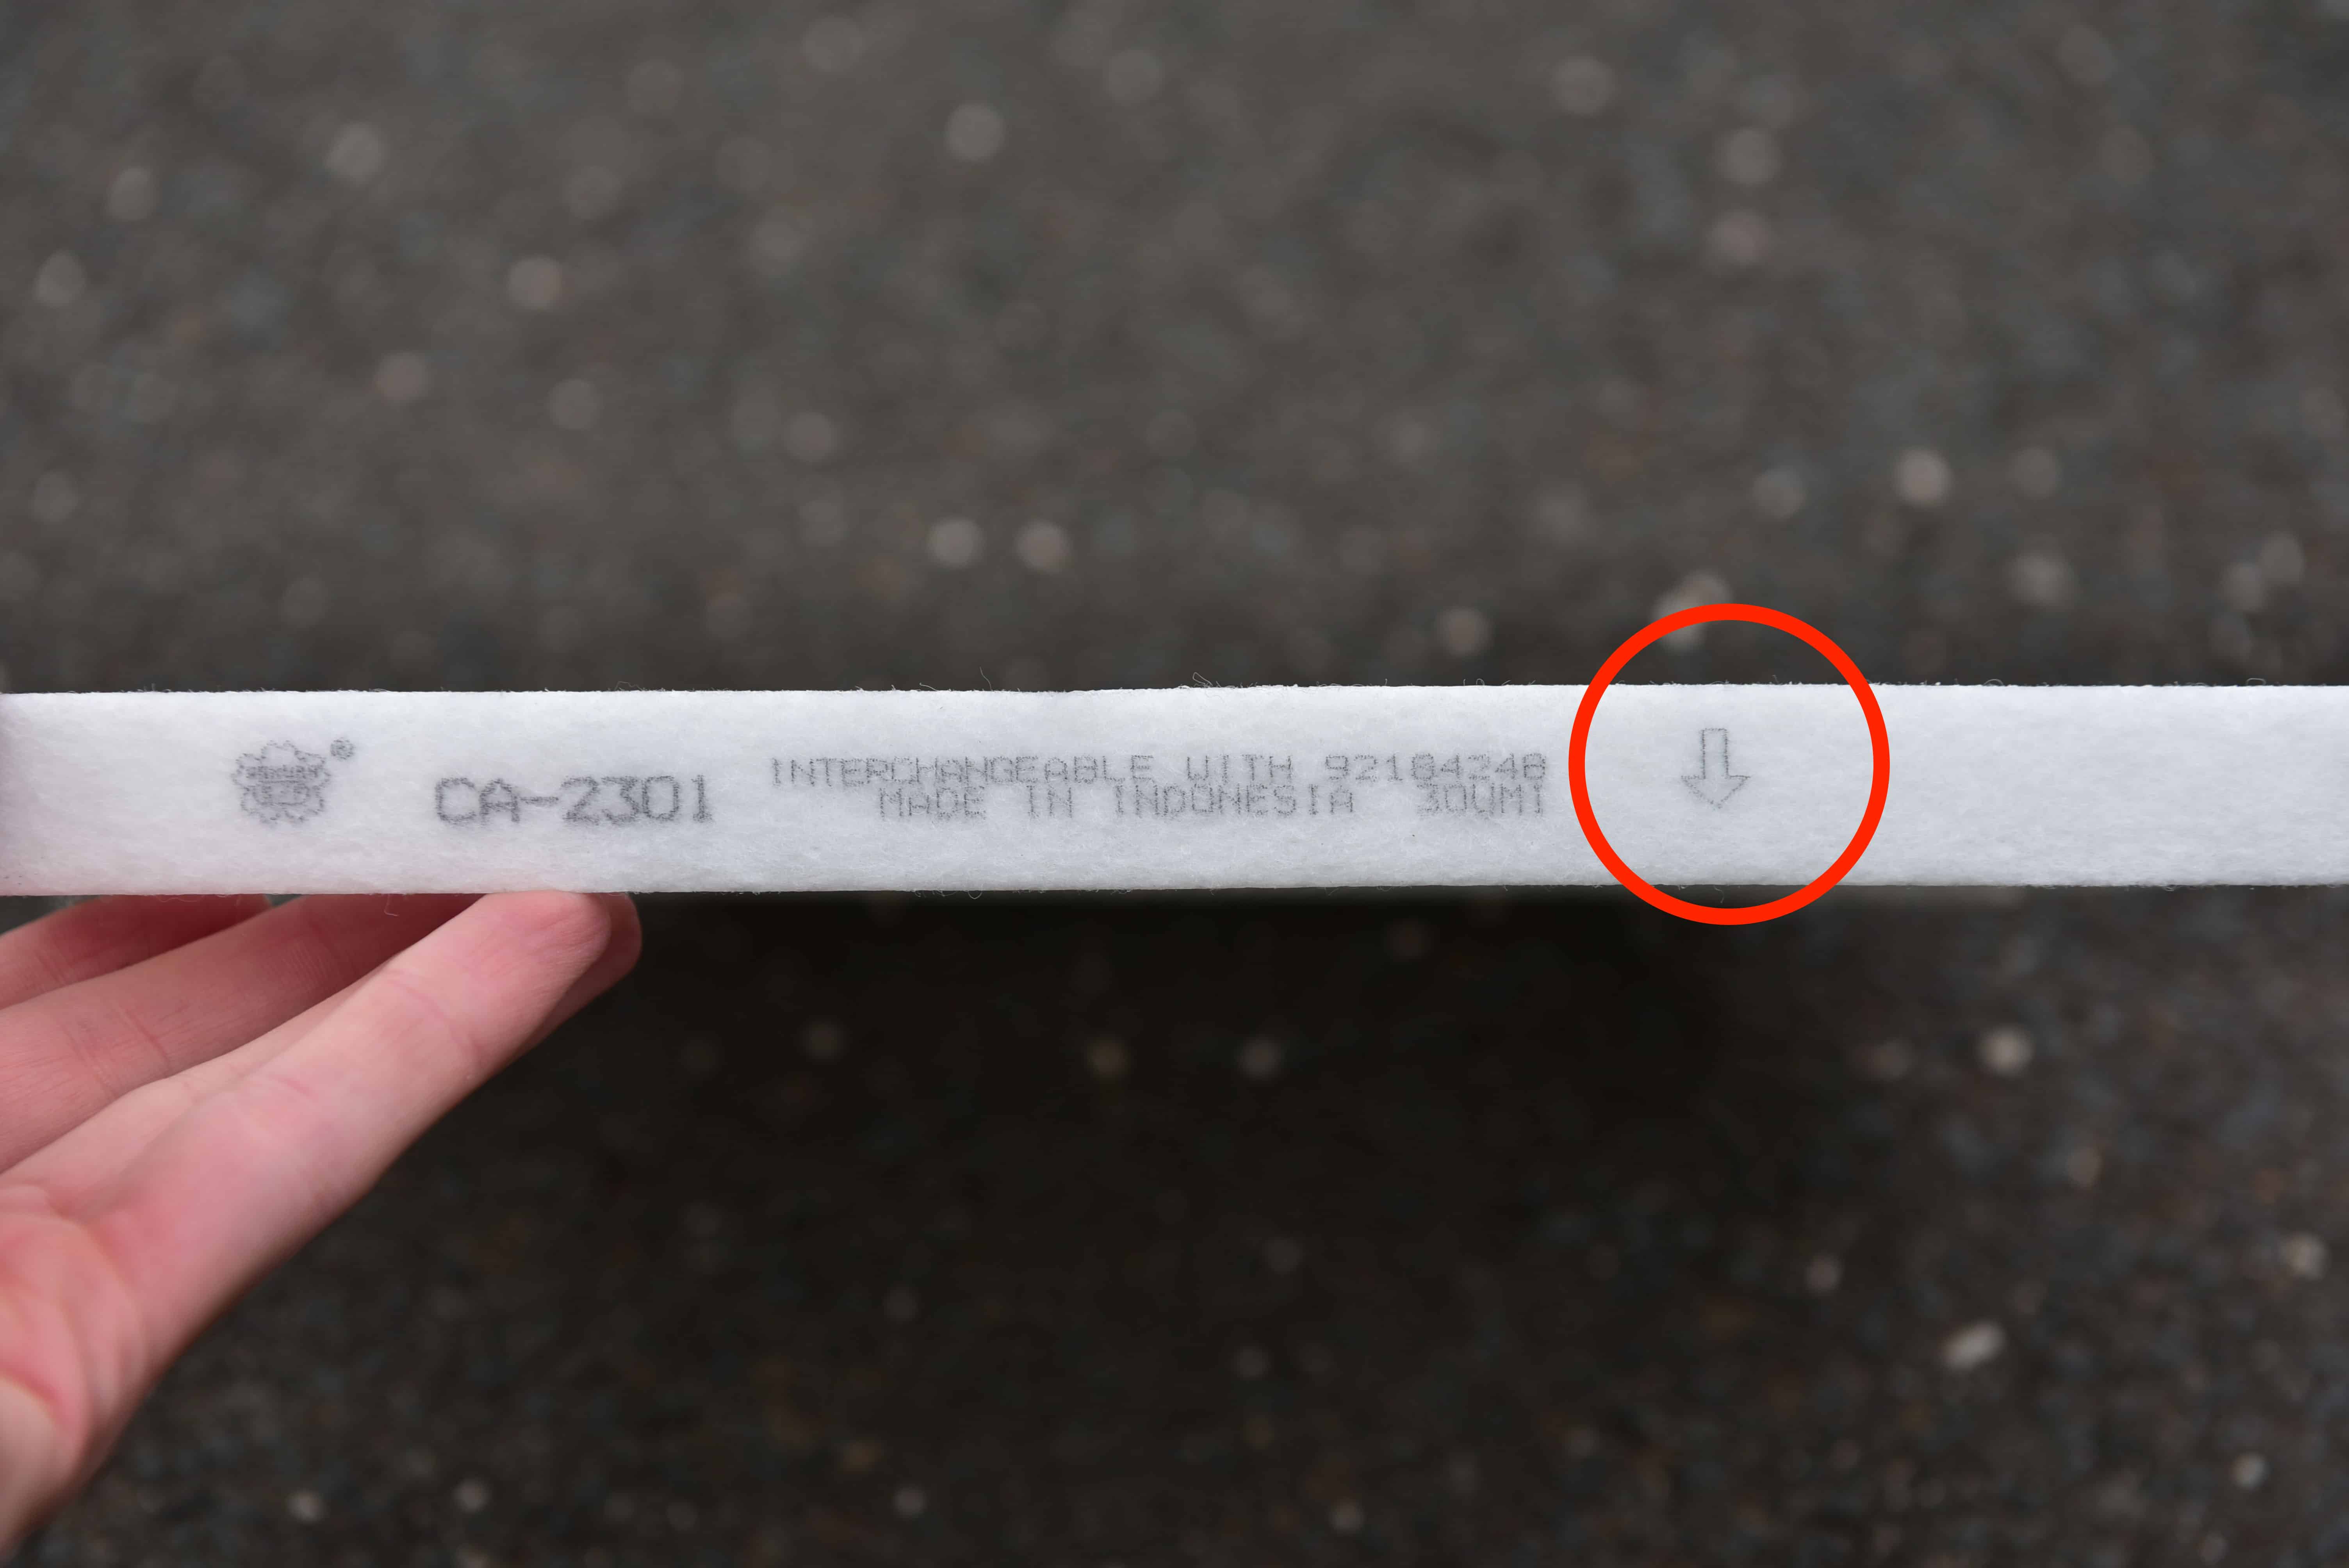
The new pollen filter can now be installed. Take note of the airflow direction arrow – This needs to point inwards towards the cabin of the vehicle.
Step 11
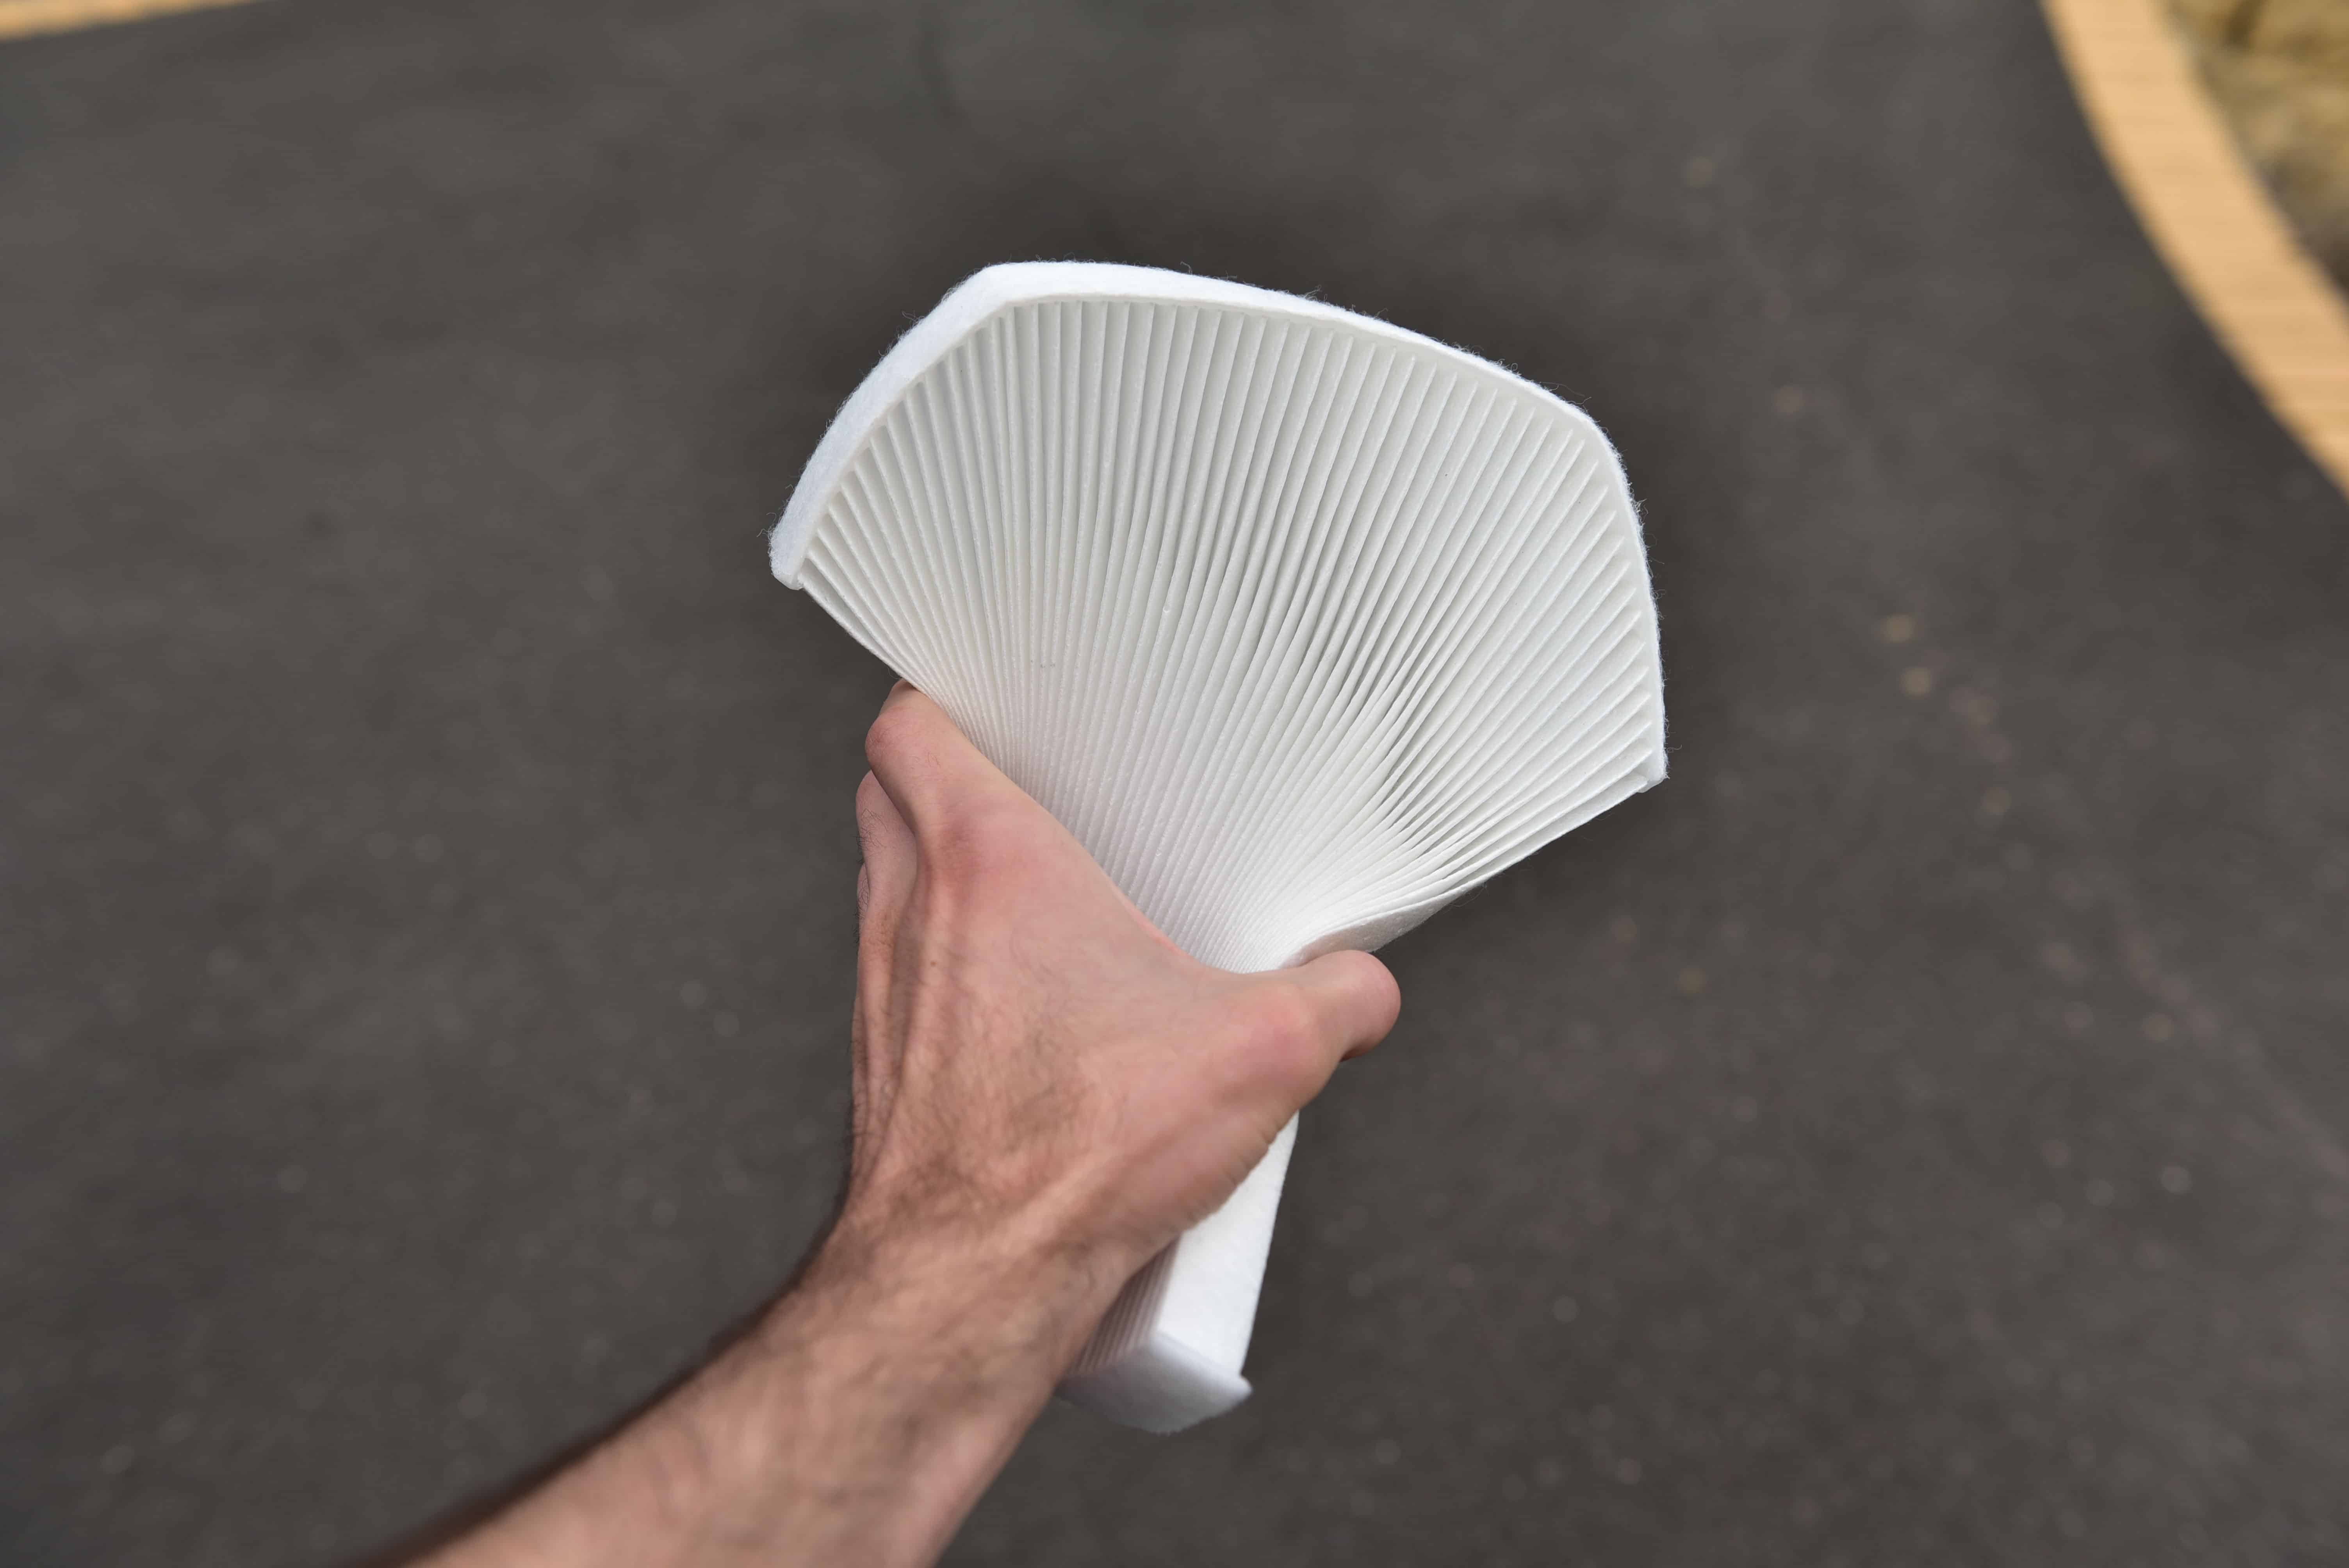
To install the filter simply squeeze it with your hands, and install into the vehicle. The flat side must be on the bottom.
Step 12
With the filter in position, ensure it is sitting correctly in the grooves. The install is now complete.
Did you find this guide helpful? Consider sharing it to help other car enthusiasts