AutoInstruct presents a guide on changing the rear tail / brake lights on a Holden VE Commodore. This guide is useful when changing to aftermarket or SSV style tail lights.
These steps can also be followed when looking to change brake, reverse or indicator globes. Check your owners manual for the exact globe require for your vehicle.
Difficulty Rating
Moderate
Tools/Parts Required
Trim Removal Tools
Small Socket Set
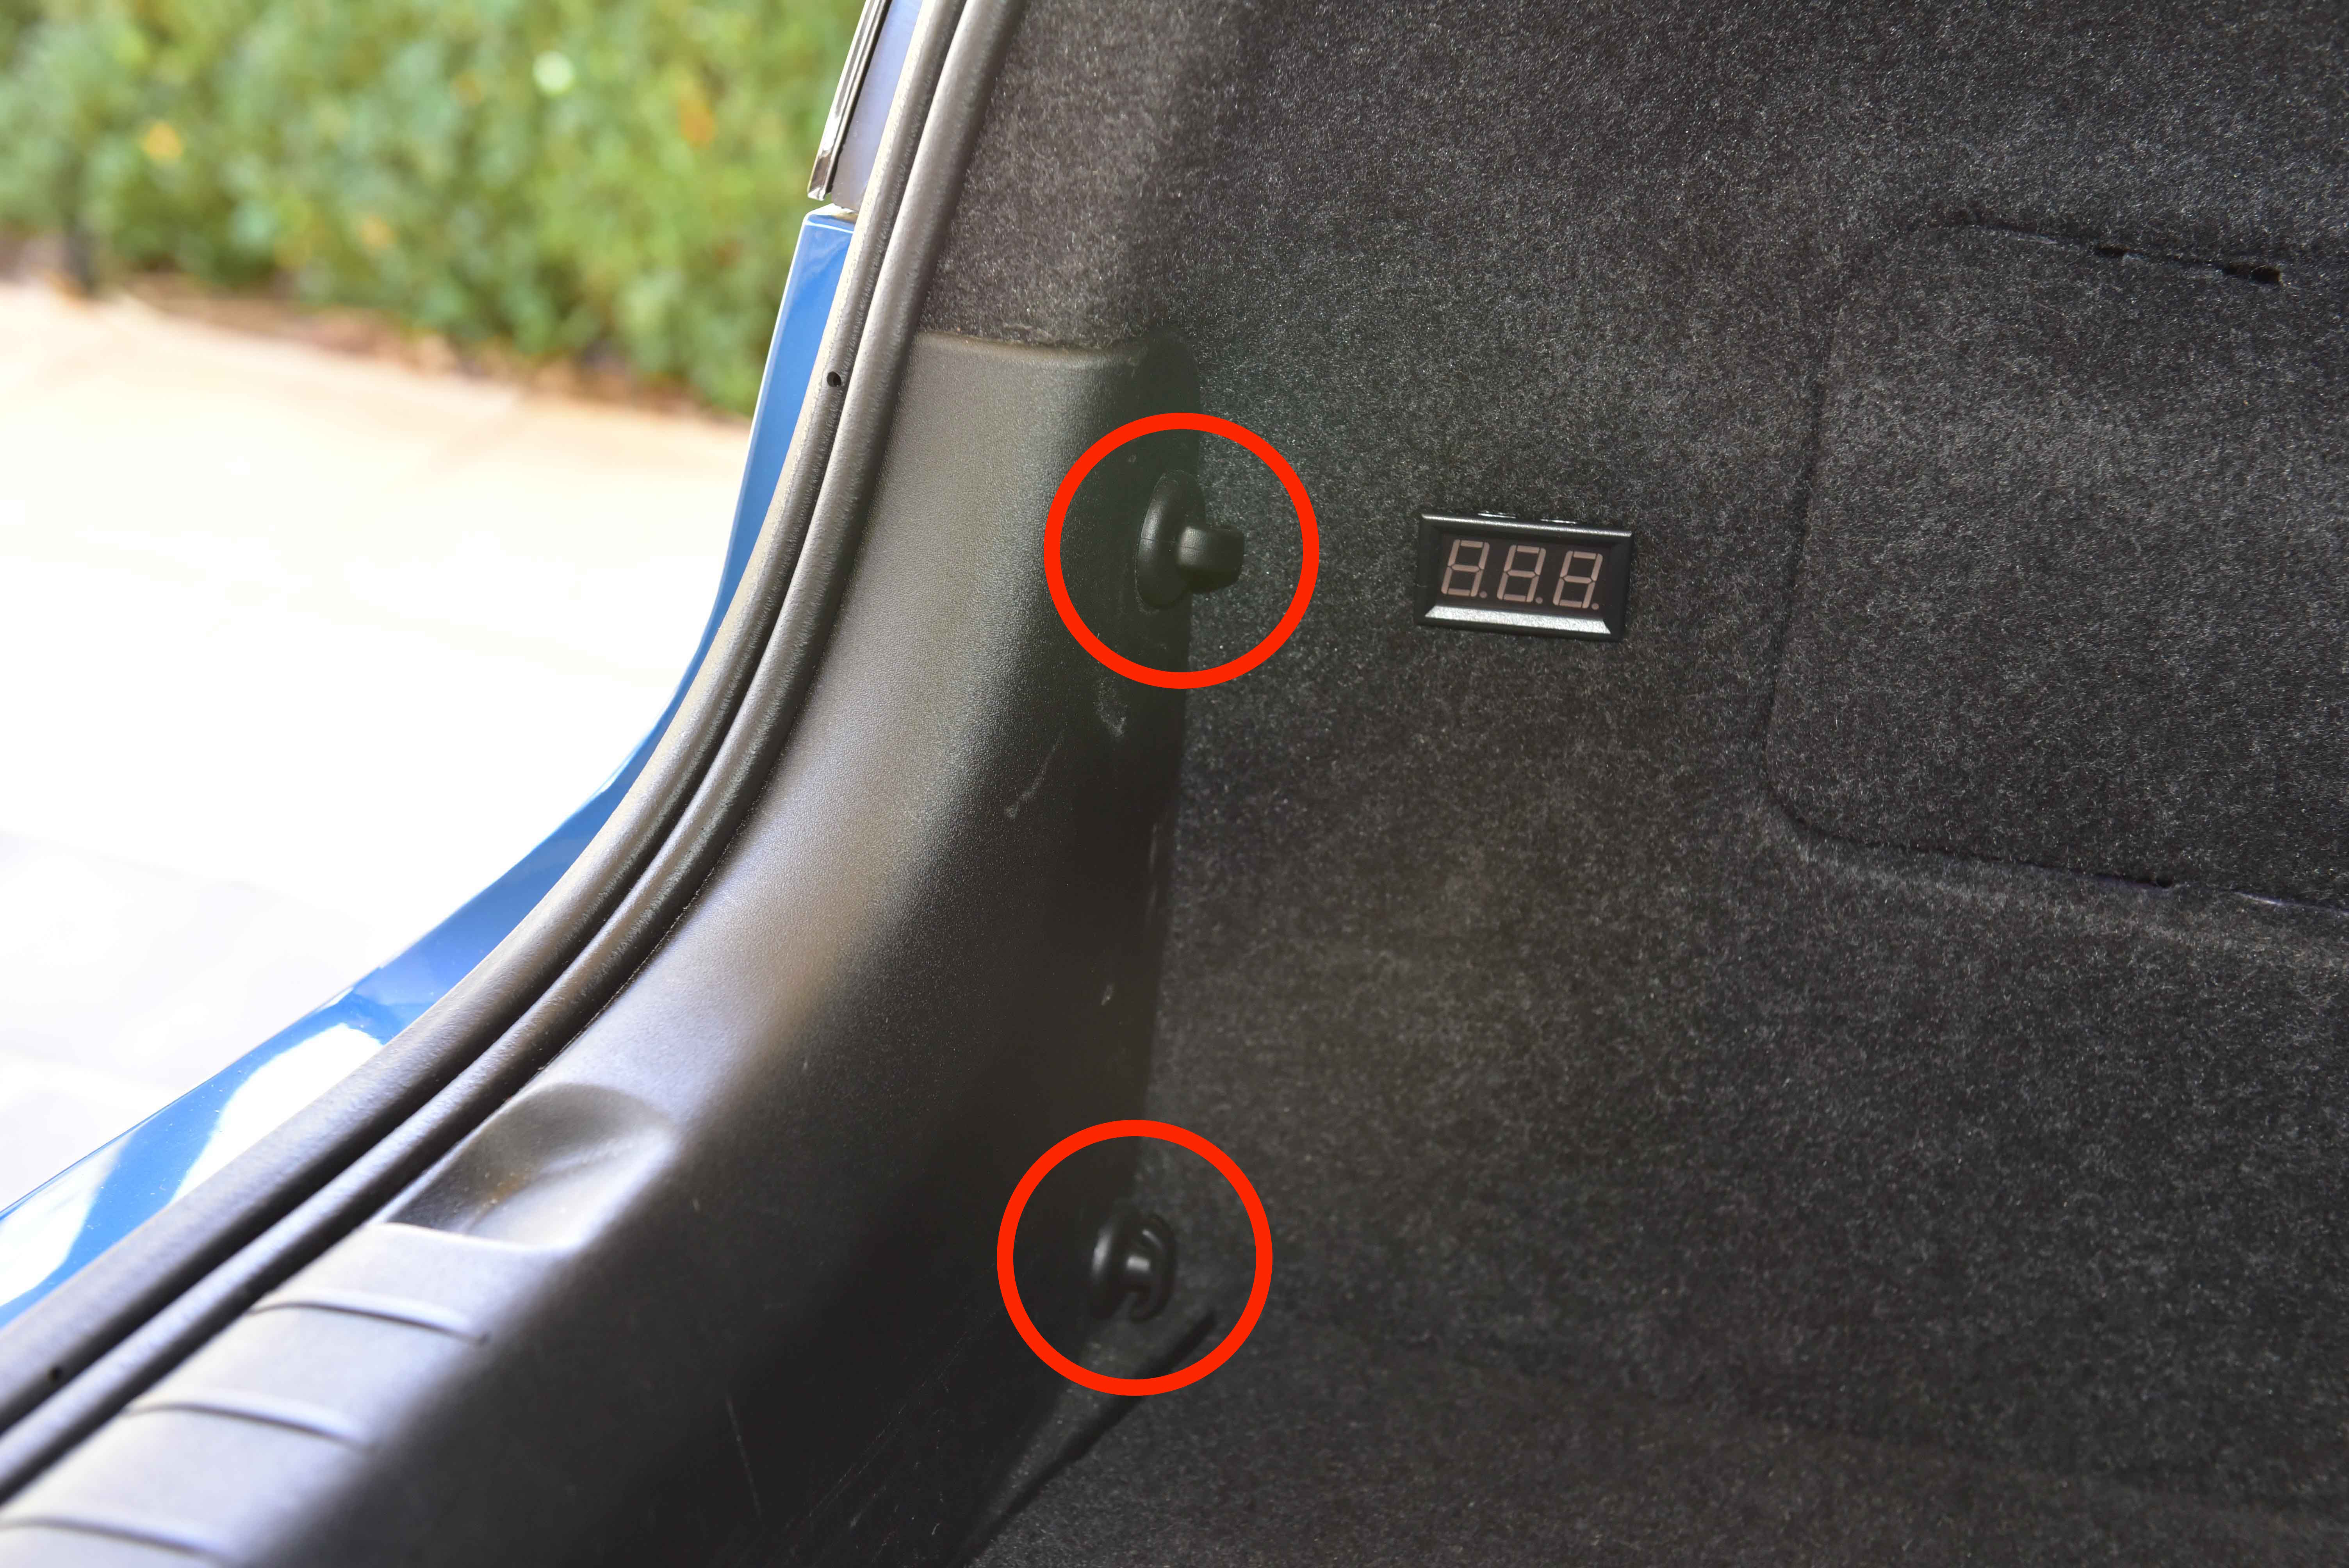
Step 1
Remove the four screw hooks holding the plastic boot trim in place. Some models have plastic clips which need to be removed with a trim removal tool.
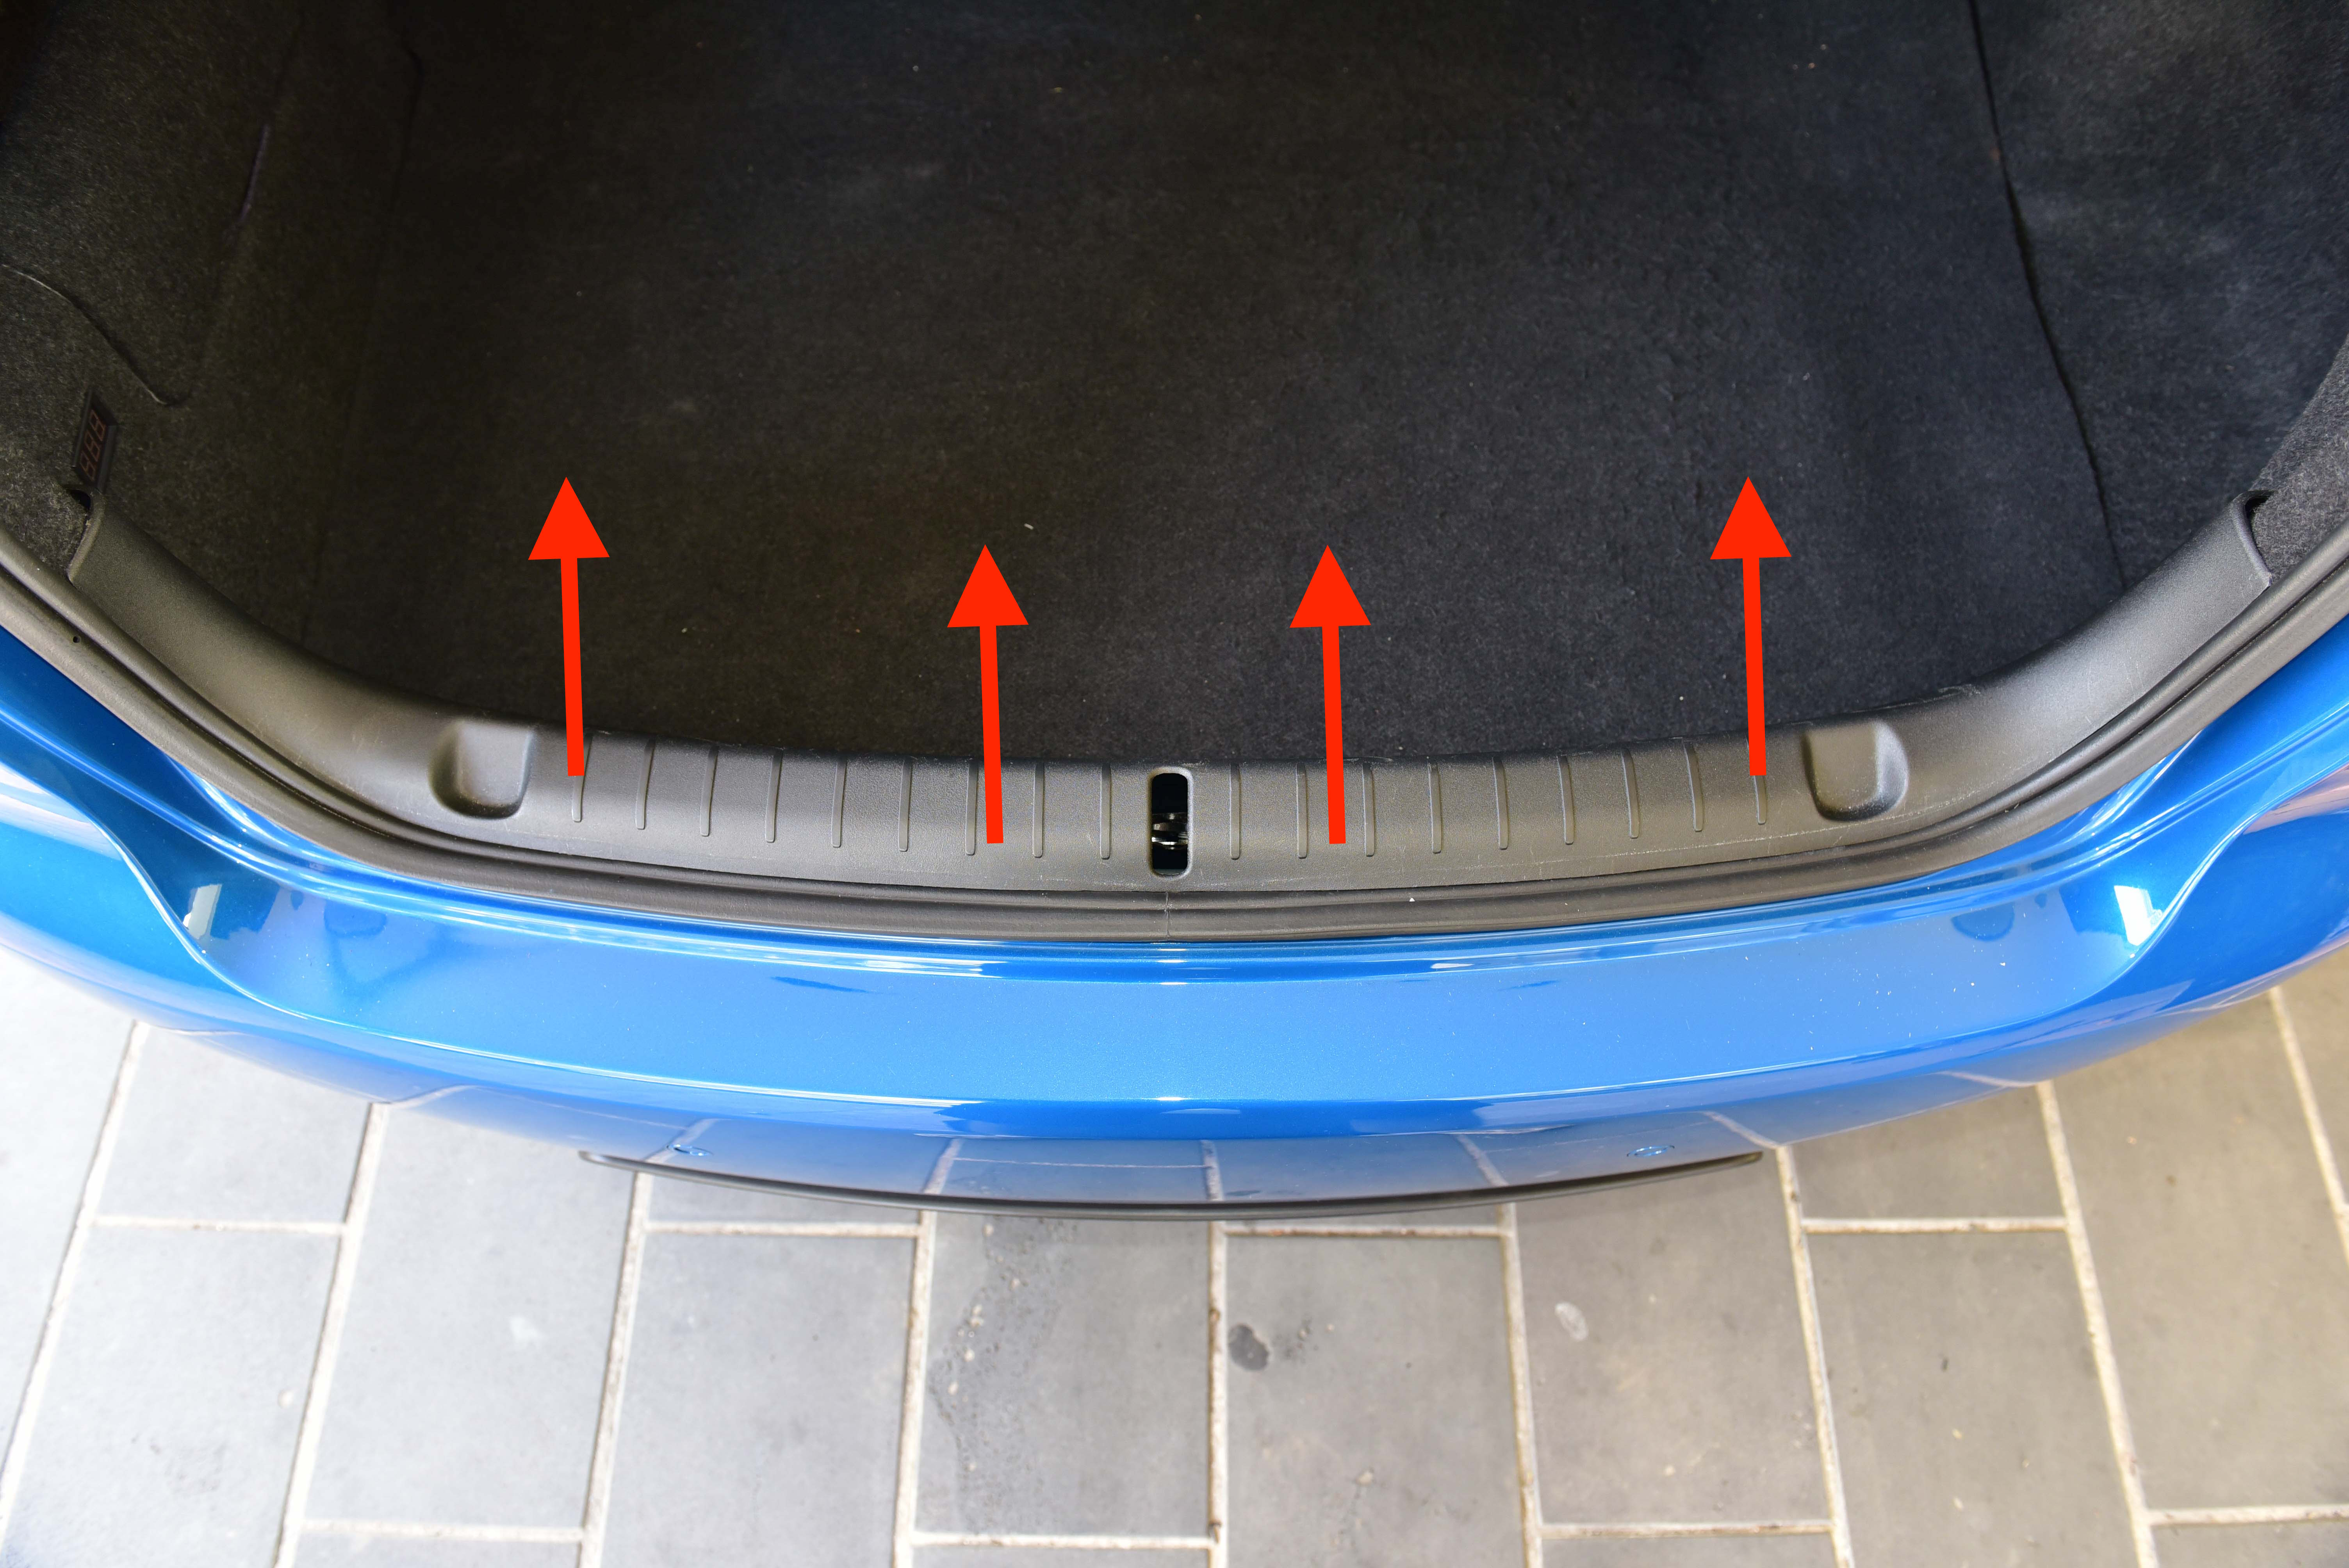
Step 2
With the four screw hooks removed, pull firmly upwards to disengage the remaining clips. Remove the trim from the vehicle.
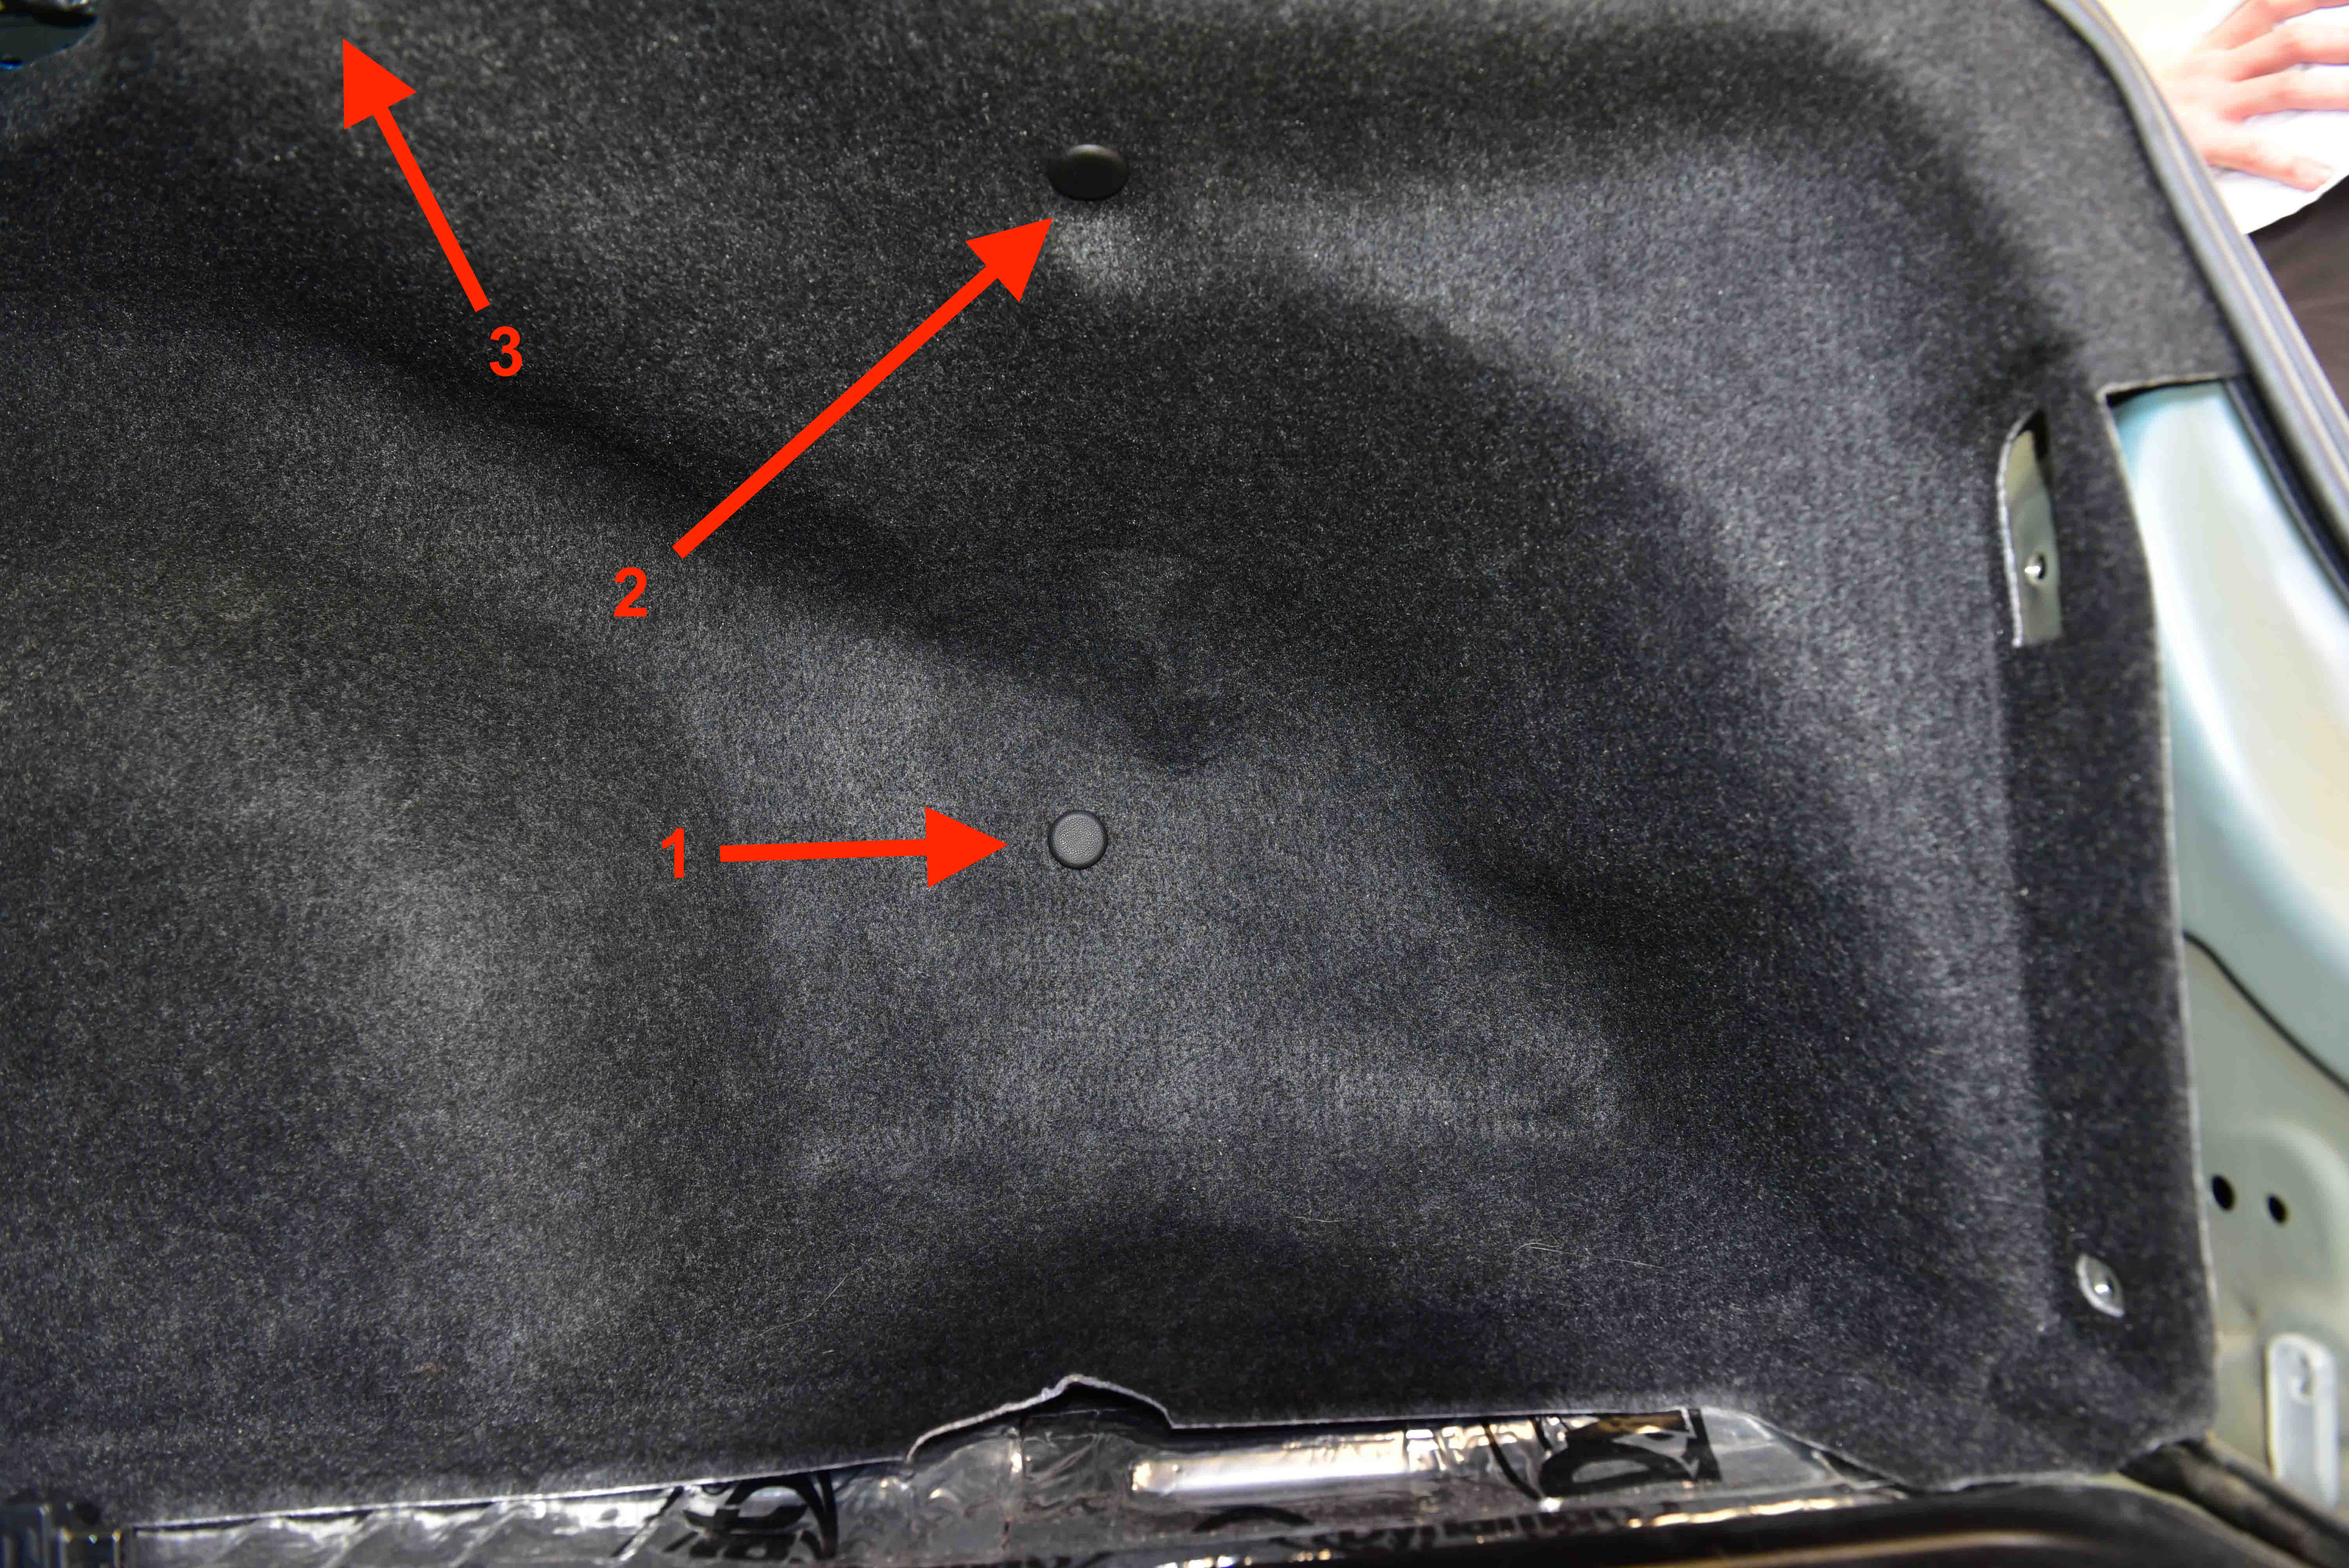
Step 3
Using your trim removal tools, remove the three carpet clips on the drivers side of the vehicle.
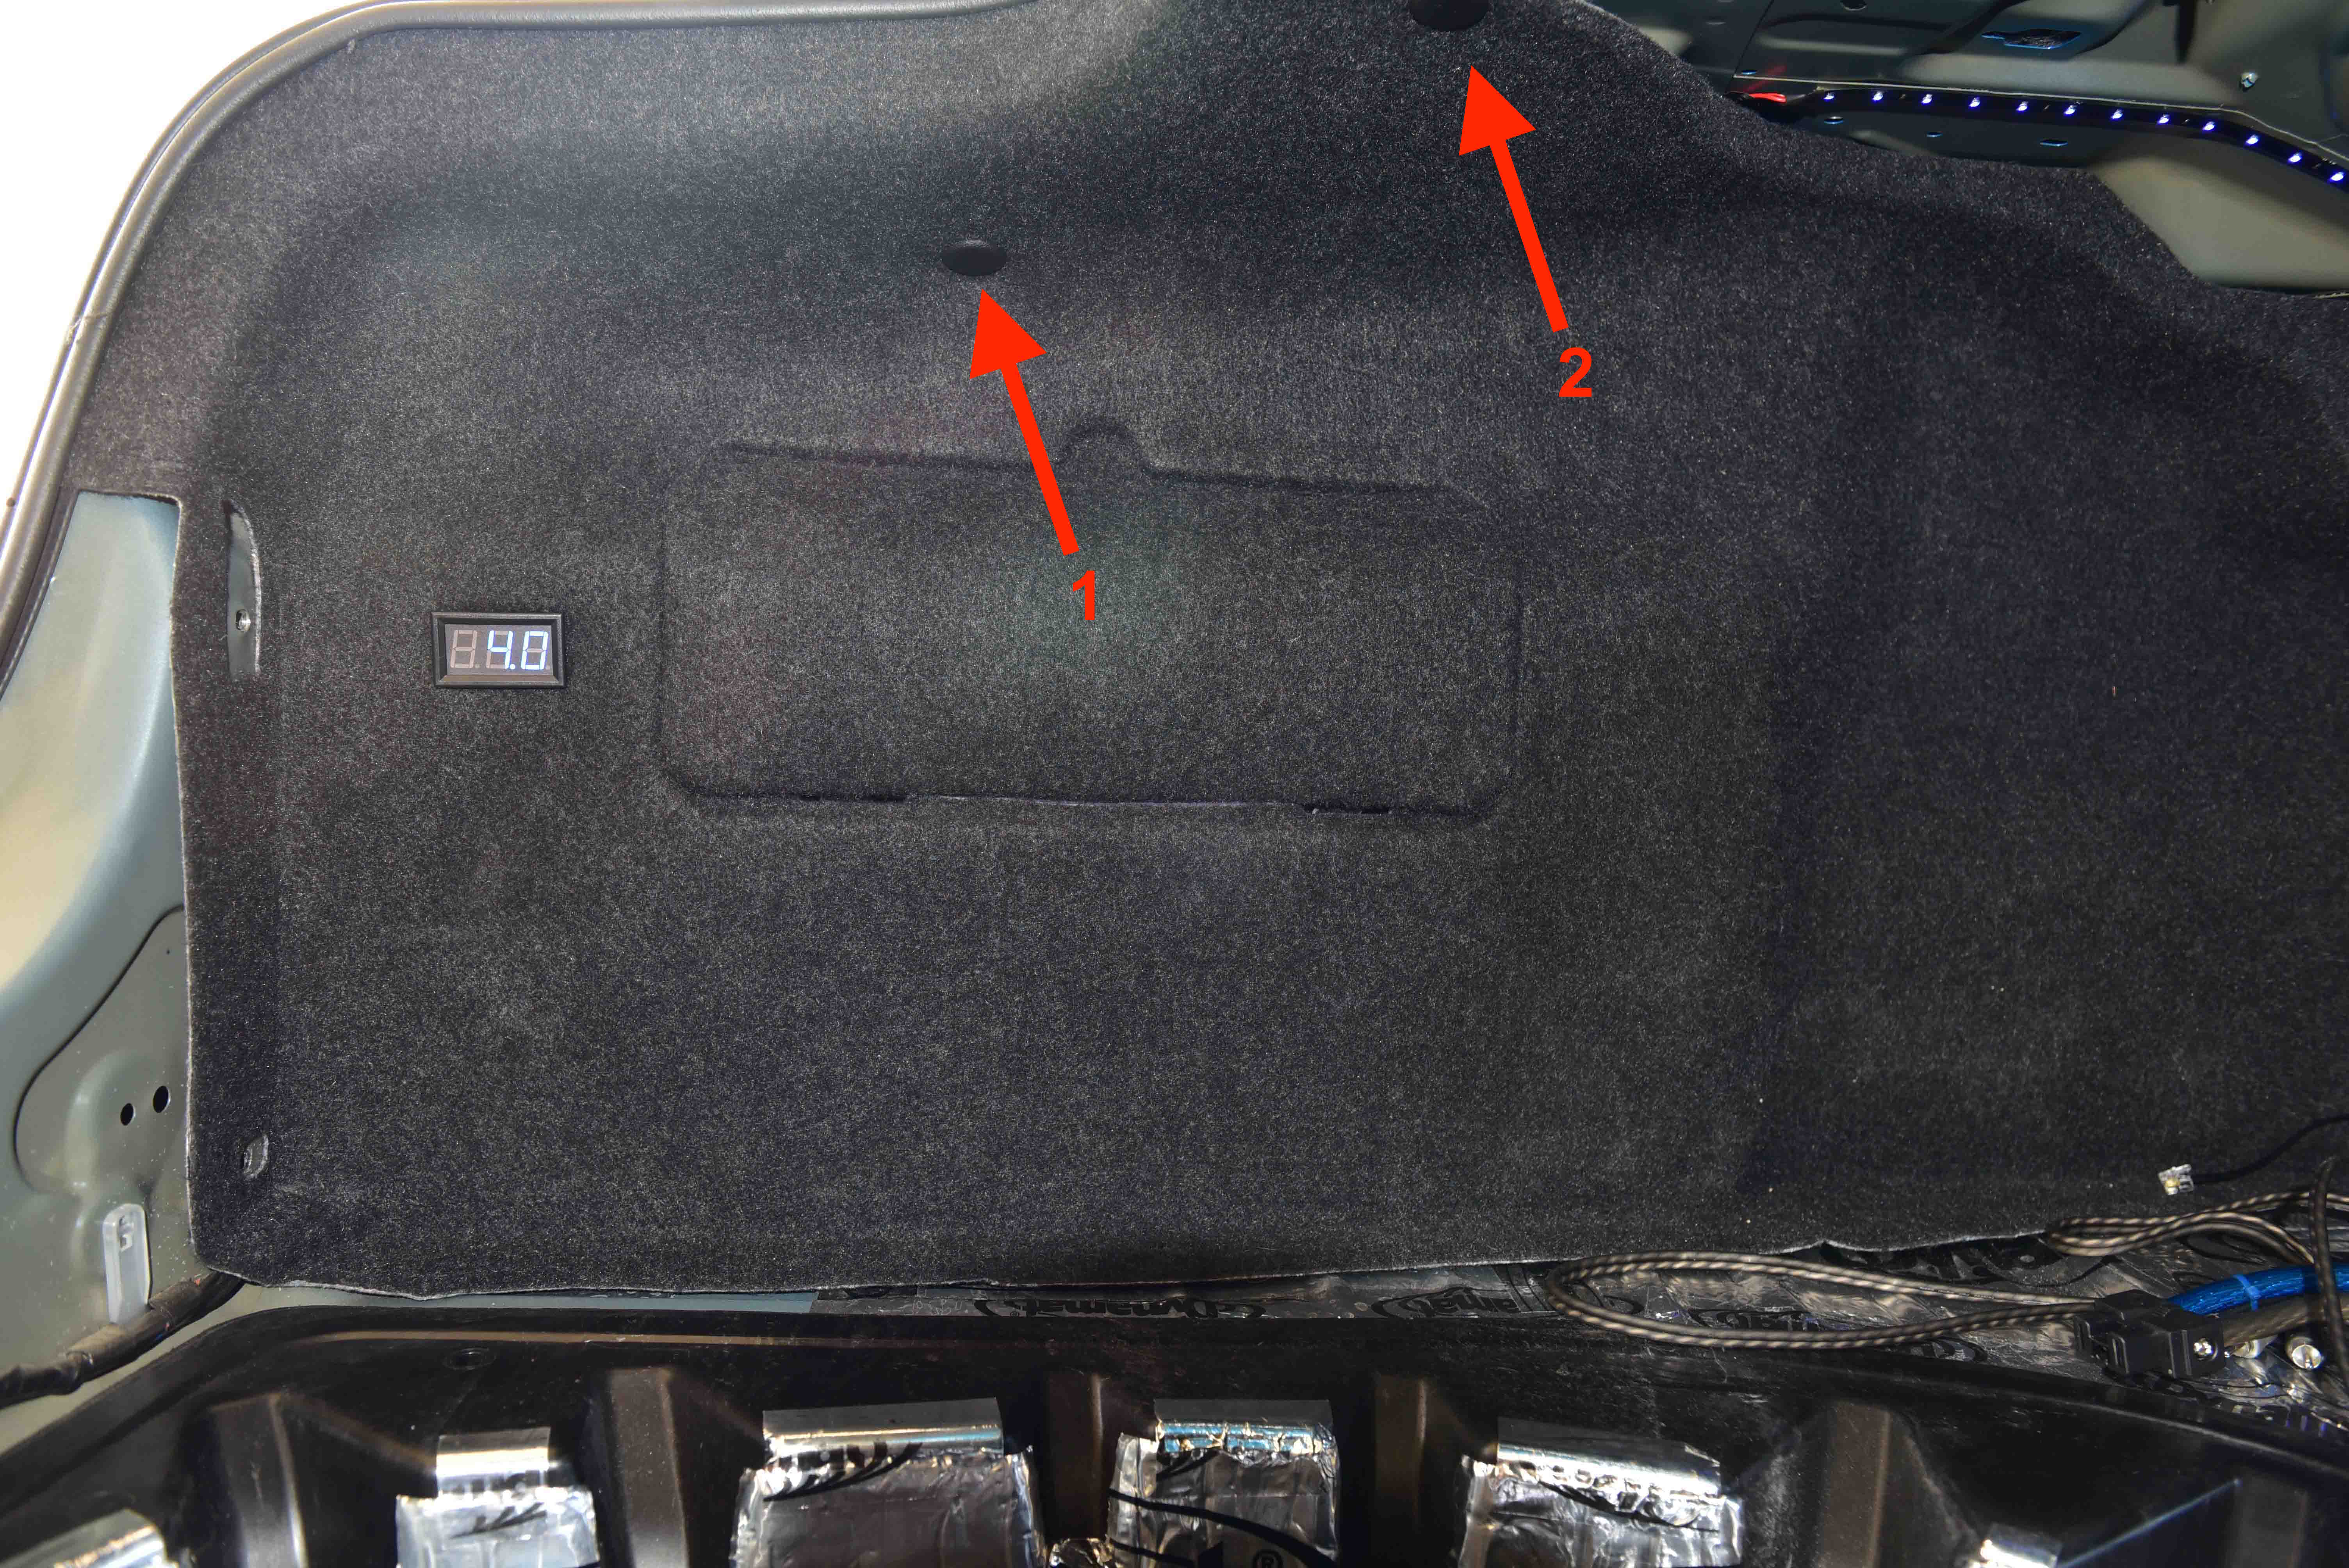
Step 4
Remove the two carpet clips on the passenger side of the vehicle.
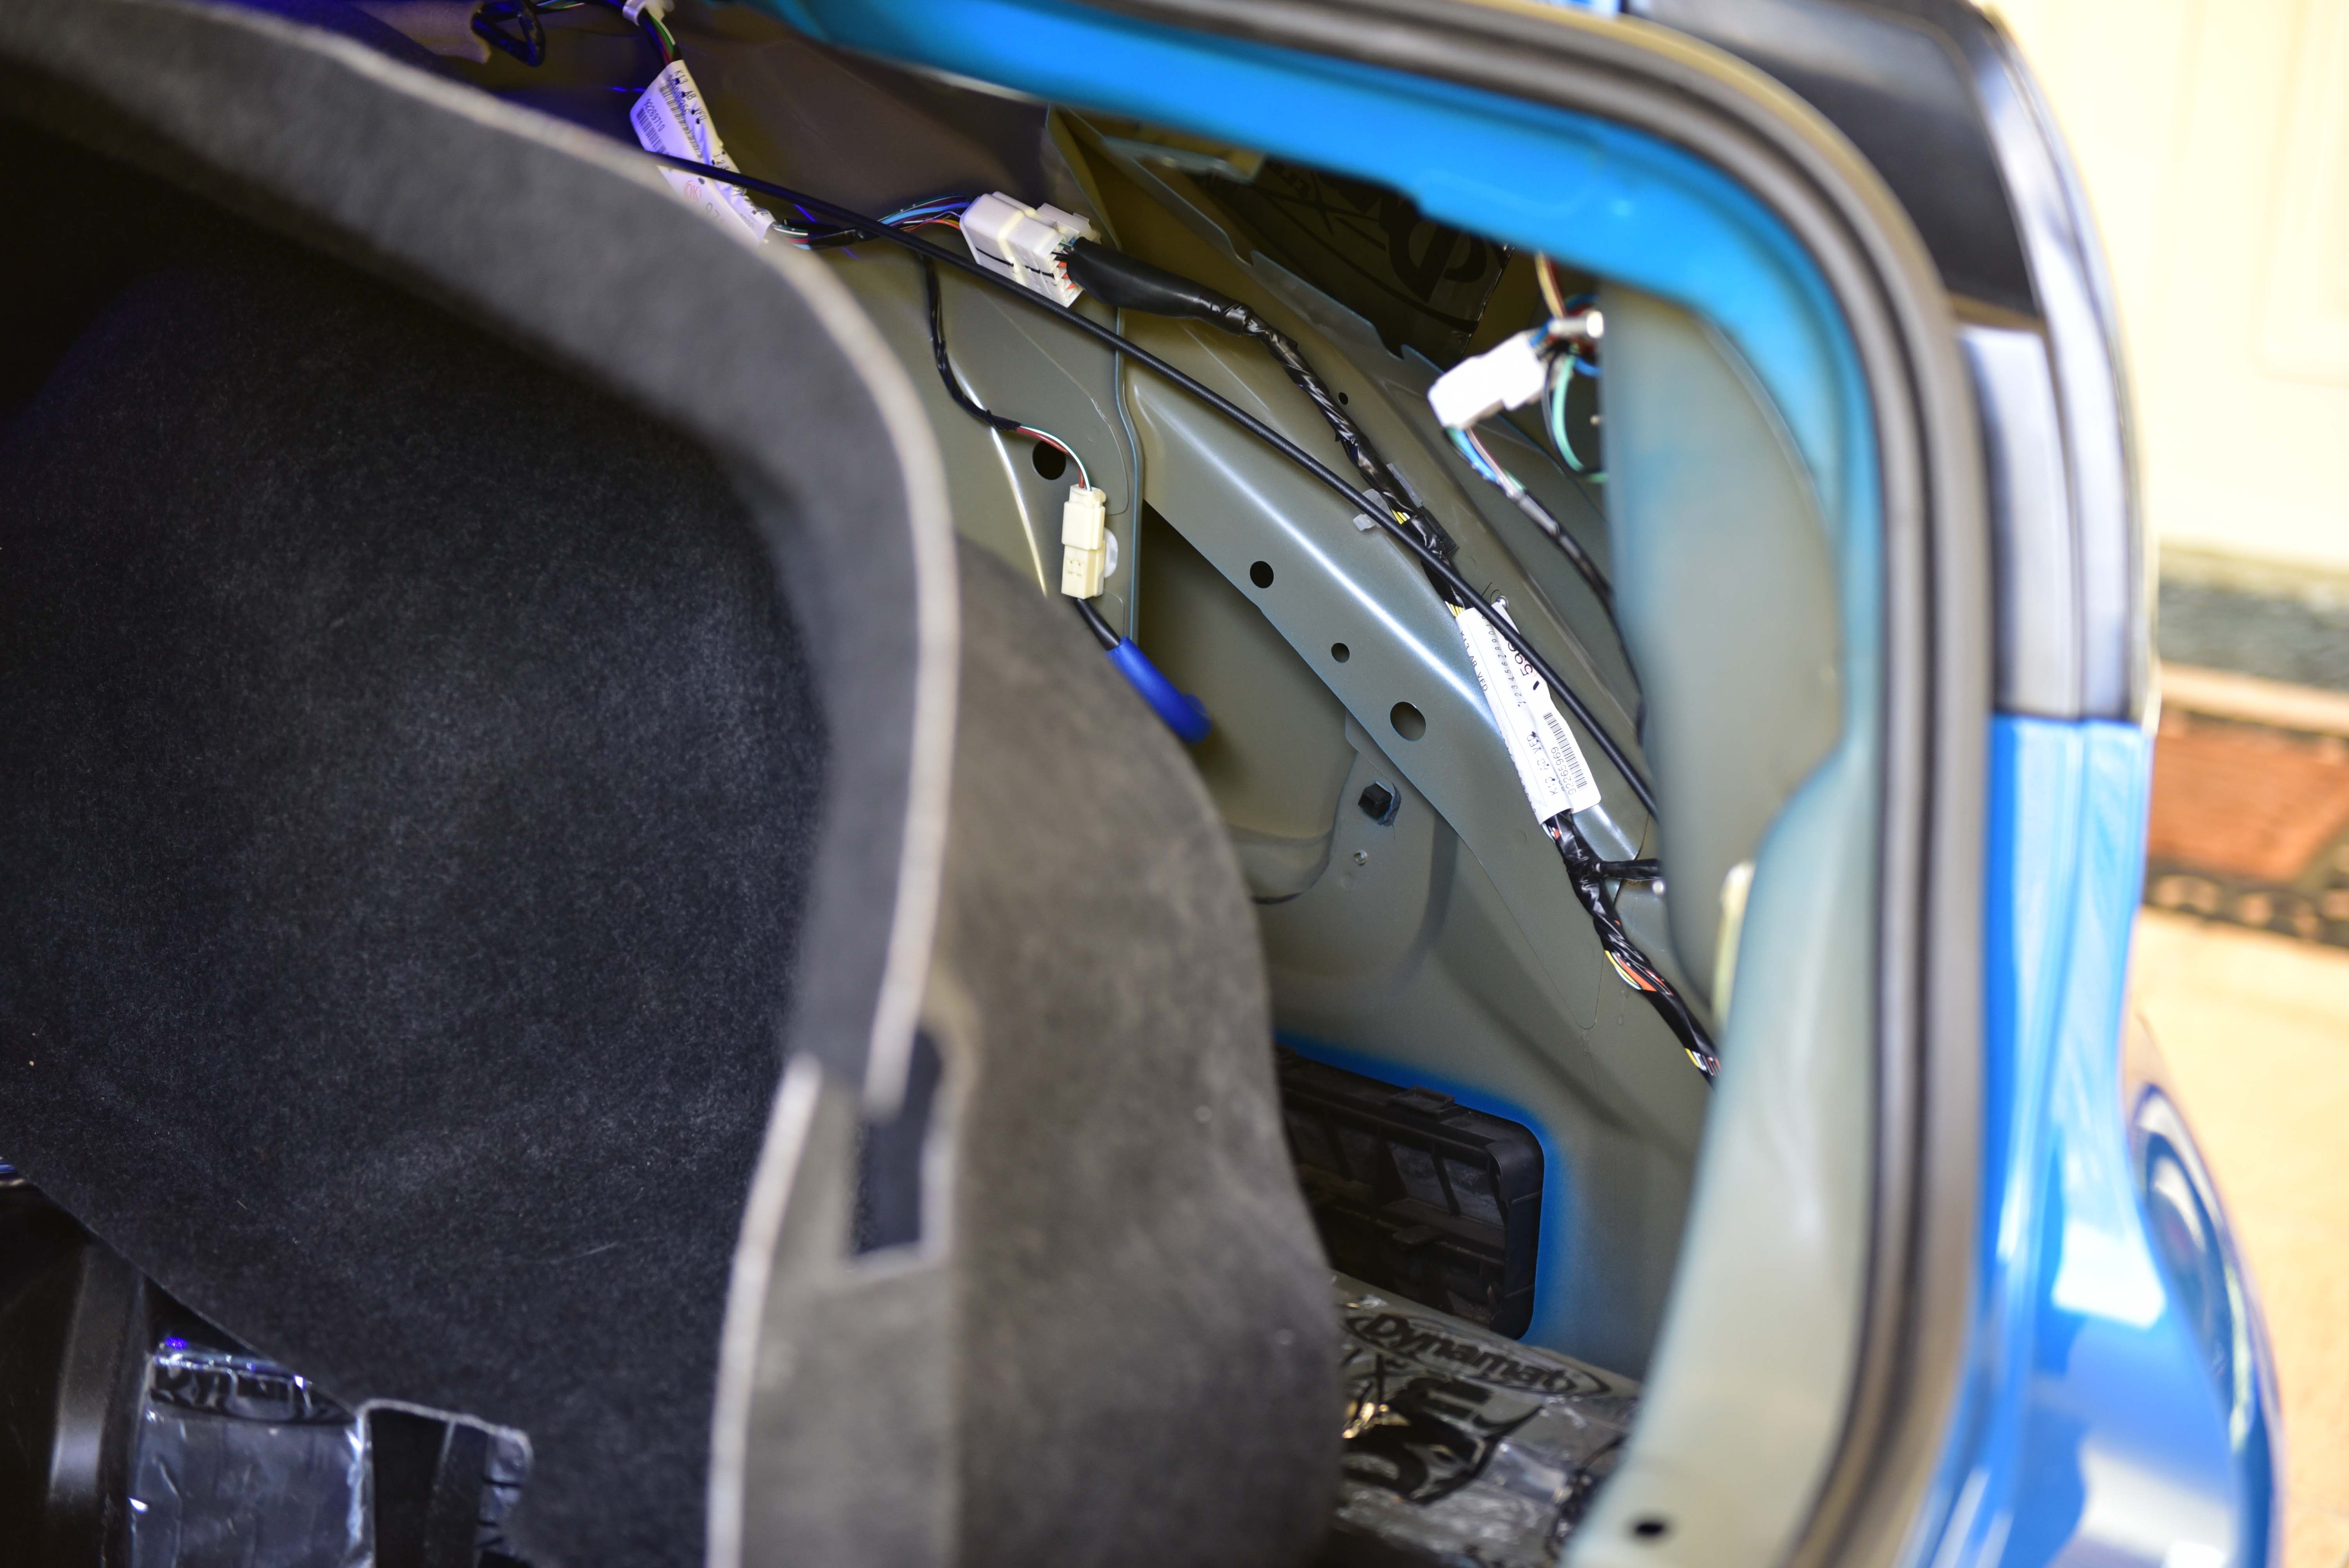
Step 5
You can now pull the carpet away, revealing the back of the tail lights.
Step 6
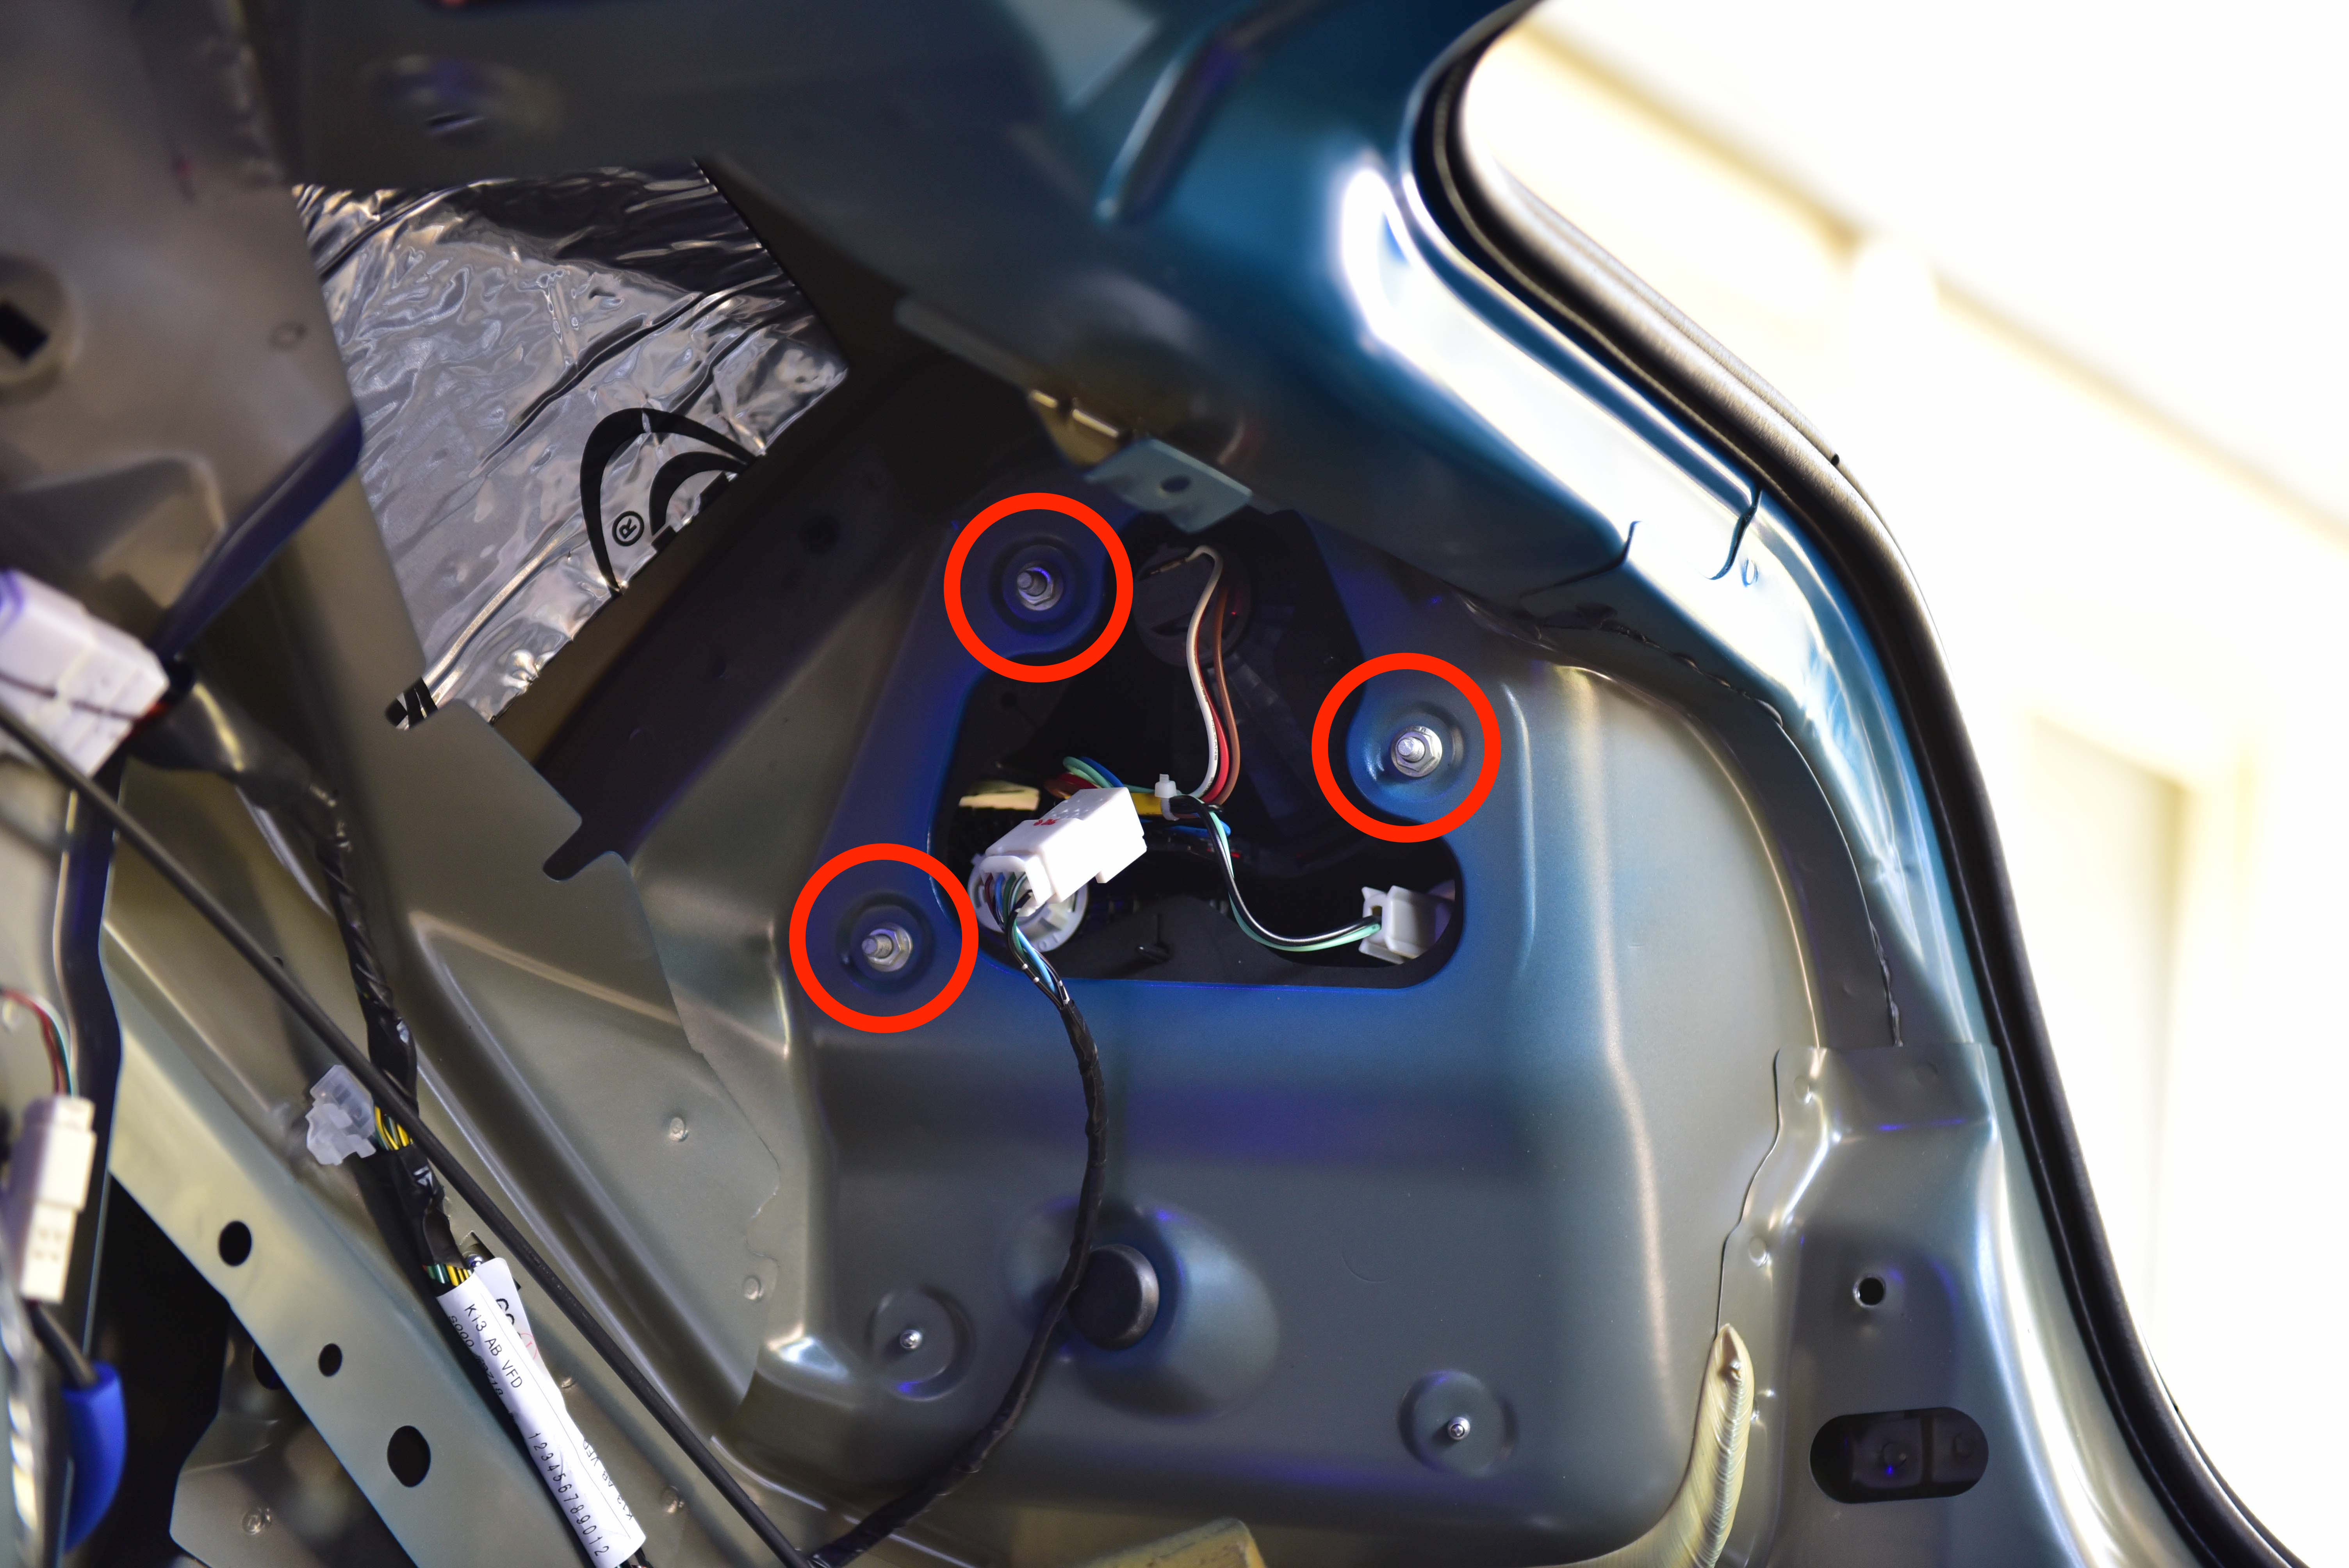
Remove each globe socket (with the globe) from the tail light. These will be transferred to the new housing.
Stop here and reverse steps if you are simply replacing a light globe.
The tail light is held in place with three nuts, remove each of these with a small spanner or socket.
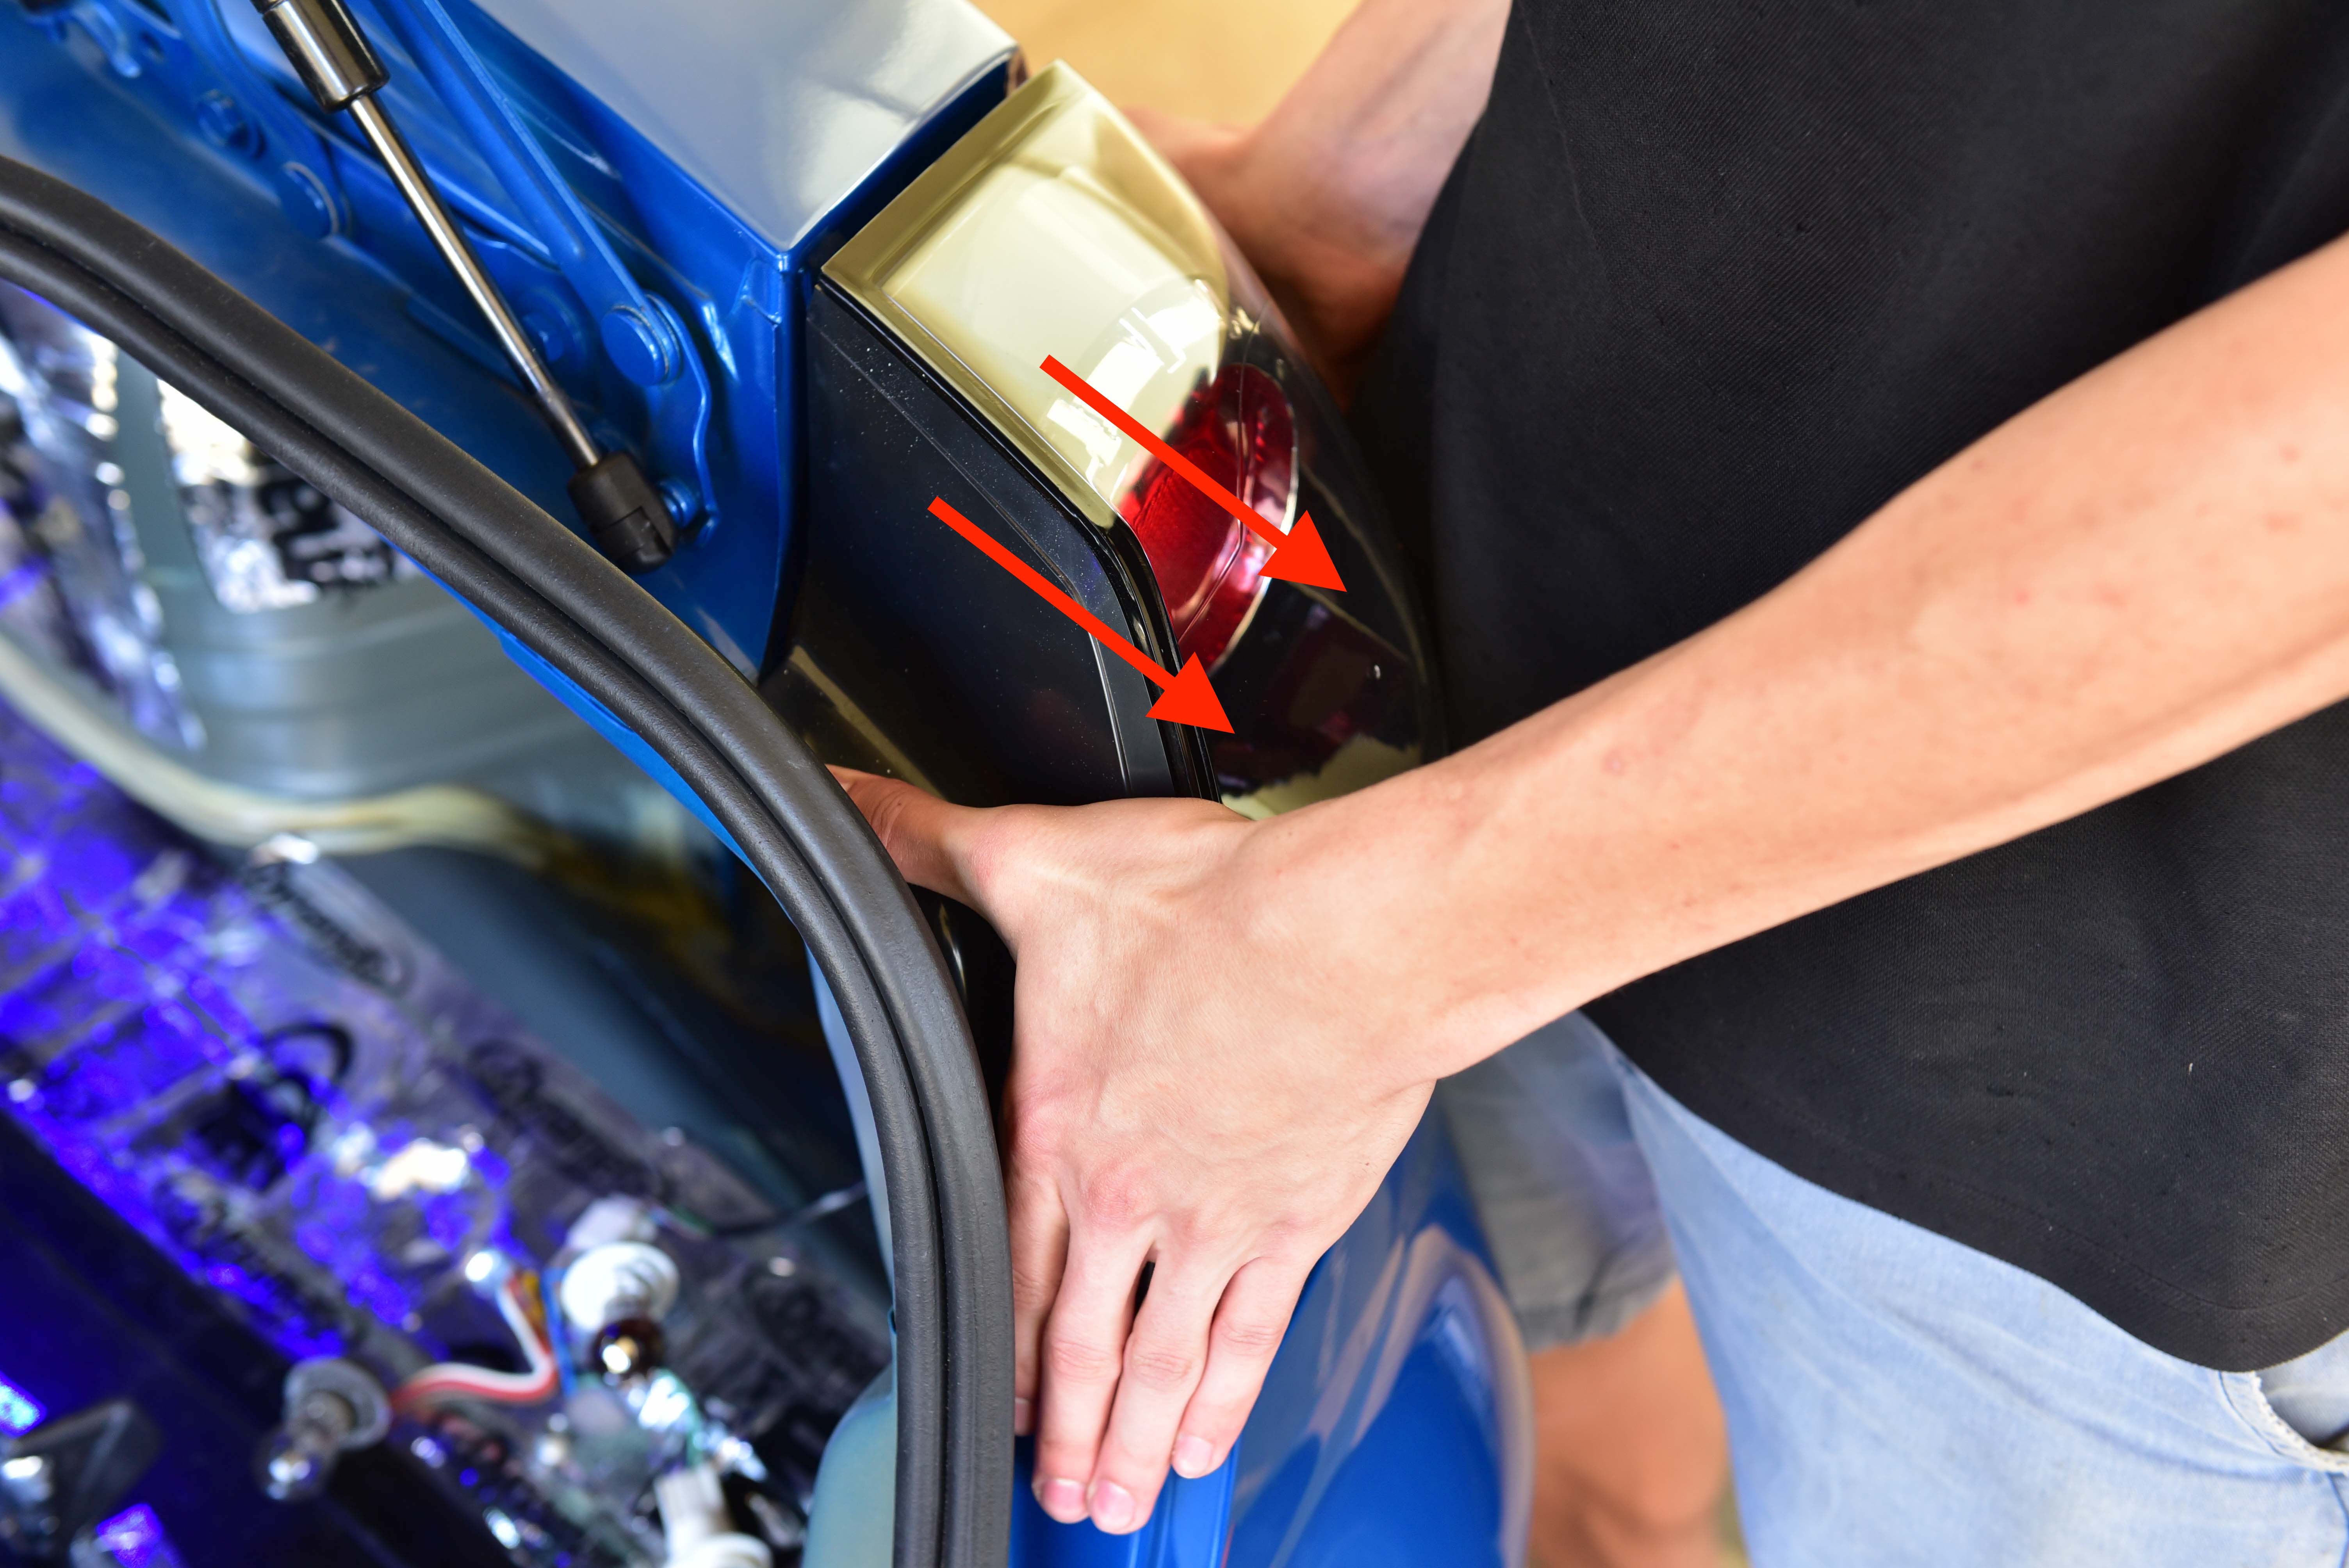
Step 7
With the nuts and globes removed, pull the tail light firmly towards you horizontally to detach it from the vehicle. There are two clips attaching the tail light to the bumper that will disengage.
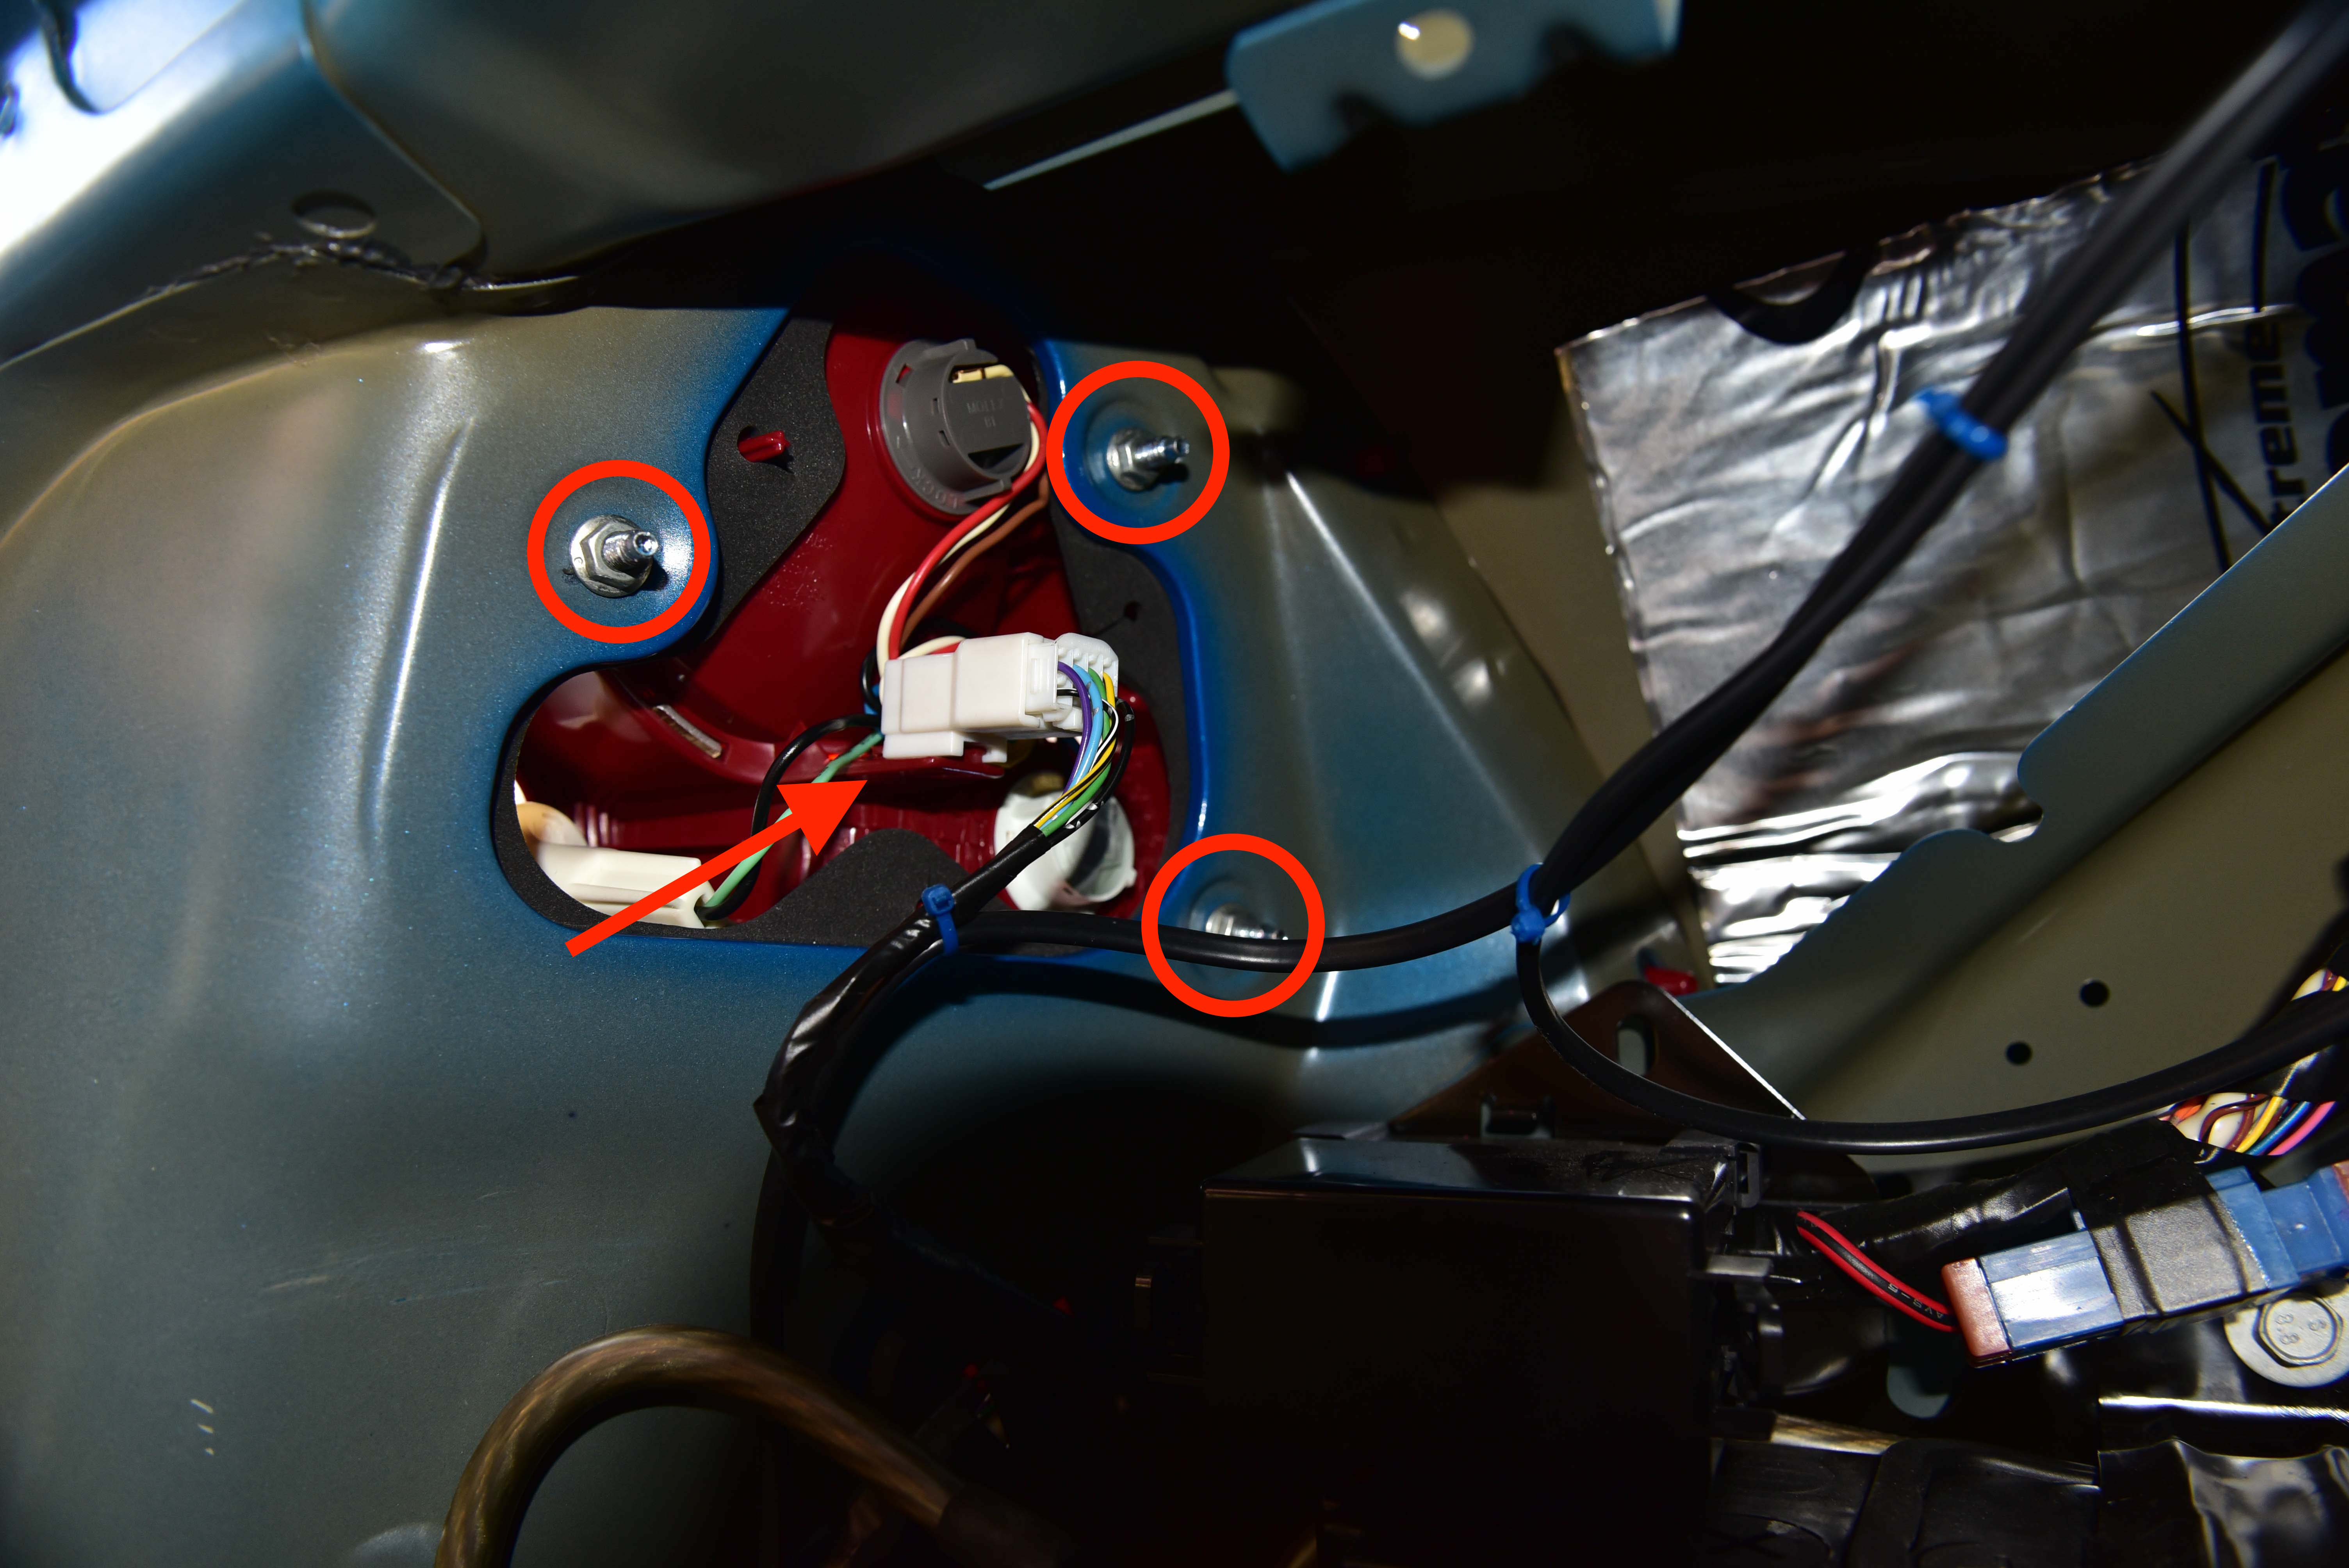
Step 8
The new tail light is installed by simply reversing the process. Slide it into place, attach the nuts and globe fittings, then ensure the connector is clipped onto the tail light as pictured.
Step 9
Lastly reinstall the carpet and trim, ensuring the boot seal is on top of the trim and not pinched below it.
Did you find this guide helpful? Consider sharing it to help other car enthusiasts
Yep! Simply remove the access panel in the tray liner (6 Clips) and then you’ll be able to access the back of the light. You may need to unscrew the light from behind and remove it.


This Post Has 8 Comments
Lens is broken I need to replace this as well. Does this disengage when the nuts are undone. I broke the lens when I reversed into a truck.
The whole entire light assembly is removed in this process. You will also need to replace the entire fitting, as it is a sealed unit.
Extremely good instructions, thank you
Thanks for the feedback!
Any tutorial for the SS wagons?
No we don’t sorry.
How about the VE ute. Any hints as top how to access the rear globes?
Yep! Simply remove the access panel in the tray liner (6 Clips) and then you’ll be able to access the back of the light. You may need to unscrew the light from behind and remove it.