This guide will show you how to disassemble the front strut assembly on a VE or VF Commodore. This process is required when lowering your vehicle or changing shock absorbers.
Difficulty Rating
Moderate
Tools/Parts Required
Adjustable Spanner / Spanner Set
Spring Compressors + Socket Set to tighten them
Two extra large cable ties
Warning
Work at your own risk. This work is inherently dangerous and must only be carried out by a qualified mechanic. AutoInstruct will not be held responsible for damage to your vehicle or personal injury / death as a result of the information we provide.
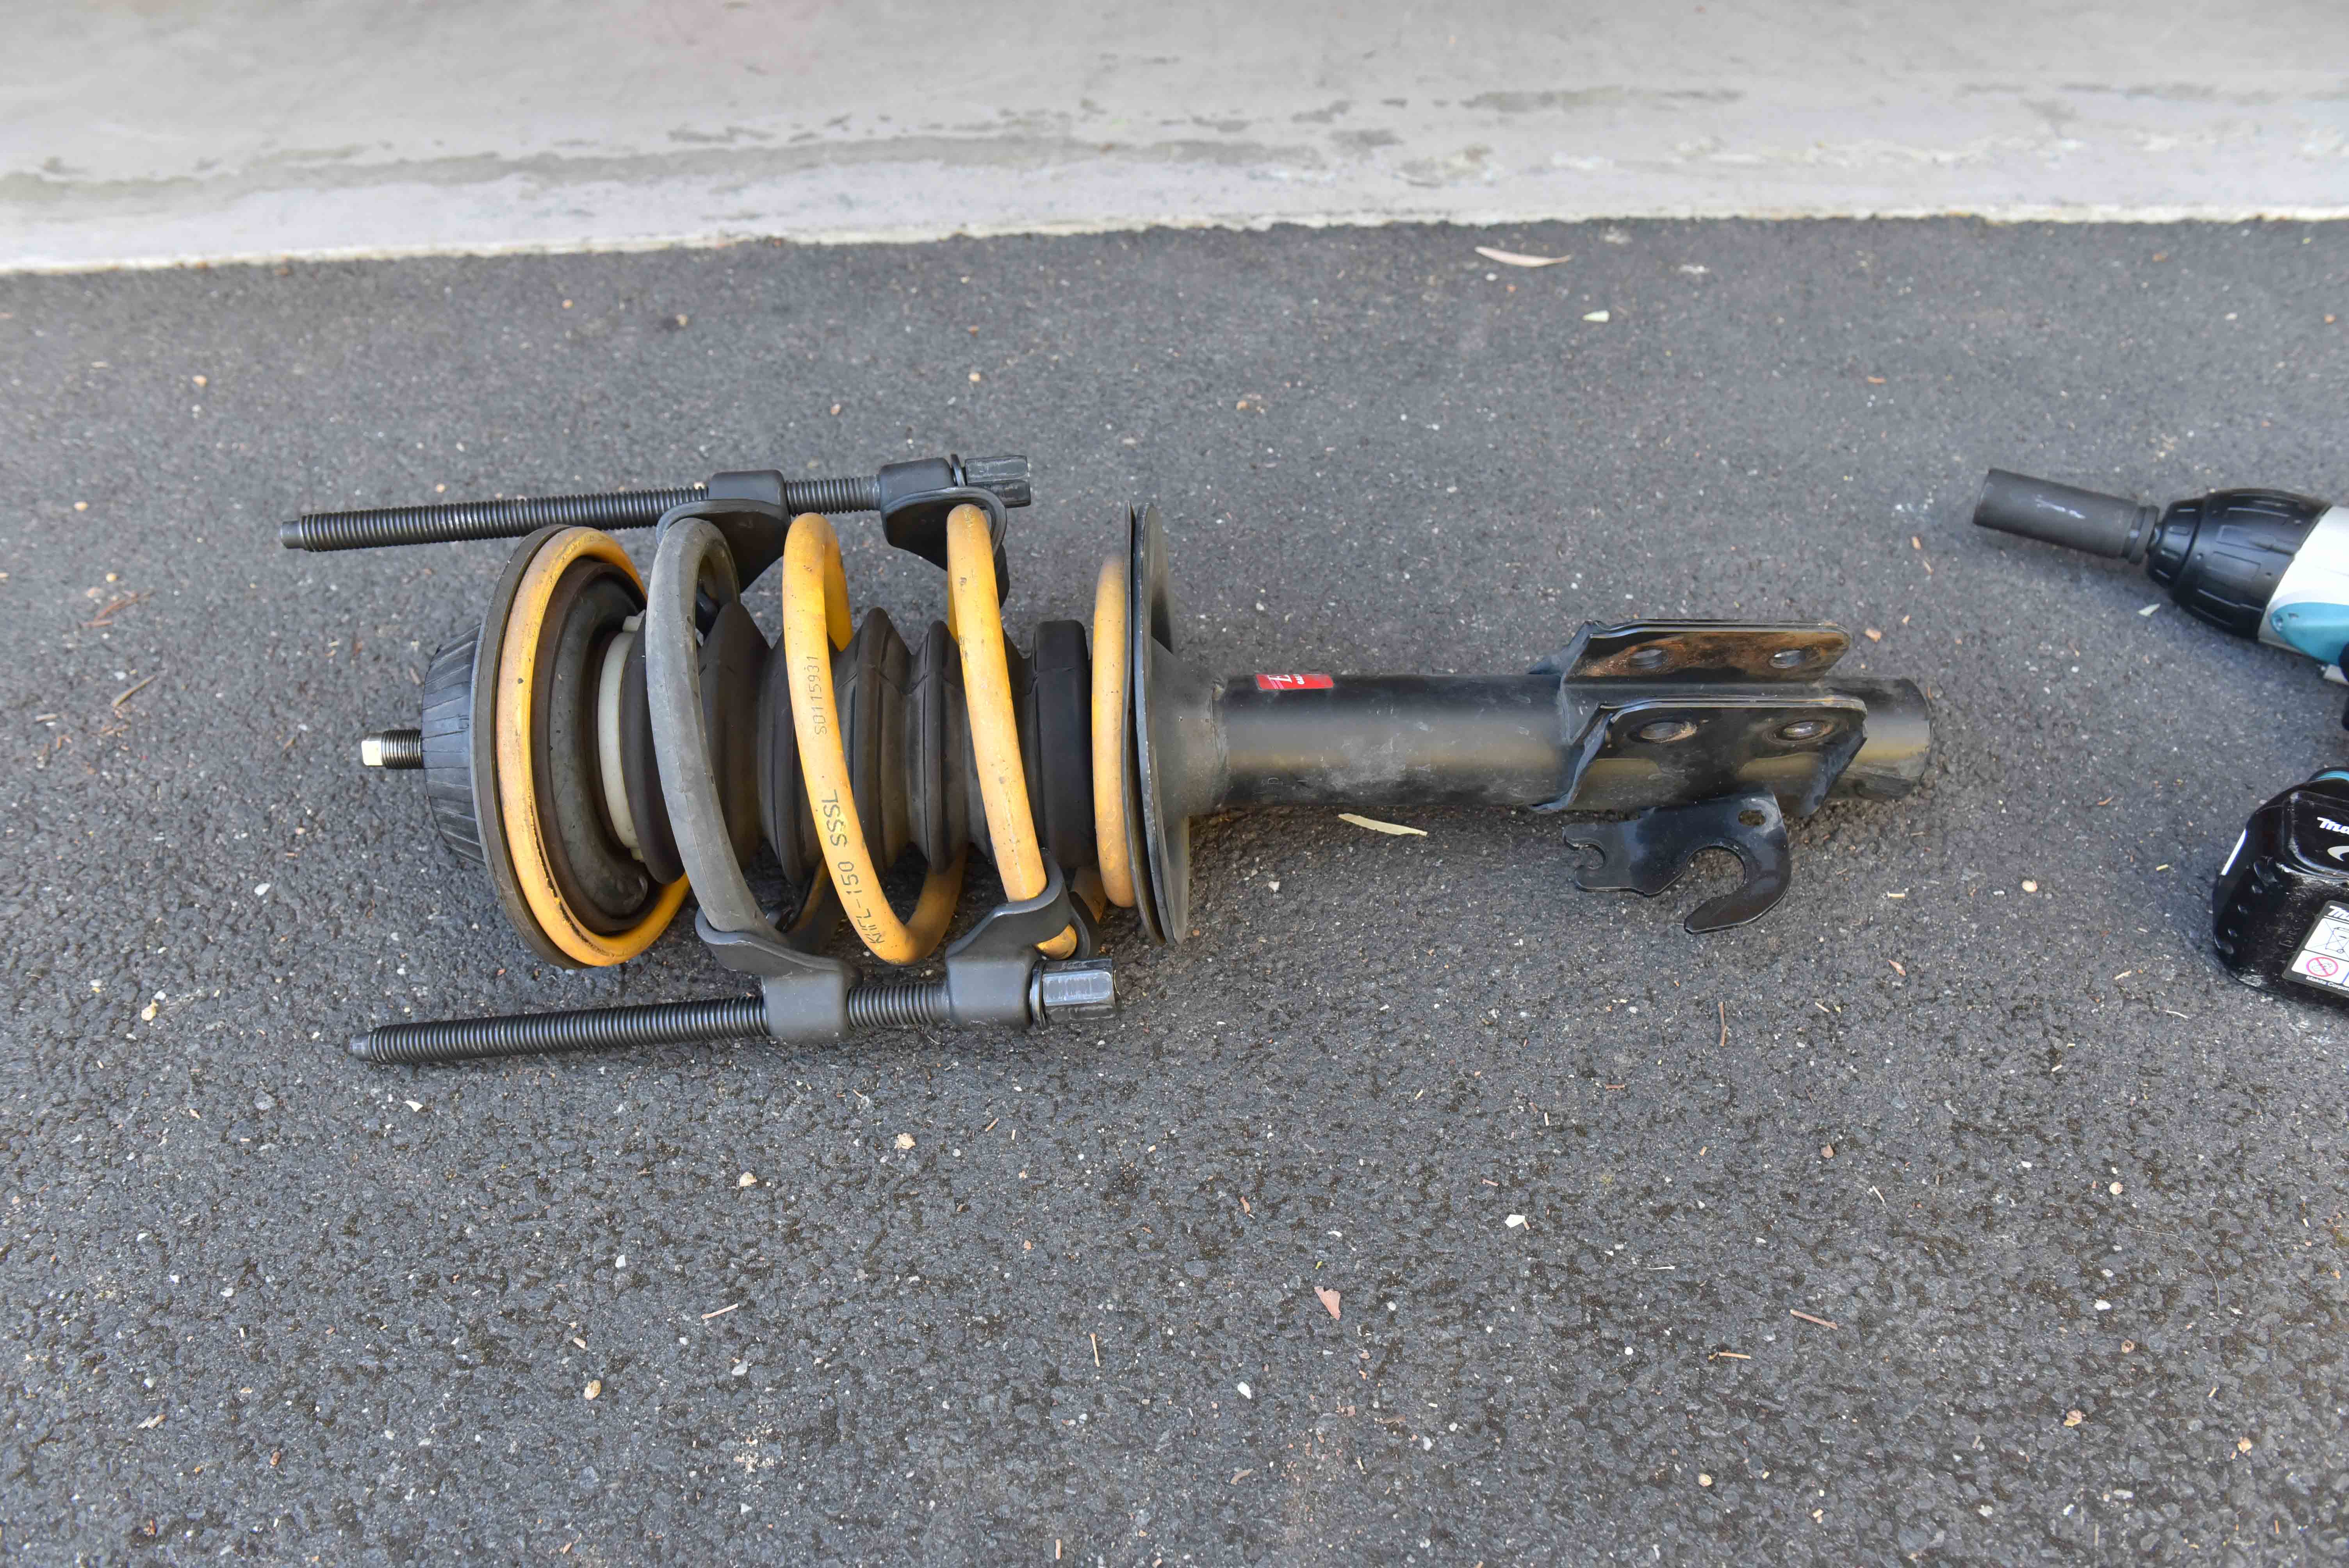
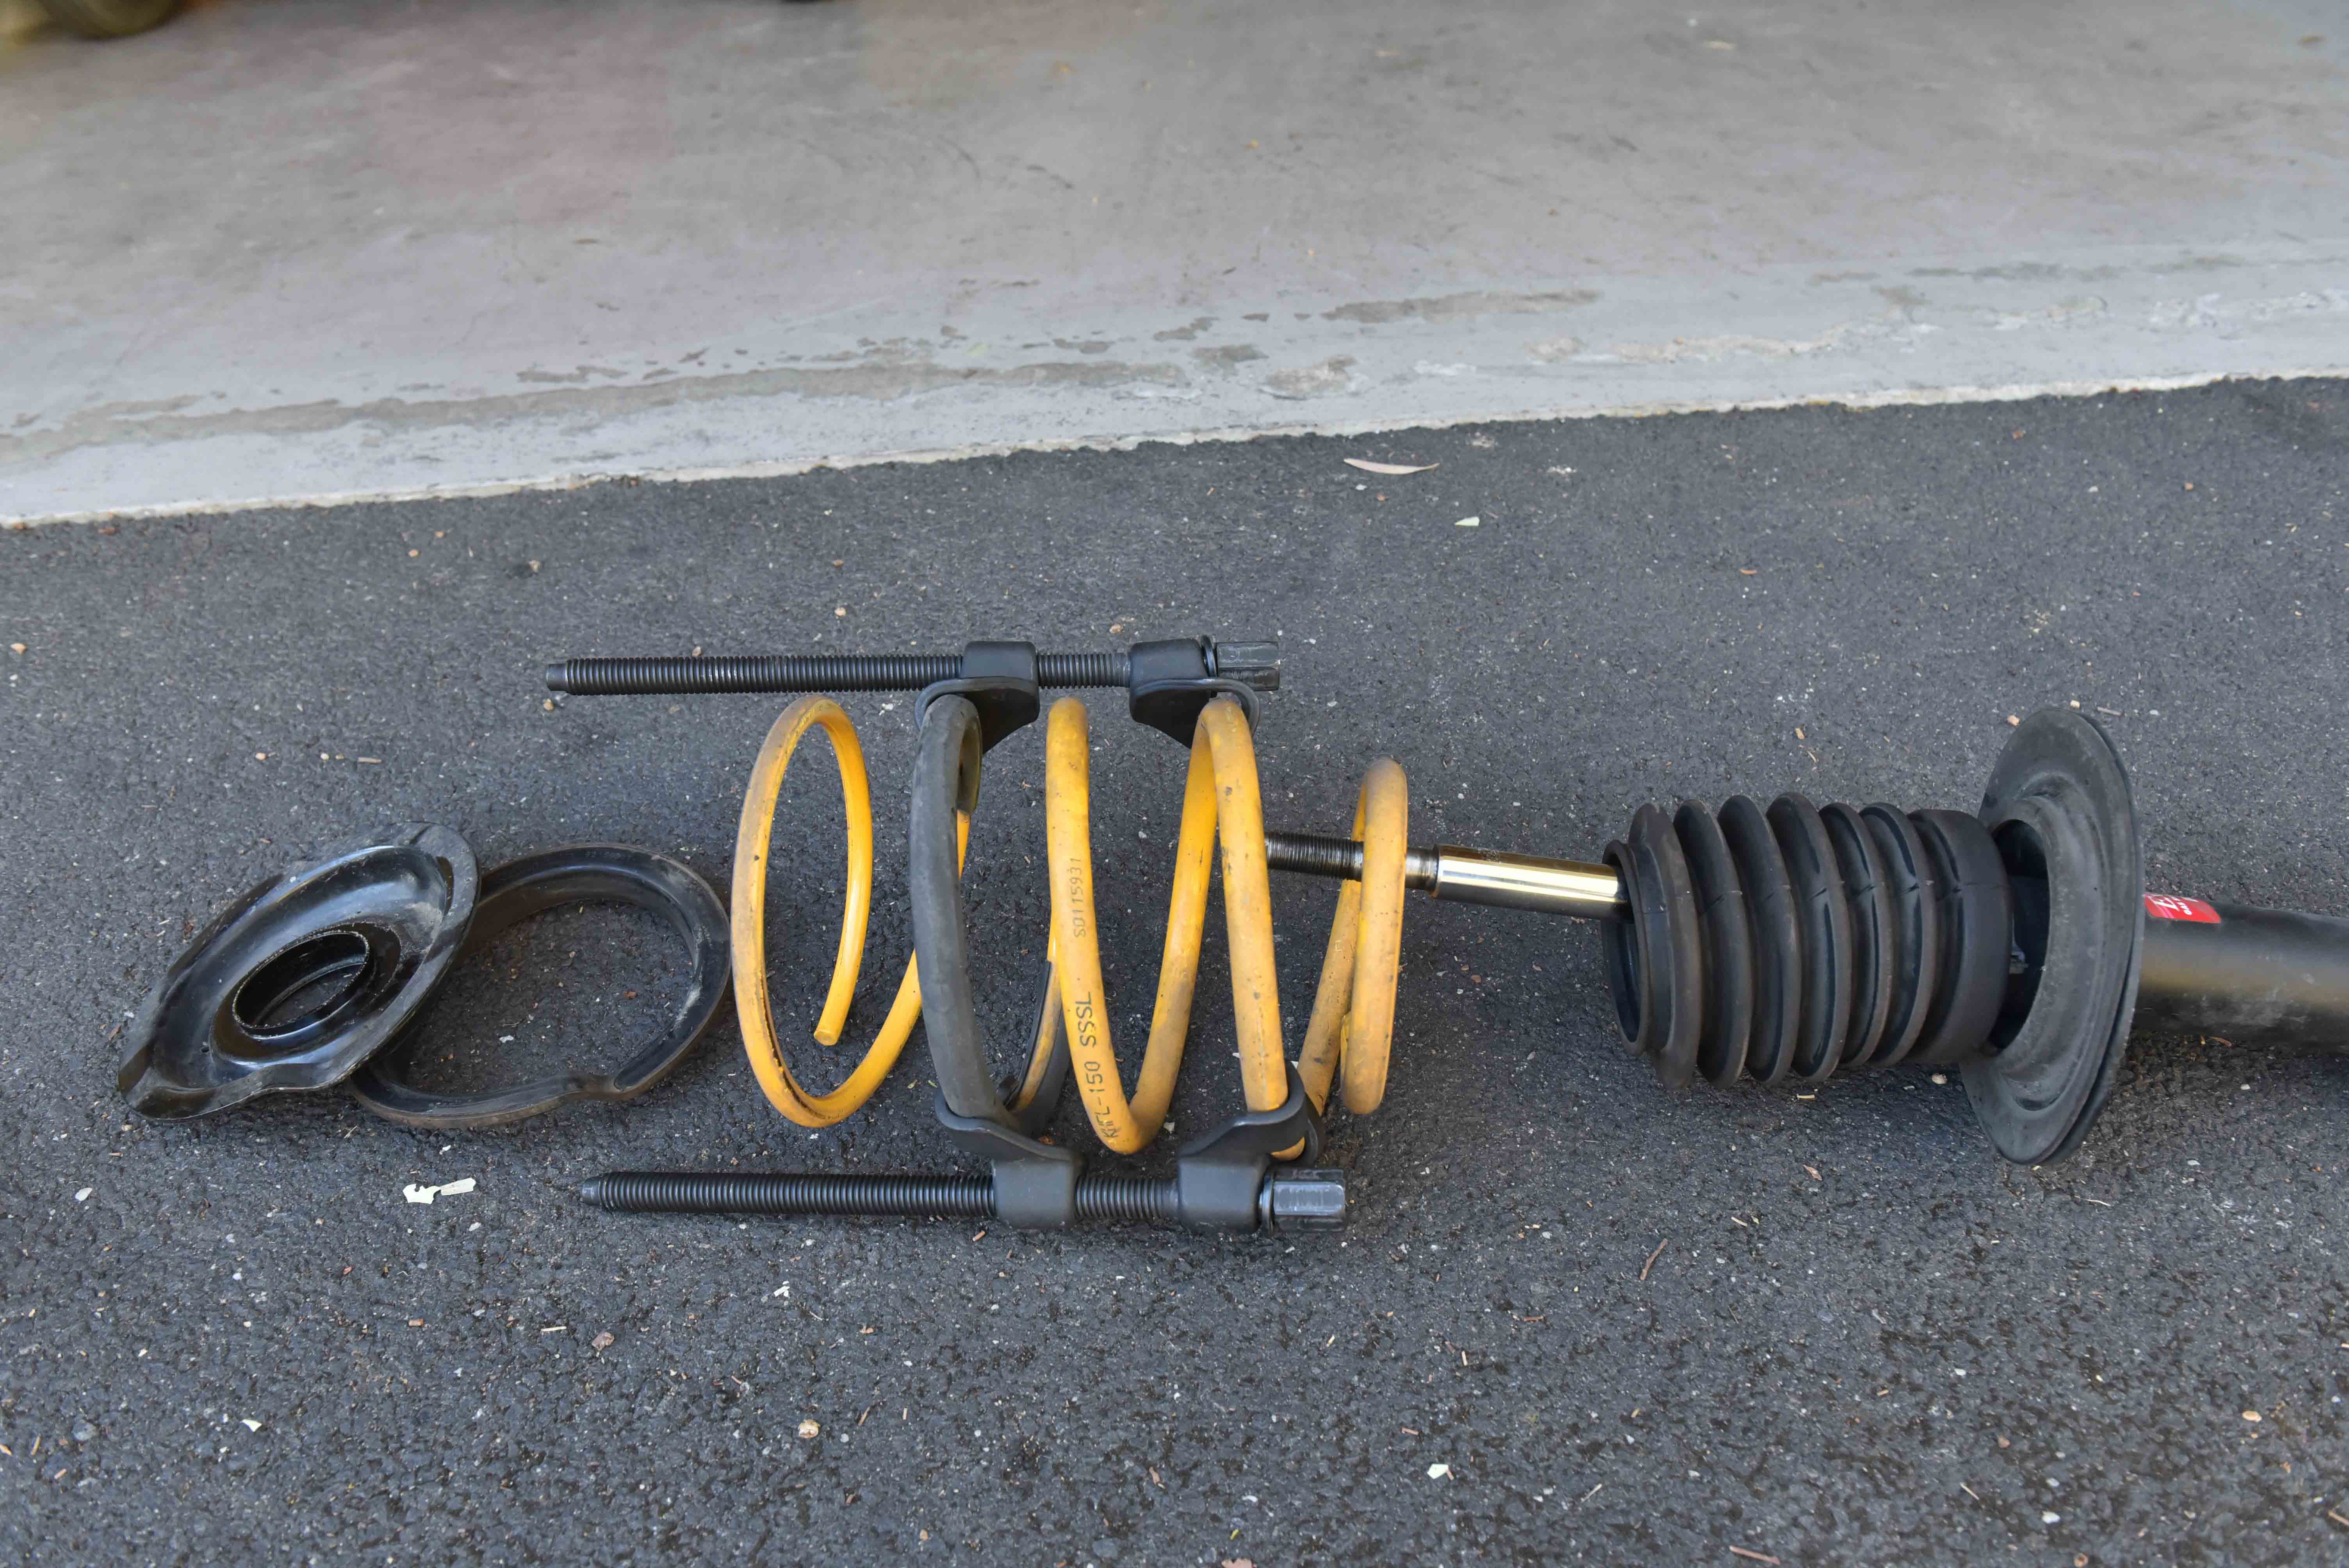
Step 1
Fit the spring compressors and evenly tighten them to compress the spring. Continue to compress until the spring is no longer pushing against the top retaining plate.
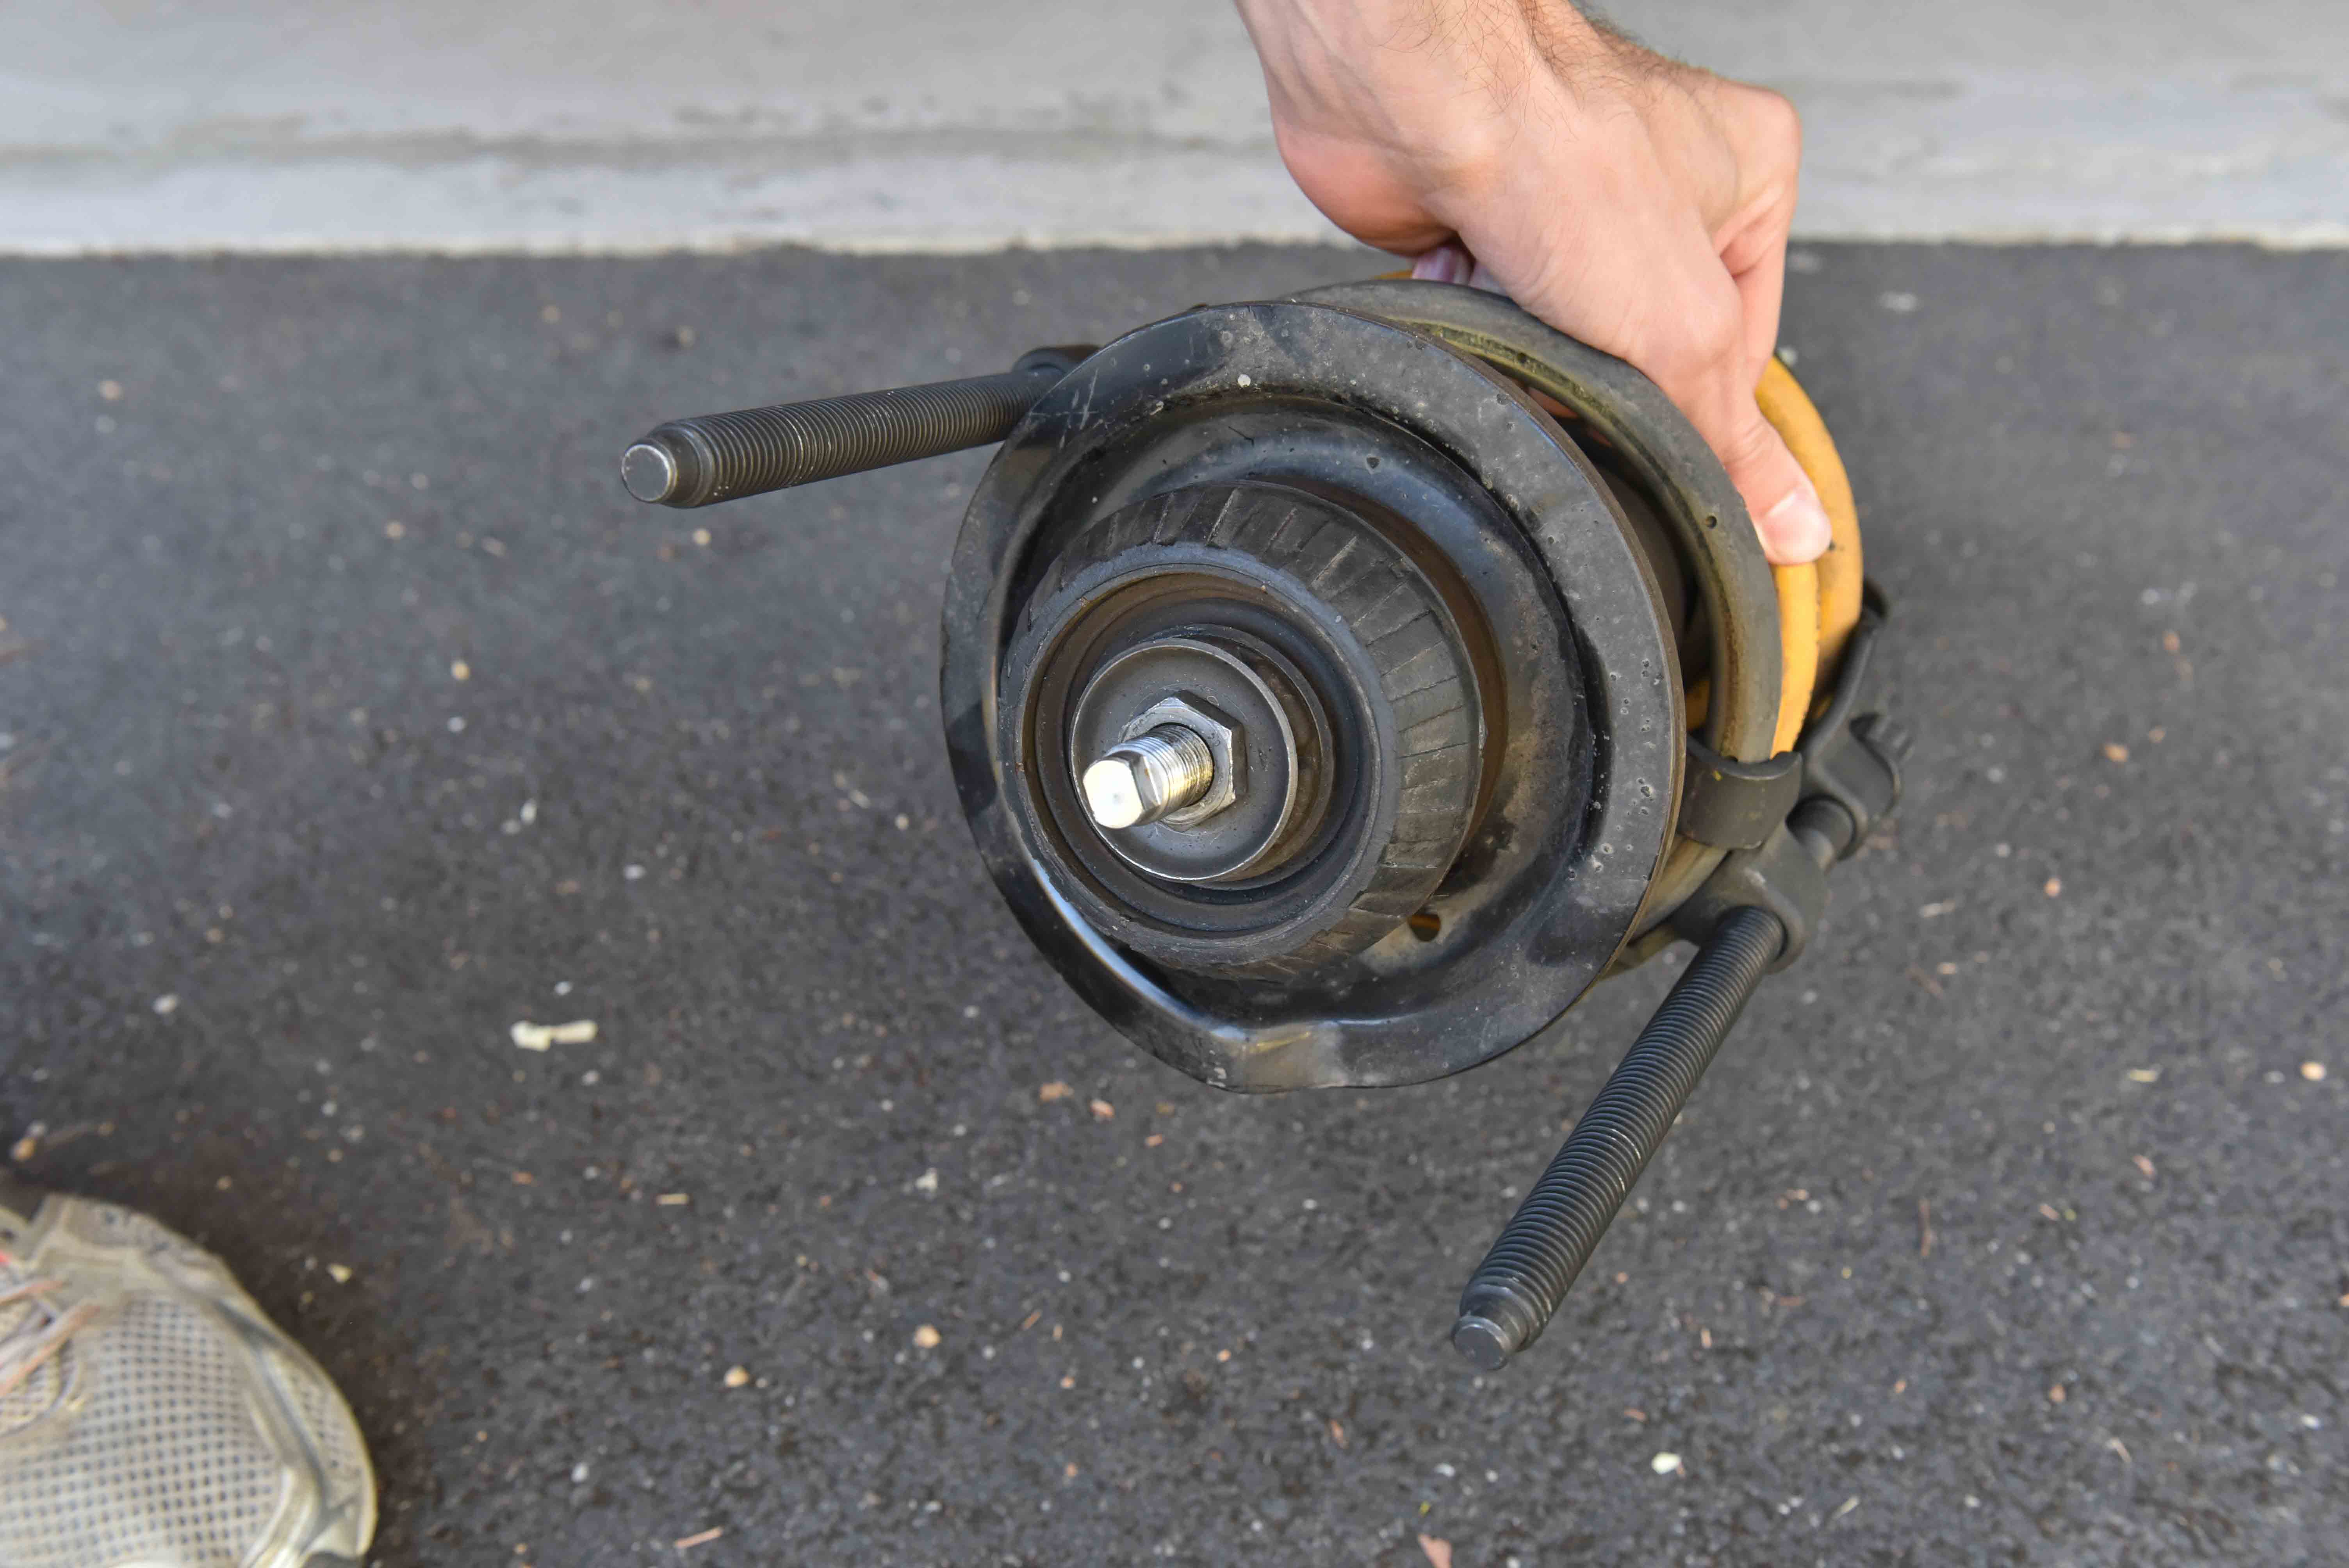
Step 2
Grasp the centre shaft using an adjustable spanner. Whilst holding the centre, use another spanner turn the nut anti-clockwise to loosen.
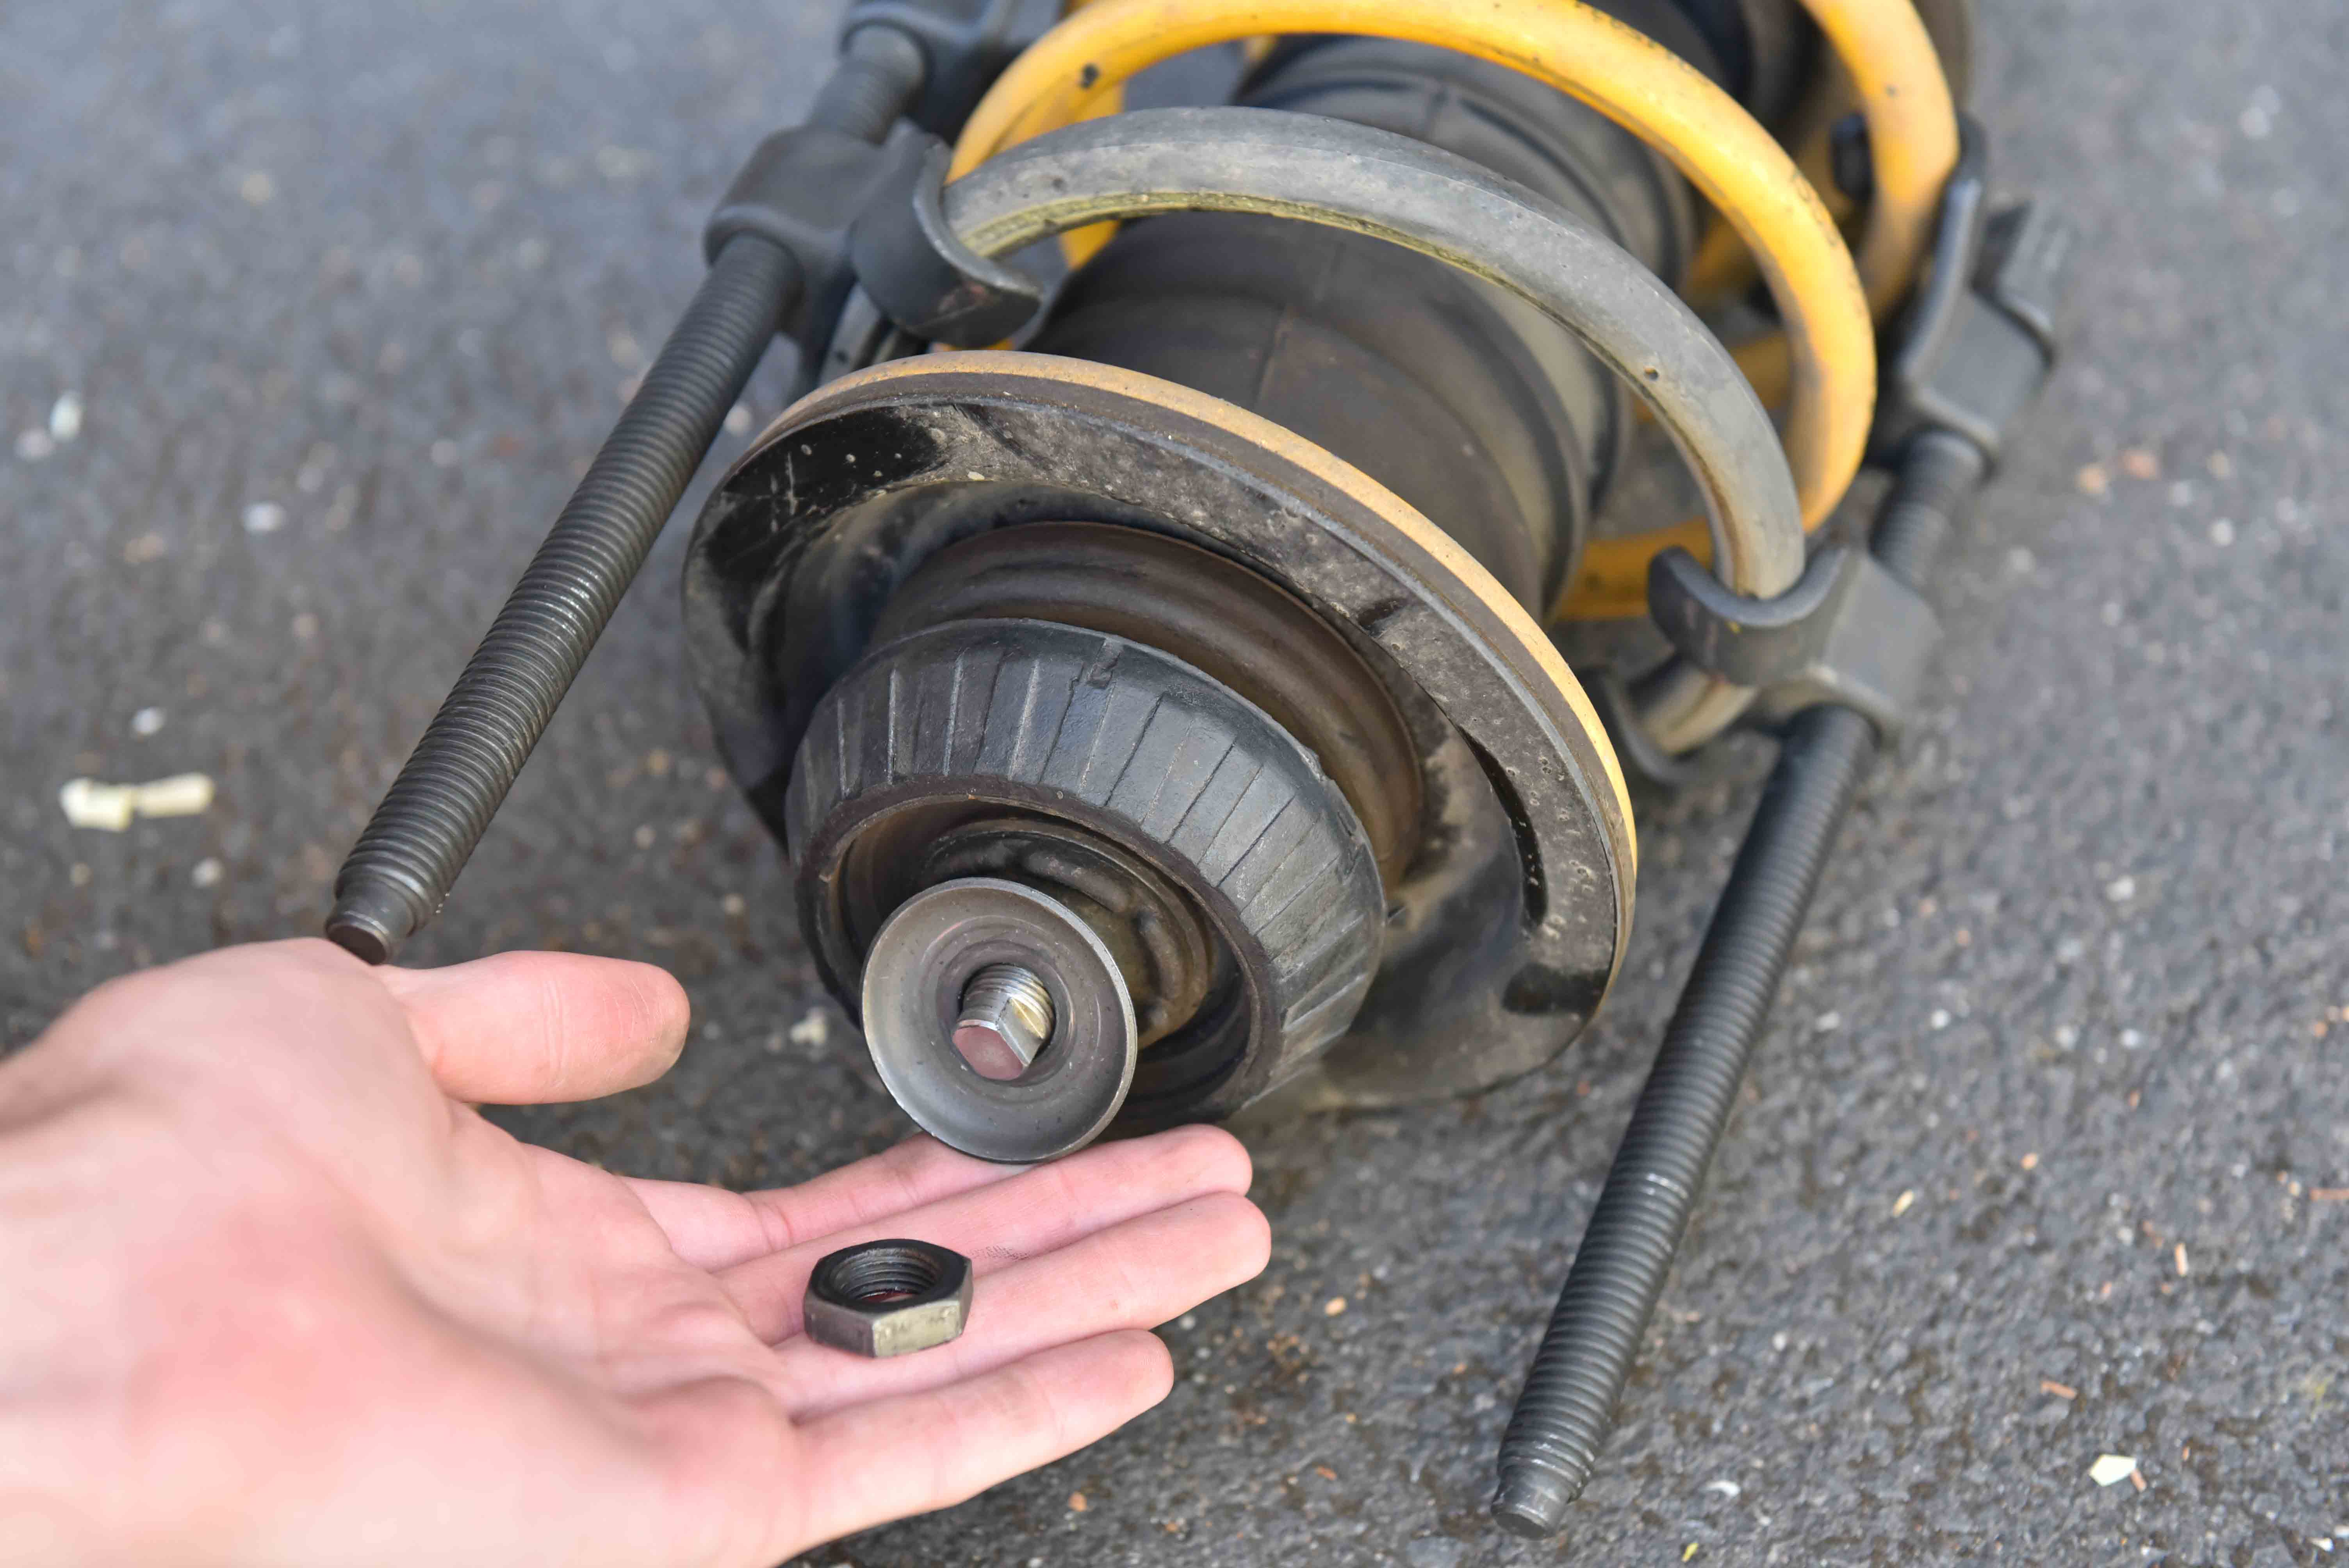
Step 3
Once the nut is loose, remove it from the shaft. Also remove the steel washer underneath.
Step 4
Remove the strut top bushing and the plastic bearing which sits underneath. Next, remove the second washer and bump stop – Take note of their orientation.
Note: You may find the bearing falls apart upon removal as the halves easily separate. If this happens I would recommend a replacement bearing.
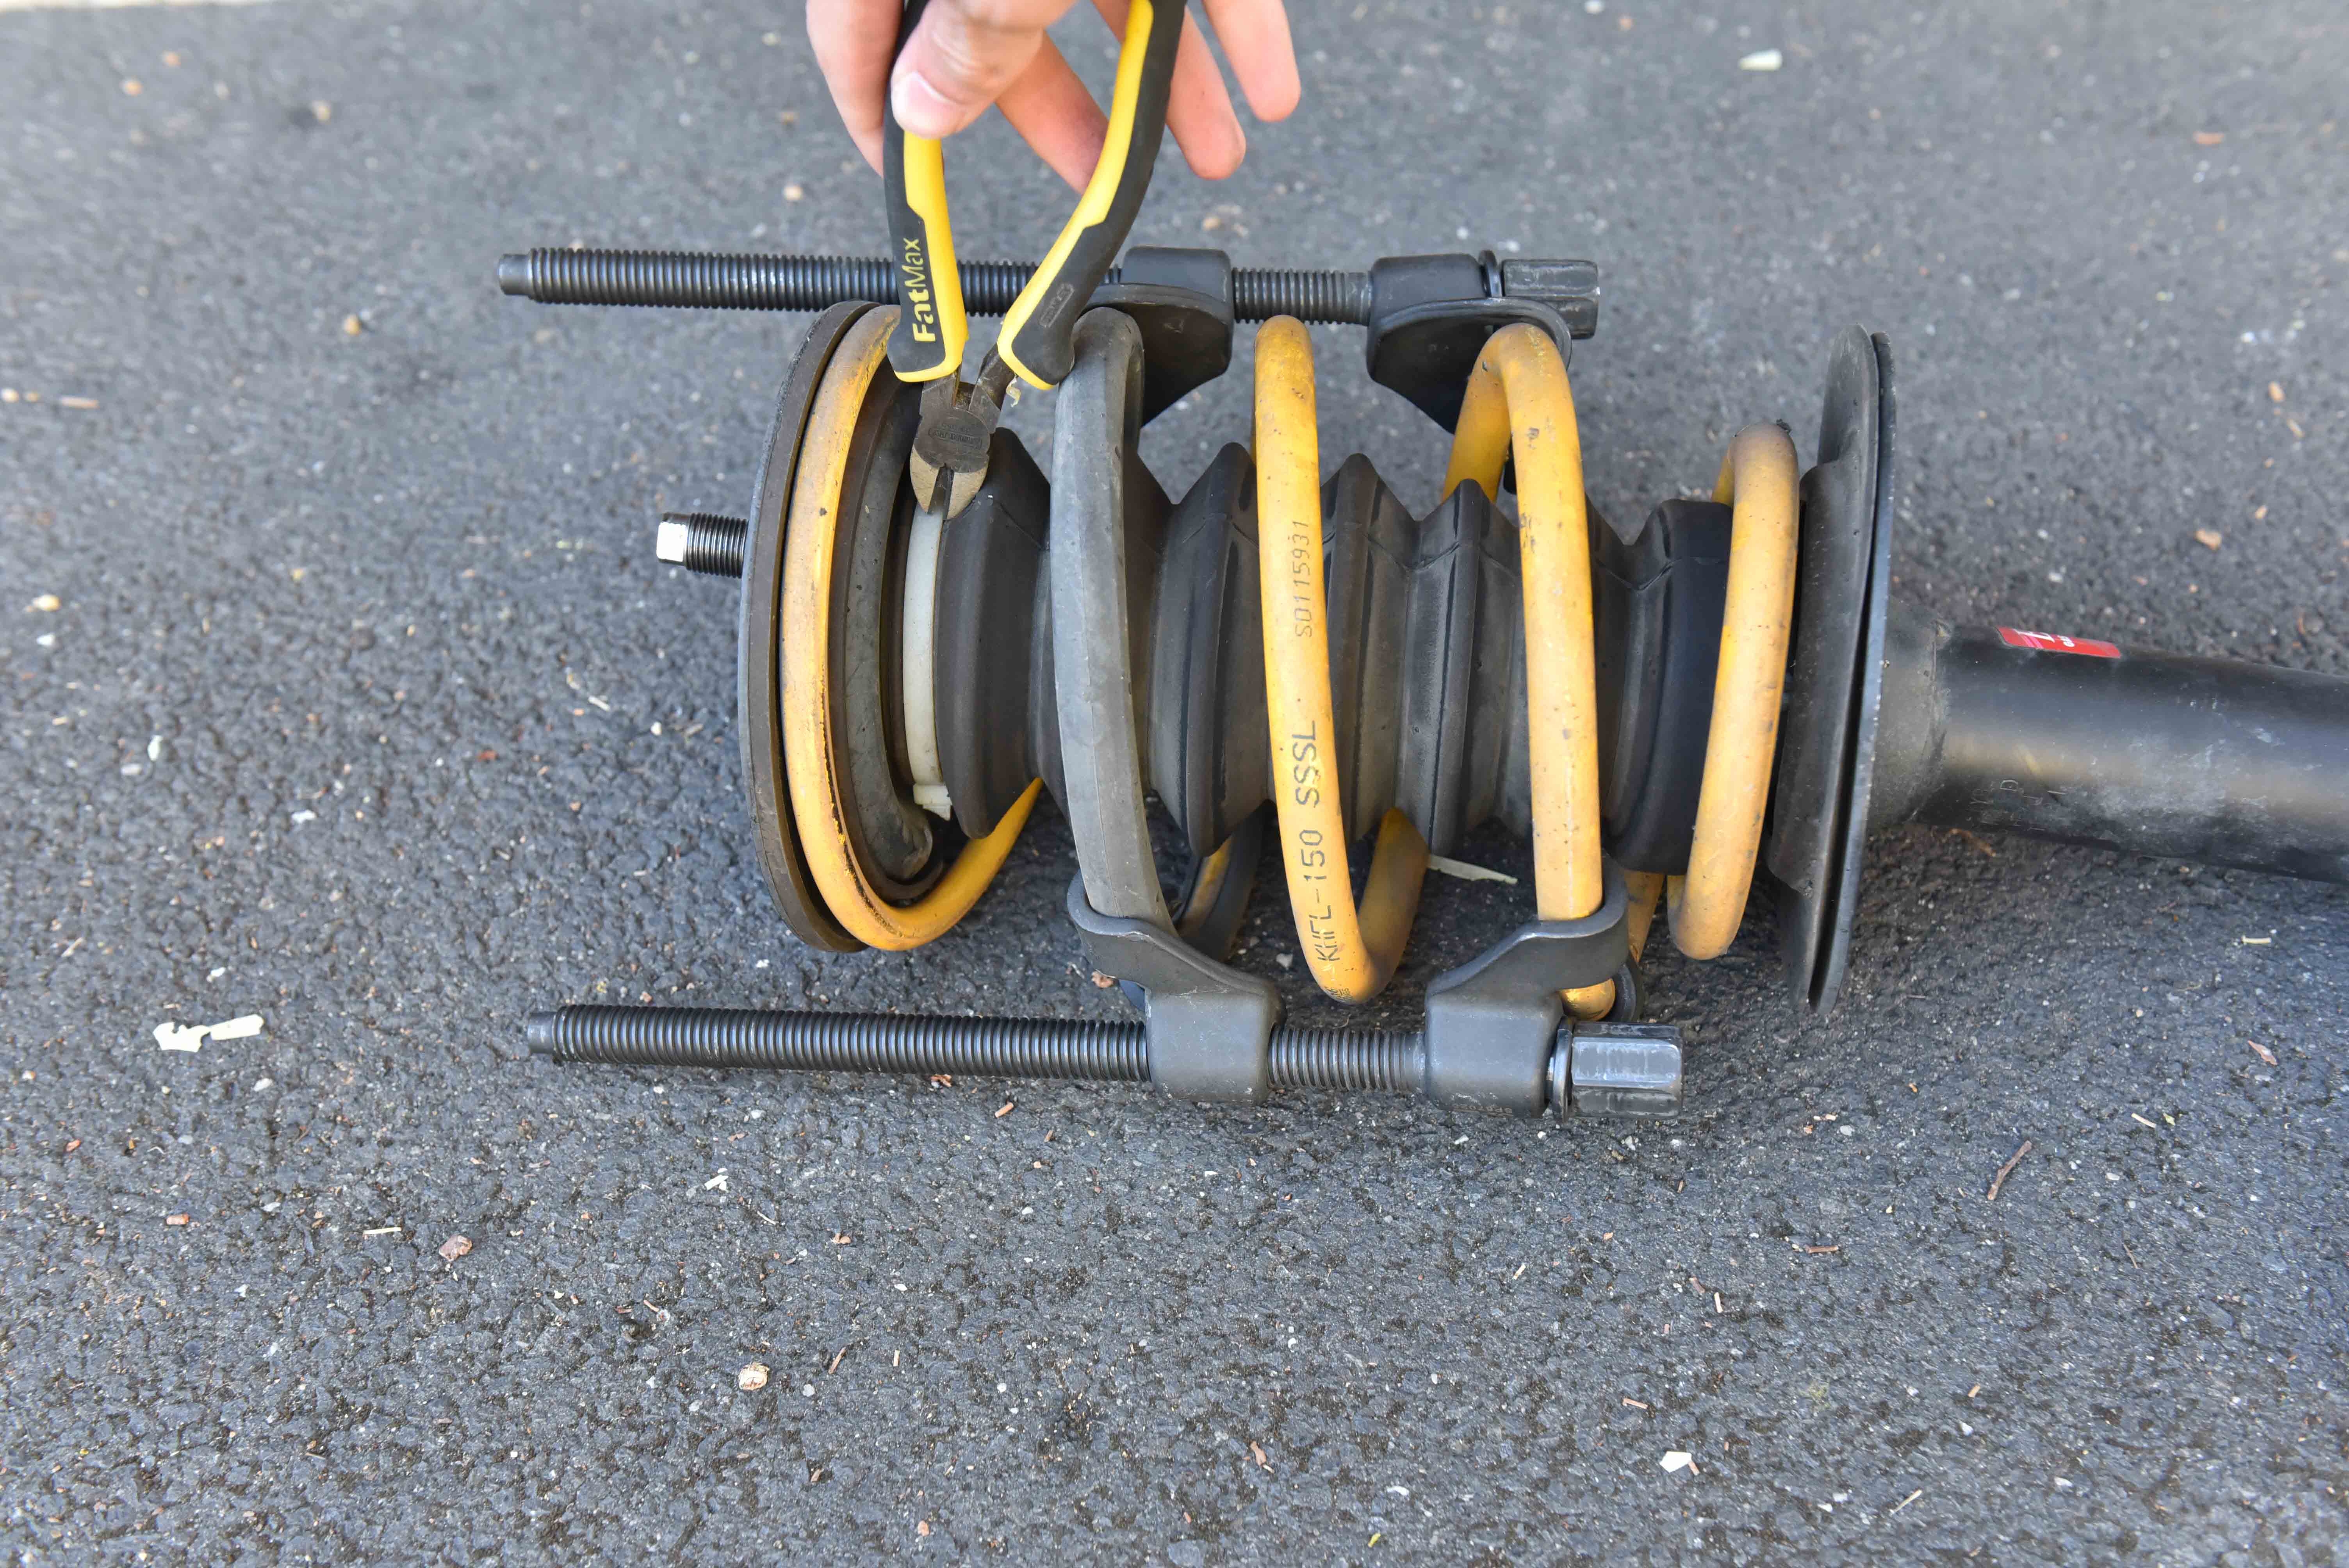
Step 5
Cut the cable tie to seperate the rubber boot from the upper spring plate. You will need to replace this during re-assembly.
Step 6
Remove the upper spring plate, rubber spring seat and spring from the strut.
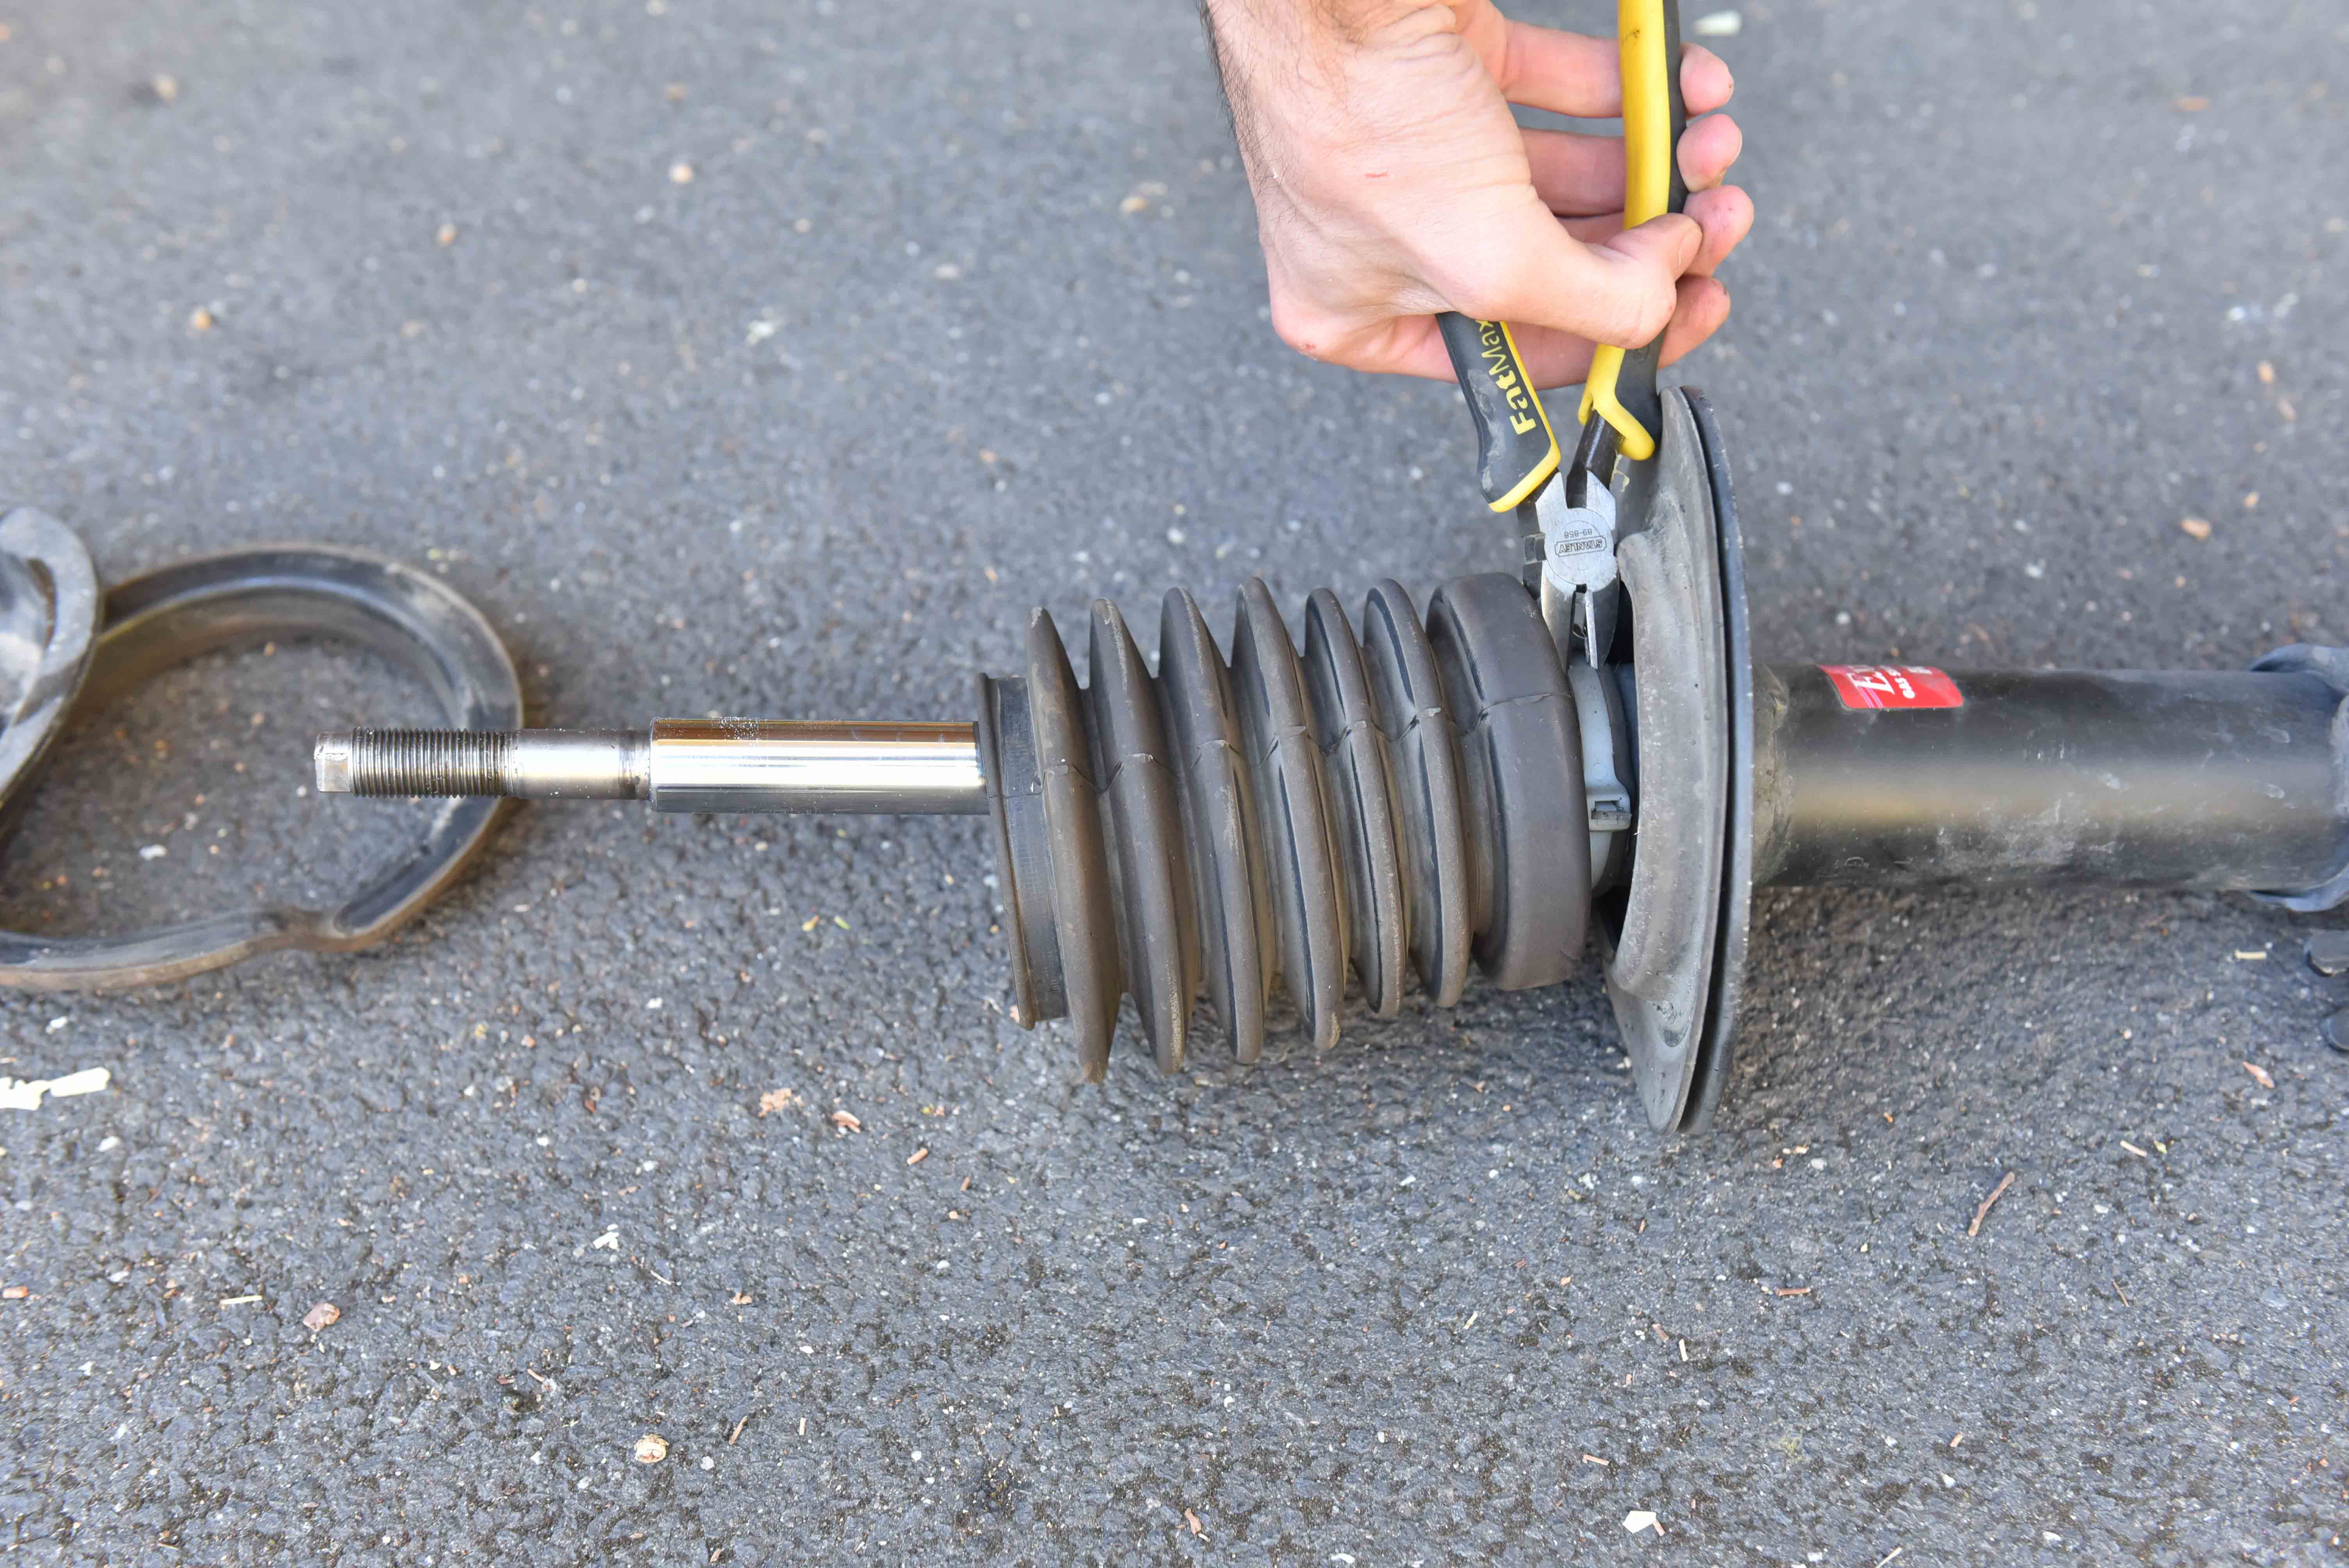
Step 7
Cut the lower cable tie located on the bottom of the dust boot. This will also need to be replaced during re-assembly. Remove the dust boot and rubber spring seat on the base of the shock.
The disassembly is now complete.
Step 8
To re-install the strut assembly, simply reverse the procedure. Re-attaching the cable ties can prove to be tricky, a friend can definitely help with this.
When re-installing the upper retaining plate, take note of the spring orientation. There is a ‘step’ in the retaining plate and rubber seat which MUST line up with the end of the spring coil.
Step 9
Tighten the shock absorber shaft nut to 75Nm.
Once completed, slowly release the spring compressors whilst ensuring alignment of the spring to spring seat as per the previous step.
Job Completed!
Did you find this guide helpful? Consider sharing it to help other car enthusiasts