Introduction

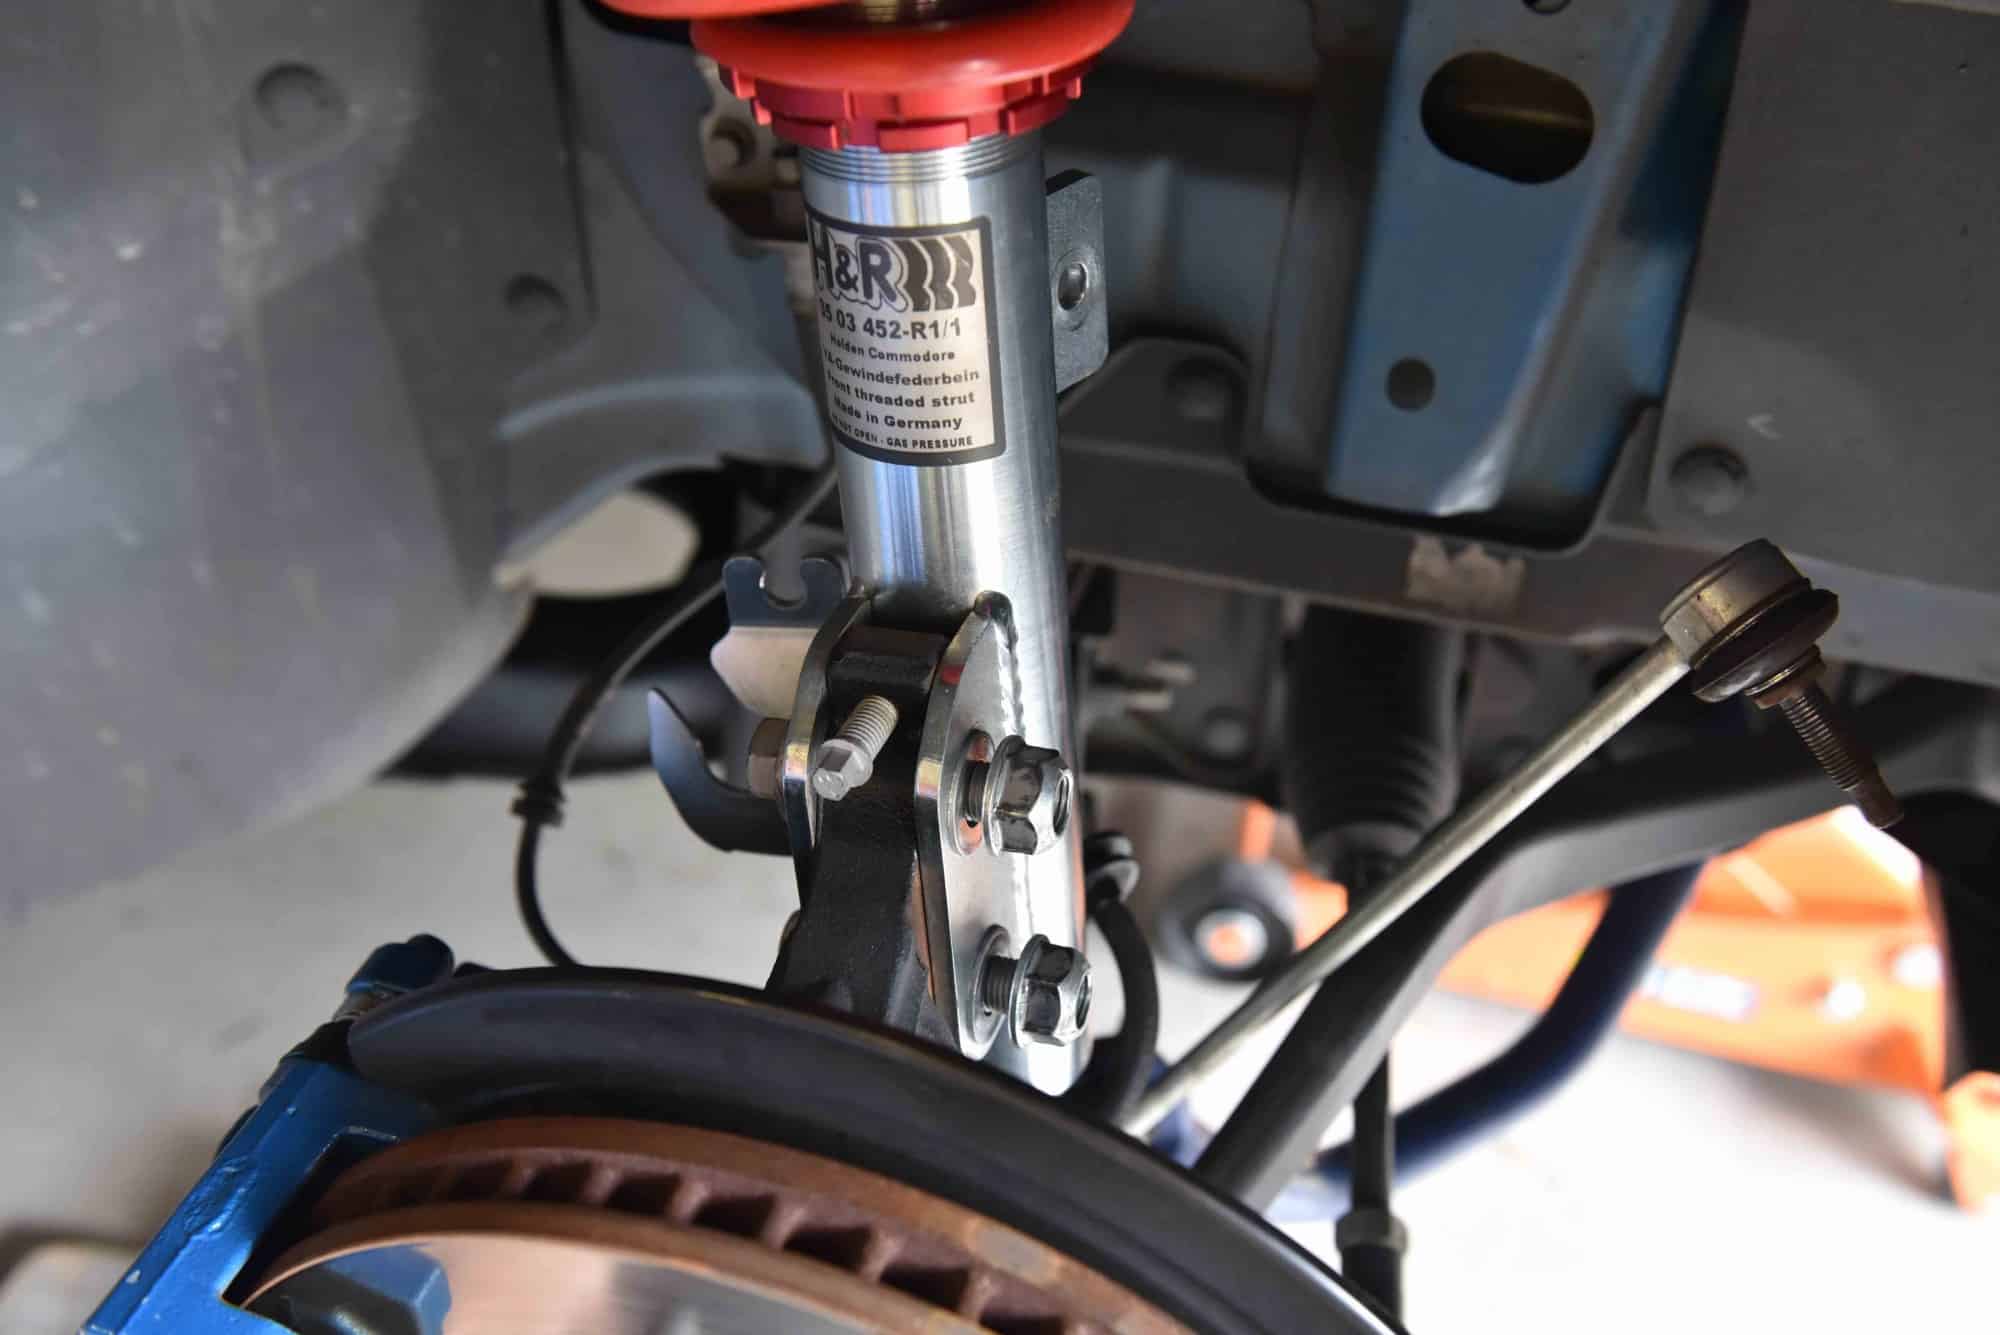
This AutoInstruct guide will show you how to remove the front strut assembly on a VE or VF Commodore. This process is relatively easy, with only basic tools required.

Difficulty Rating

Hard

Tools/Parts Required

  • Adjustable Spanner / Spanner Set
  • Socket Set
  • OEM replacement nuts and bolts

Video

Step 1

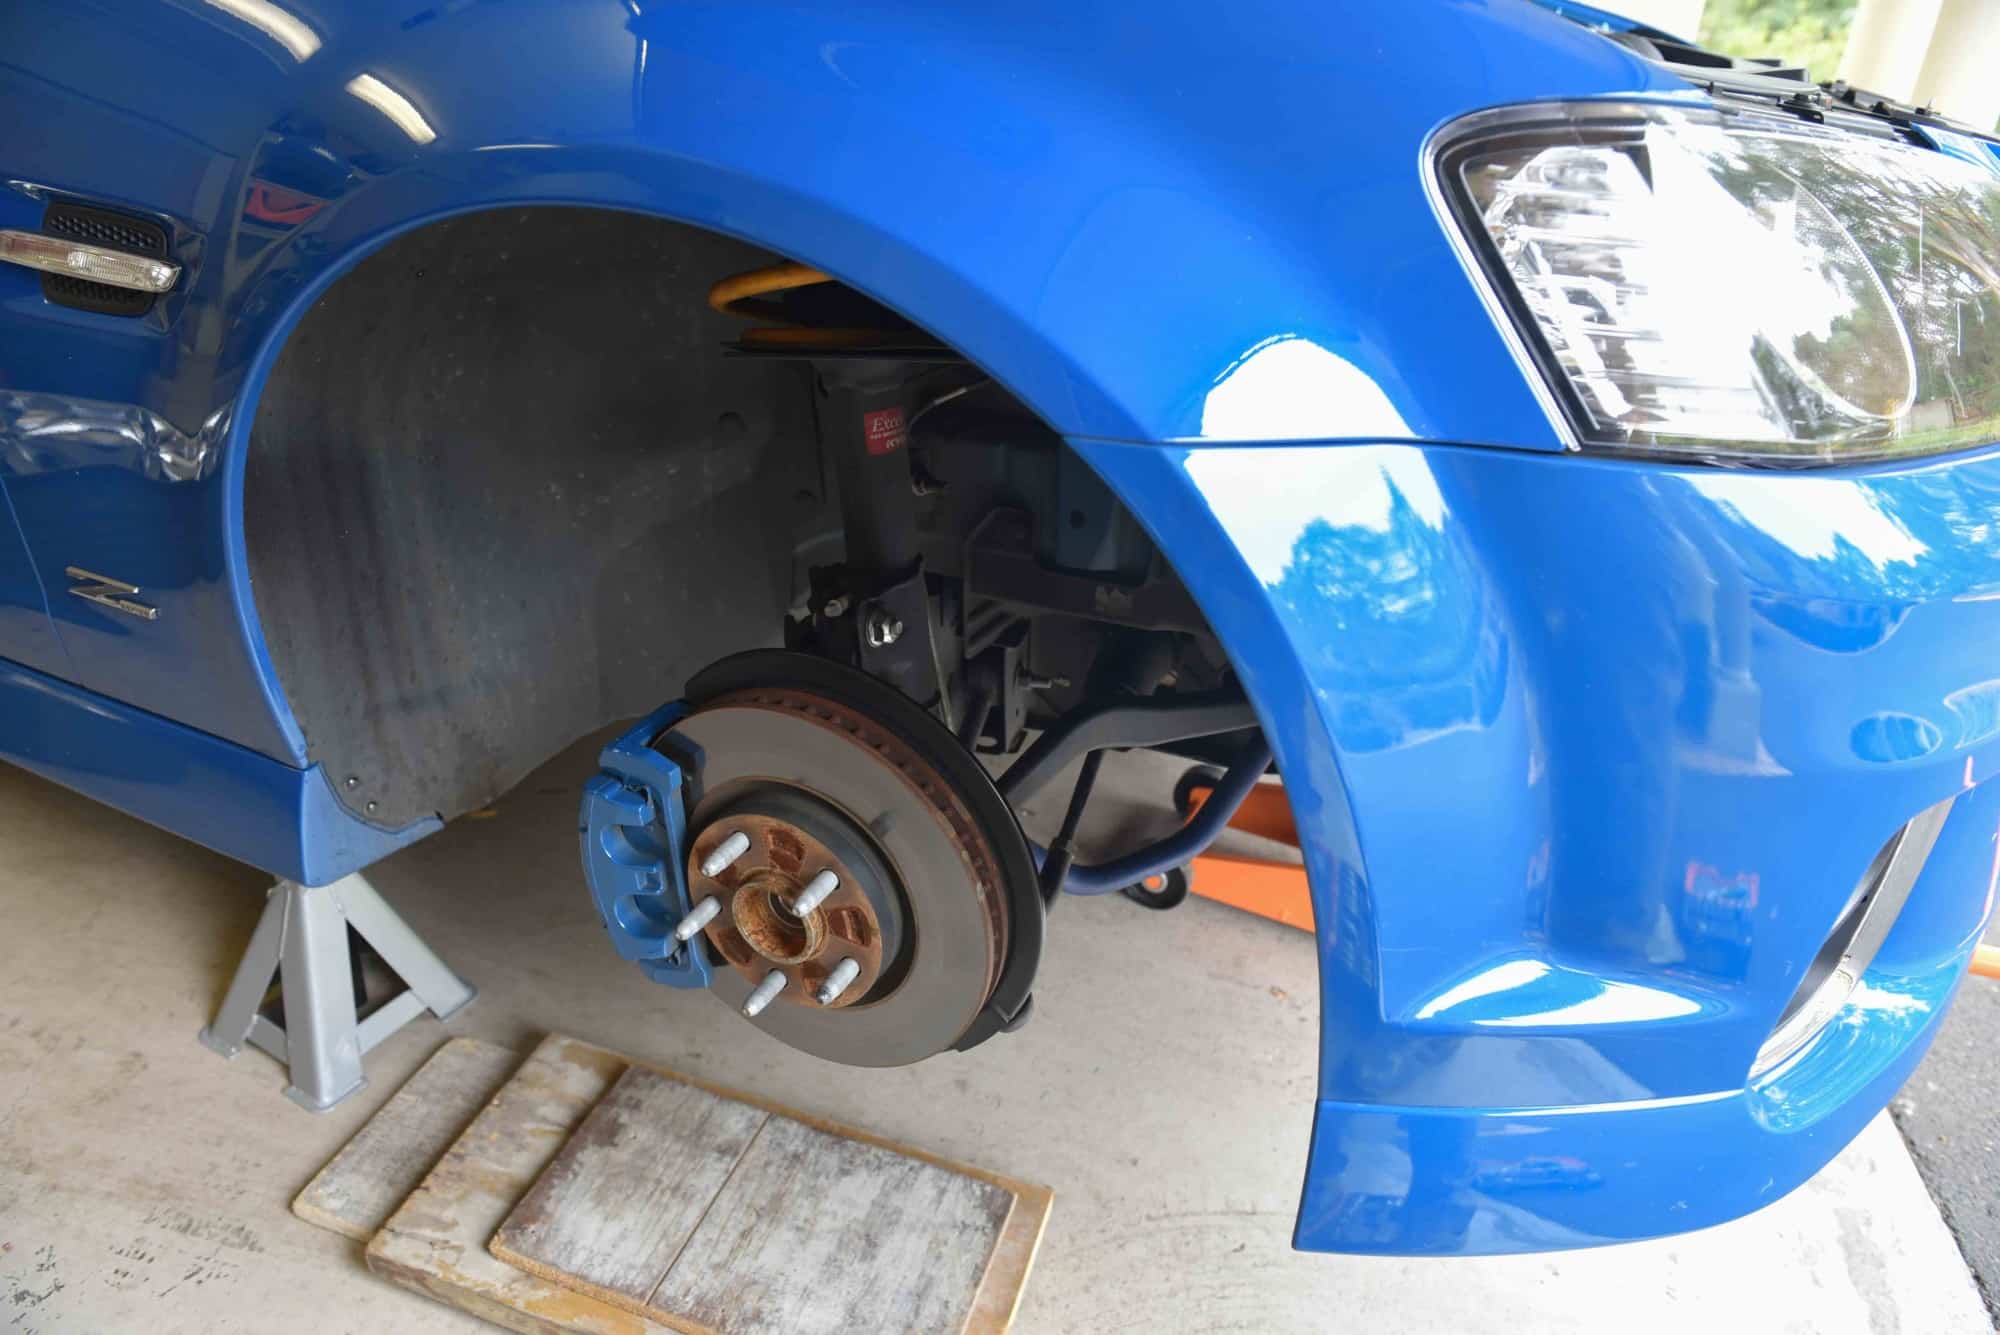
Raise the front of the car and remove the front wheels.

Note: Never place your body under an unsupported vehicle! Always use jack stands!

Step 2

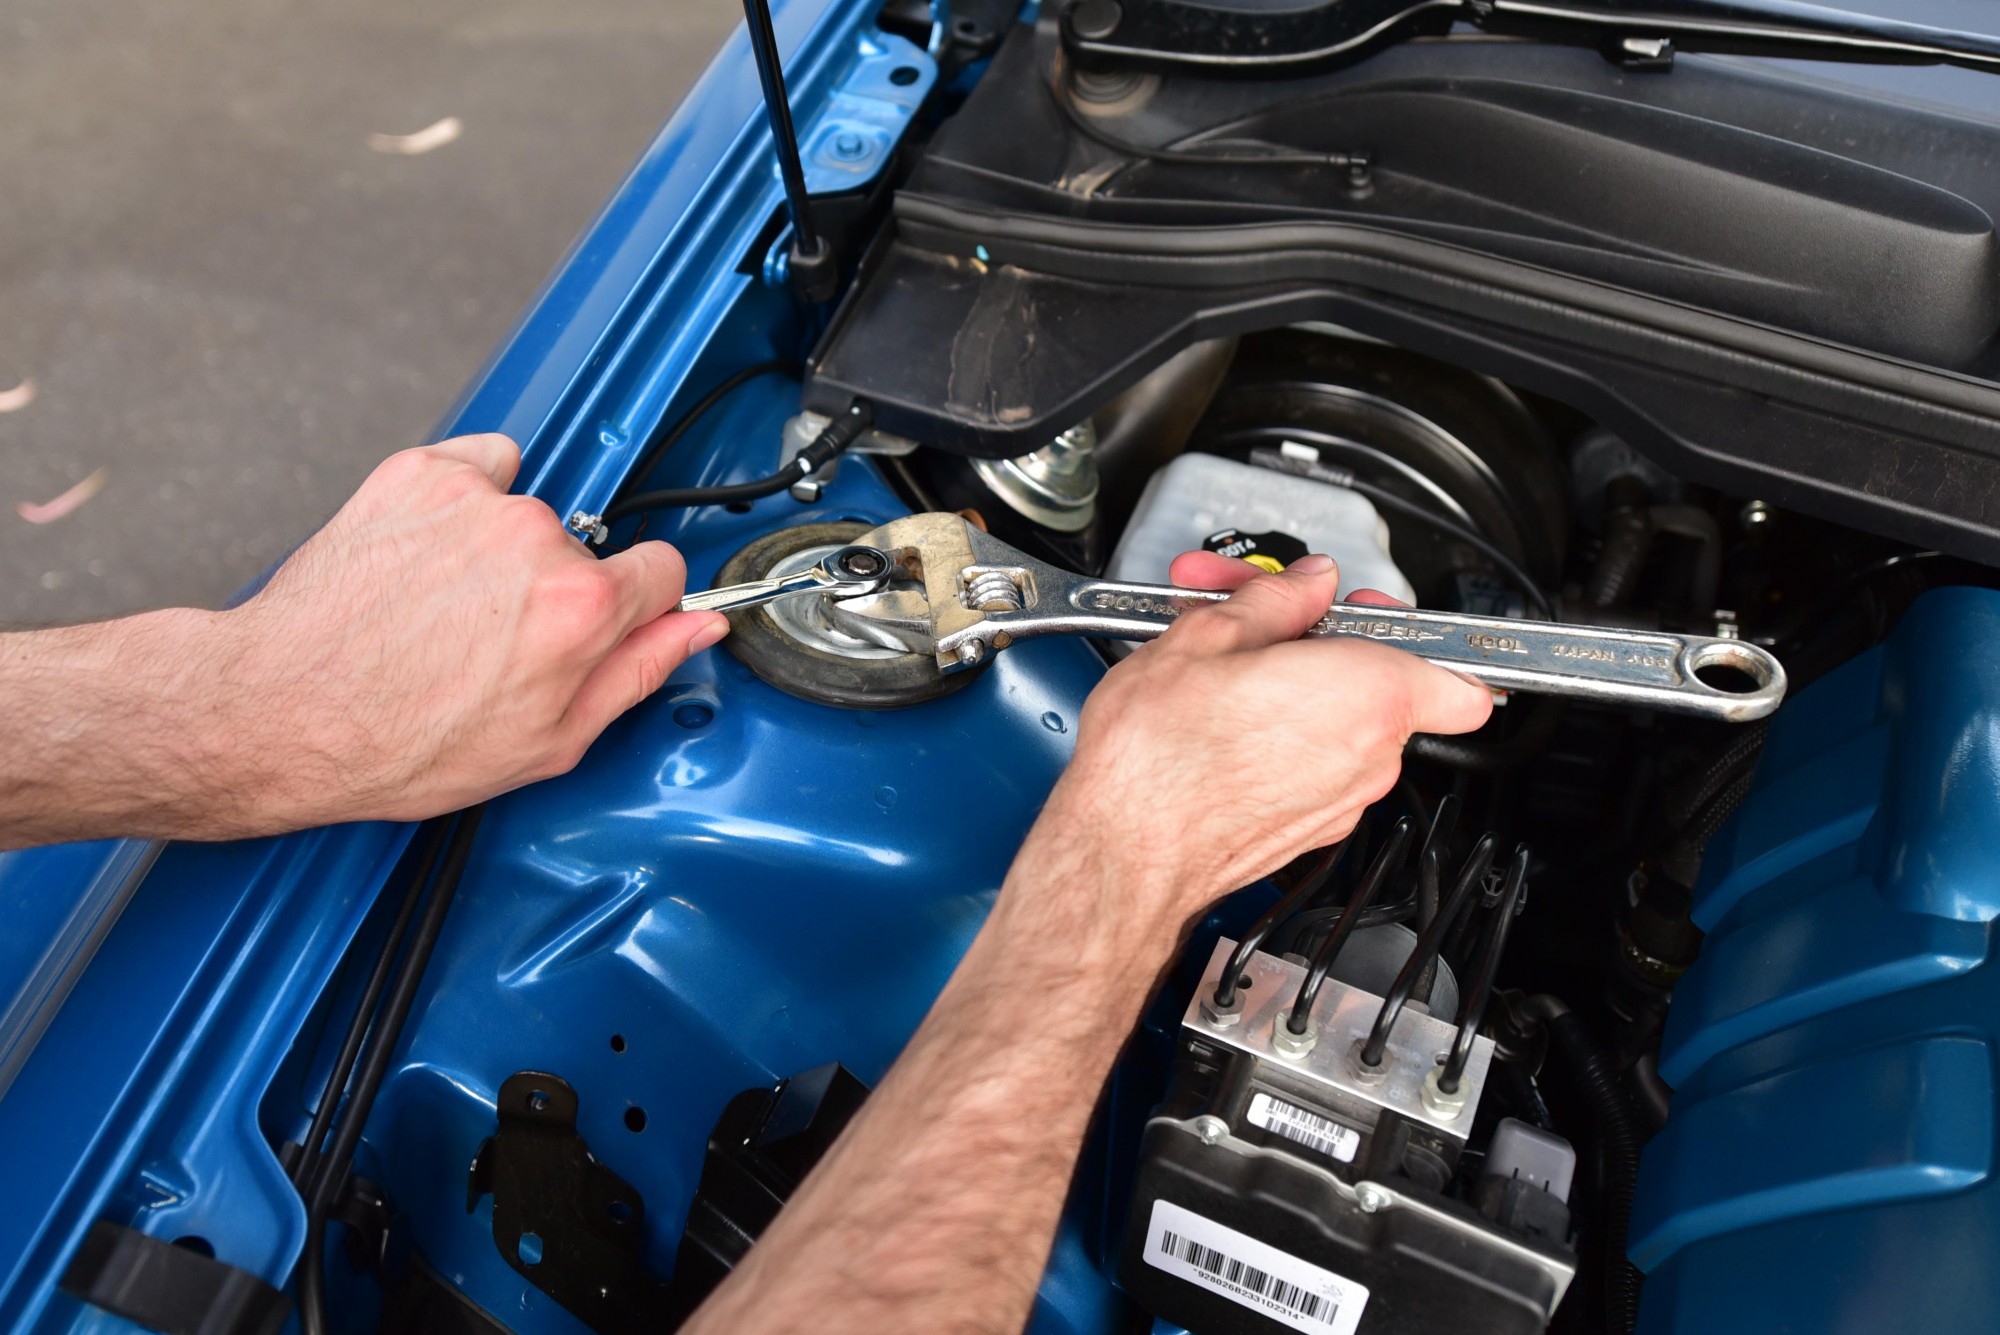
Grasp the centre shaft using a spanner. Whilst holding the centre, use another spanner turn the nut anti-clockwise to loosen. Only loosen this nut a few turns, do not remove it entirely!

Step 3

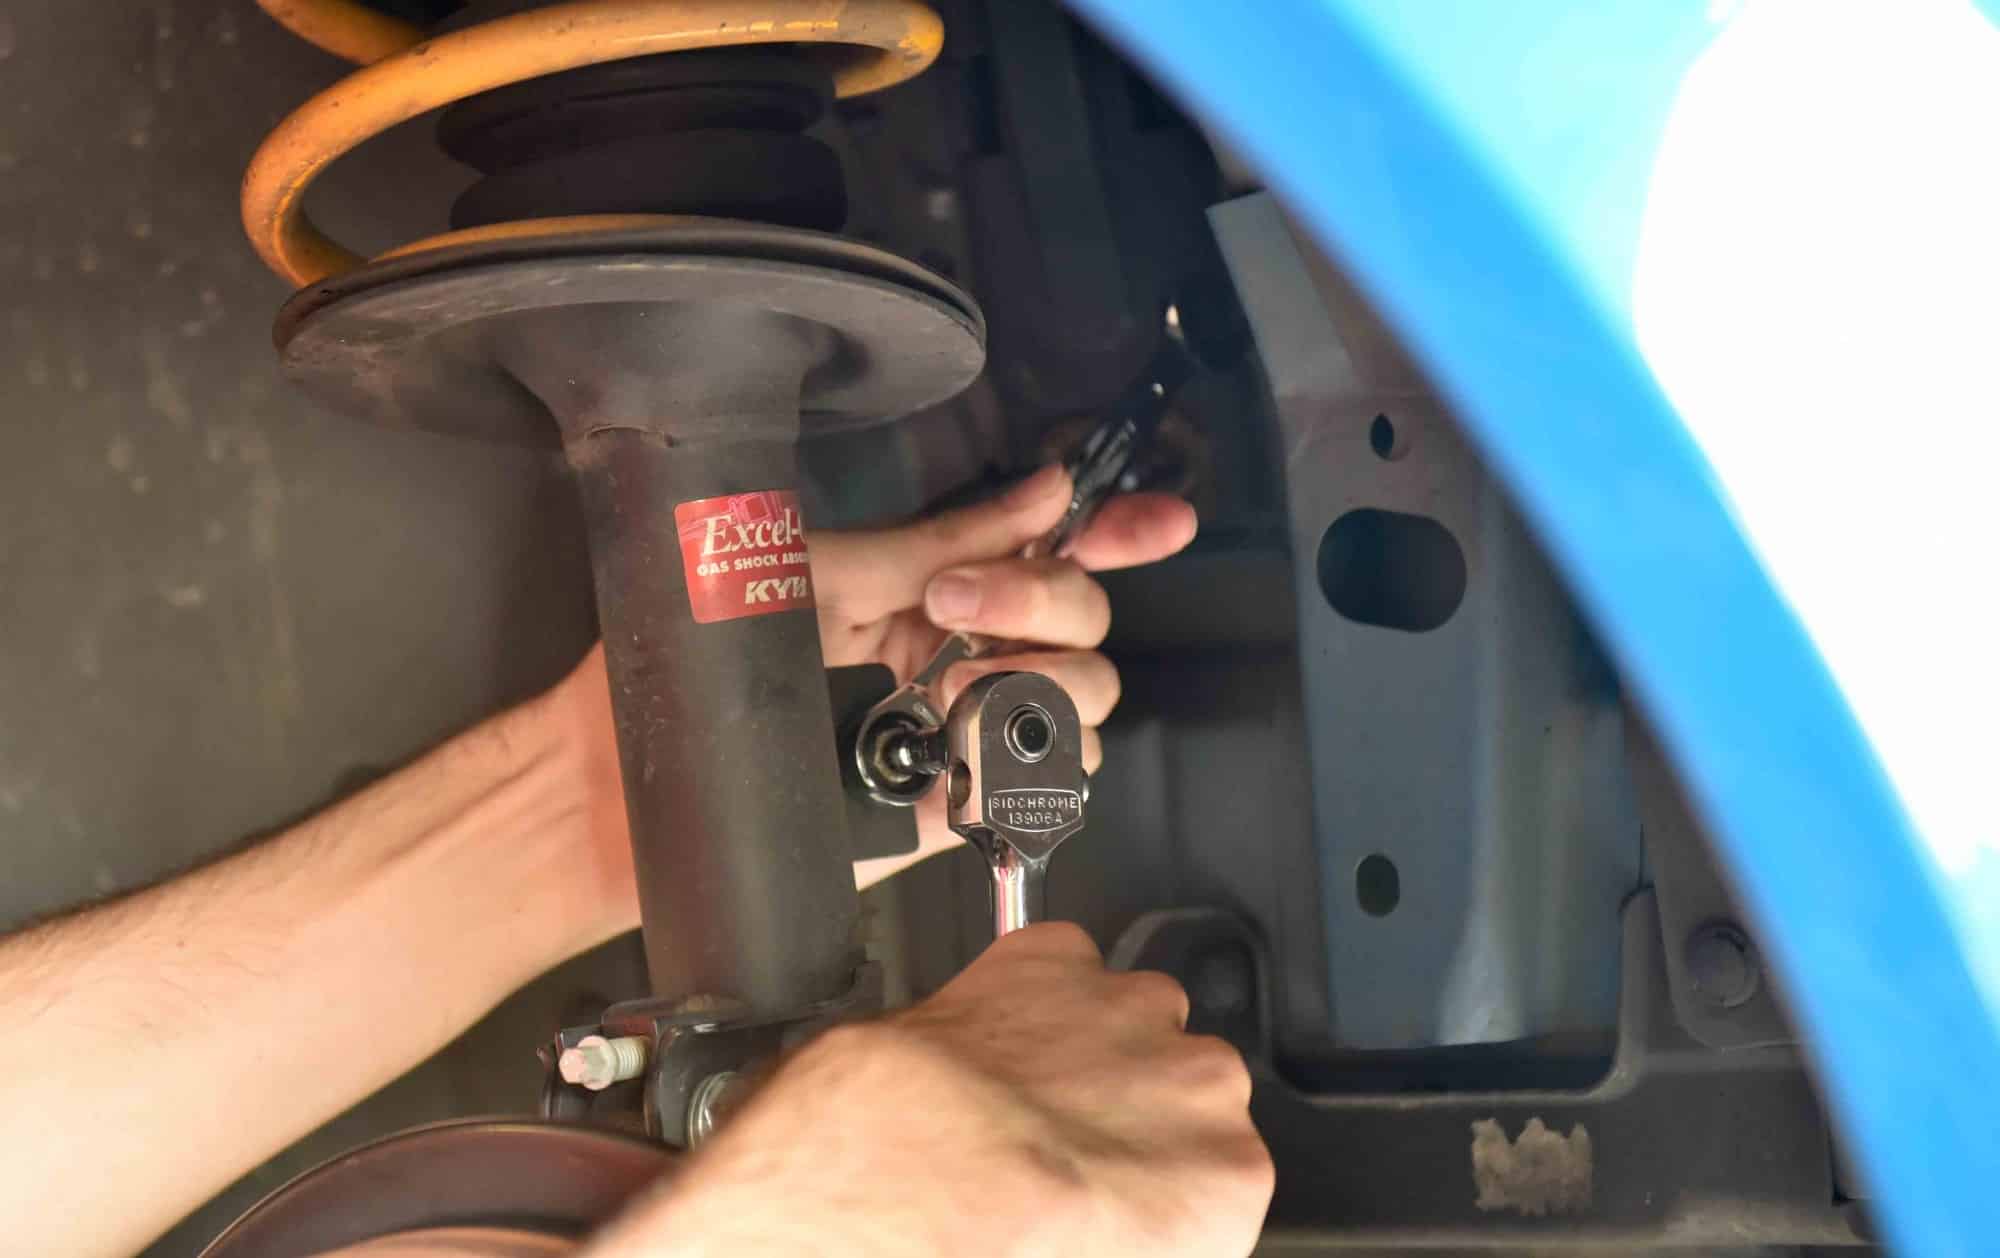
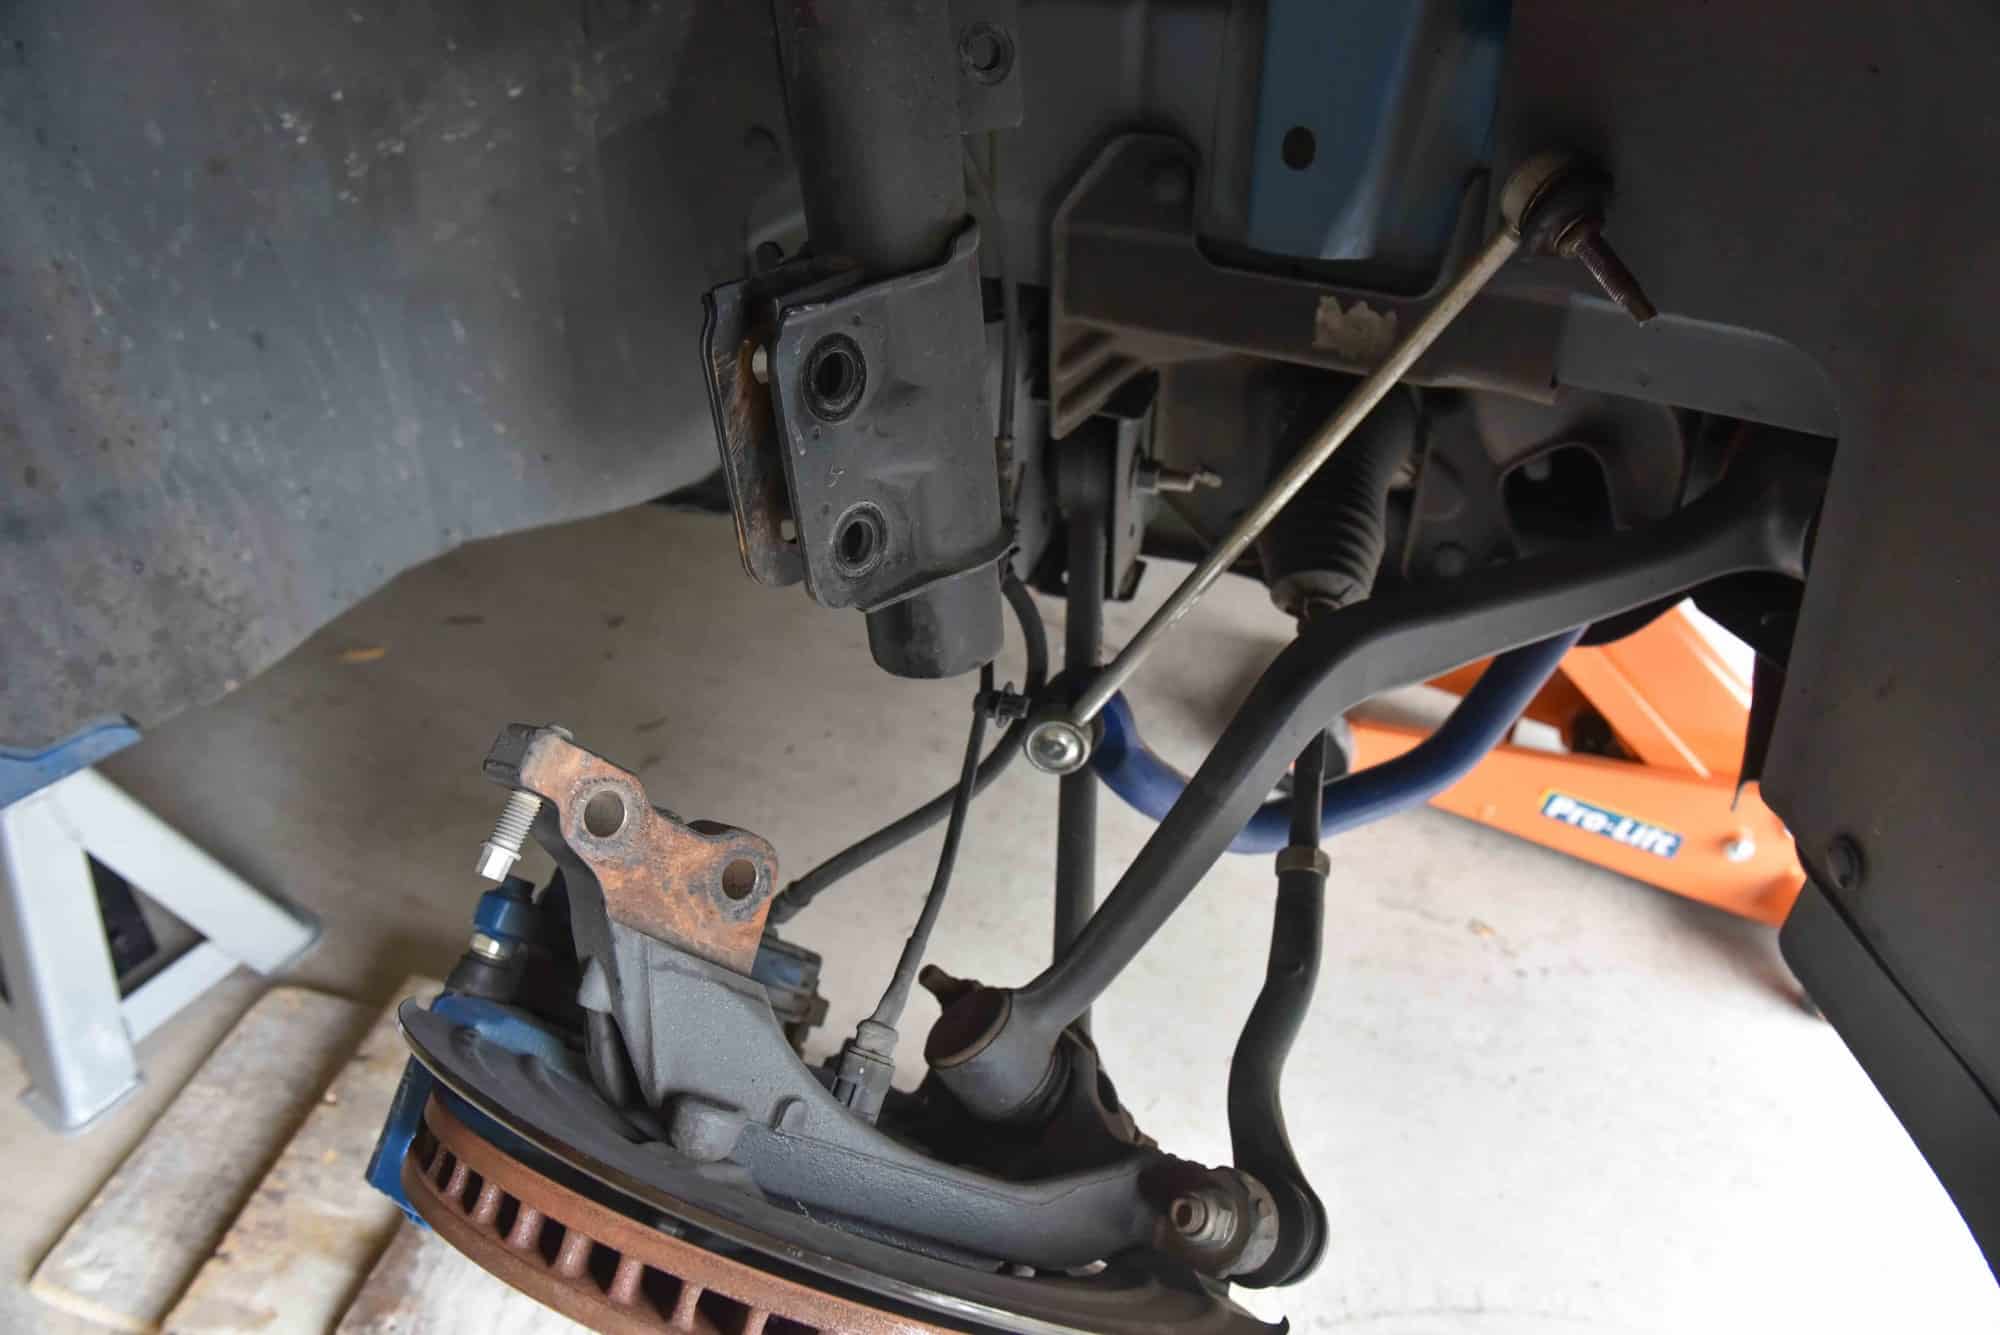
Next, unbolt the swaybar end link. Hold the centre using a socket whilst undoing the nut with a spanner.

Step 4

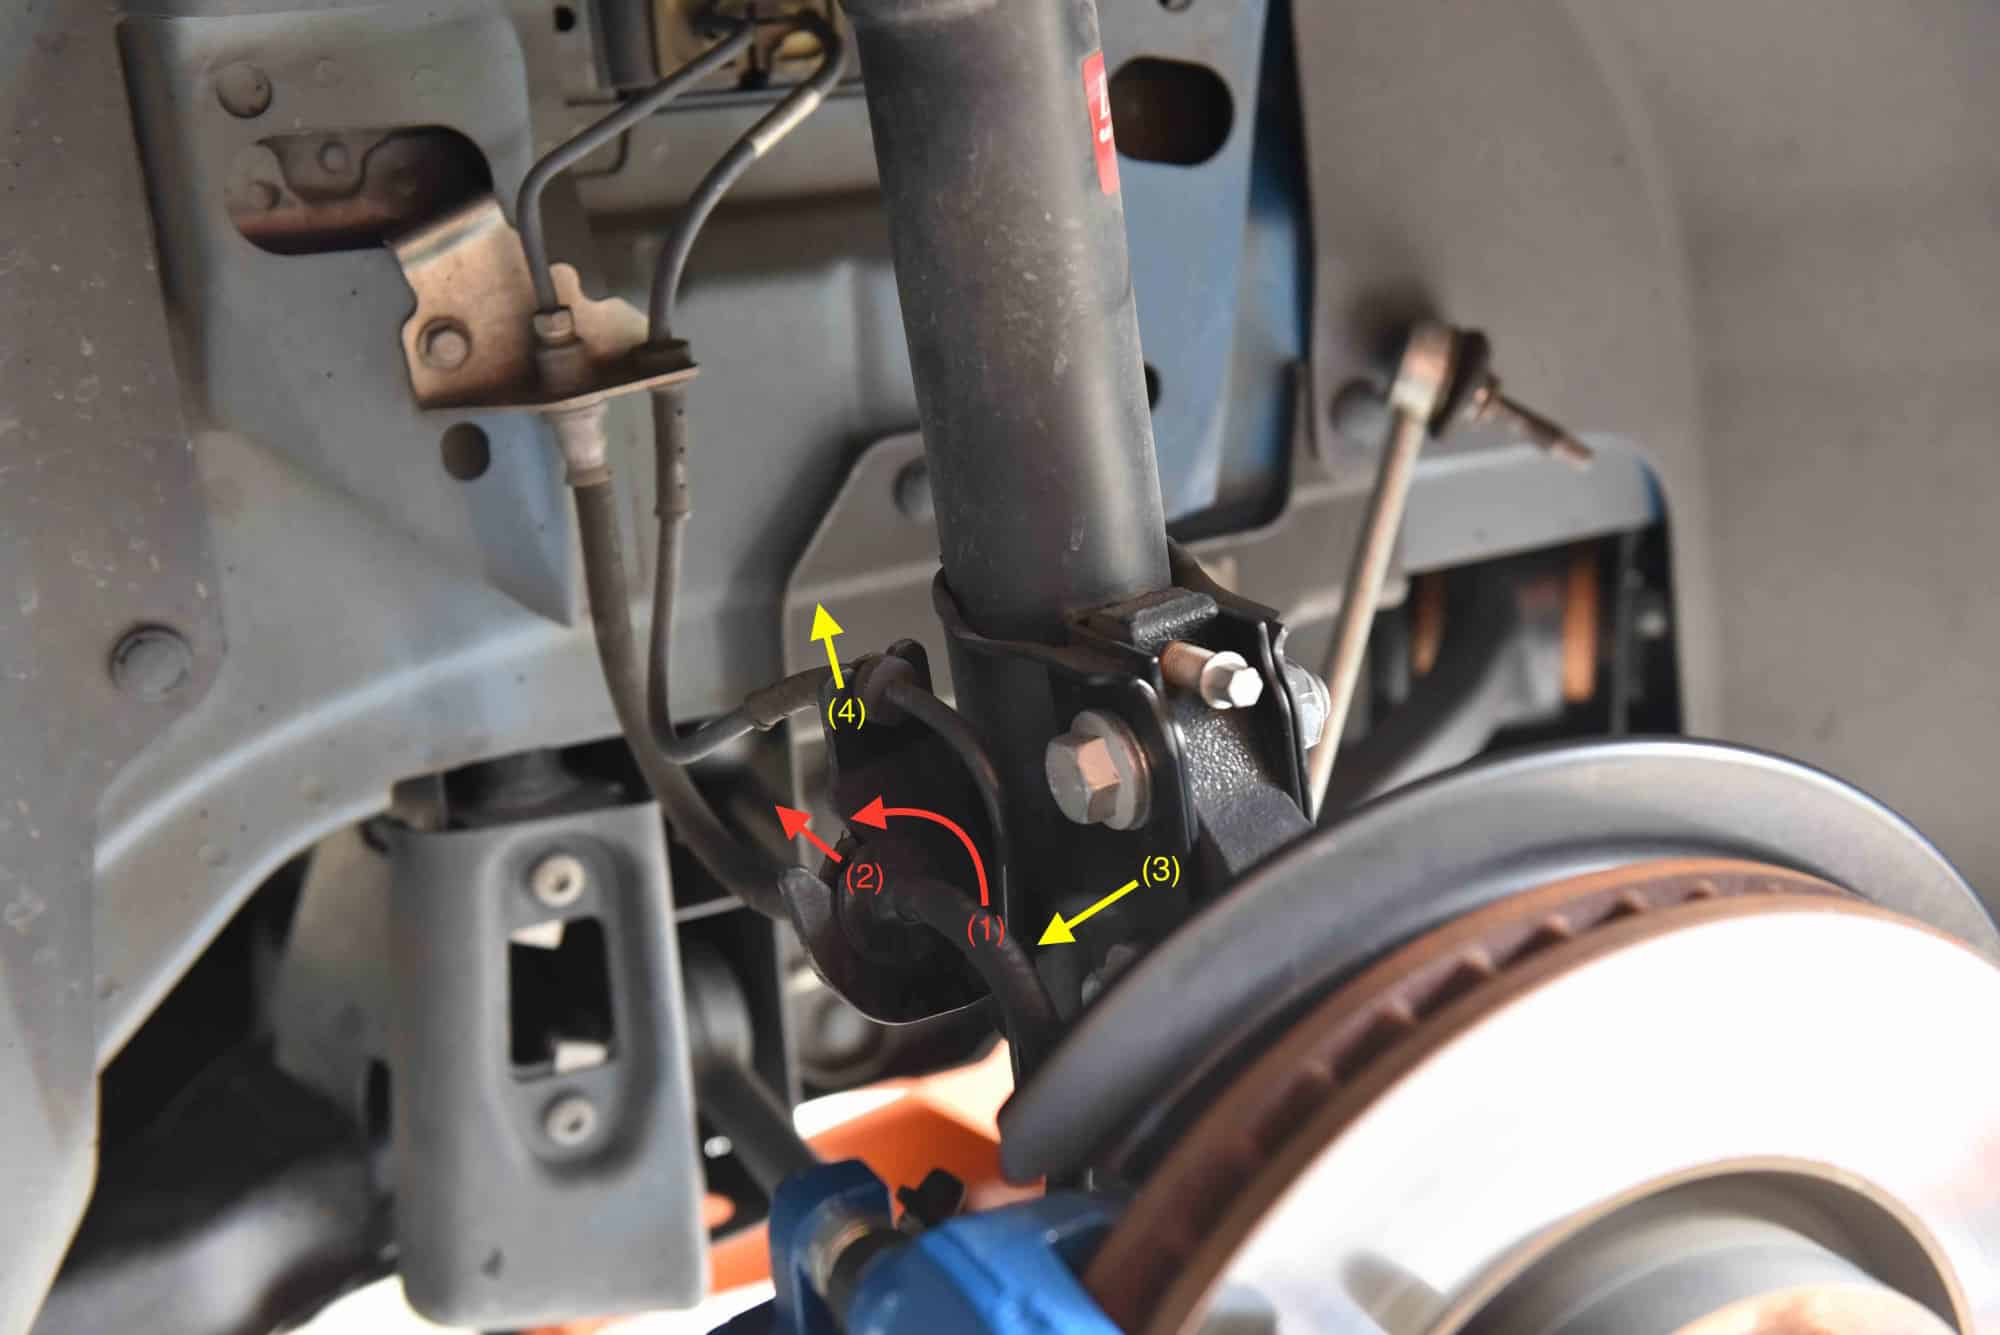
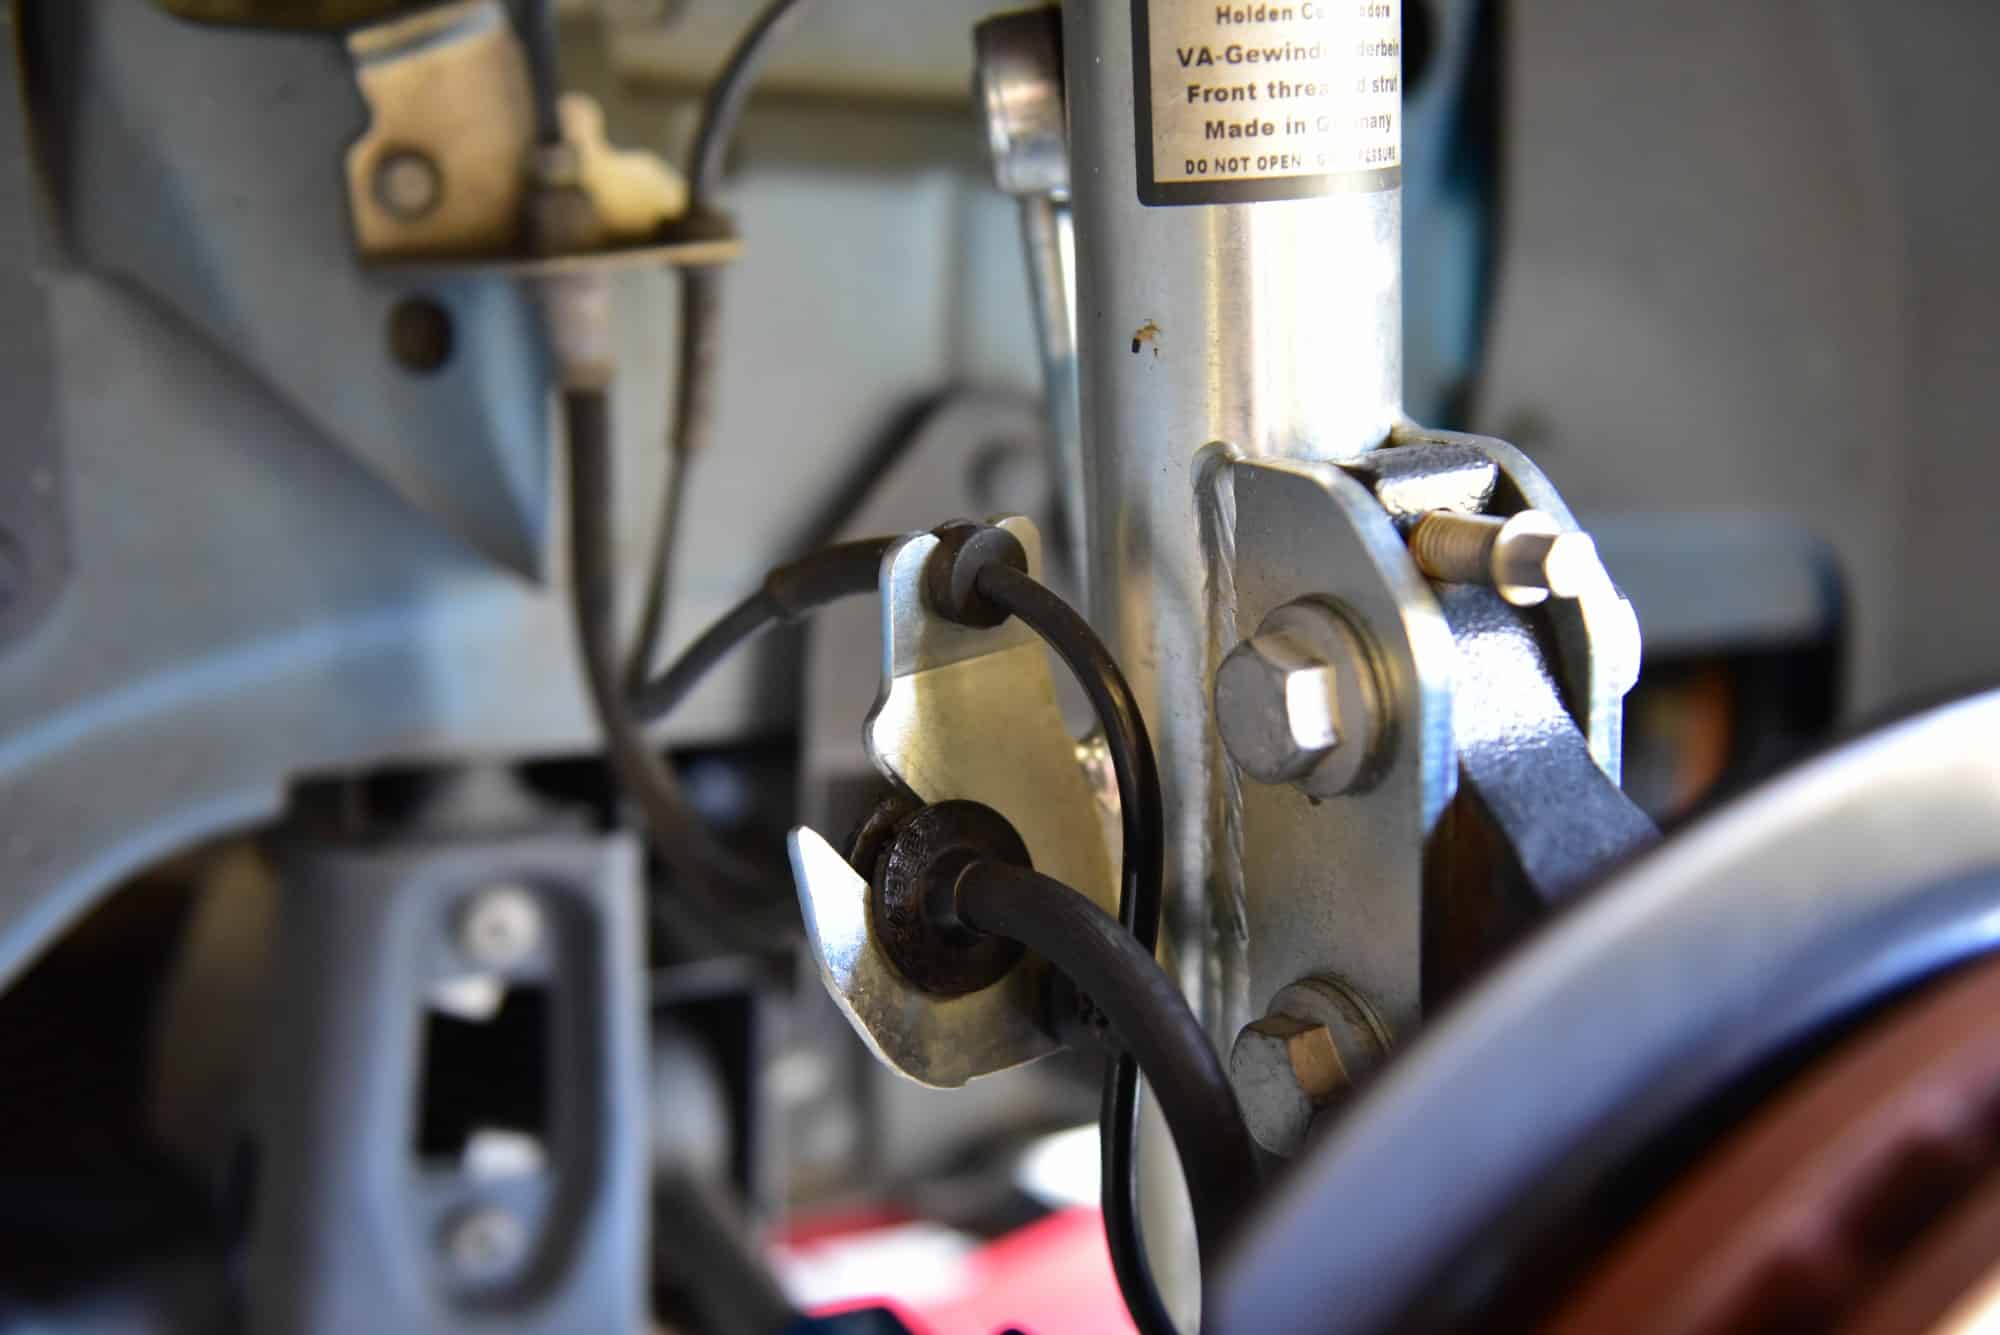
In this stage we will remove the brake line and wheel speed sensor cable from the strut bracket.

  1. Rotate the brake line 90 degrees (This aligns a notch on the brake line with the square slot, allowing you to remove it)
  2. Pull the brake line out of the bracket
  3. Un-clip the sensor wire
  4. Pull the sensor wire off the bracket

Step 5

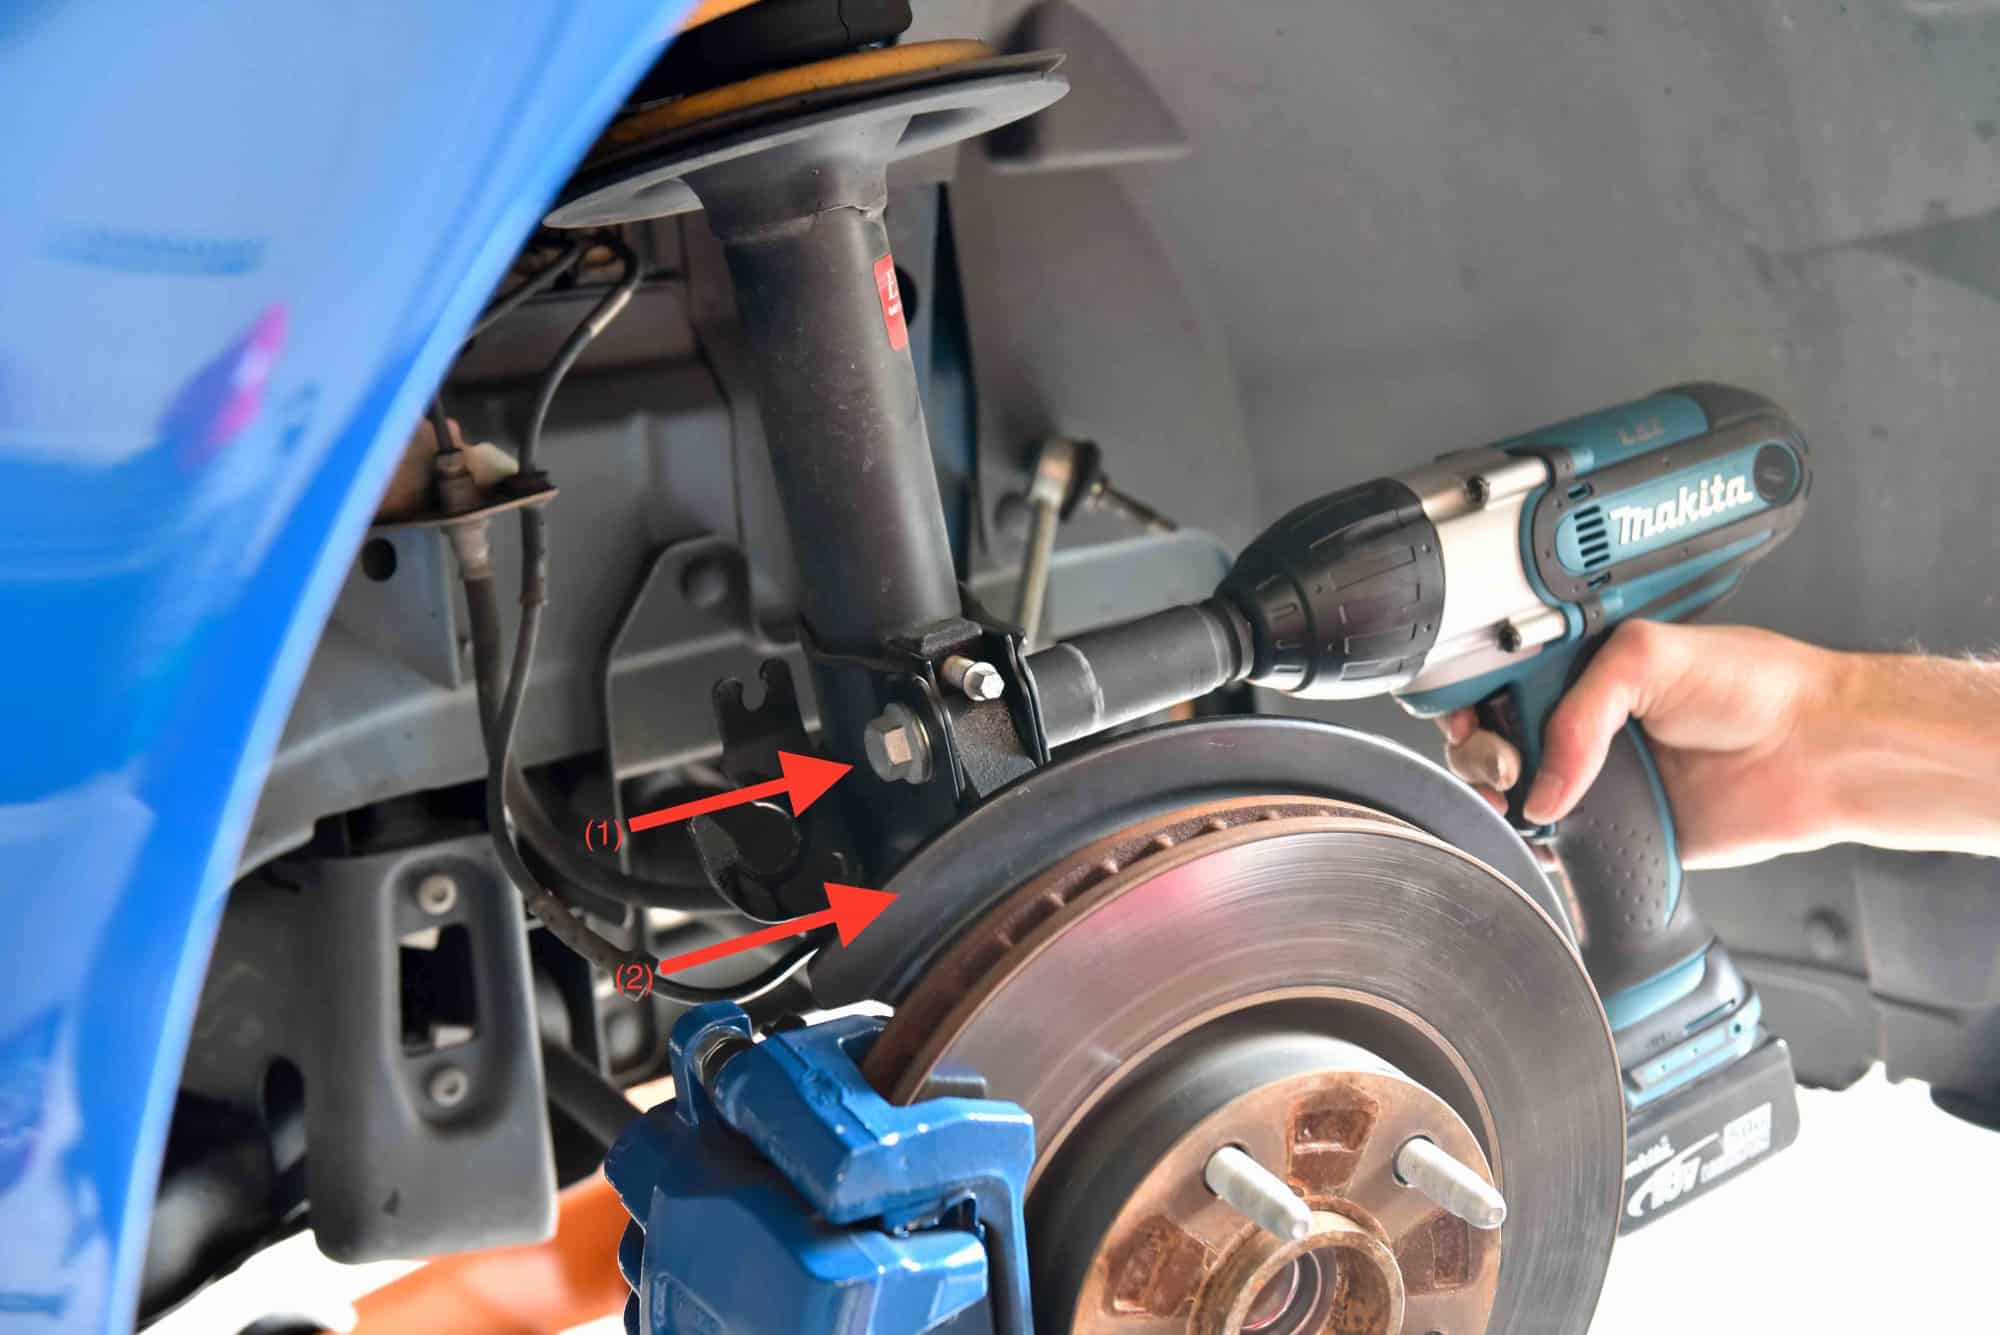
Loosen and remove the two large bolts located on the bottom of the strut. You may need a breaker bar or impact wrench as these are very tight.

Note: As these are stretch bolts they should be discarded. New nuts and bolts should be used.

Step 6

Once the two bolts have been removed, gently lower the hub onto a box or bucket to support it.

Step 7

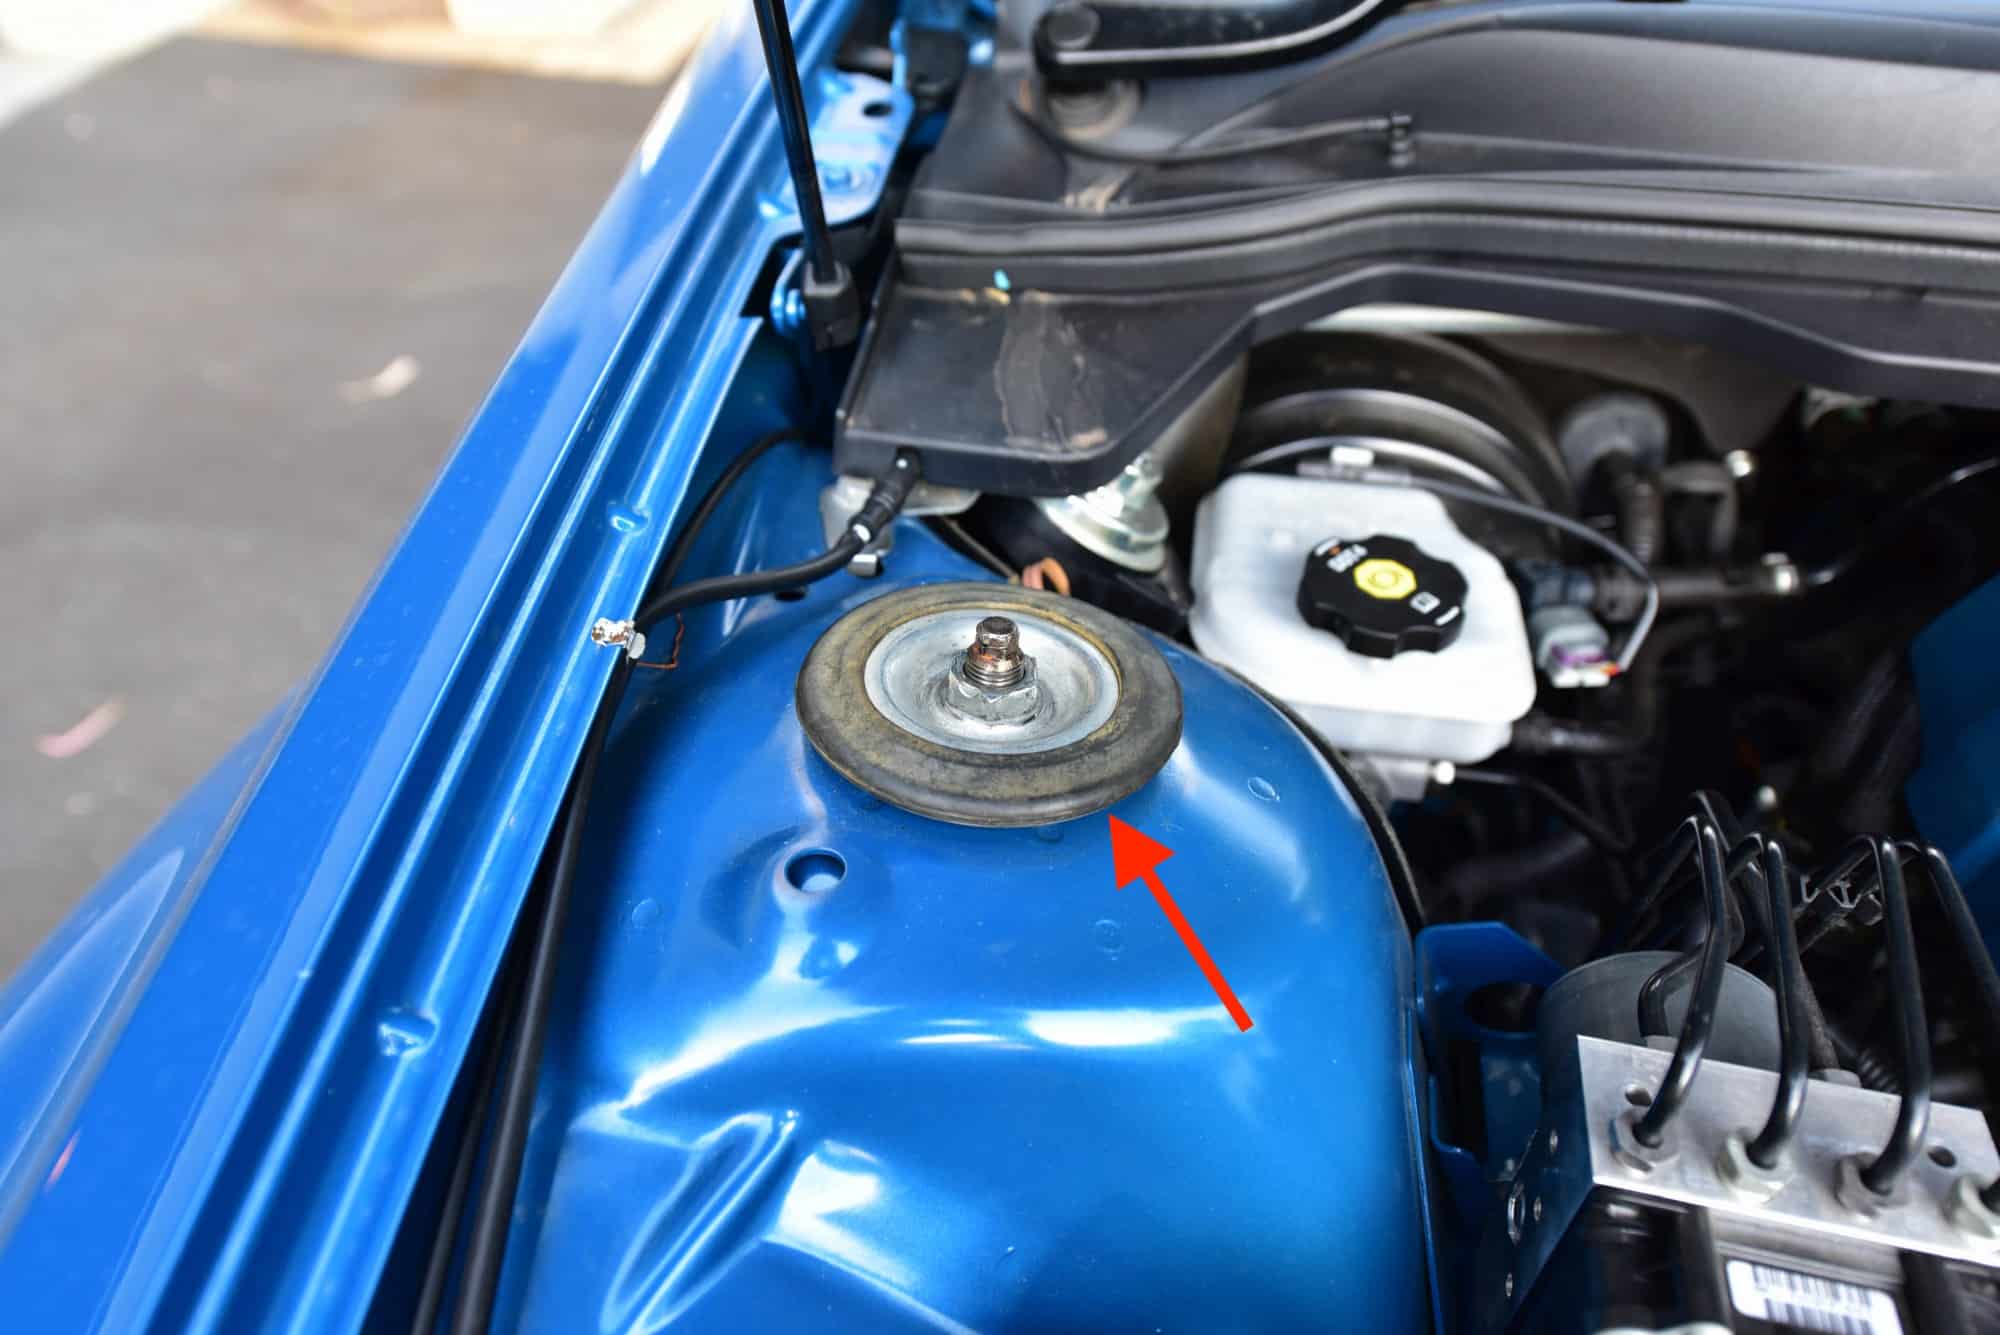
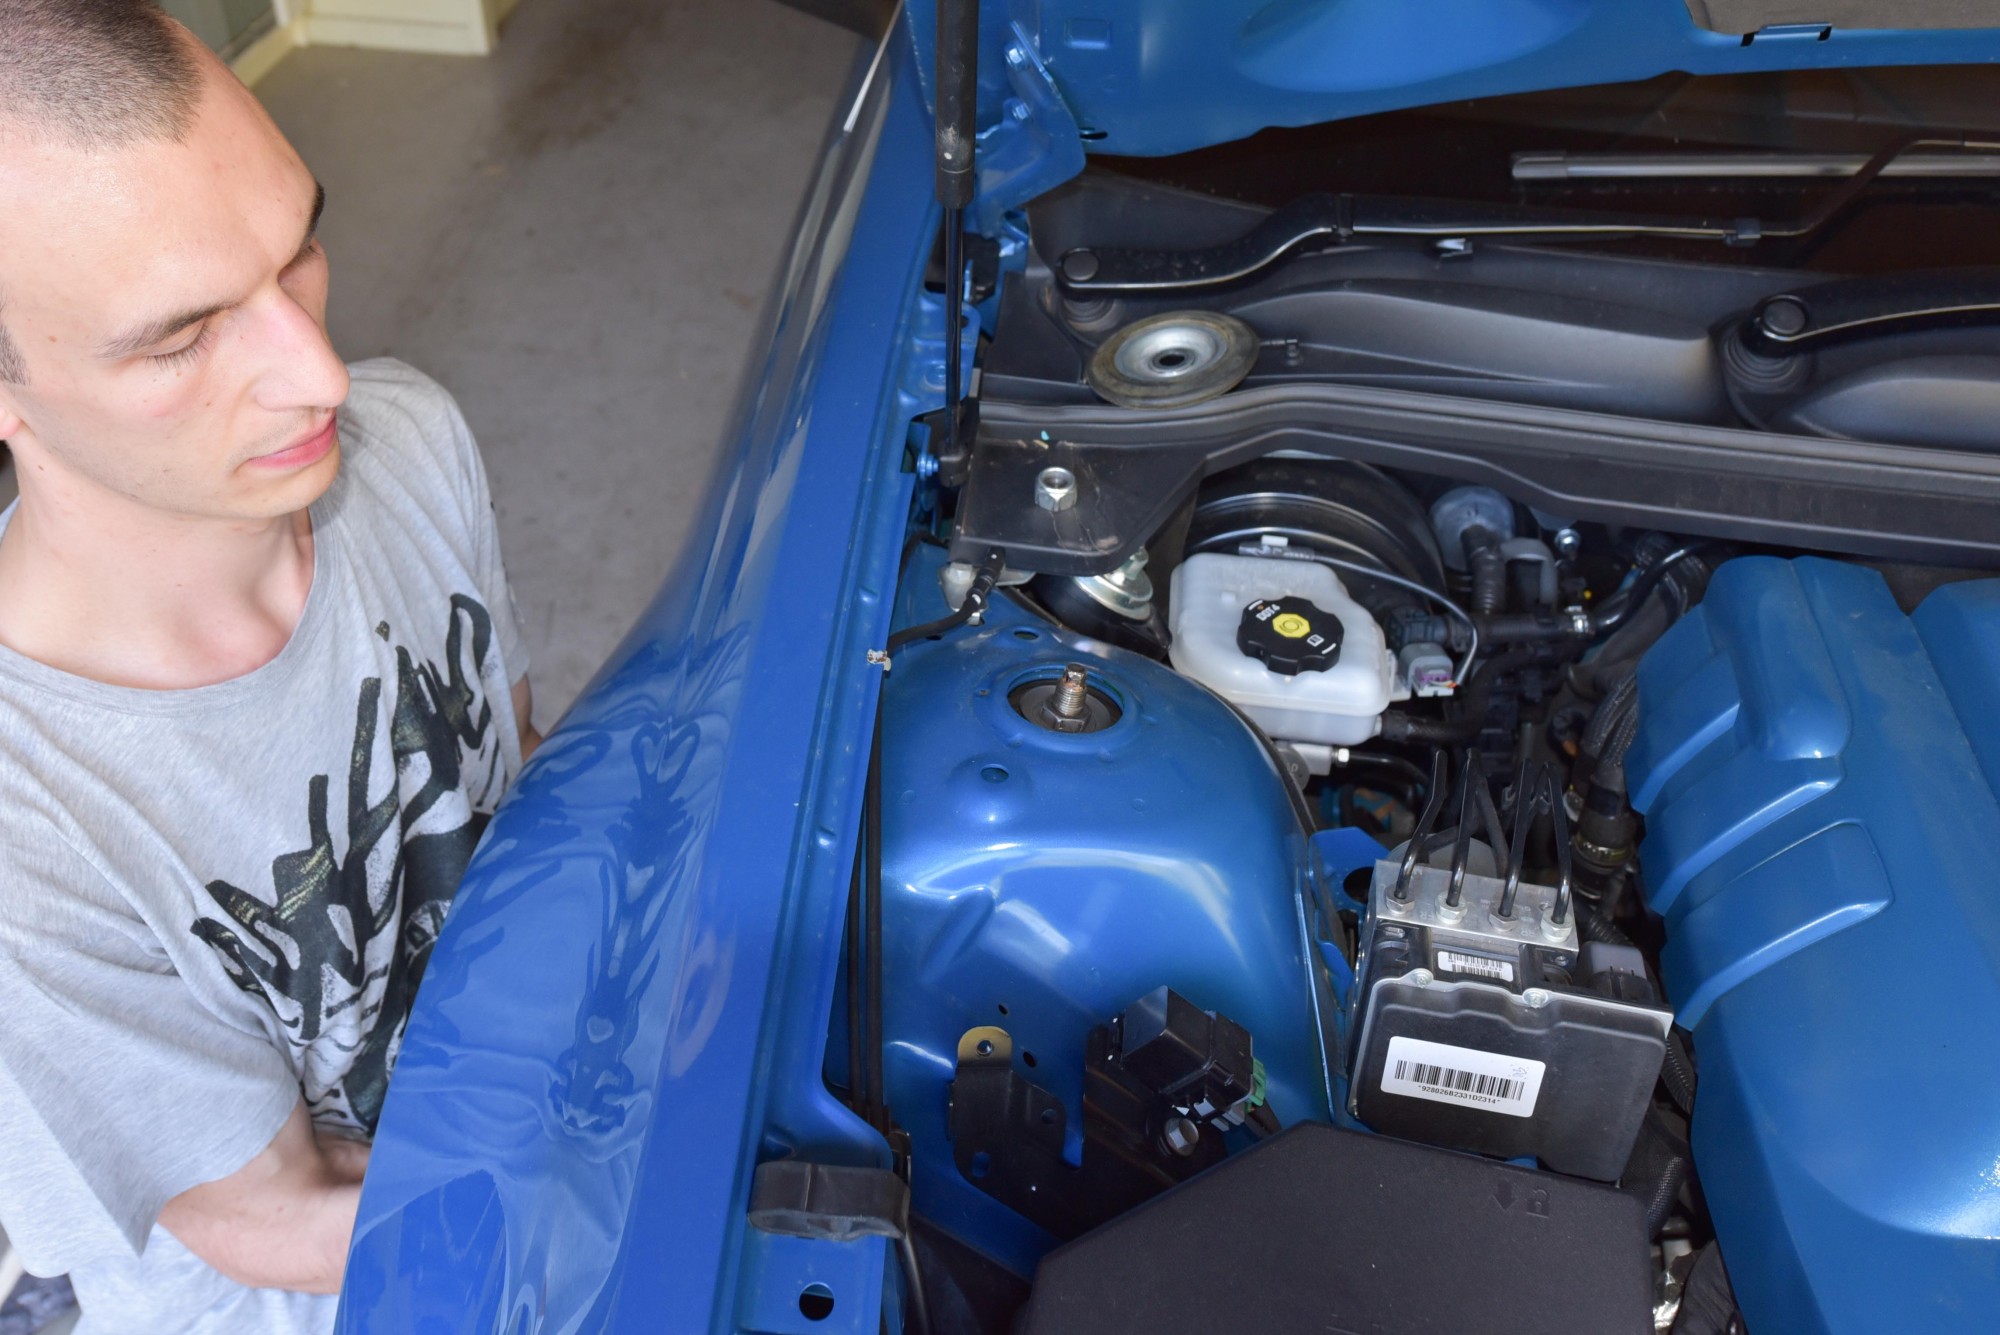
The strut is now being held in place by the shaft nut in the engine bay.

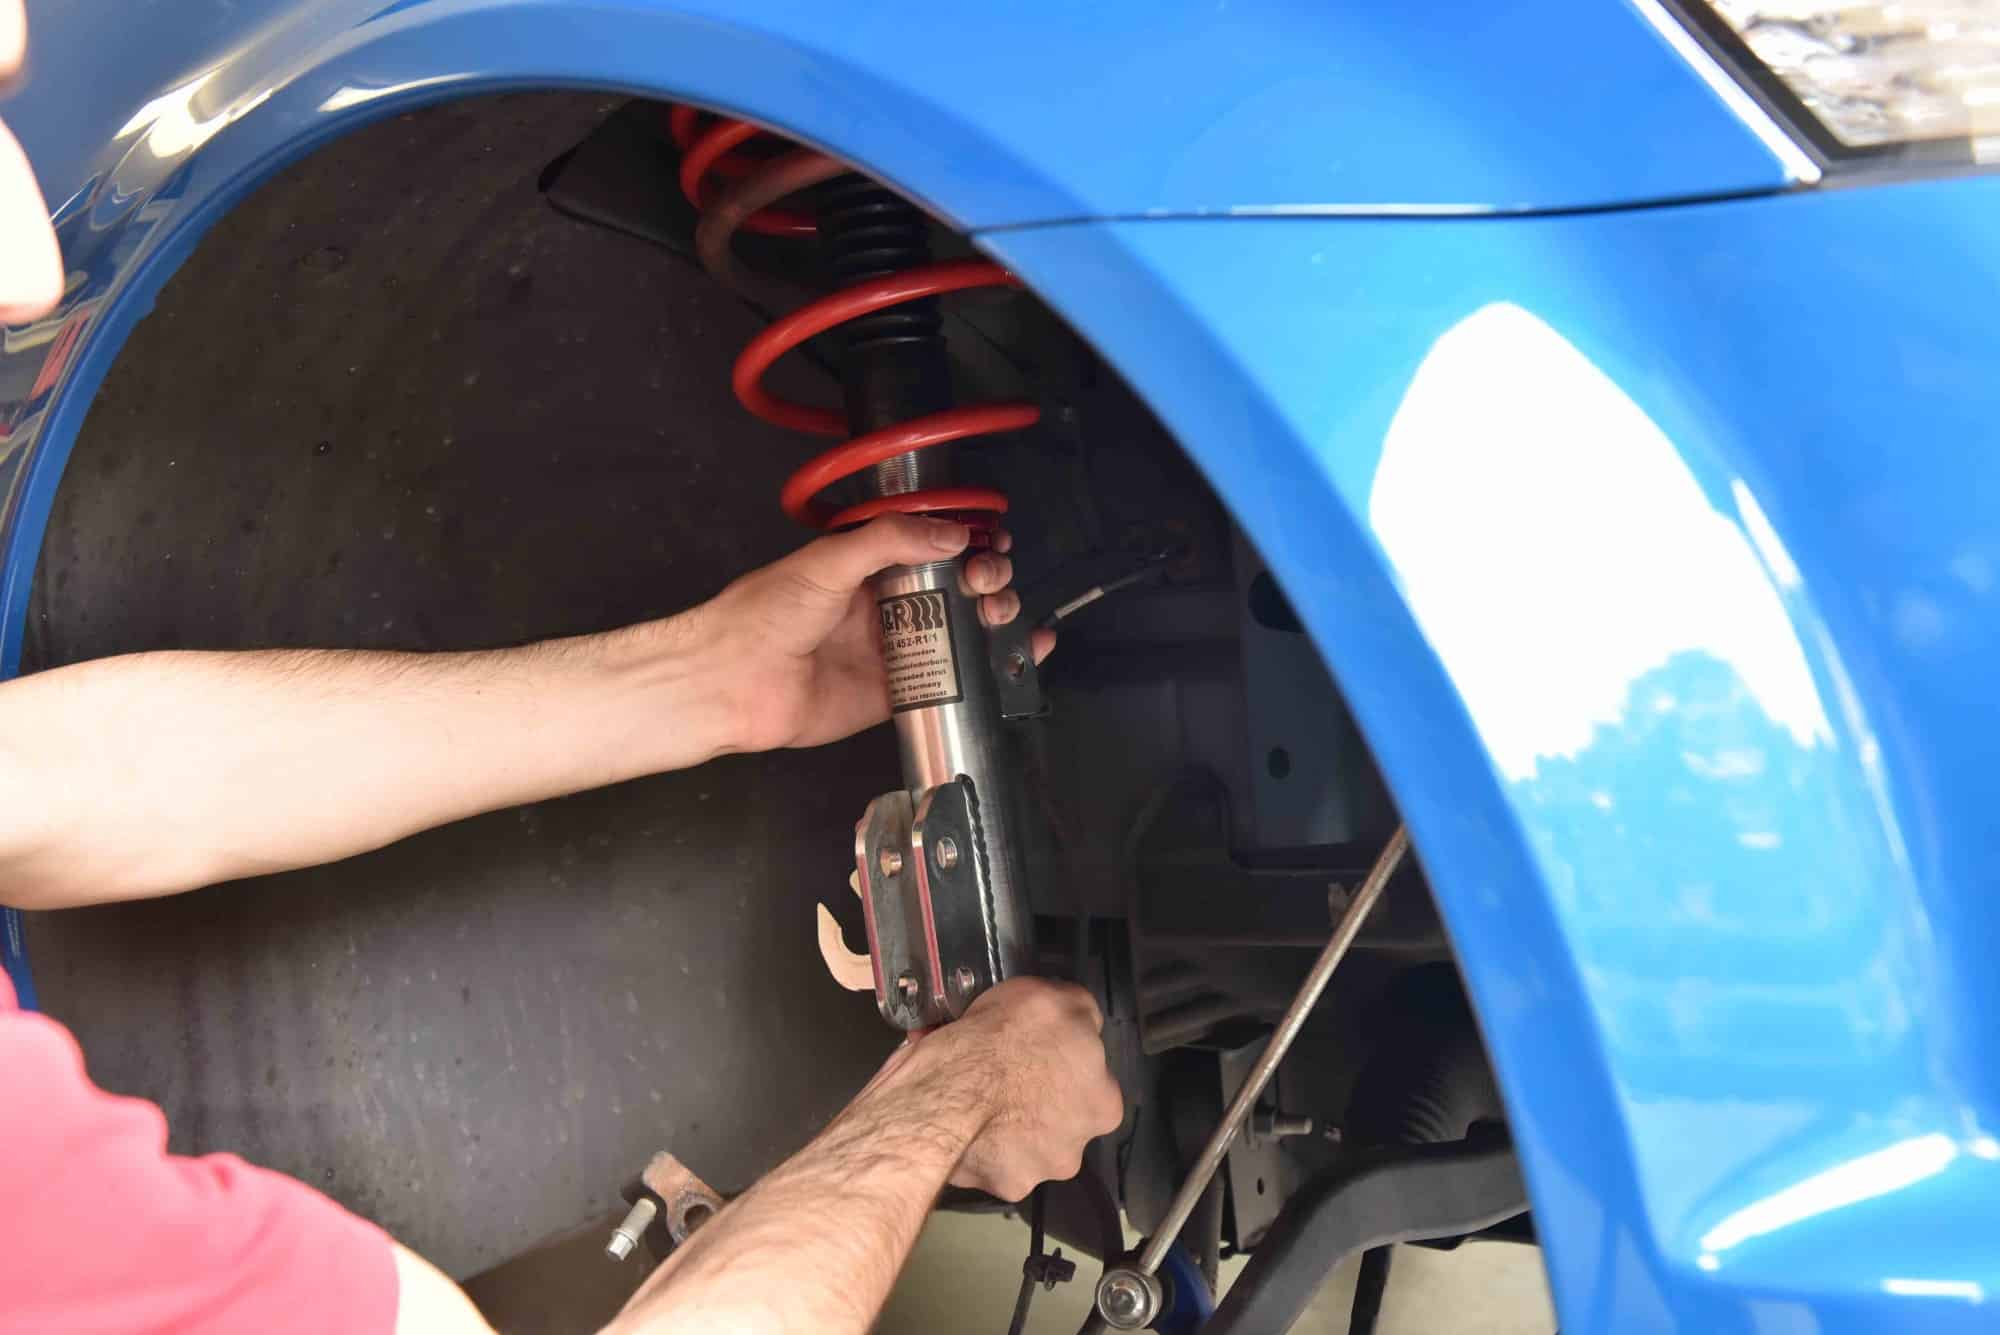
You will need to support the strut as you undo the nut and remove the strut hat. This is carried out in the next step.

Step 8

Whilst supporting the strut from within the wheel arch, undo the strut nut and remove the strut hat. The strut will now be free from the vehicle.

Nice Work! The strut removal is now complete.

Are you looking to disassemble the strut to install new springs, shocks or perhaps both? See our guide on Front Strut Disassembly!

Step 9

Re-Installation

Guide the strut back into the wheel arch. Position the top of the strut so it protrudes into the engine bay.

Step 10

Place the strut hat onto the shaft and screw down the nut by hand. We will tighten the nut to specification as our final step.

Step 11

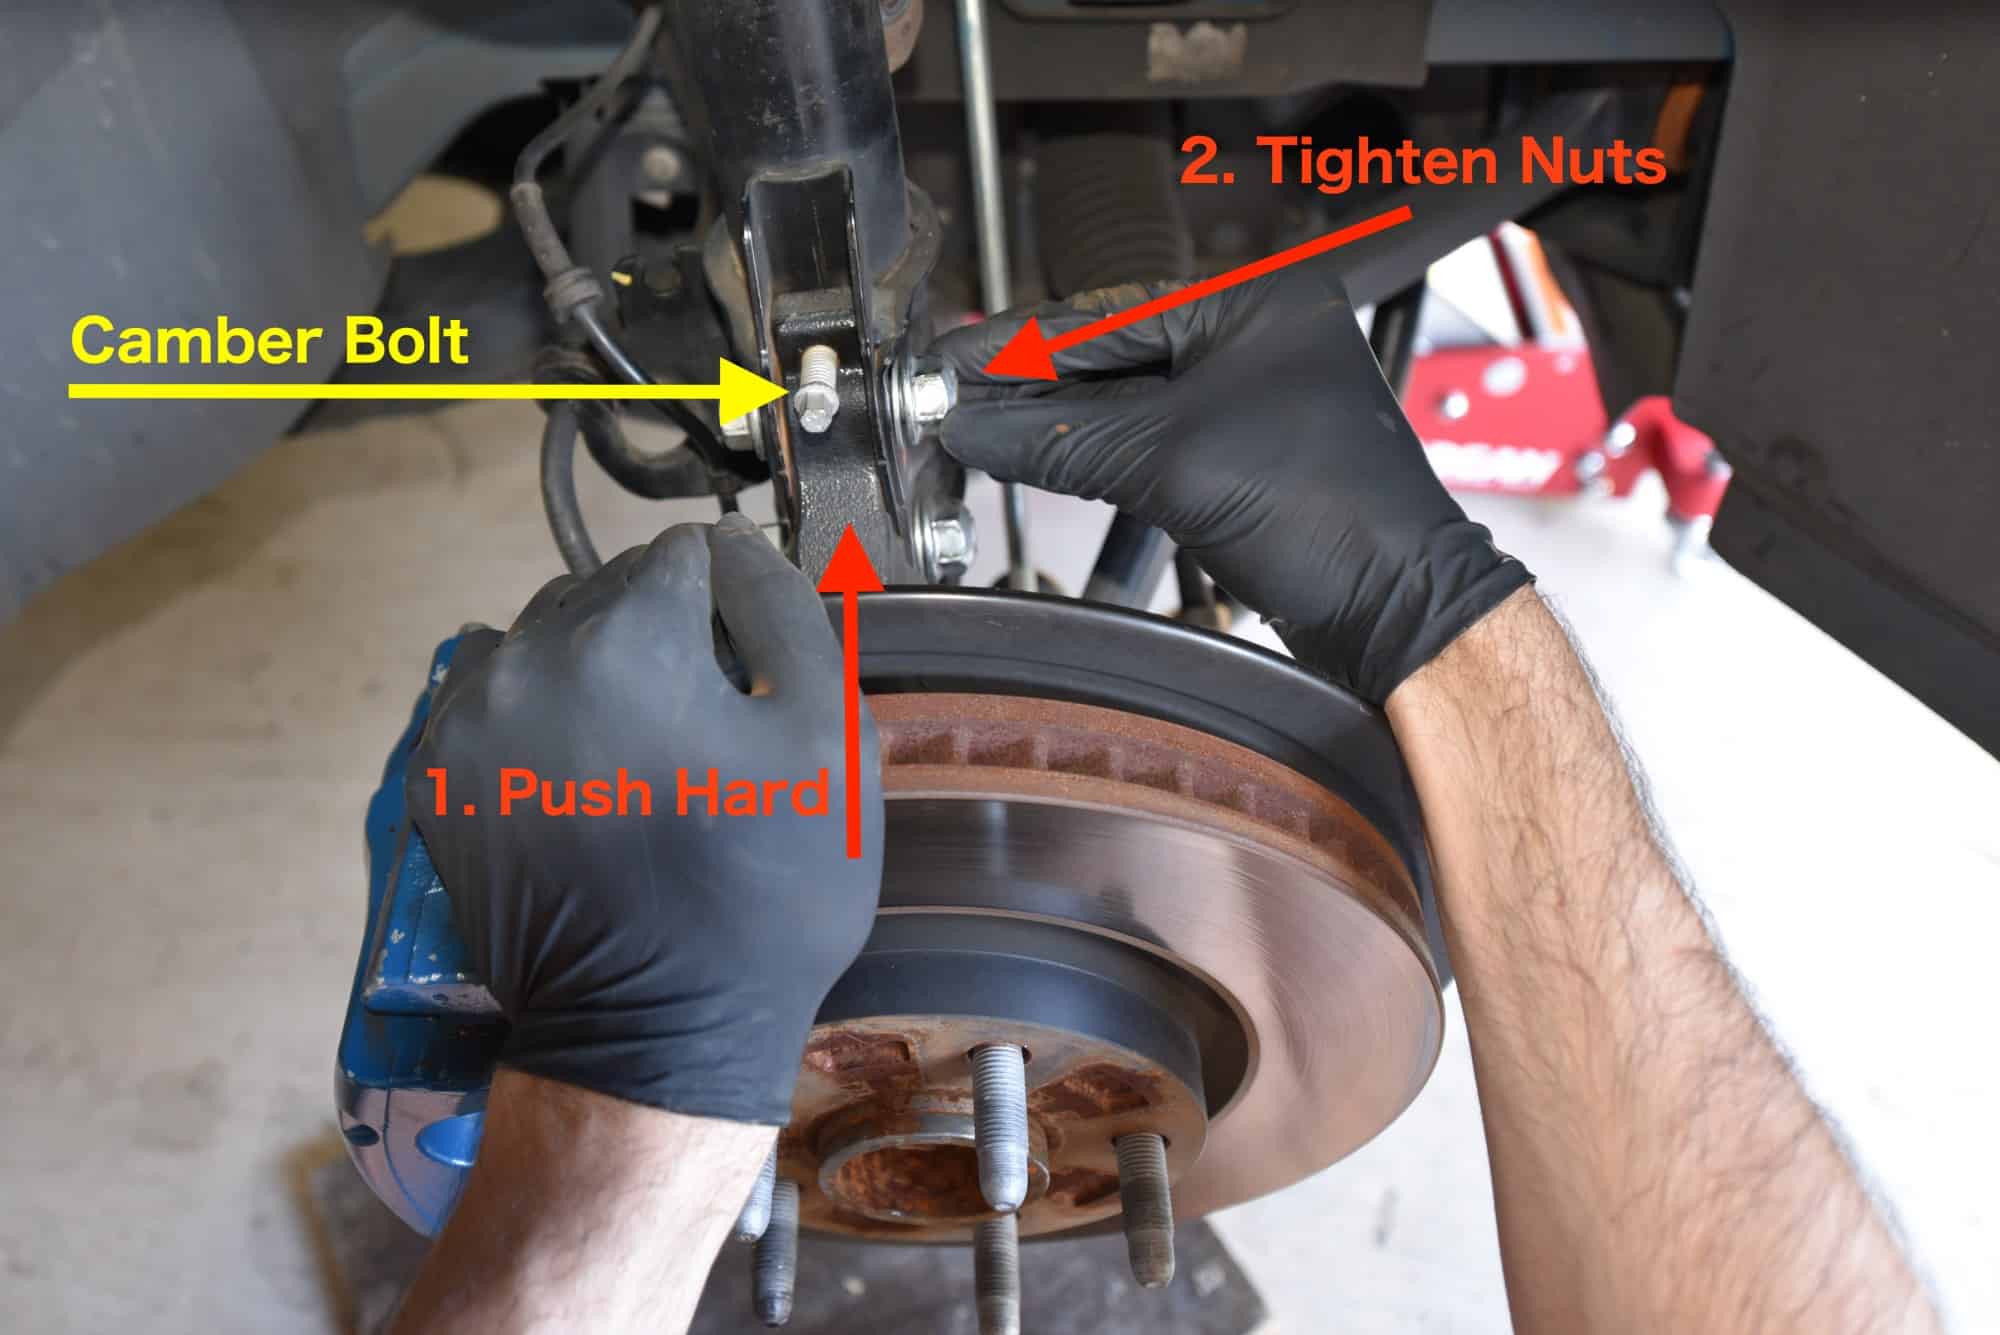
Using new nuts and bolts, insert the two strut-to-hub bolts, washers and nuts.

Step 12

Push the hub hard against the strut and tighten the nuts whilst in this position. This aligns the camber bolt onto the strut as per the picture.

Step 13

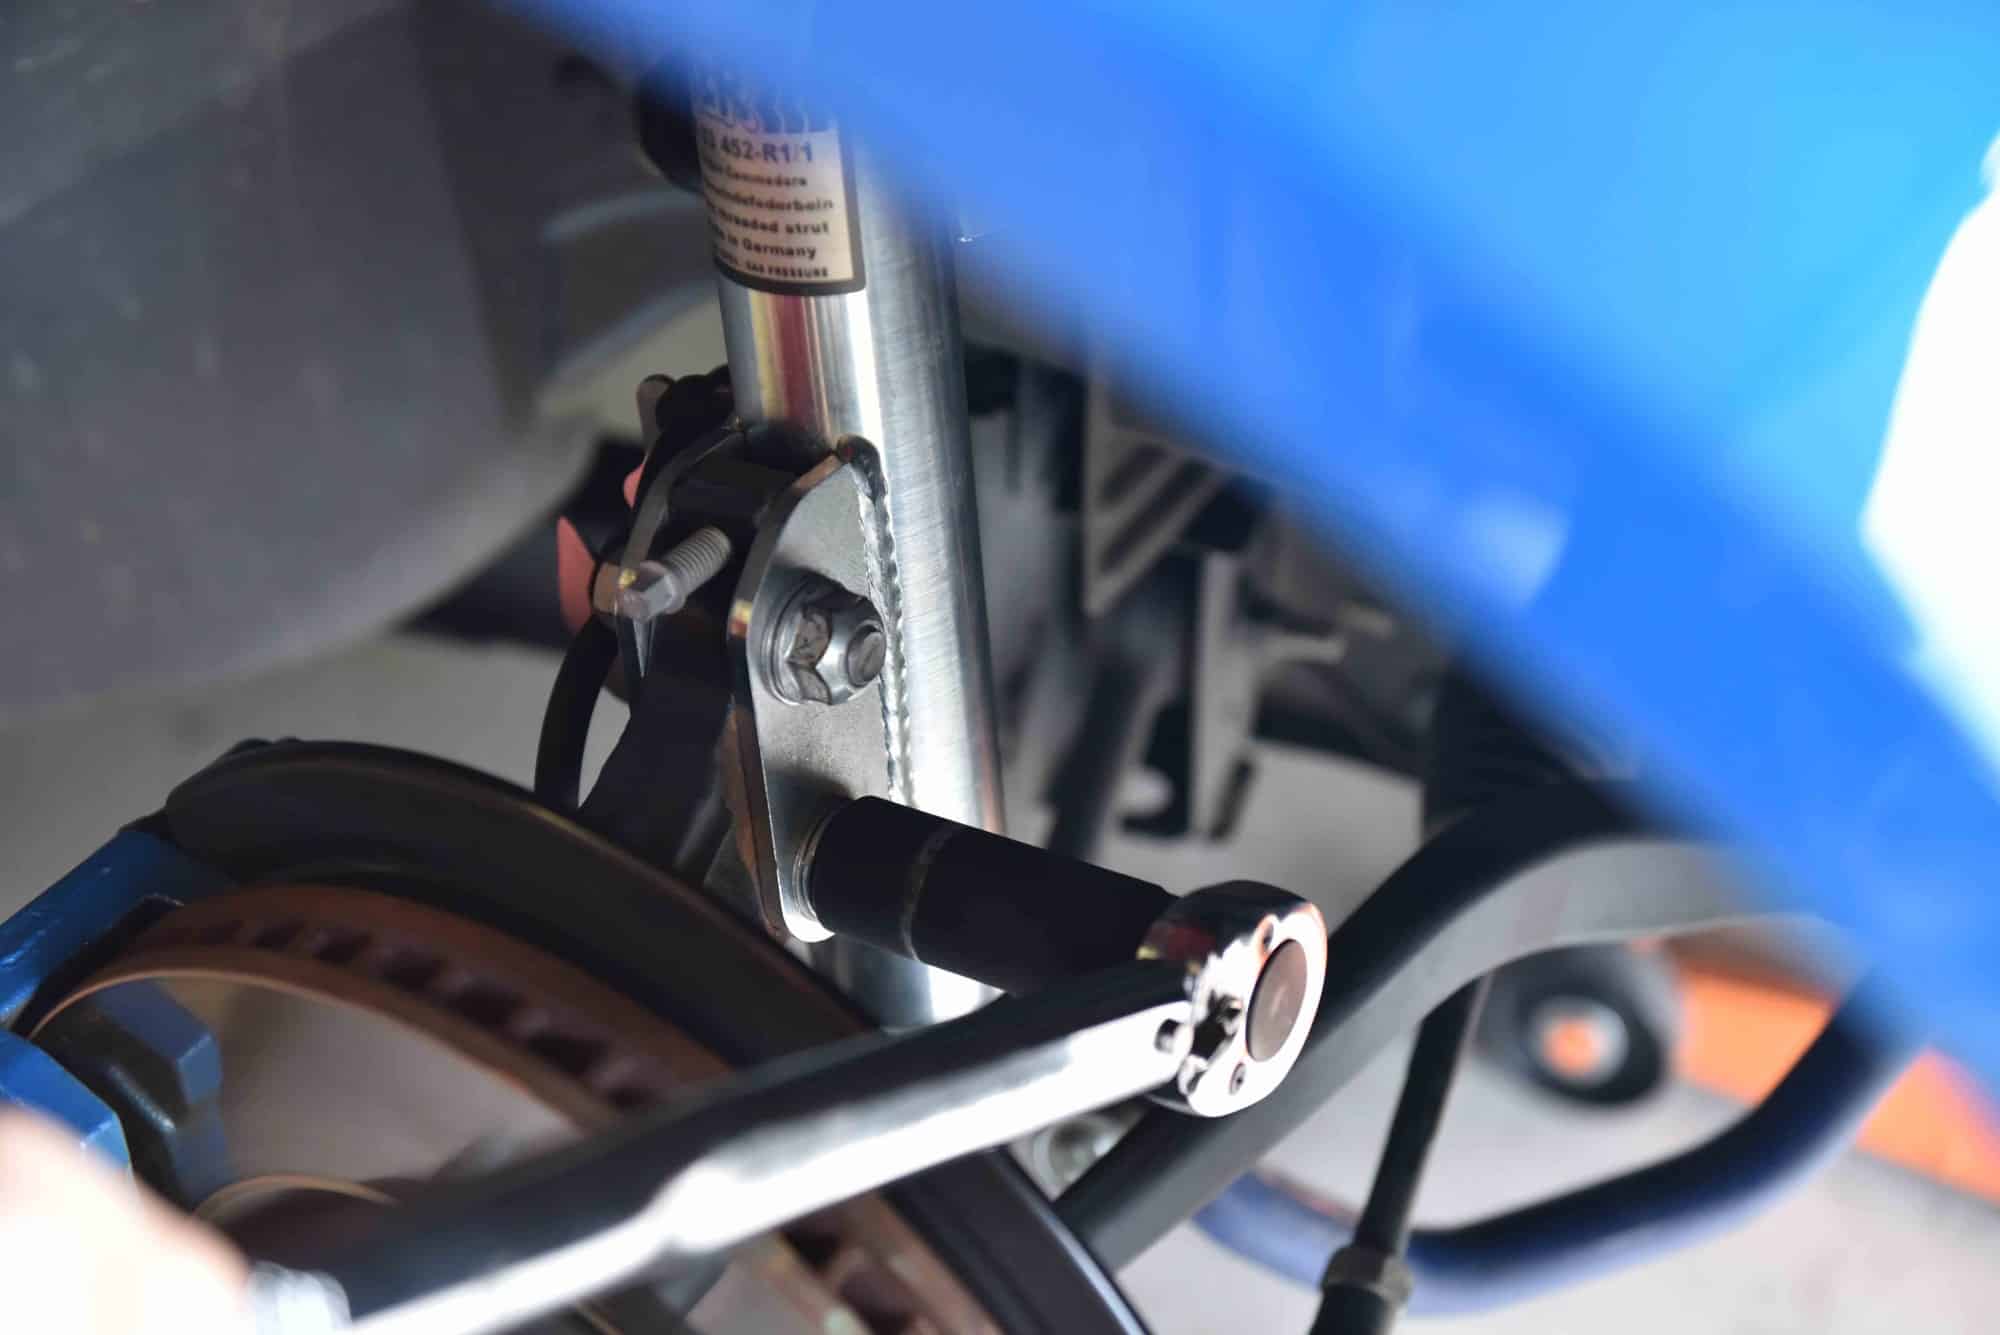
Tighten both strut-to-hub bolts to 100nm Each. Then turn each nut an additional 90 degrees. These are stretch bolts and should be single use only!

Step 14

Attach and tighten the sway bar end link. Torque to 50nm.

Step 15

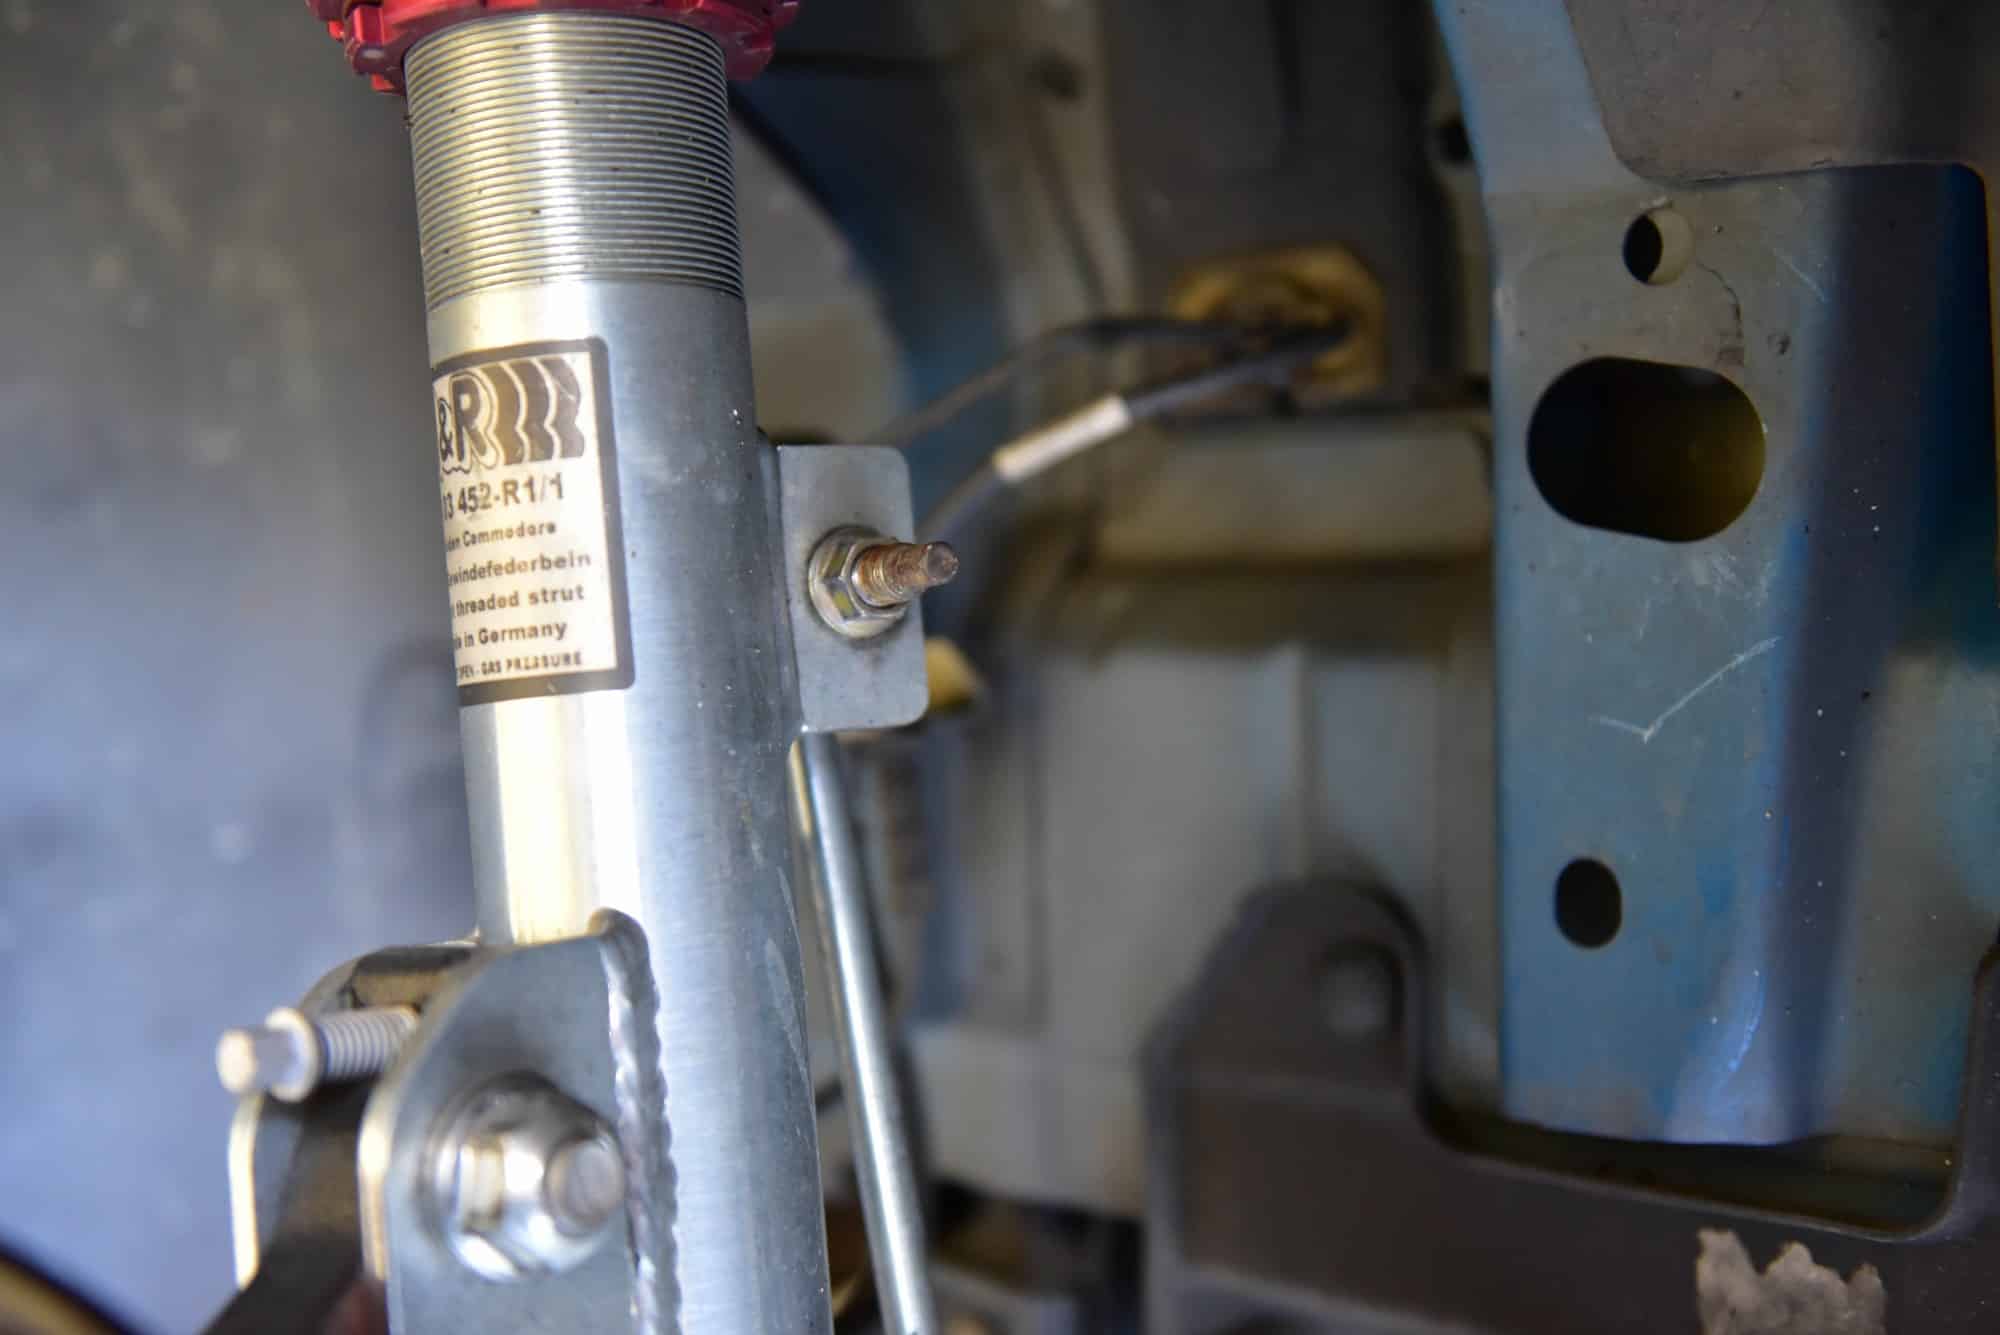
Re-attach the brake line and wheel speed cable to the bracket.

Step 16

The final step is to tighten the upper nut within the engine bay. Torque to 55nm.

Did you find this guide helpful? Consider sharing it to help other car enthusiasts

Facebook
Twitter
Leave a Reply