The 8th Generation Honda Civic OEM radio contains a hidden diagnostic mode with a few useful features that most drivers would be unaware of. This guide will show you how to access the diagnostic menu and show you what each screen within the menu does.
Difficulty Rating
Easy
Tools/Parts Required
None
Step 1
Insert your key into the ignition and turn to Position I – Accessory, do not turn to Position II as you will not be able to enter the Diagnostic menu.
Step 2
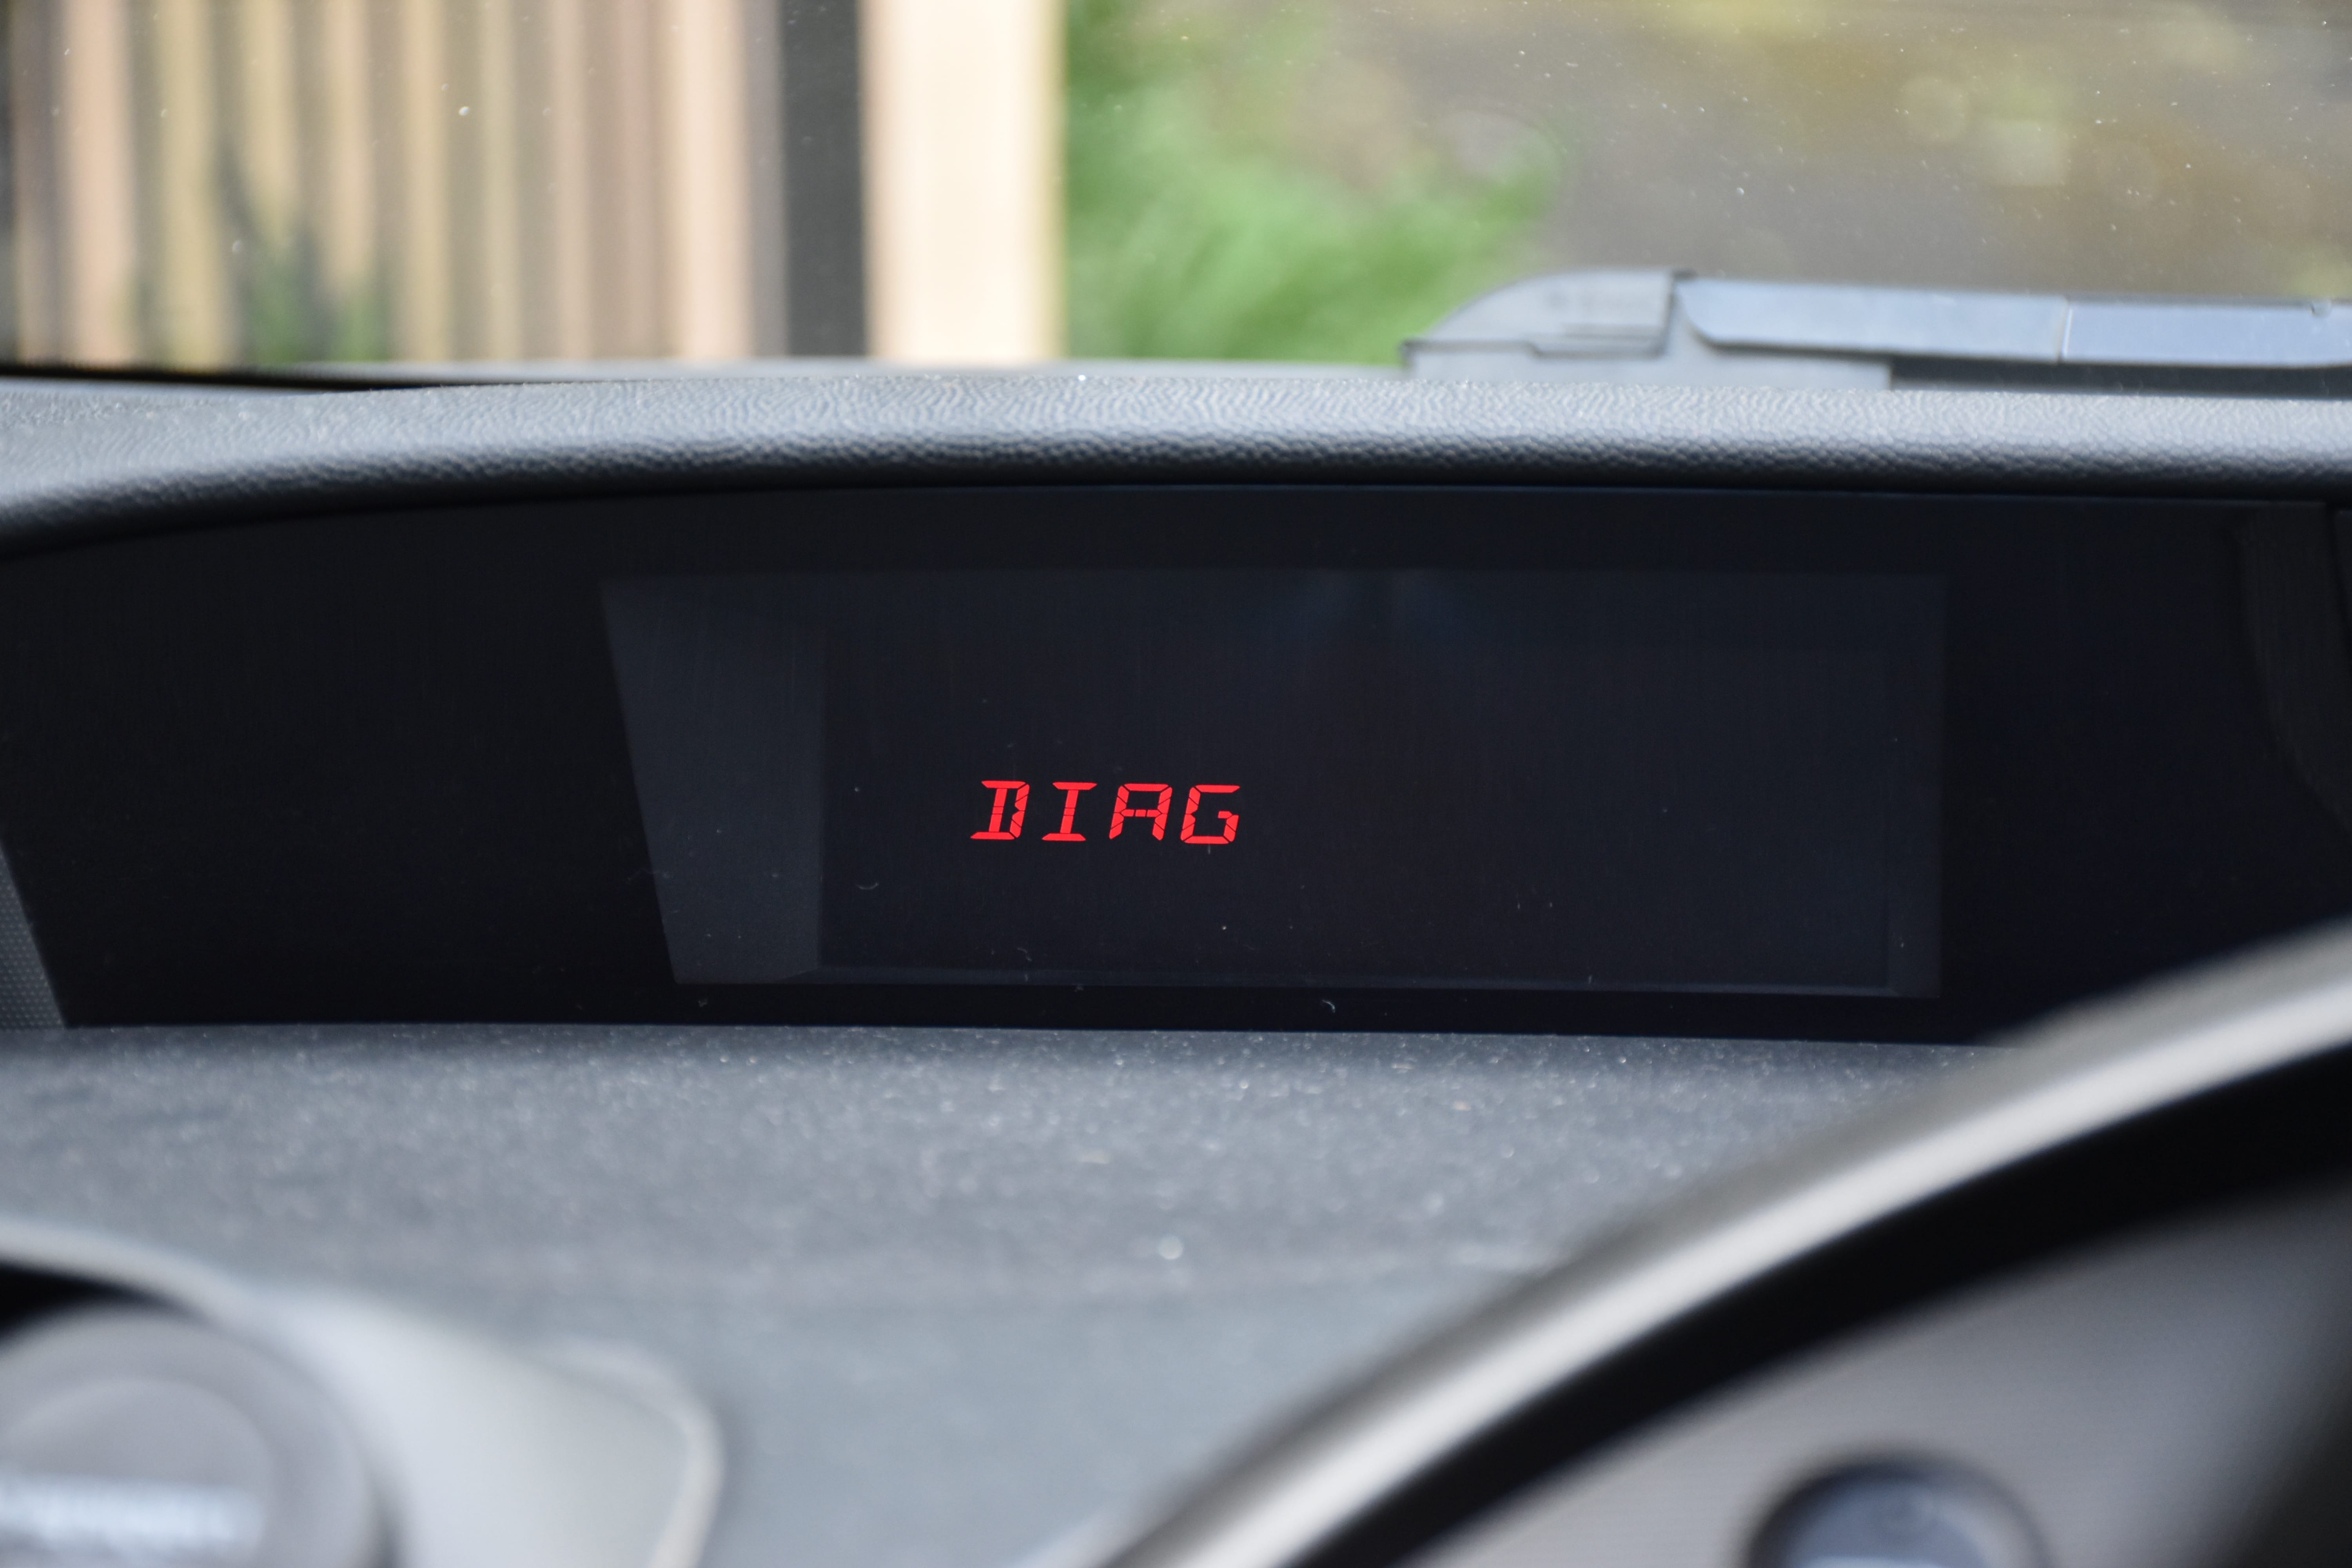
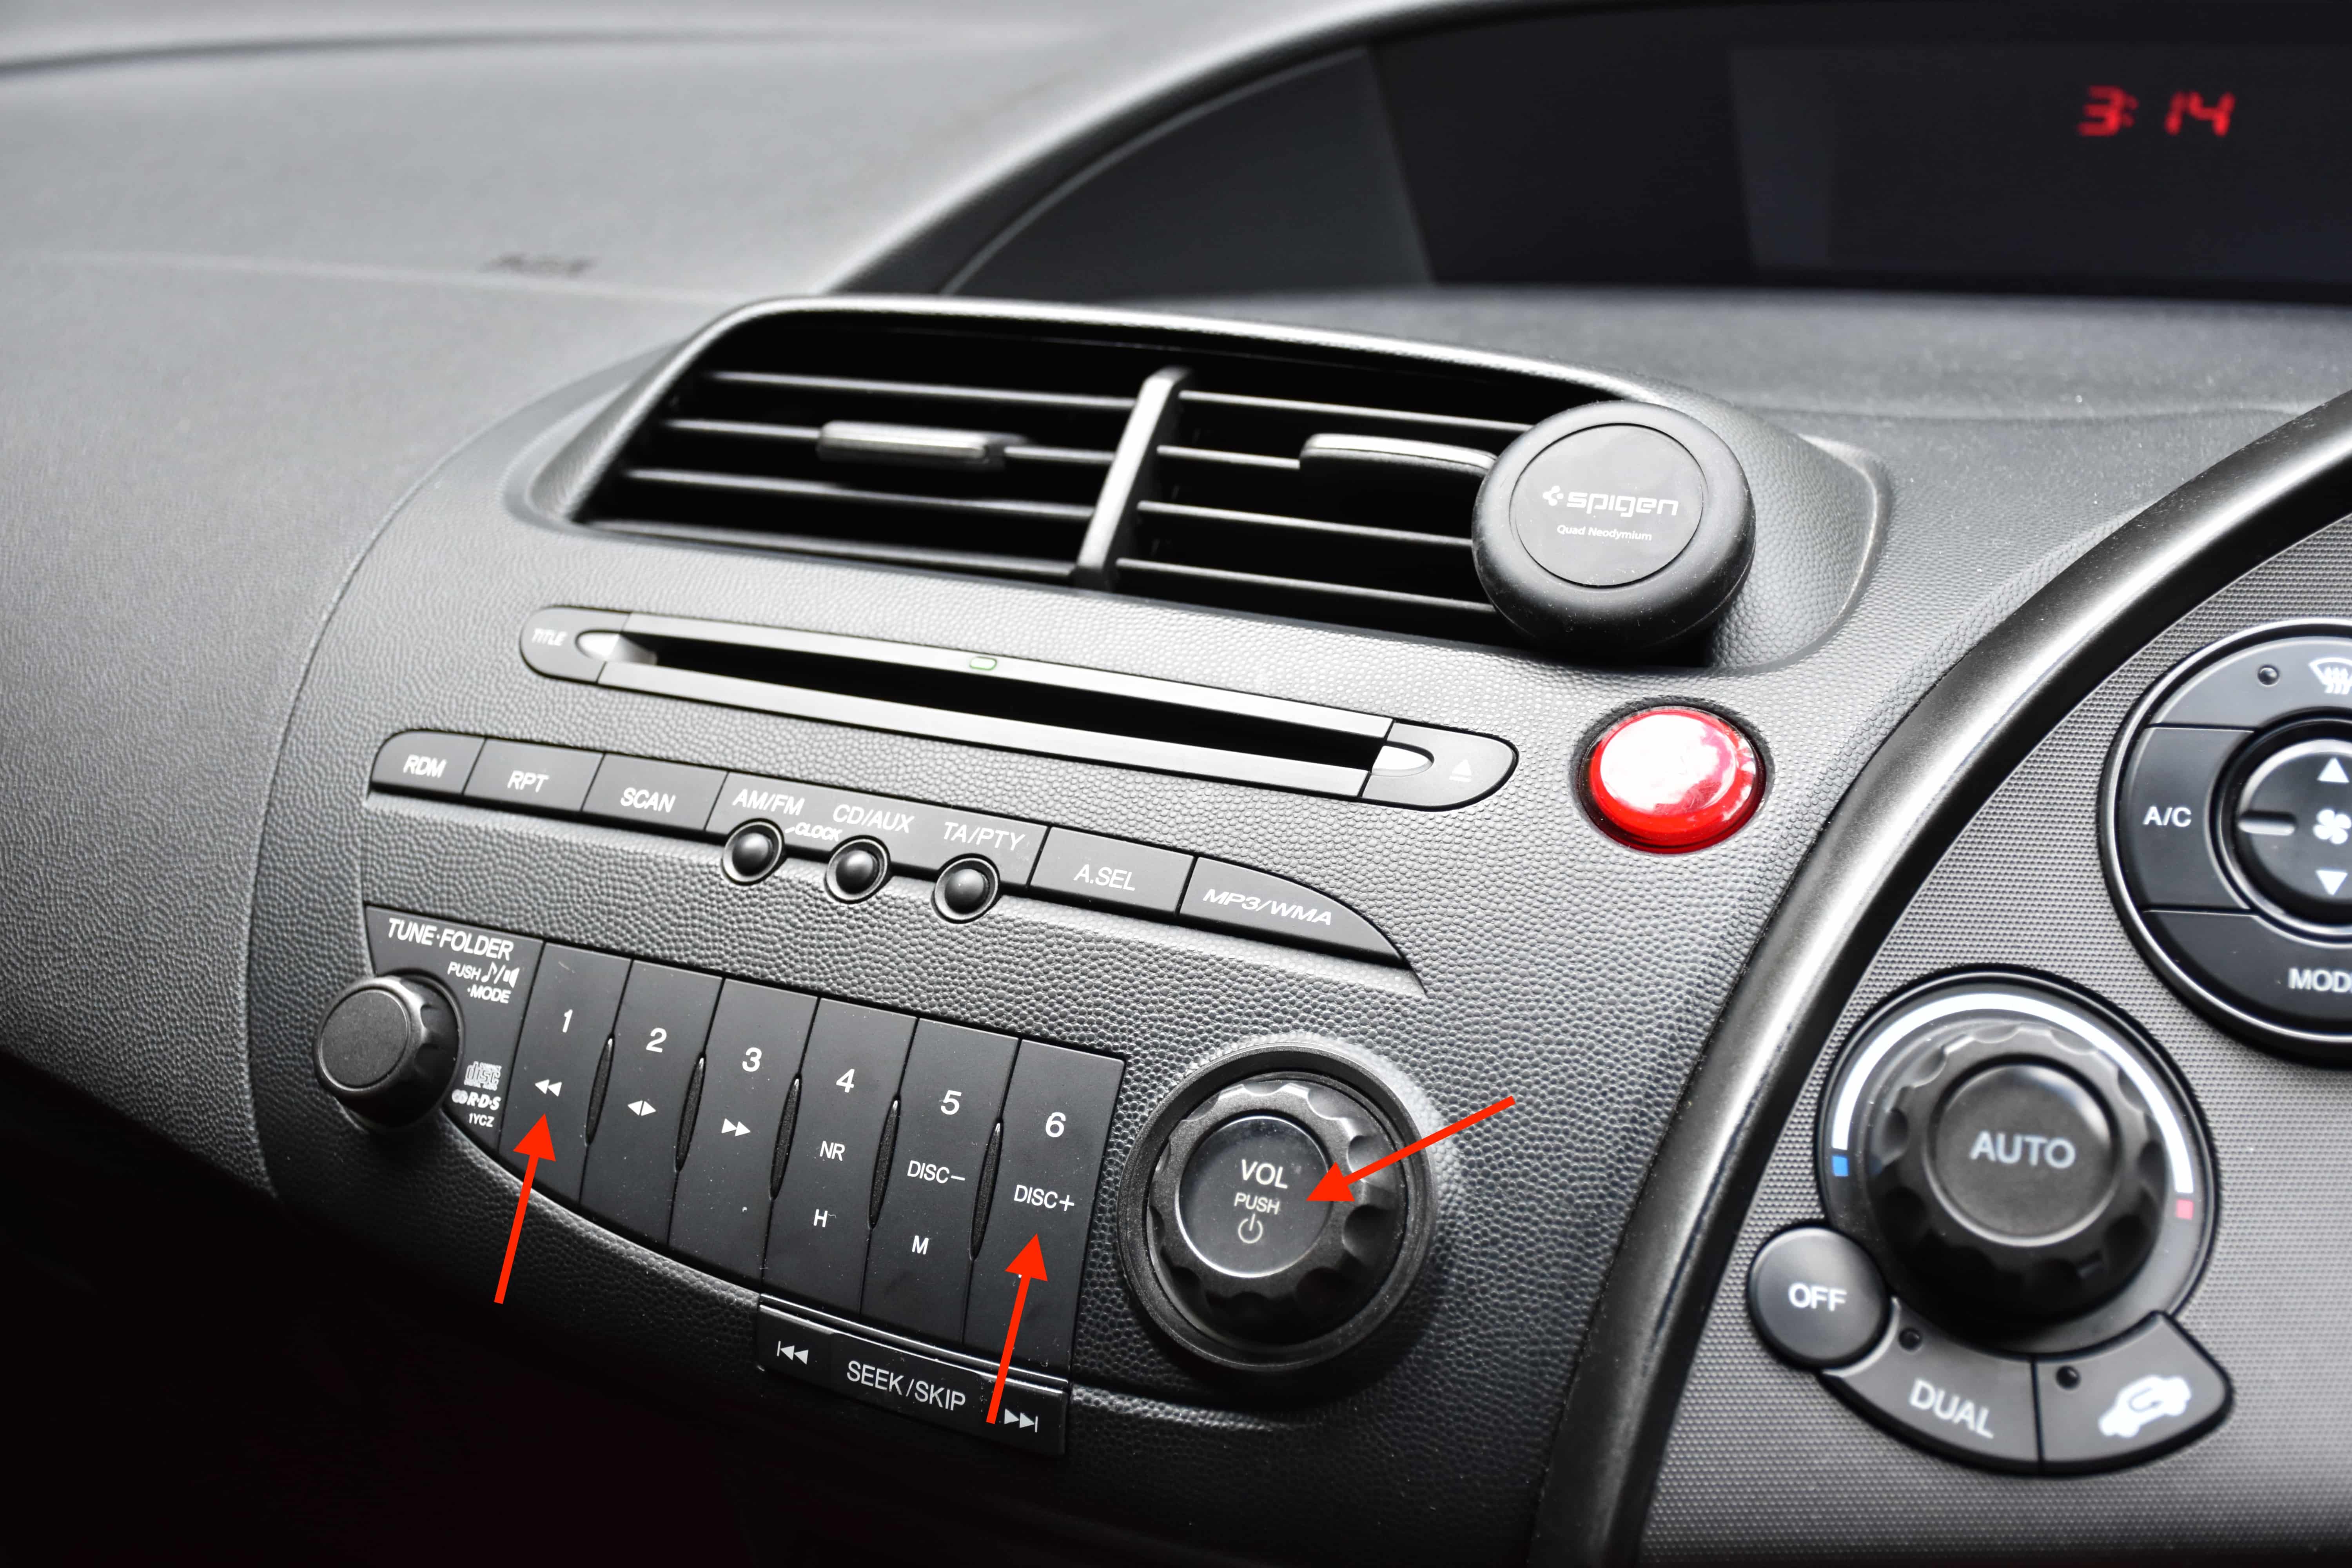
Hold down the ‘1’ and ‘6’ buttons on the radio simultaneously, while holding down the buttons push the PWR button and release all three. The radio will now display “DIAG”.
Within diagnostic mode you access options by pressing particular numbers on the radio. Exit diagnostic mode by pressing the PWR button and turning off the radio.
Step 3
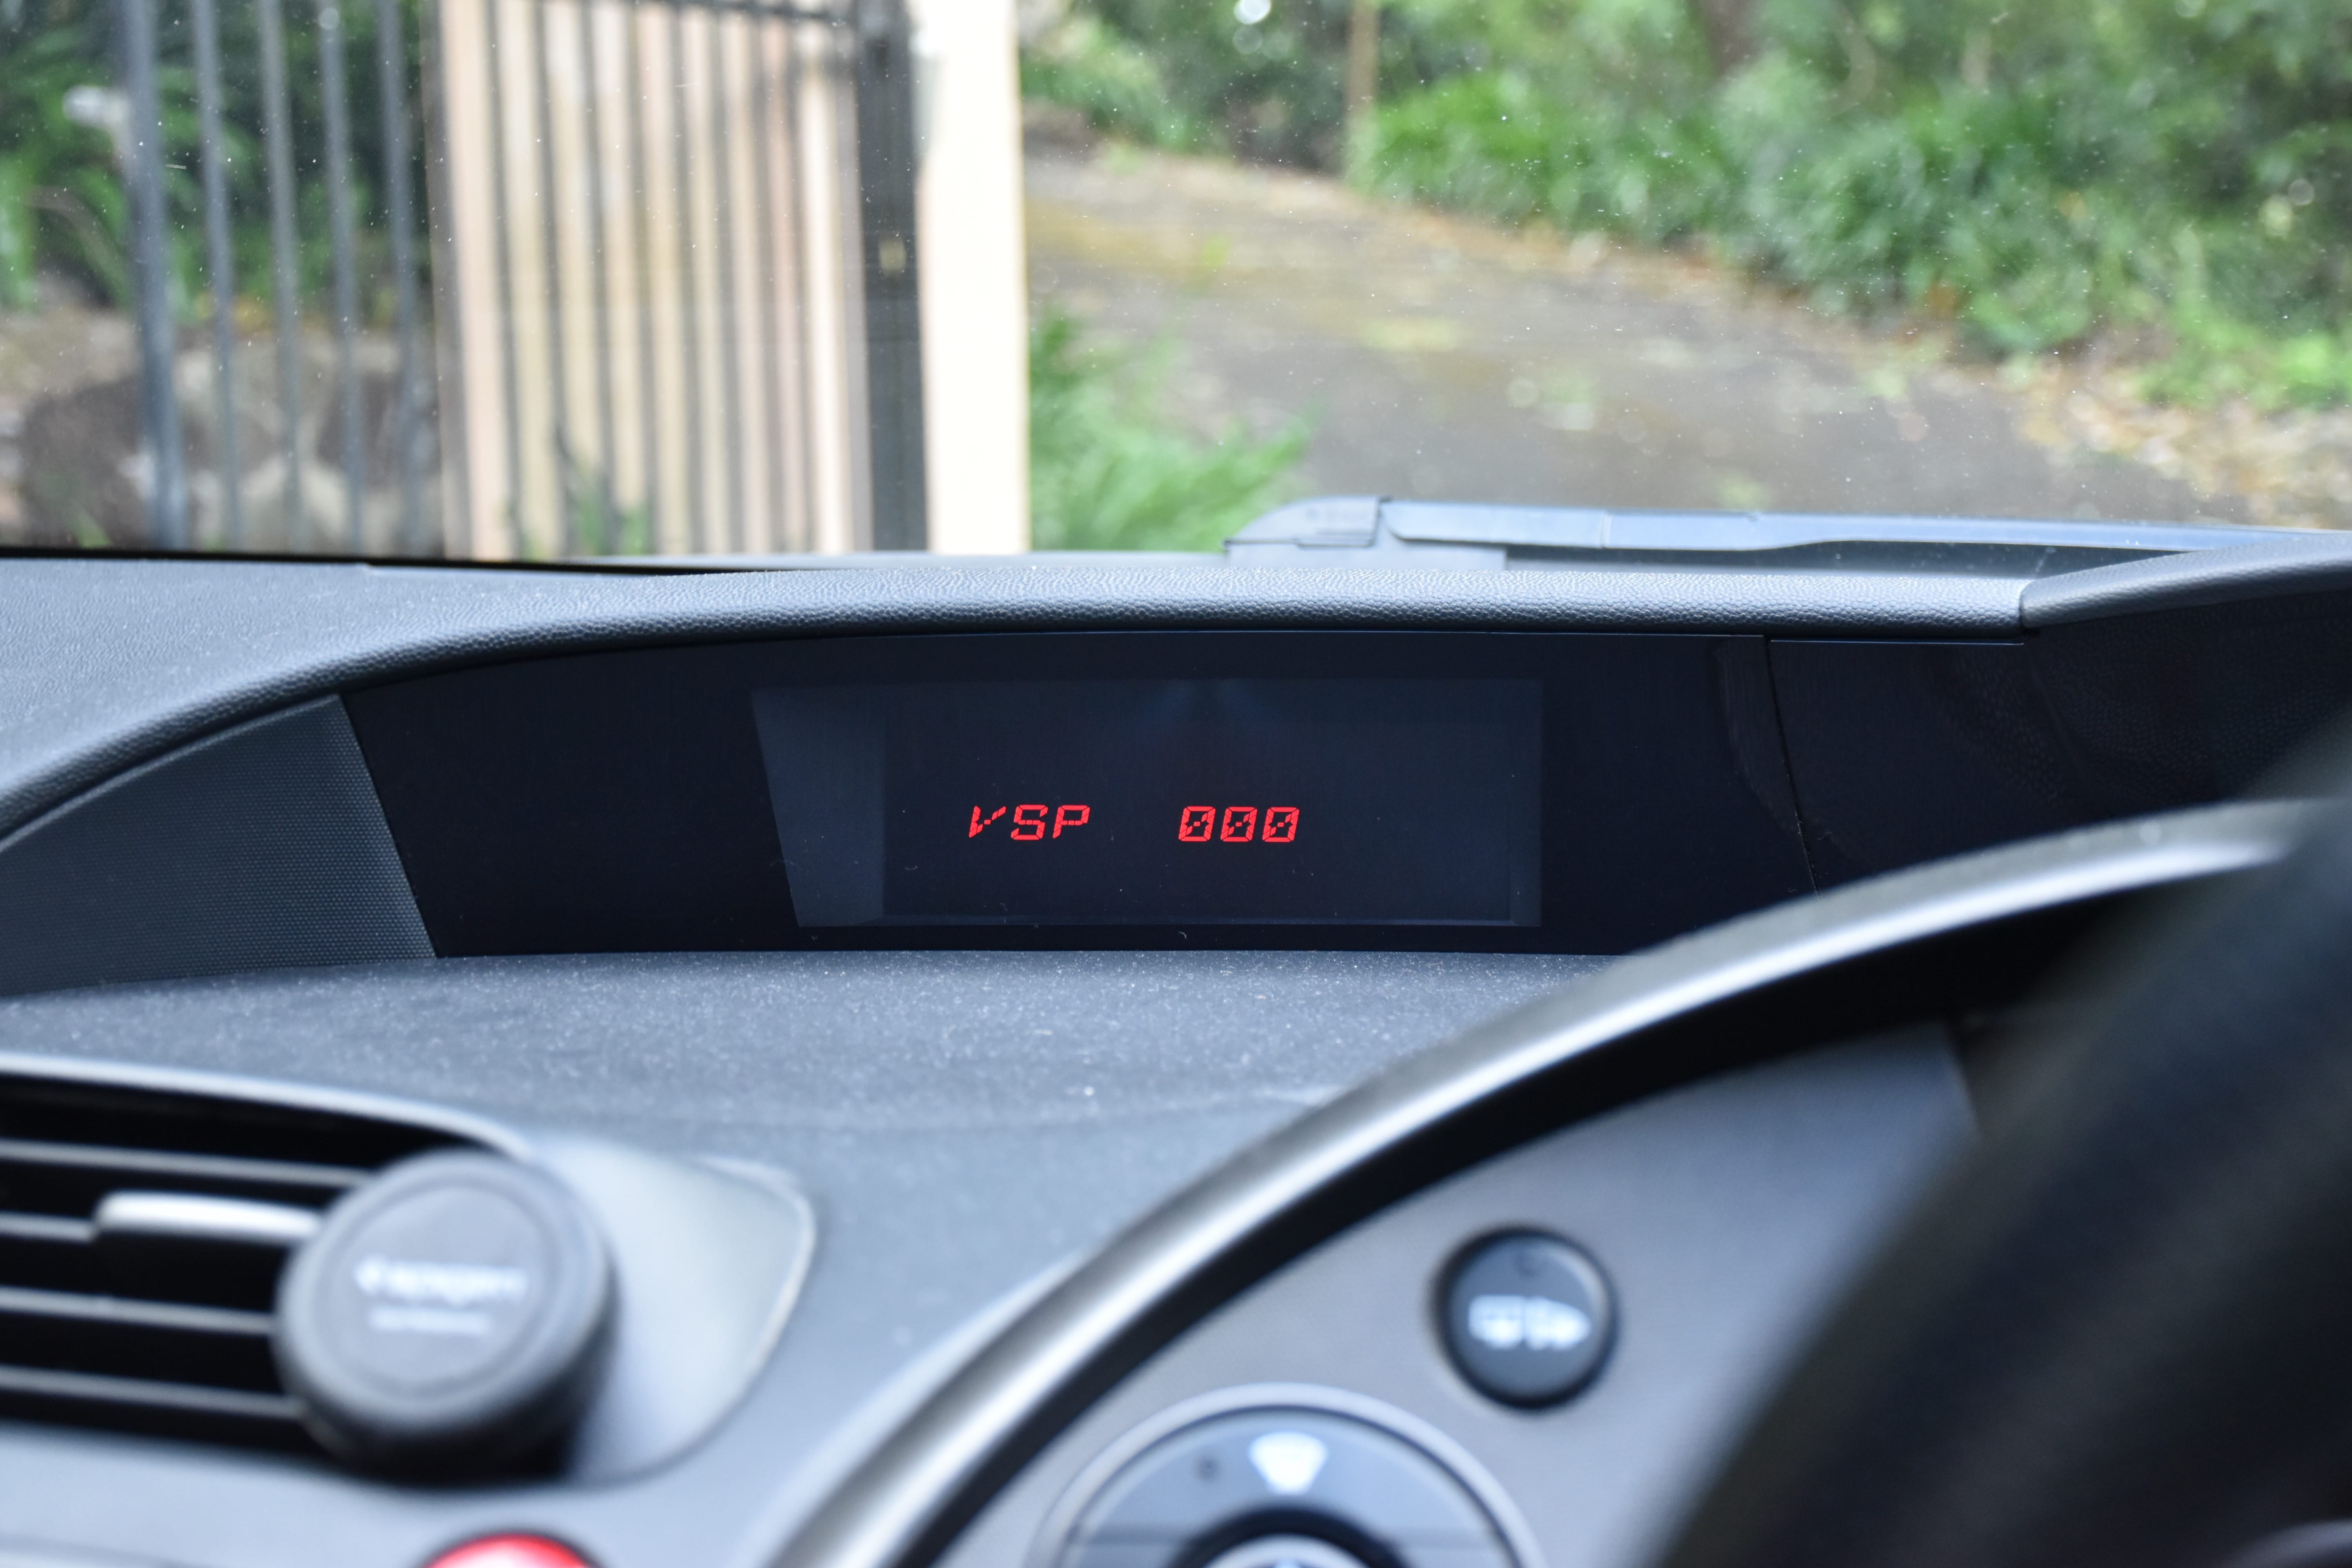
VSP – Vehicle Speed Pulse
Pressing ‘5’ while in diagnostic mode will bring up the VSP screen. The radio will now display your vehicles uncorrected speed in km/h, this speed will always be lower than what is shown on your speedometer. The car automatically adds a small percentage (~5%) to the speedometer reading. Please note that the VSP reading only appears to display certain values and will not update with every 1km/h change, it also will only read in km/h regardless of what the vehicle is set to.
Step 4
LCD Screen Check
Pressing ‘3’ while in diagnostic mode will toggle the radio screen check. Whilst enabled, every segment of the LCD screen will light up allowing you to identify whether the panel is faulty or damaged.
Step 5
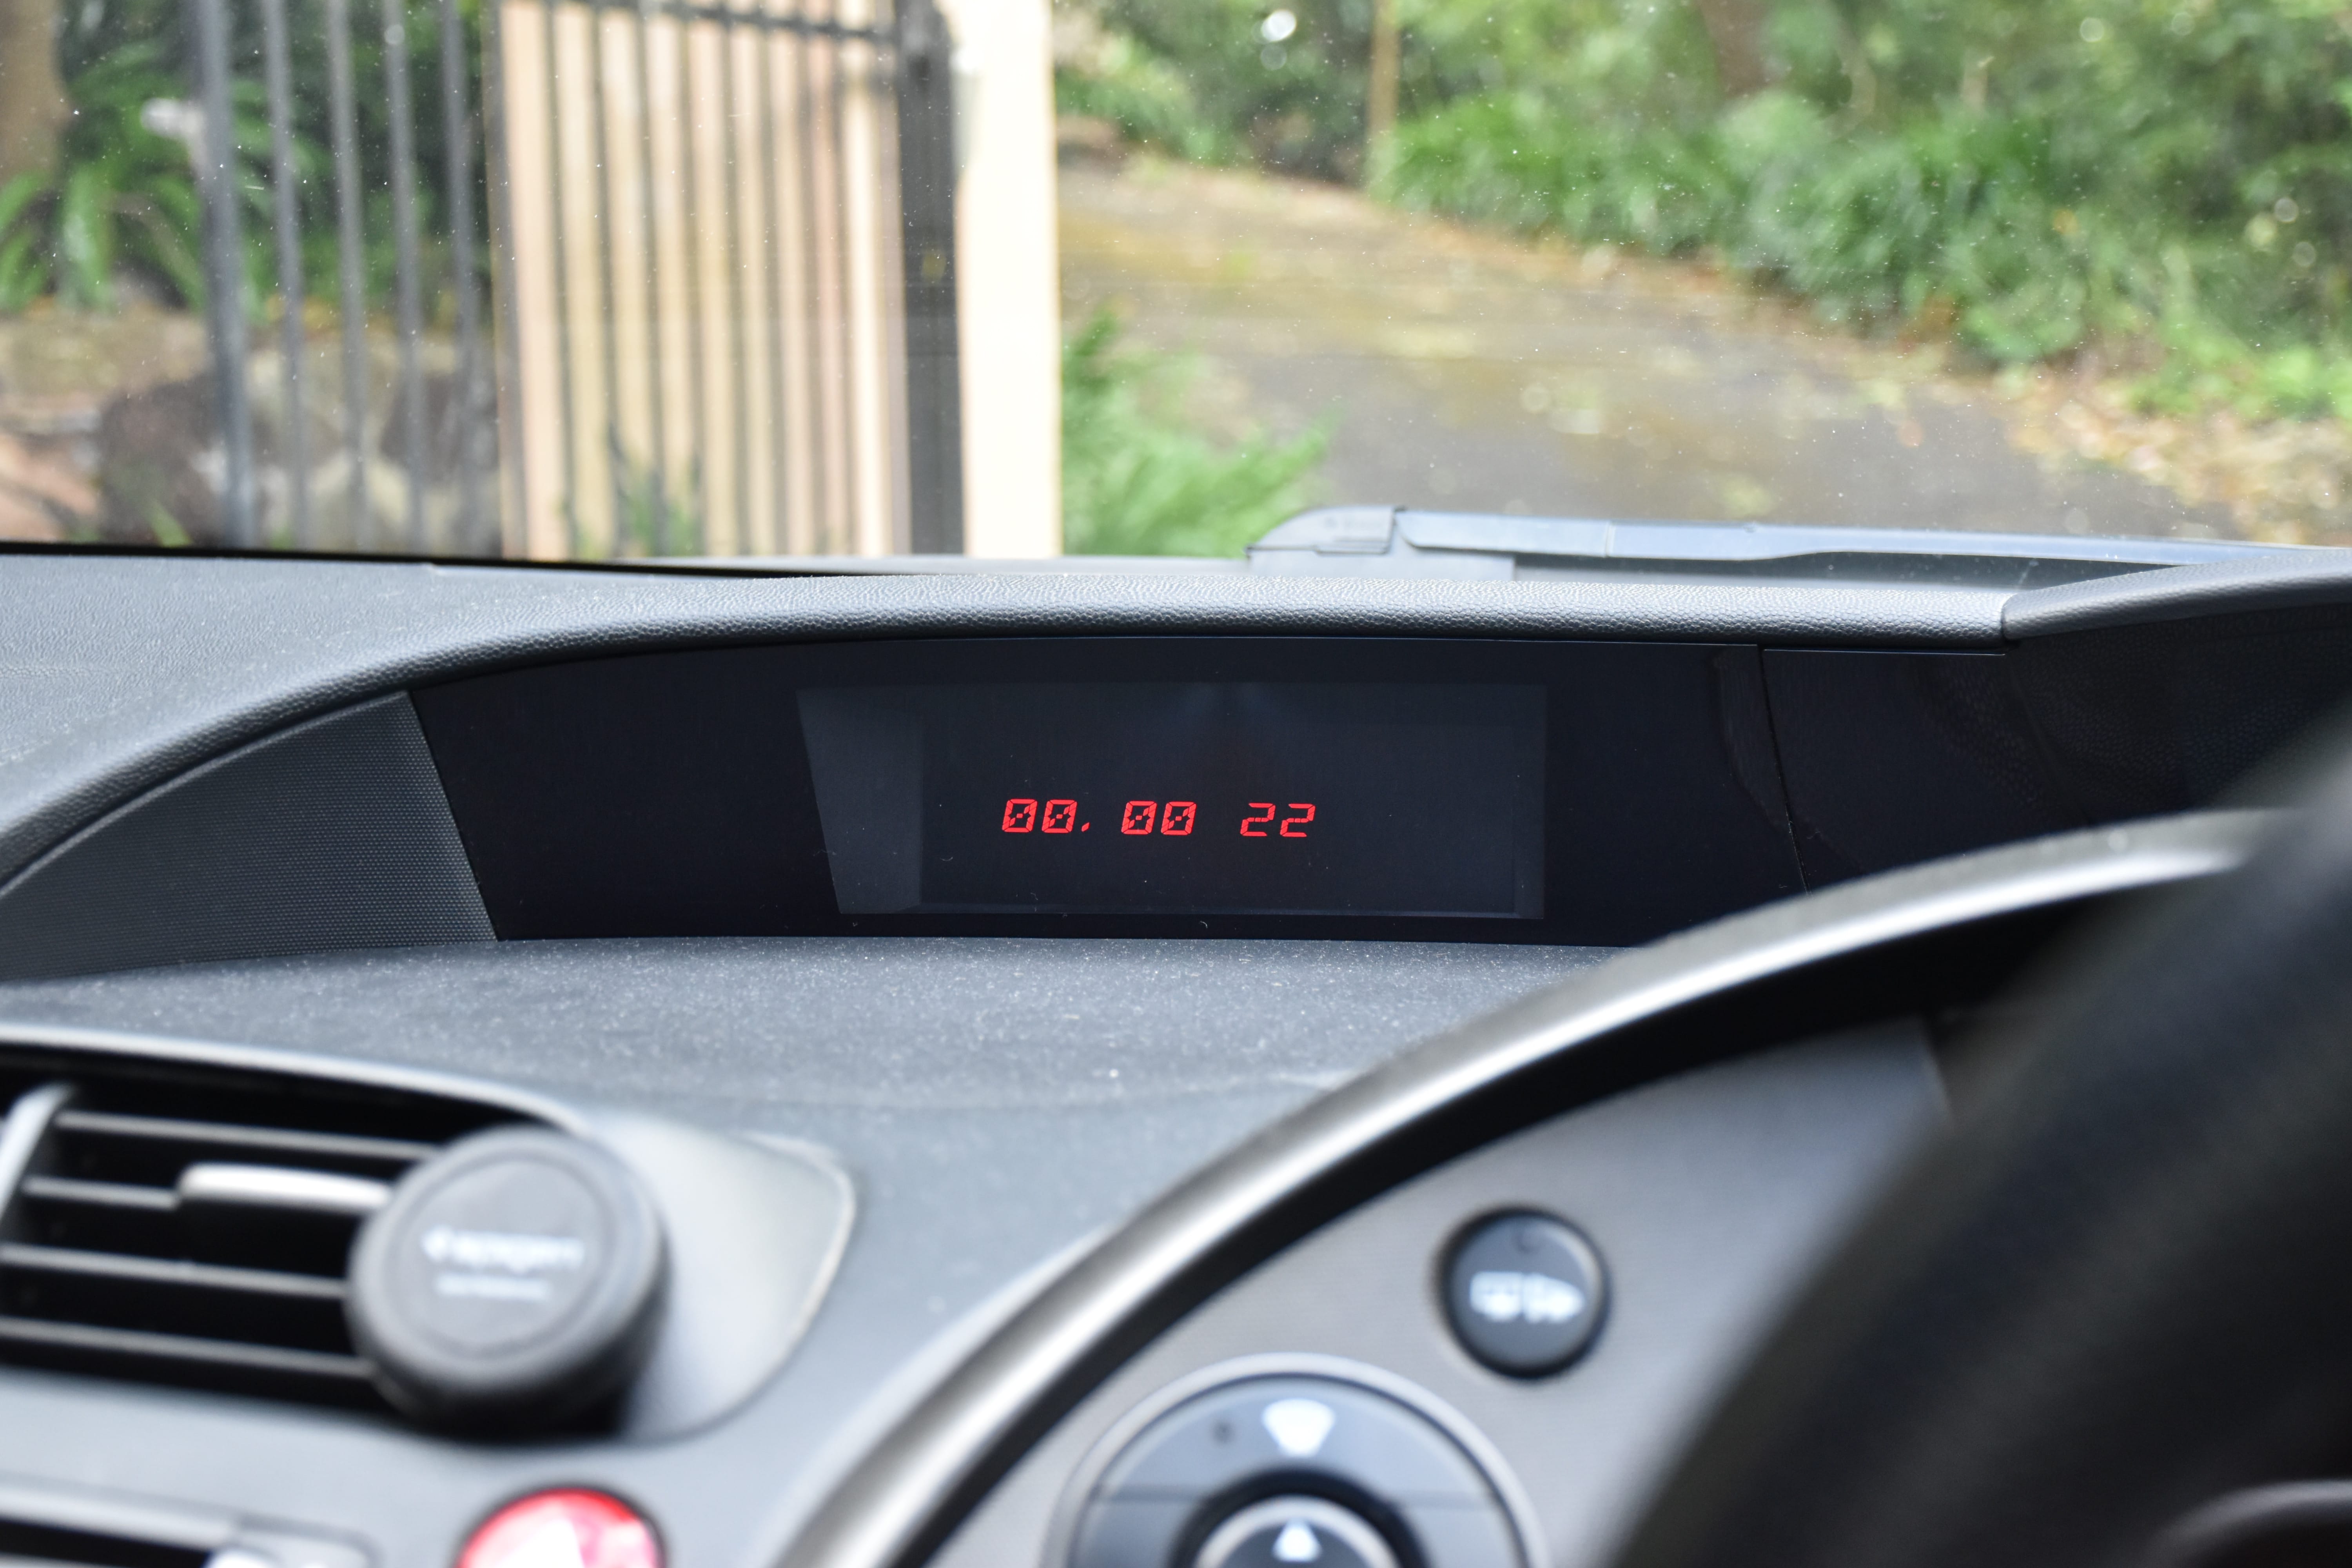
Dashboard Illumination
Pressing ‘4’ while in diagnostic mode will bring up the Illumination Check screen. Your radio will display the value “00,00,22” indicating the dashboard backlight is set to maximum, twisting the dashboard illumination knob will change these values. This screen is used by Honda technicians to calibrate the LCD backlight.
Did you find this guide helpful? Consider sharing it to help other car enthusiasts