Stone chips are unavoidable and quickly become part of owning a vehicle. Unfortunately they can look quite unsightly and detract from the perfectness of your pride and joy. At AutoInstruct we’ll show you how to fix these stone chips, making them 99% invisible. Time and patience is critical for success.
All photos seen below were taken with a macro lens. This particular stone chip is incredibly small in real life.
Difficulty Rating
Hard
Tools/Parts Required
Quality colour matched touch-up paint. We recommend visiting a body shop to mix the paint. Use the same paint system as the manufacturer where possible (e.g PPG). Do not use touch up pens or cheap mixes!
Clear Coat (Also matched to the paint system)
Fine grade sandpaper with sanding block (~3000 Grit)
Machine polisher, pads and scratch removal compounds (You can do this by hand but it’s a slow process)
Painters tape
Toothpicks
IPA (Isopropyl Alcohol)
Microfibre Cloths
Step 1
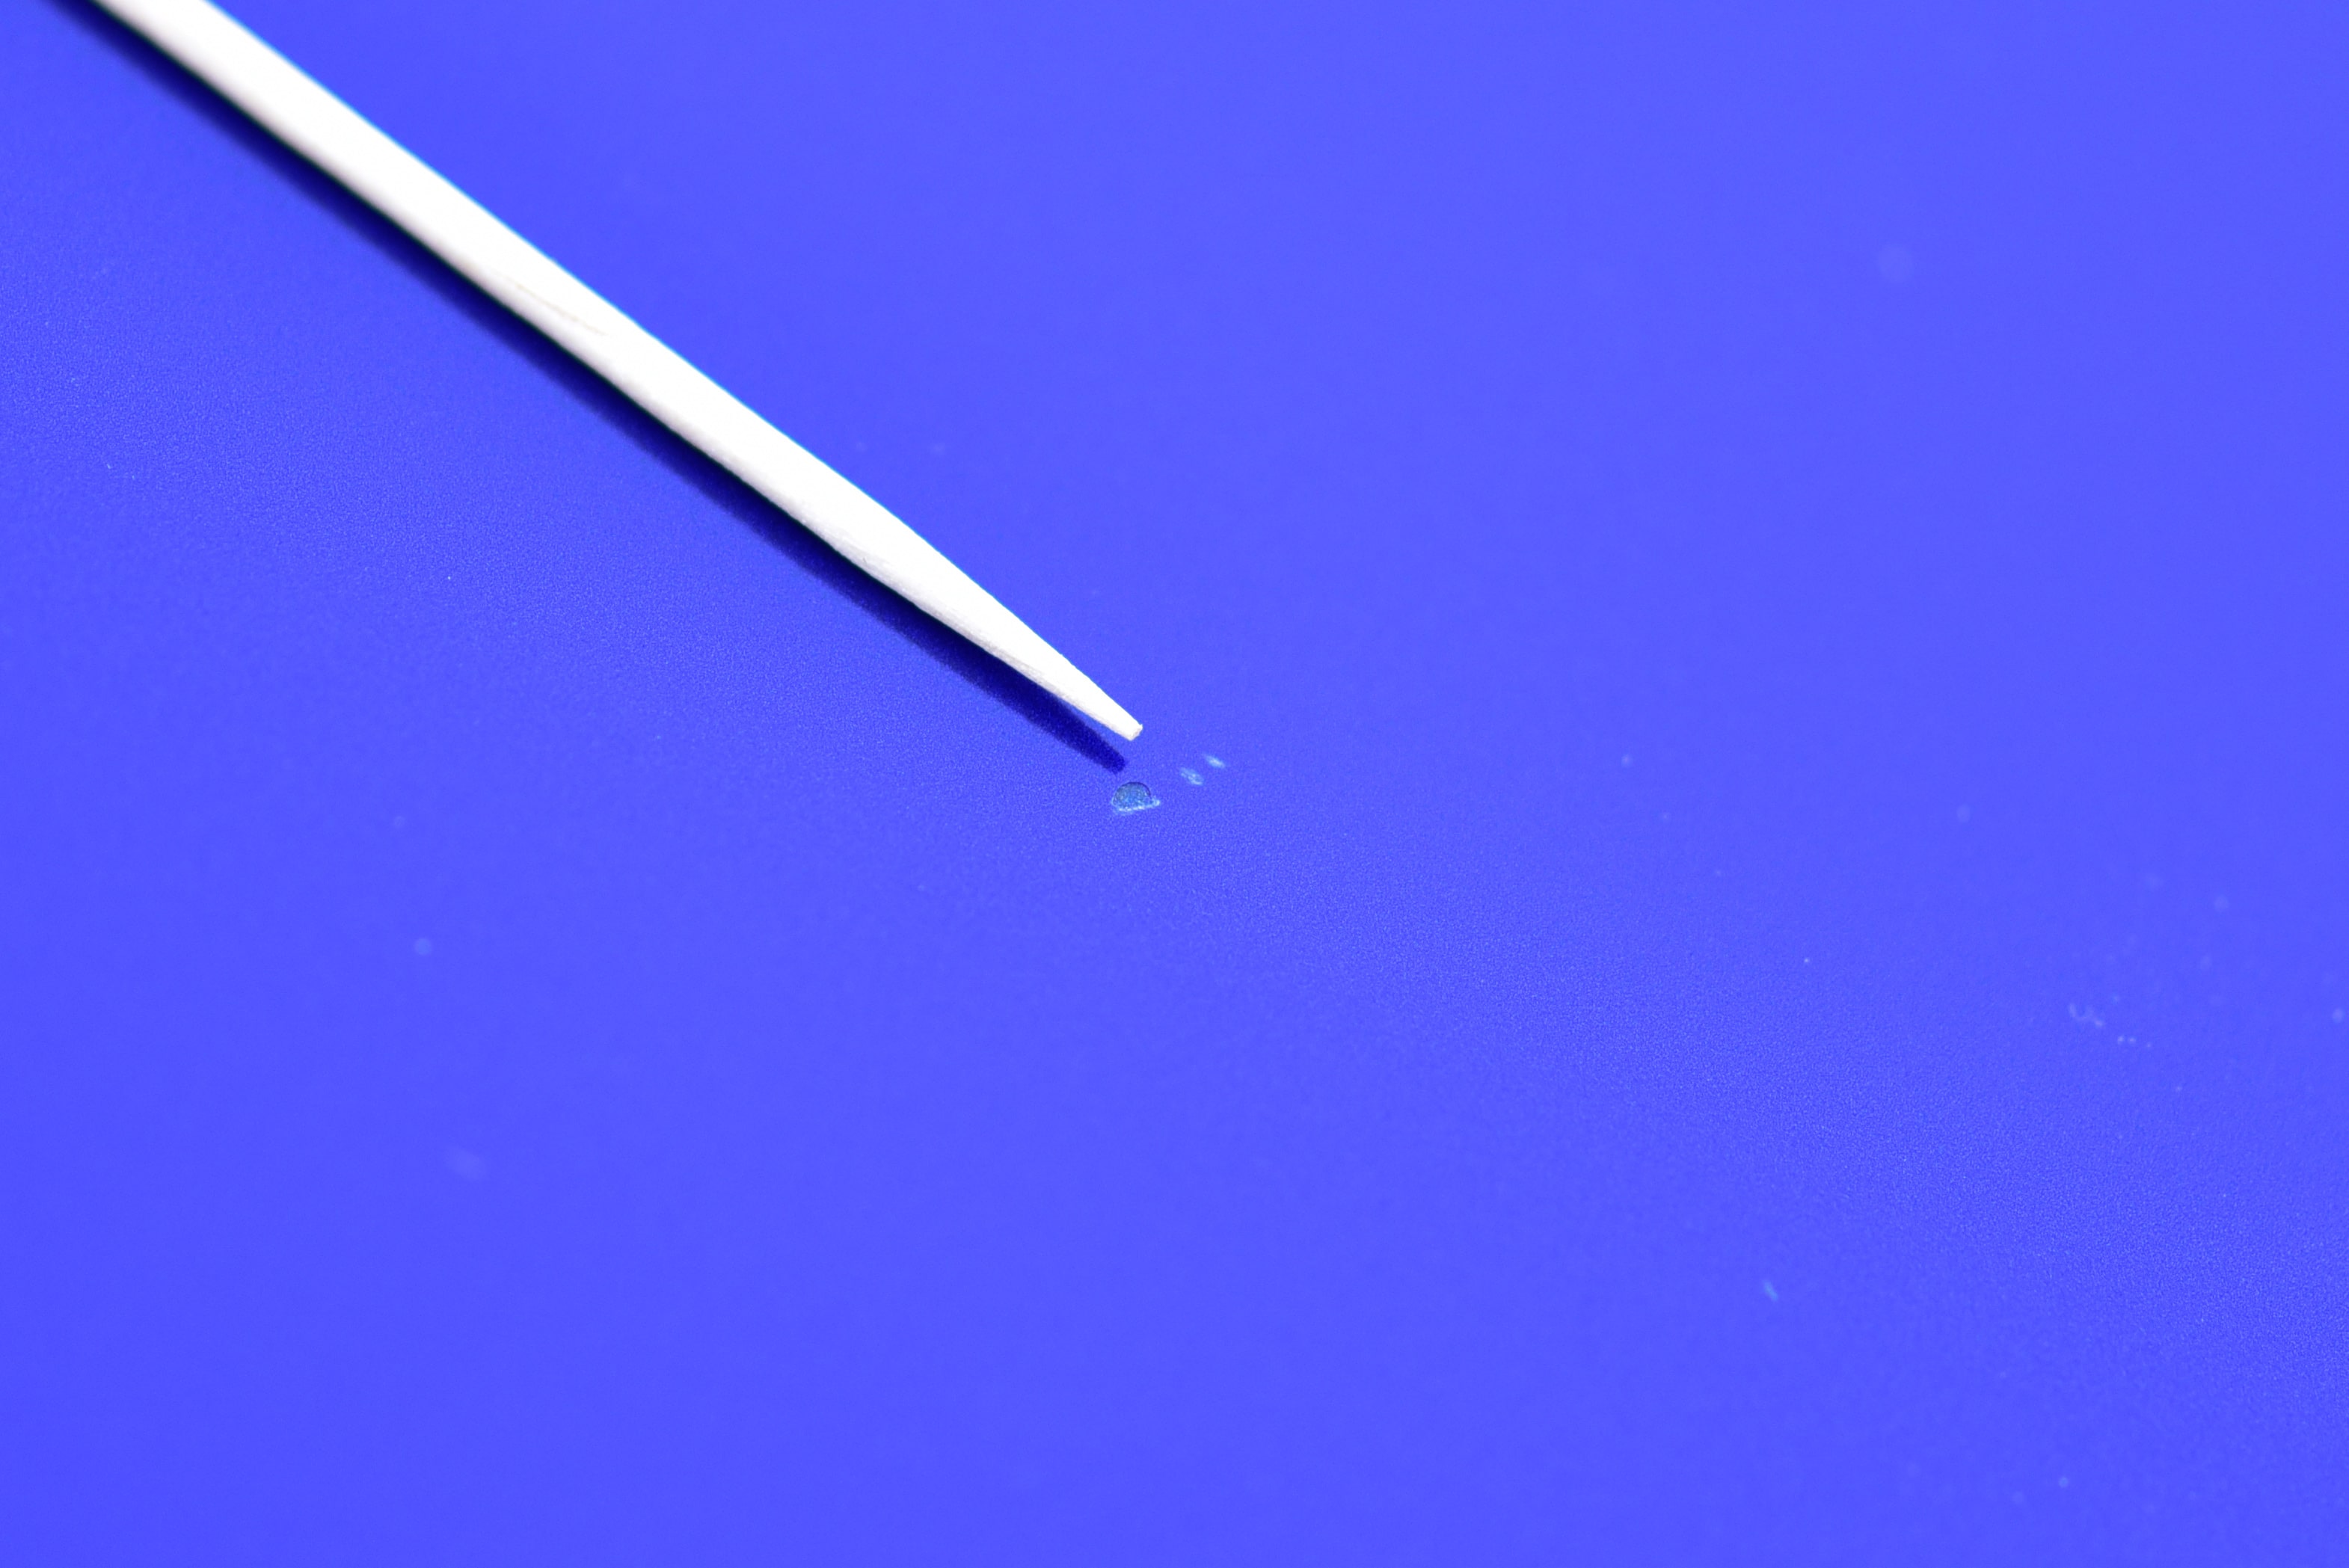
Here is our target area for the tutorial. At the end of the toothpick you can see one stone chip 2mm in diameter, with a few small clear coat marks beside it. Compared to the size of the toothpick, you can see the chip is very small.
Step 2
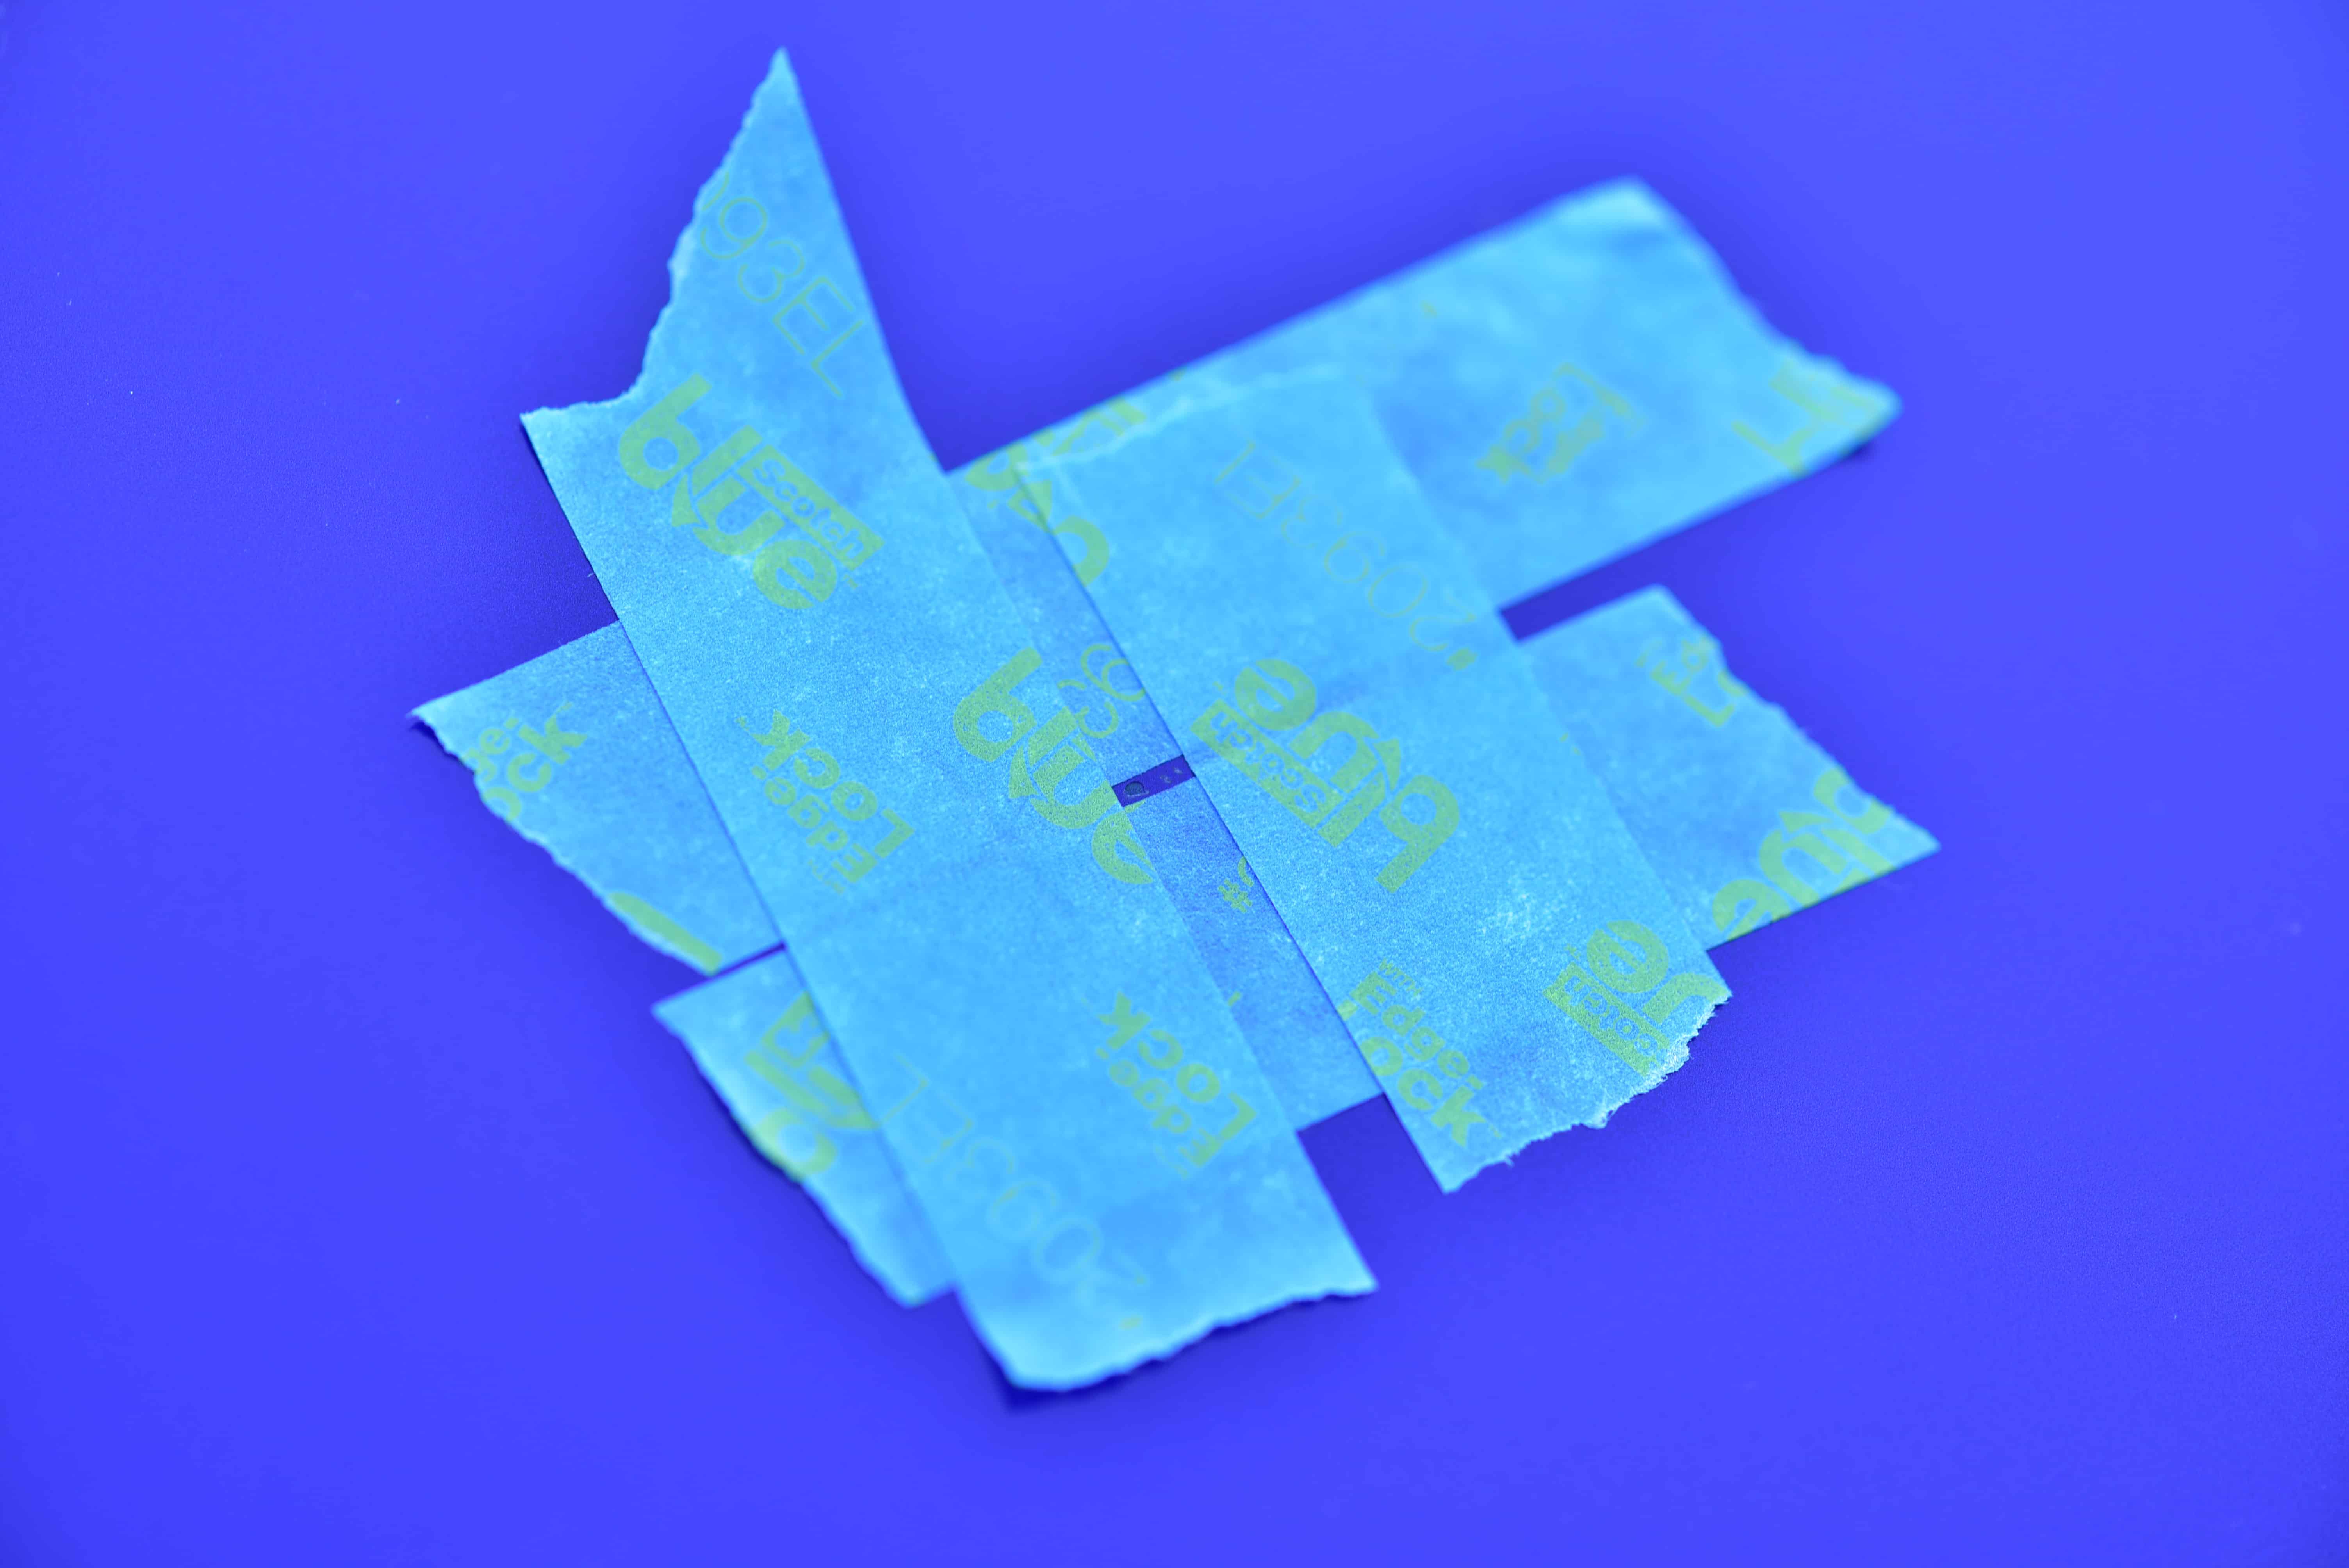
The first step is to lightly wet sand (sandpaper soaked in soapy water) the stone chip to roughen the chip and clean out any debris. We have taped the surrounding area to keep surface sanding to a minimum. Sand softly and briefly.
Step 3
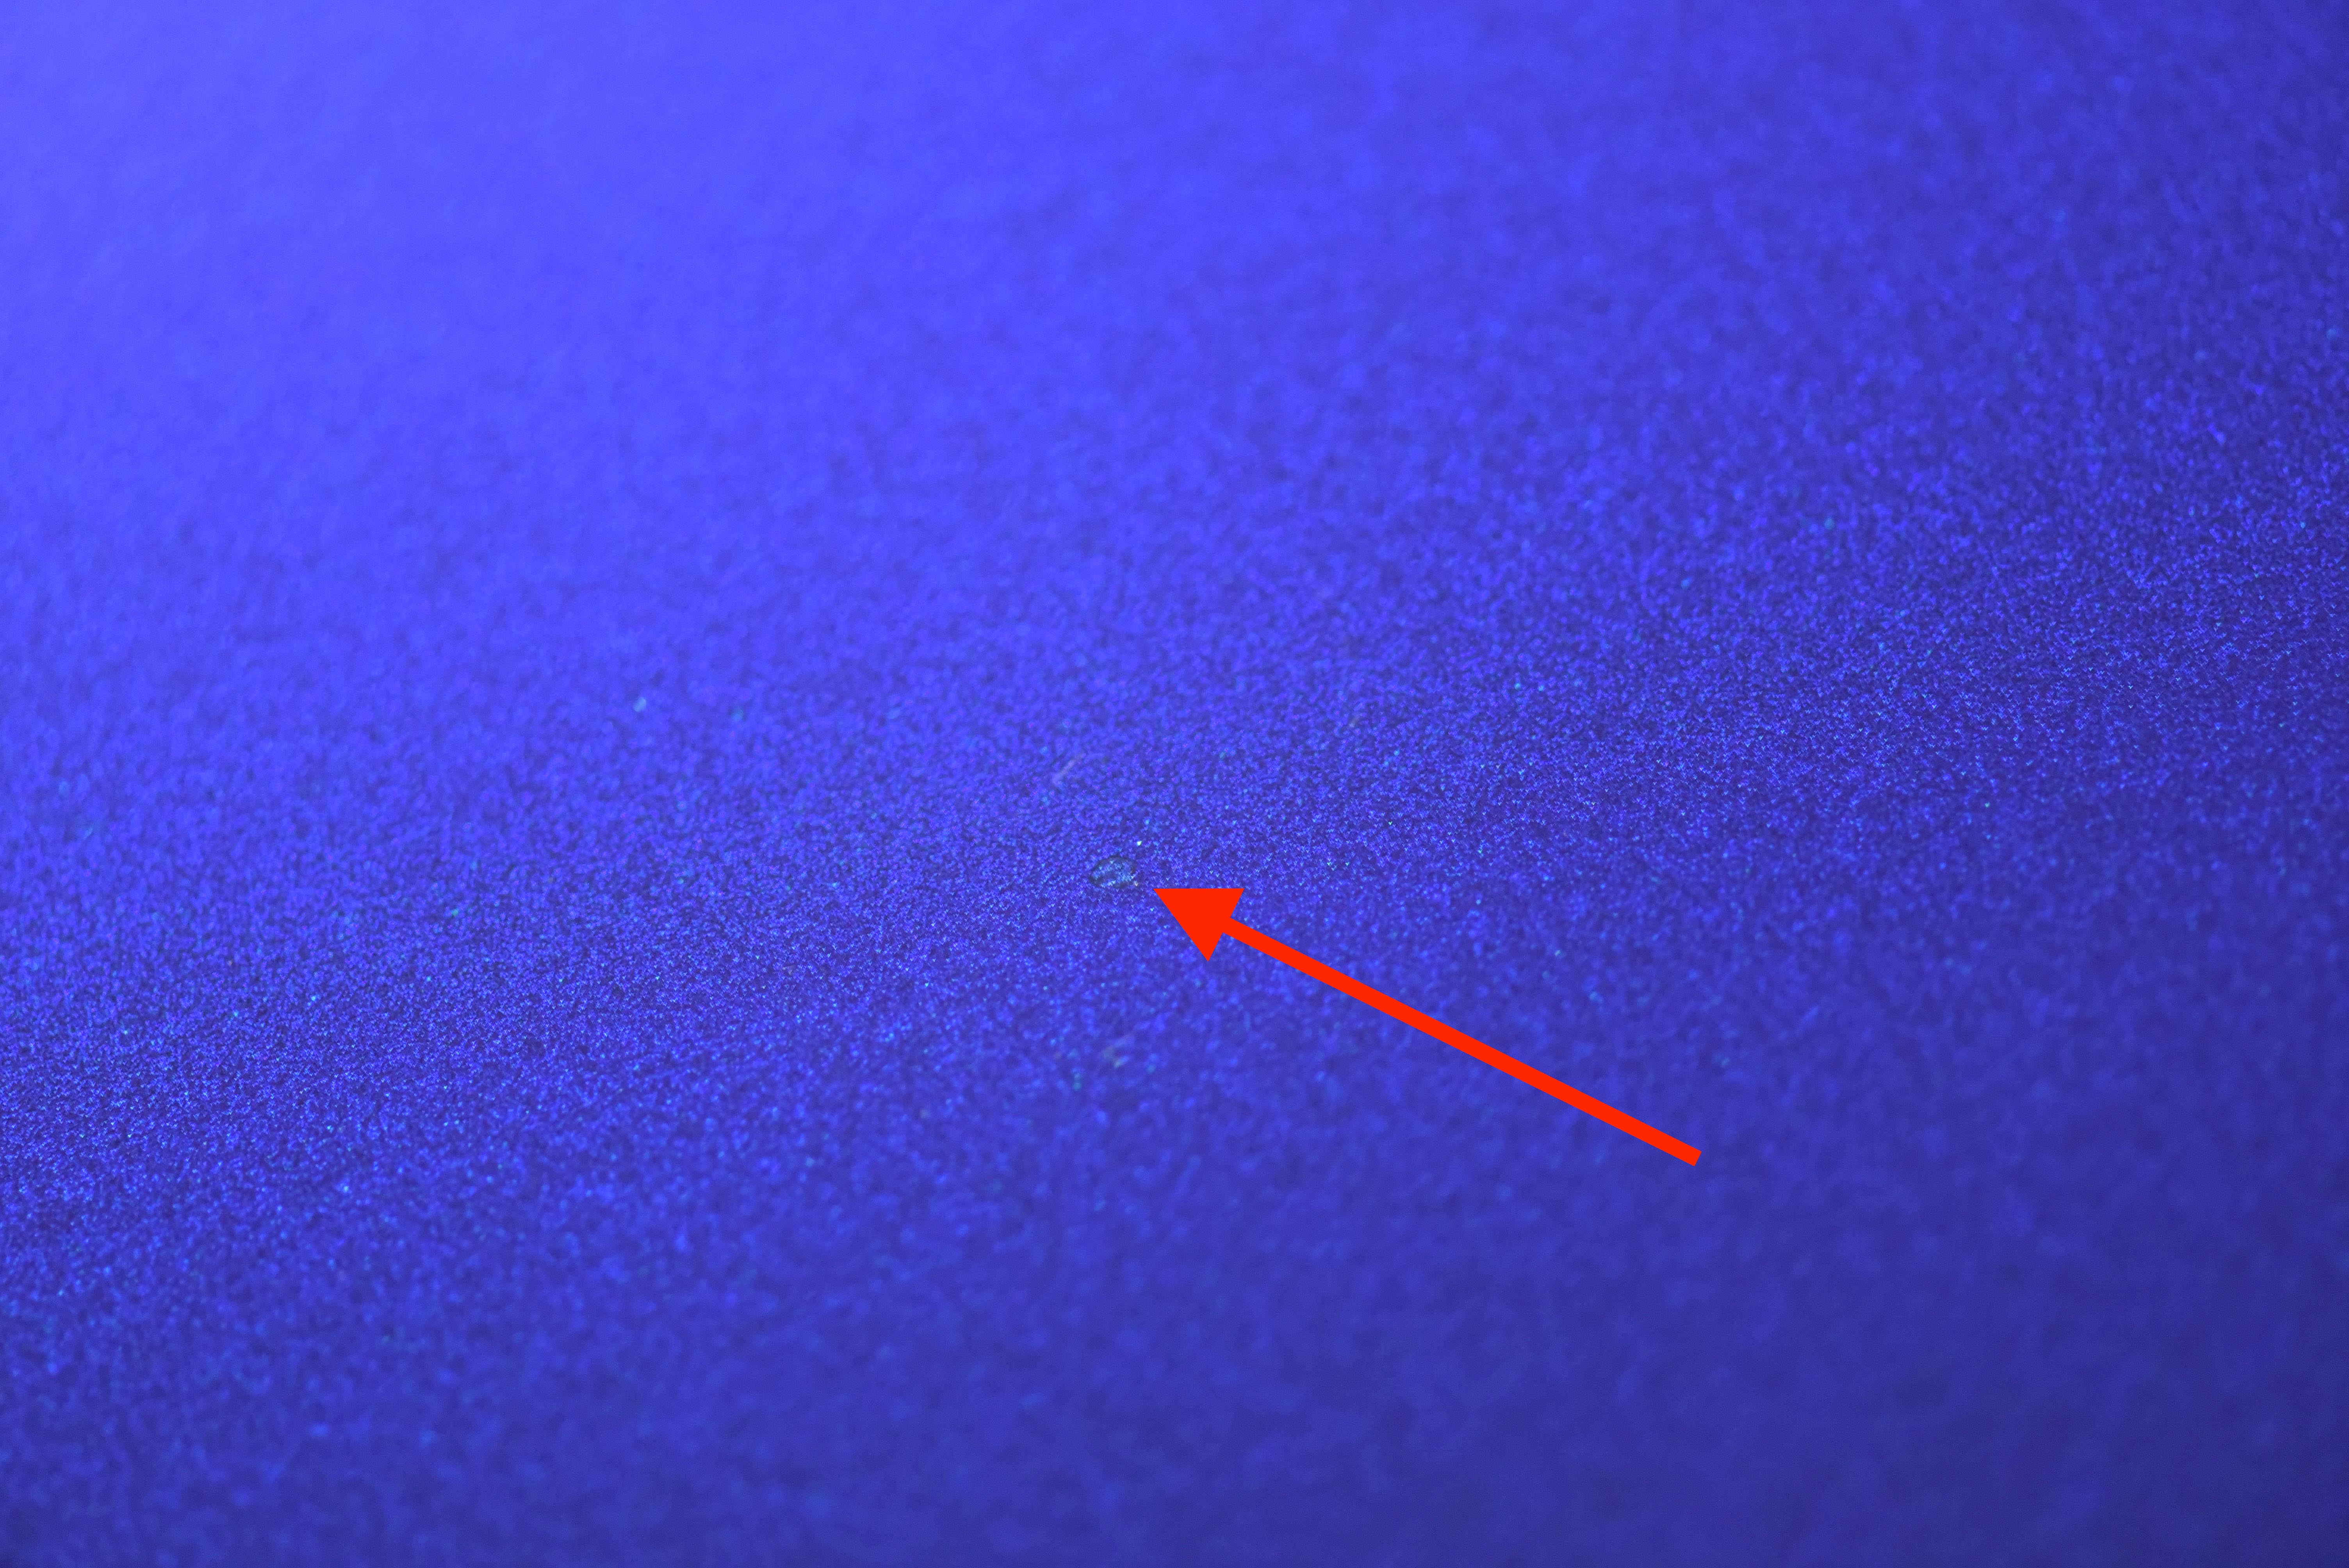
With the area sanded we have removed the tape. You can see some light marks around the chip where we sanded. Throughly clean the area and stone chip with IPA and a microfibre cloth.
Step 4
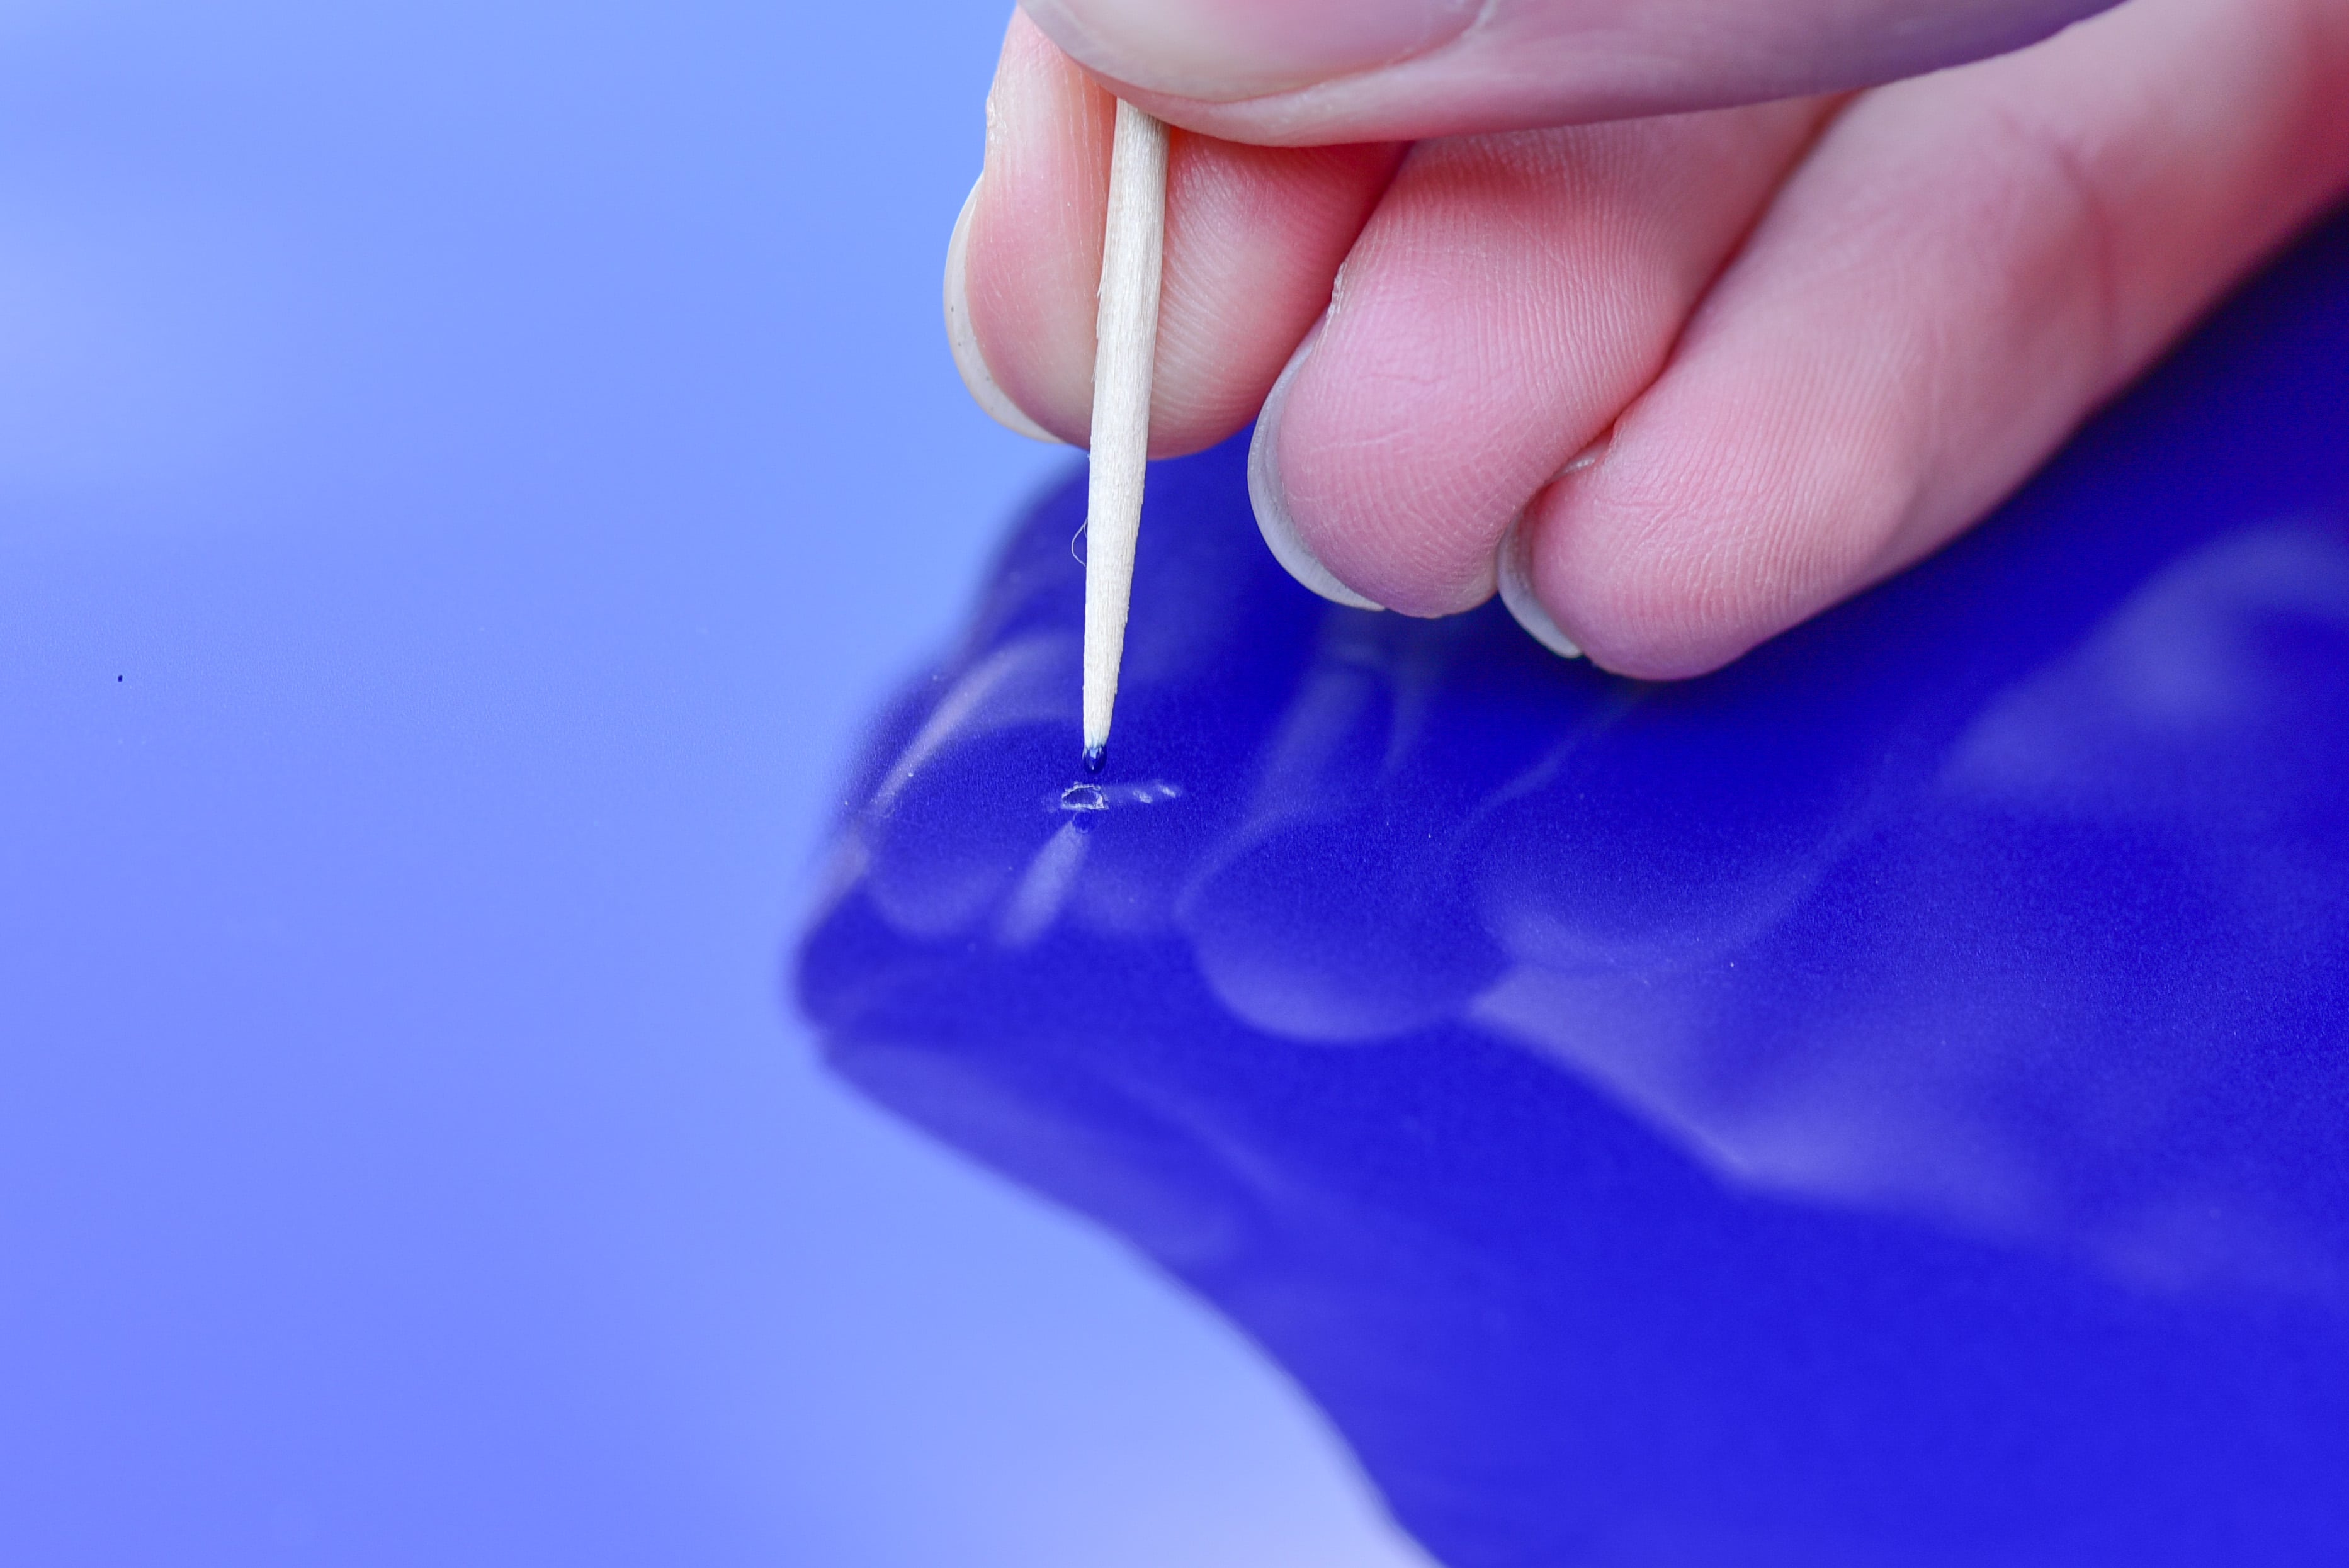
We will now begin to fill the chip with colour matched paint. The process is as follows:
Dip the very tip of the toothpick into the paint so it forms a very small drop on the end.
A single dab will transfer this small drop of paint into the stone chip.
Stop here and wait 12-24 hours for the paint to dry and shrink. Do not try to fill the entire chip on the first attempt!
Over a period of a few days, continue to slowly layer the paint until the level is just below the surrounding surface. We need to leave some headroom for the clear coat. Don’t rush!
Step 5
As you can see in the image, the new paint is now sitting just below the surrounding surface. After waiting 24 hours for the final layer to dry, it is time for clear coat.
Step 6
Clear coat is applied in the same manner as the paint. This time however the clear coat should form a very small ‘dome’ over the chip and be slightly higher than the surface. This will account for any shrinkage and excess will be sanded away in the next step.
Step 7
After waiting 24 hours for the clear coat to dry you can now wet sand the stone chip. This is the most daunting and delicate process for beginners.
With wet sandpaper (again lubricated with soapy water) GENTLY sand the area. You MUST use a sanding block to avoid creating a divot in the clear coat which is often created by finger pressure.
Only a few moments of light sanding is required to lower the cleat coat ‘dome’ and blend it with the surrounding paint levels.
Step 8
Once sanding is complete, use a machine polisher and medium grade compound and pad to remove the sanding marks. After a minute the sanding marks should be completely removed and the chip repair finished. Wipe the surface with IPA and a new microfibre cloth and be amazed at the work you’ve done!
As you can see in the attached picture, the chip is now virtually invisible. Nice!
Did you find this guide helpful? Consider sharing it to help other car enthusiasts