If you’ve ever changed a headunit, you may have been presented with the issue of connecting two different audio harnesses together. Ideally you would purchase the correct adapters to do the job, but sometimes they’re simply not available.
This tutorial is a simple guide to soldering, and will show you the joining process.
Difficulty Rating
Moderate
Tools/Parts Required
Cable Stripper
Soldering Iron
Solder
Wire Cutters
Heat Shrink
Heat Gun
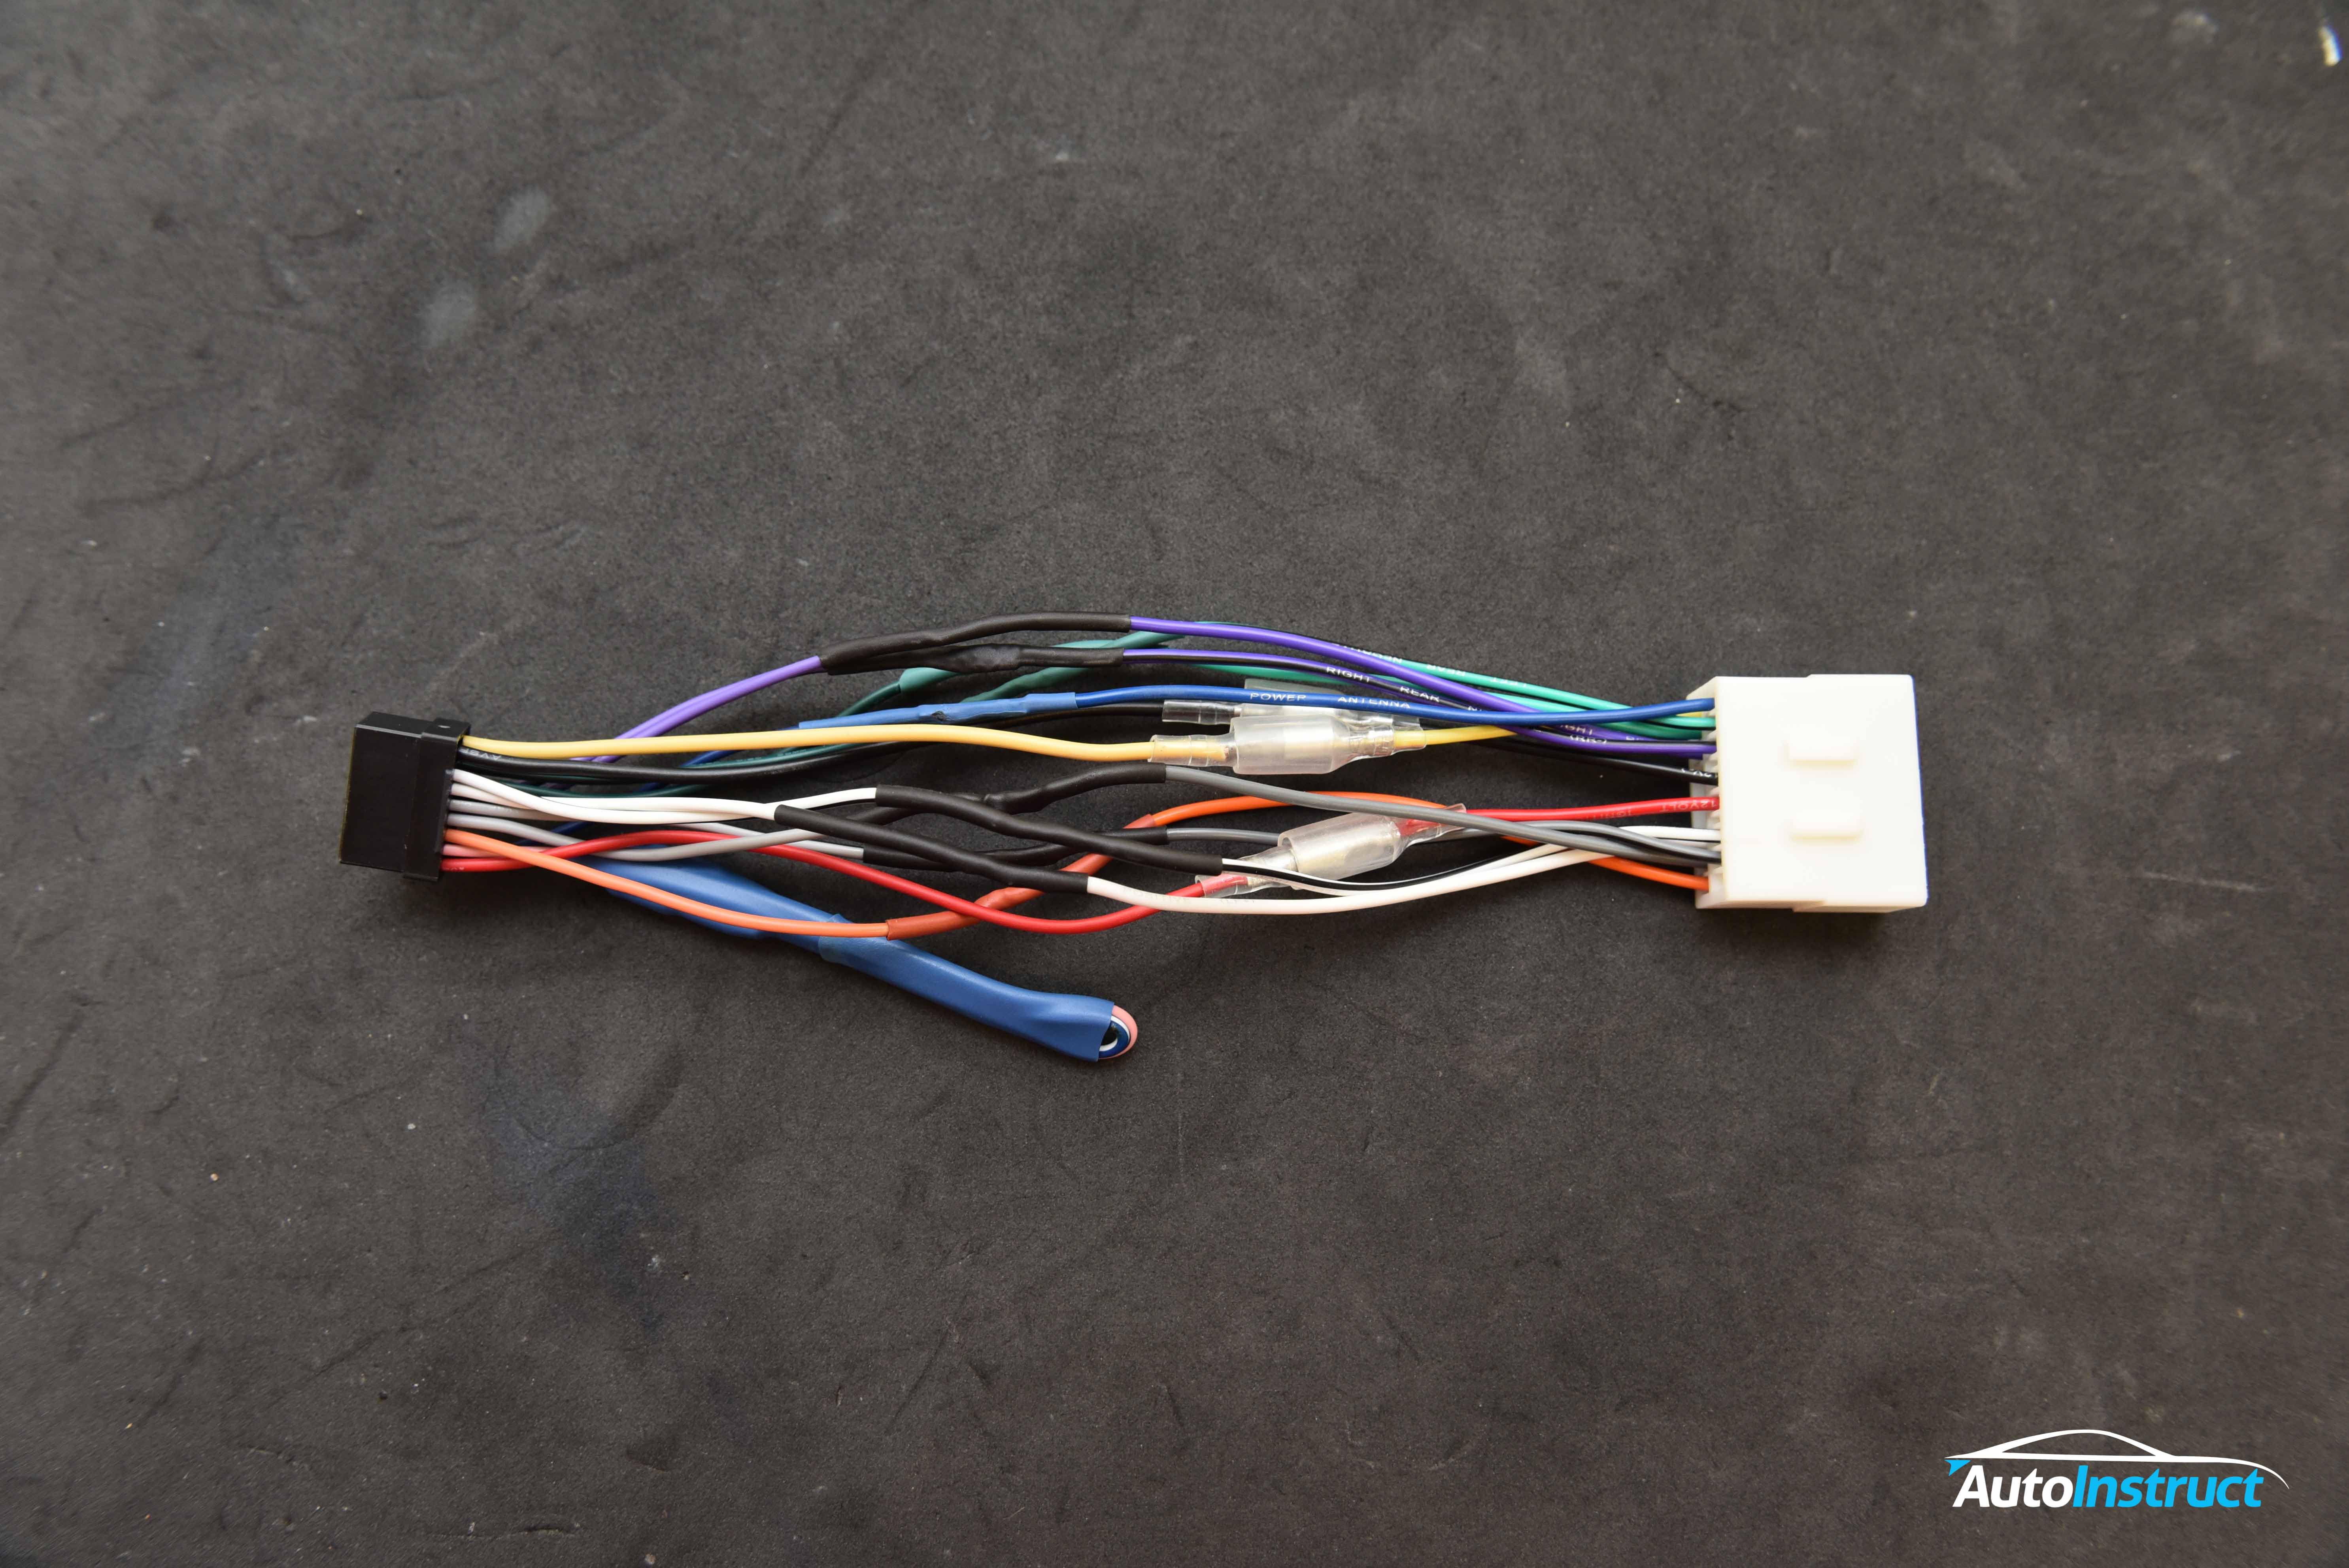
Step 1
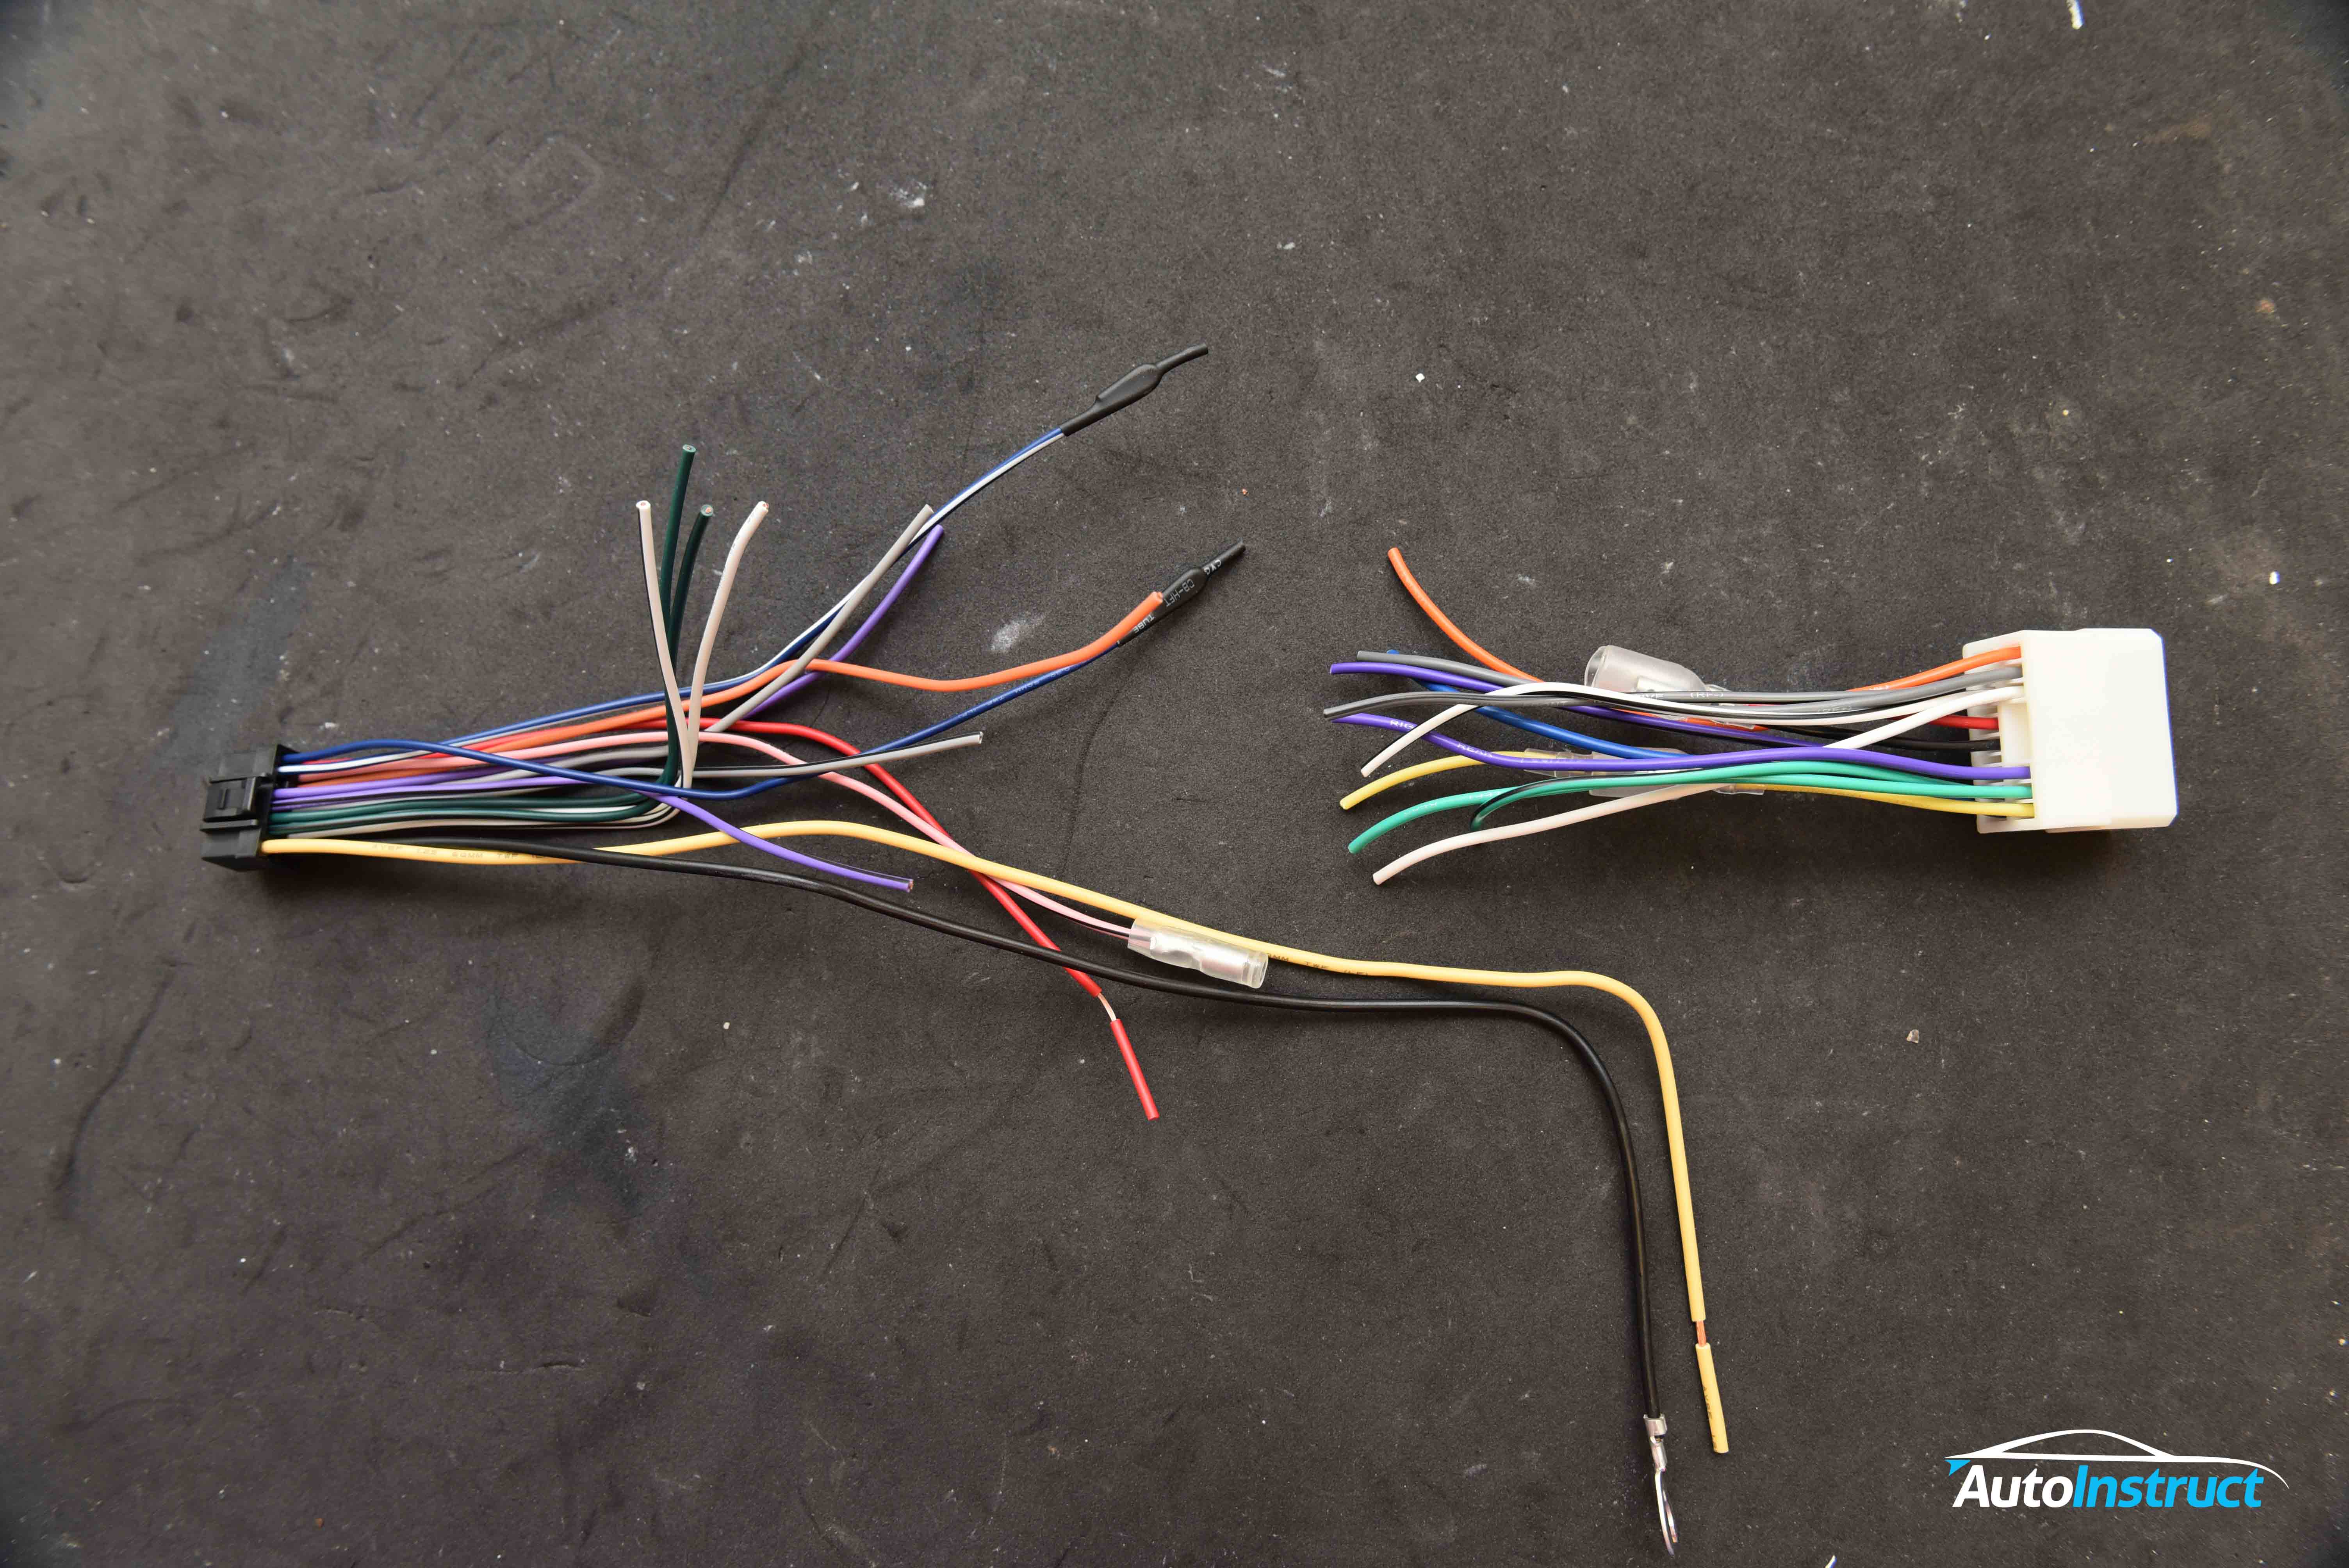
Here’s the issue we’re presented with. The loom on the left side is from our Alpine headunit, with the loom on the right designed to match our GC8 Impreza. We now need to join these together.
Step 2
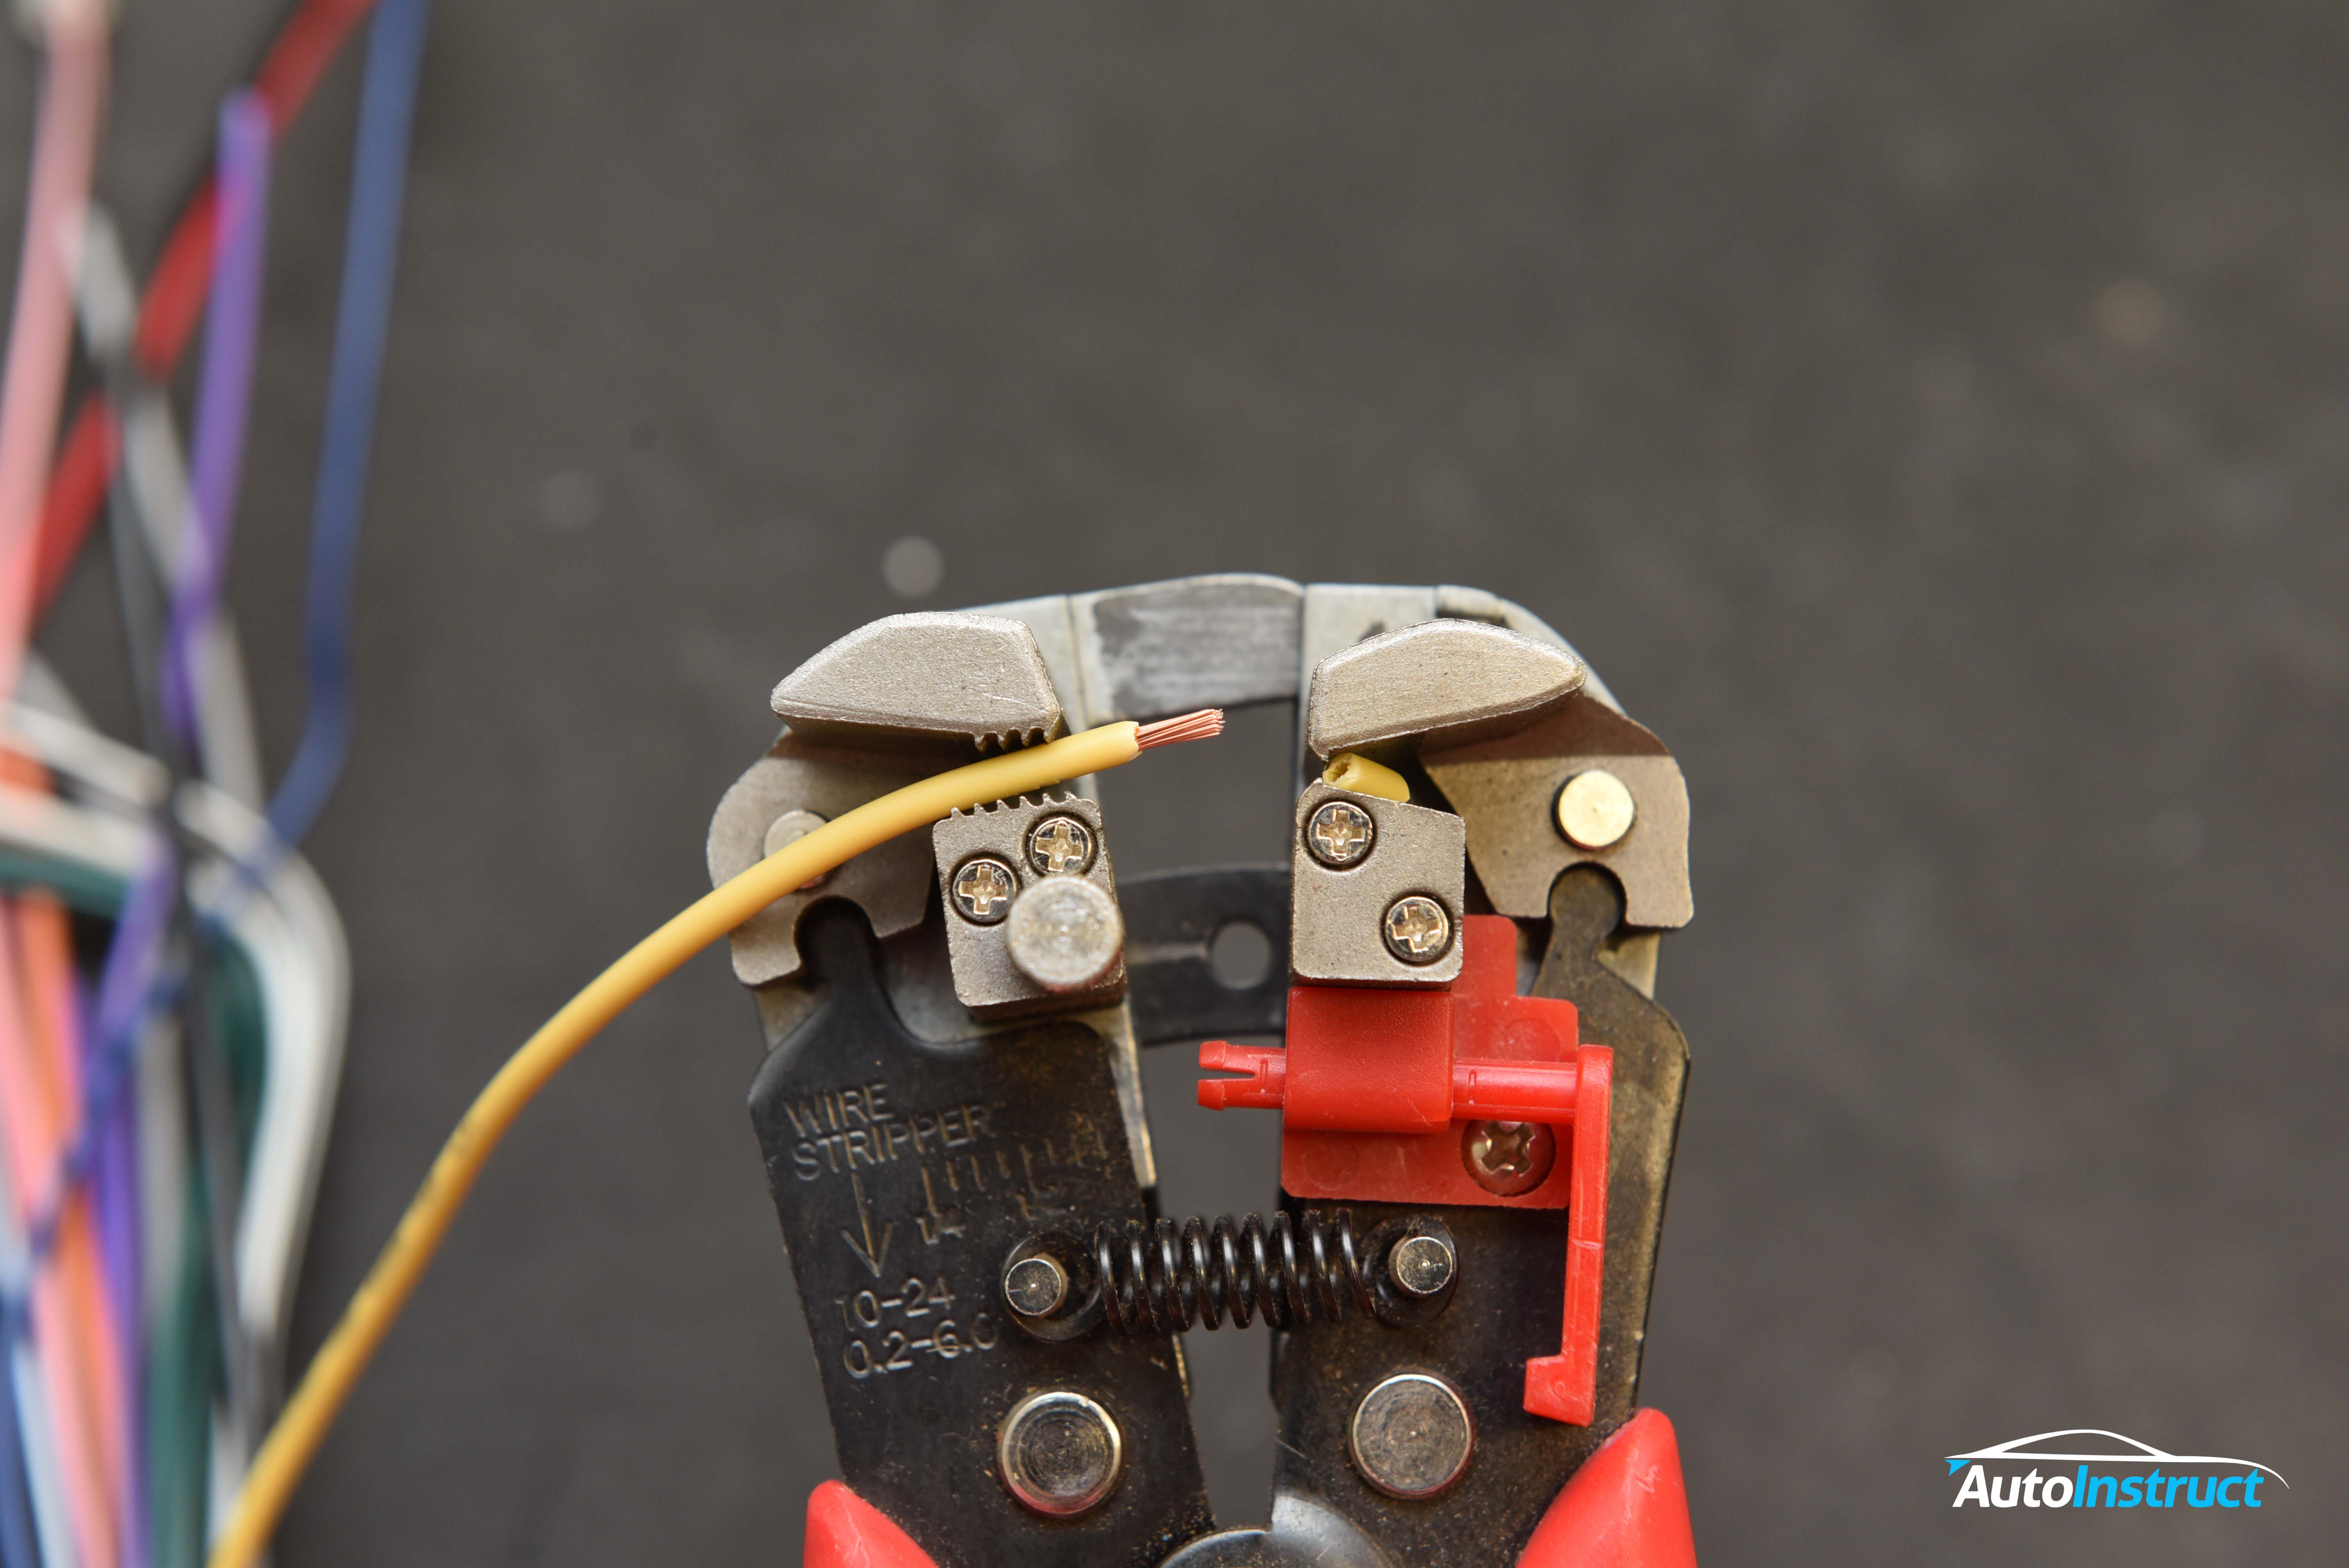
Strip all the wires using a stripping tool. Strip approximately 10 – 15mm.
Step 3
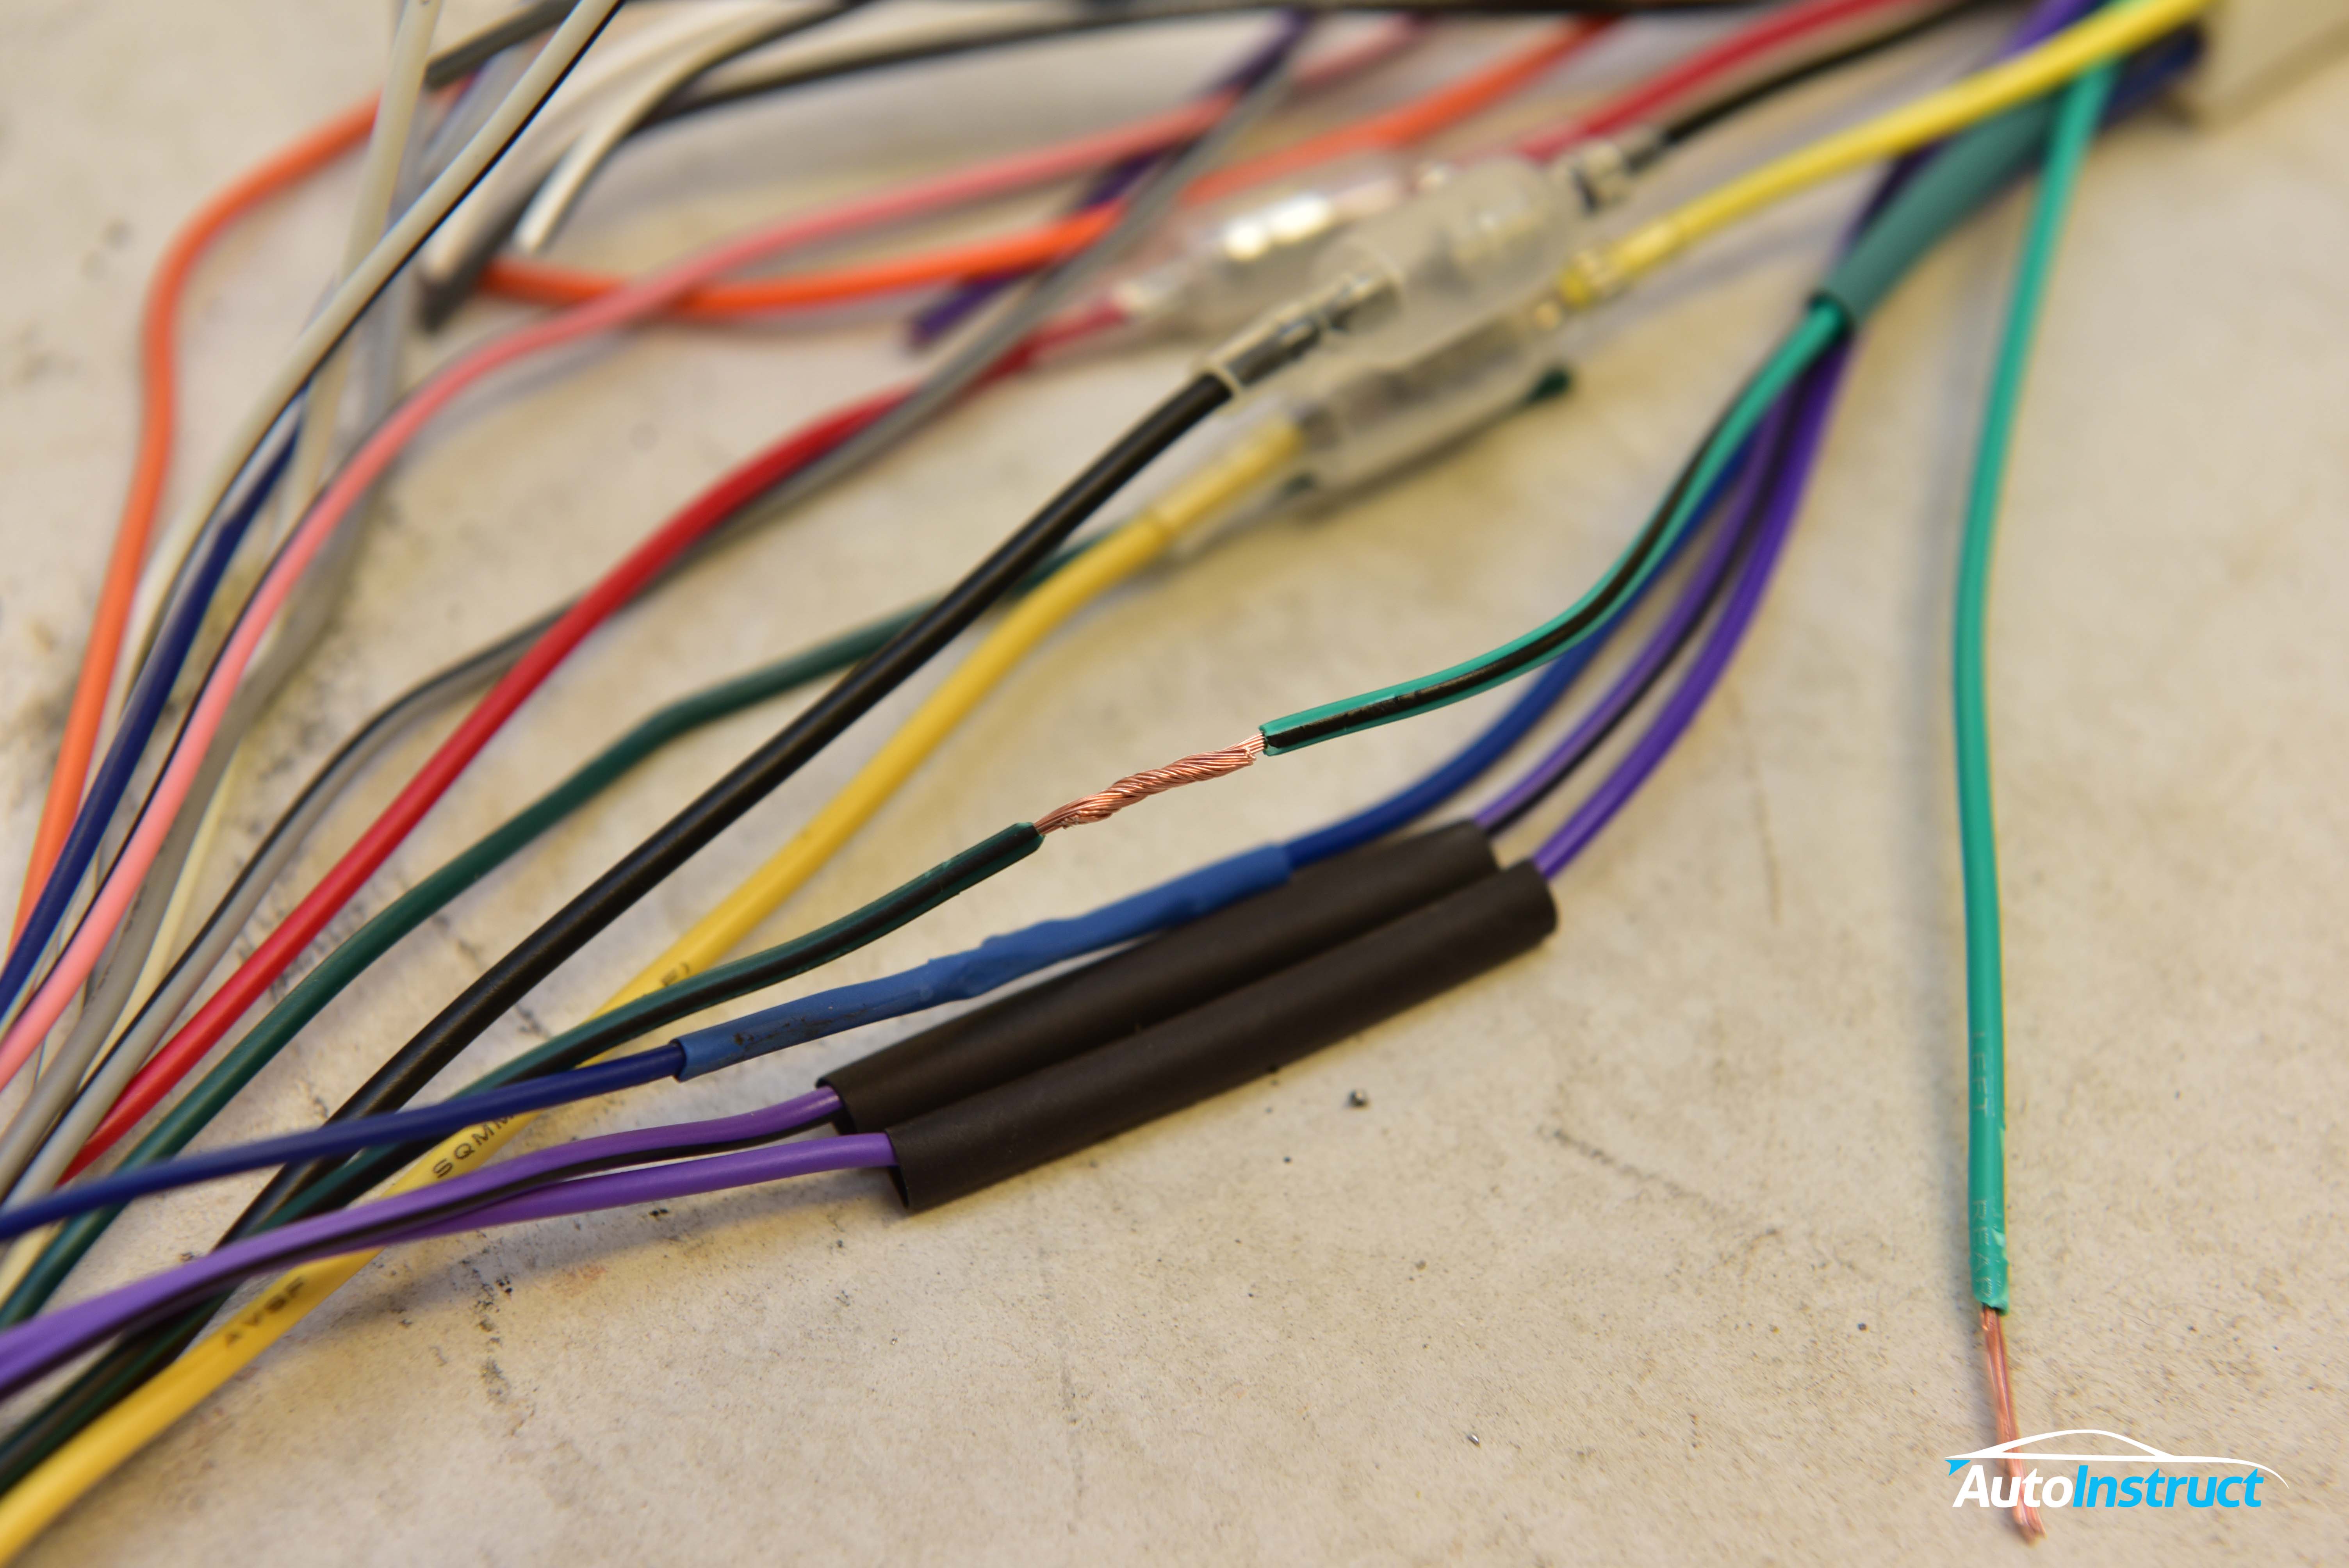
We will now join all the wires together. Slide down 40mm of heat shrink onto one end of the wire, then join the bare wires together.
We opted for the ‘Twist’ method of joining.
Step 4
With the wires joined together, touch the wire with the soldering iron to bring it up to temperature, and feed the solder into the wire, watching it ‘dissolve’ into the join.
Step 5
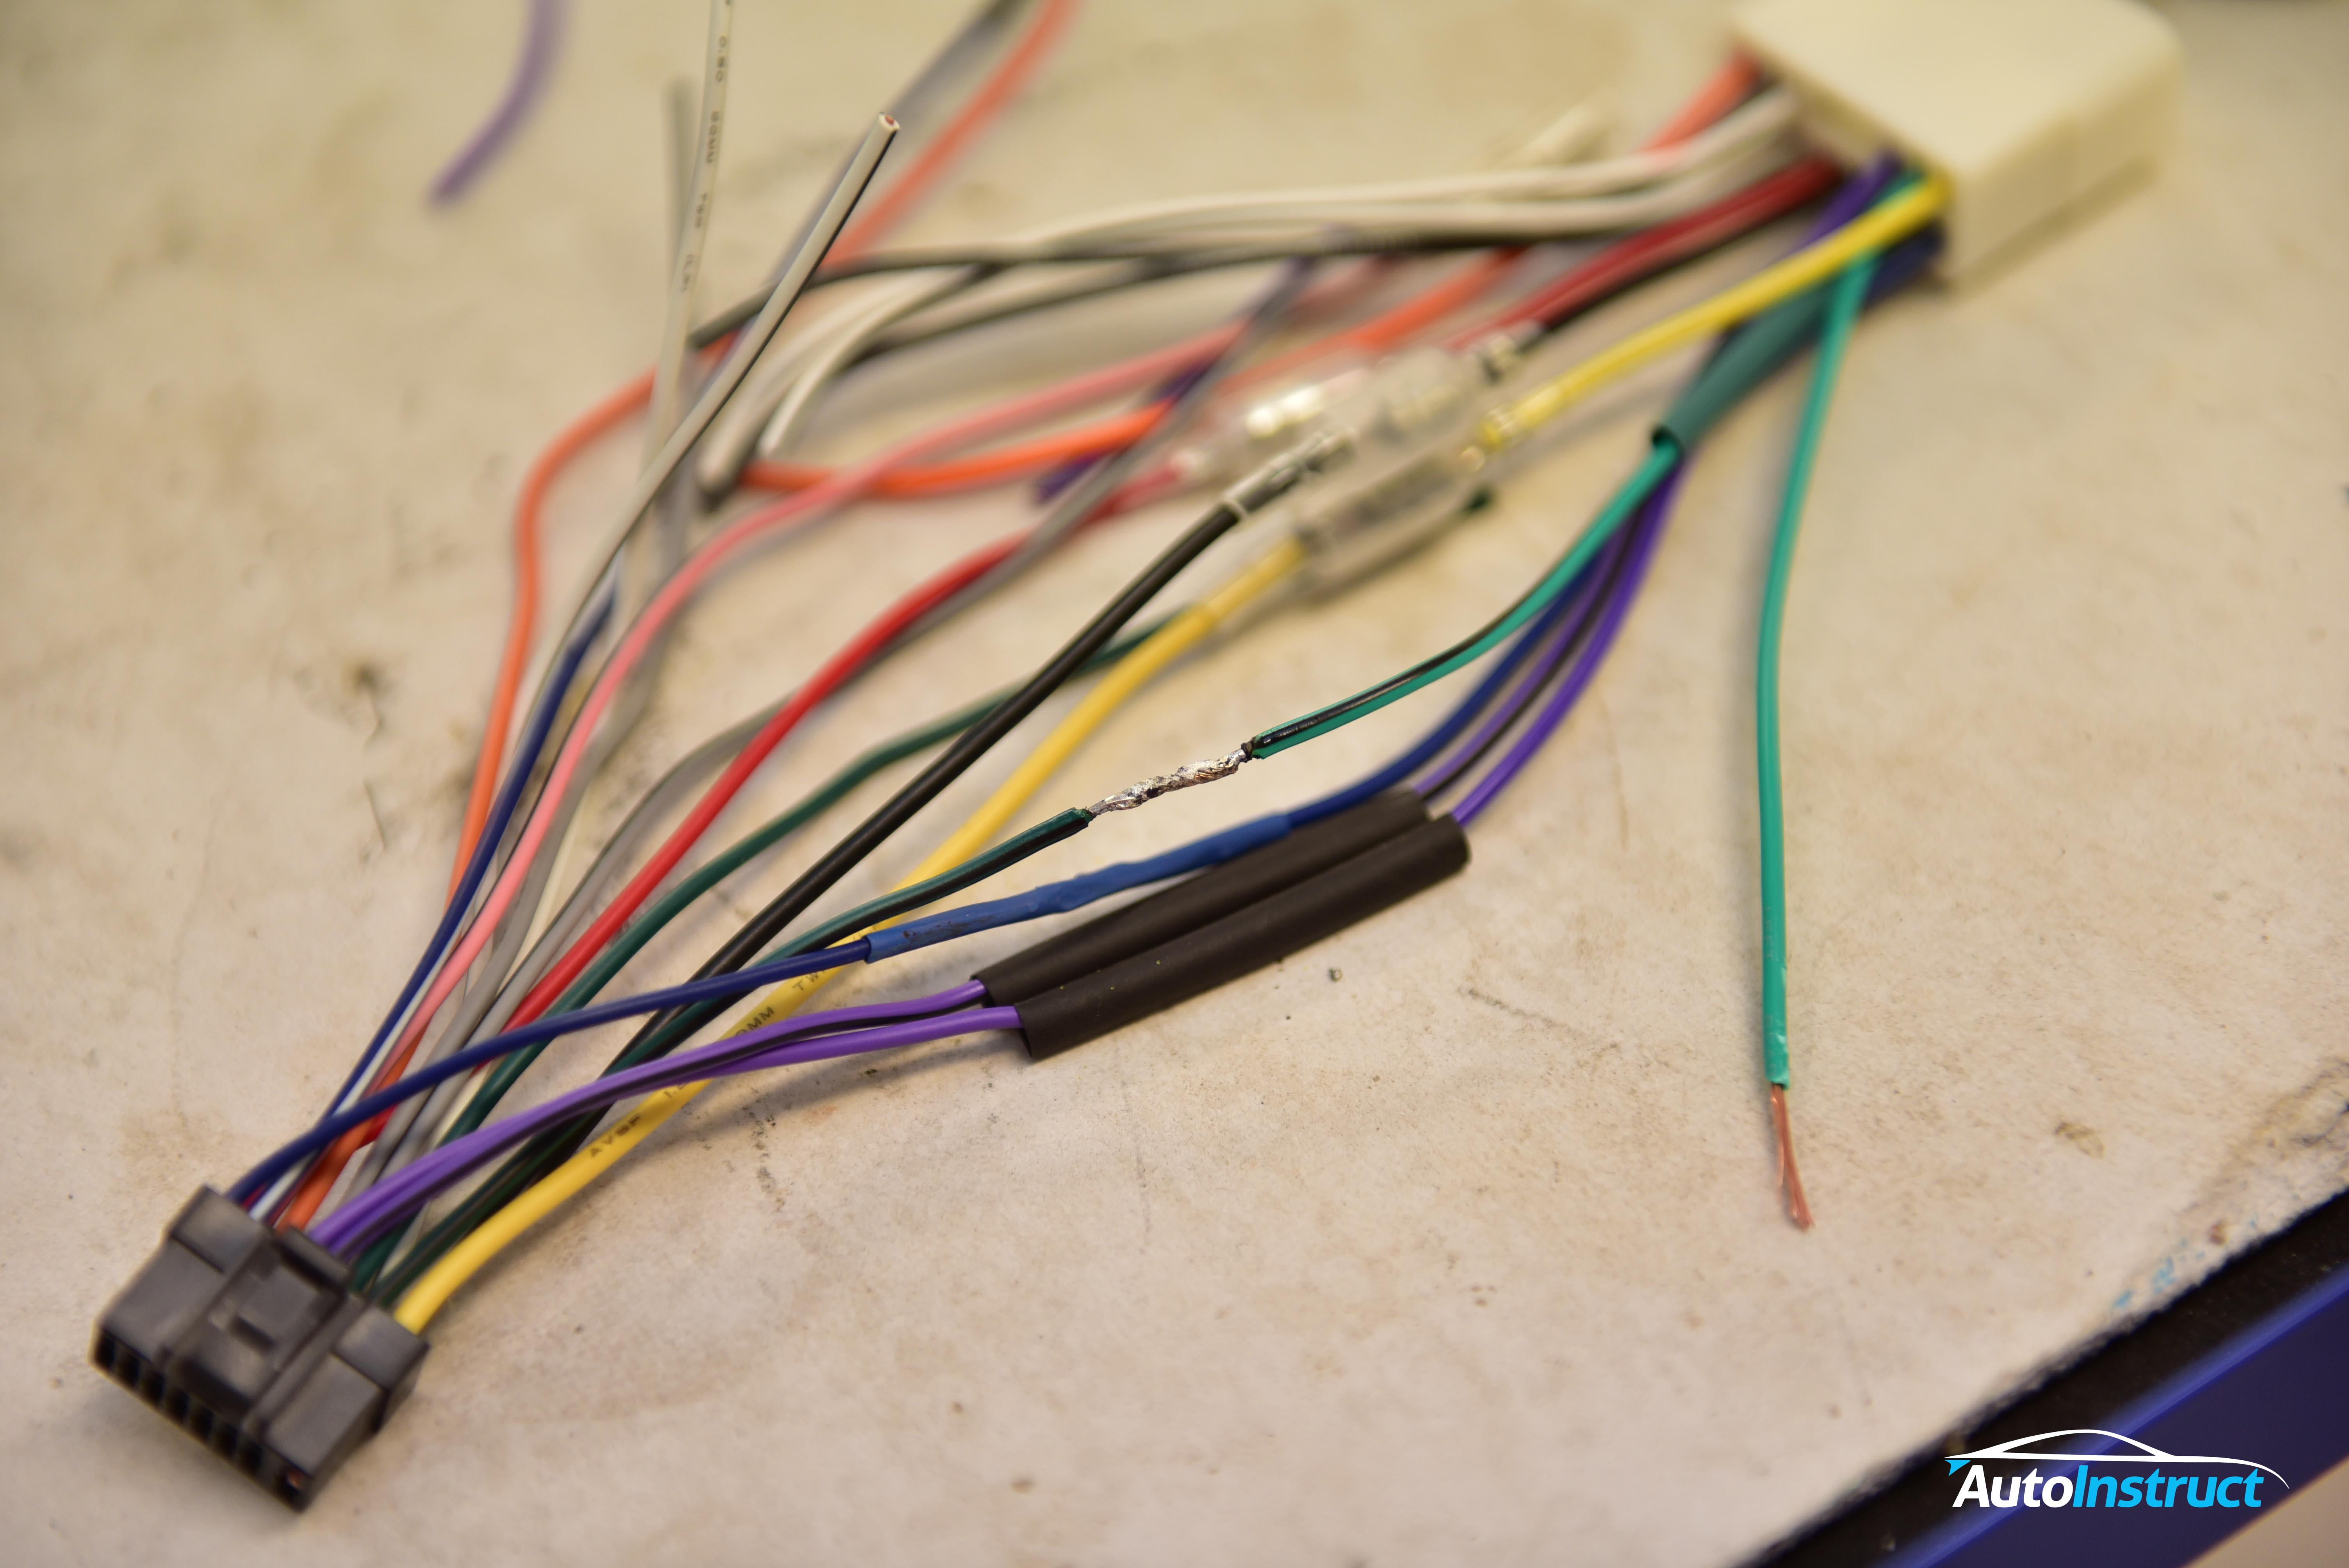
Wait for the solder to cool, then slide the heat shrink over the join, and heat with the heat gun to seal.
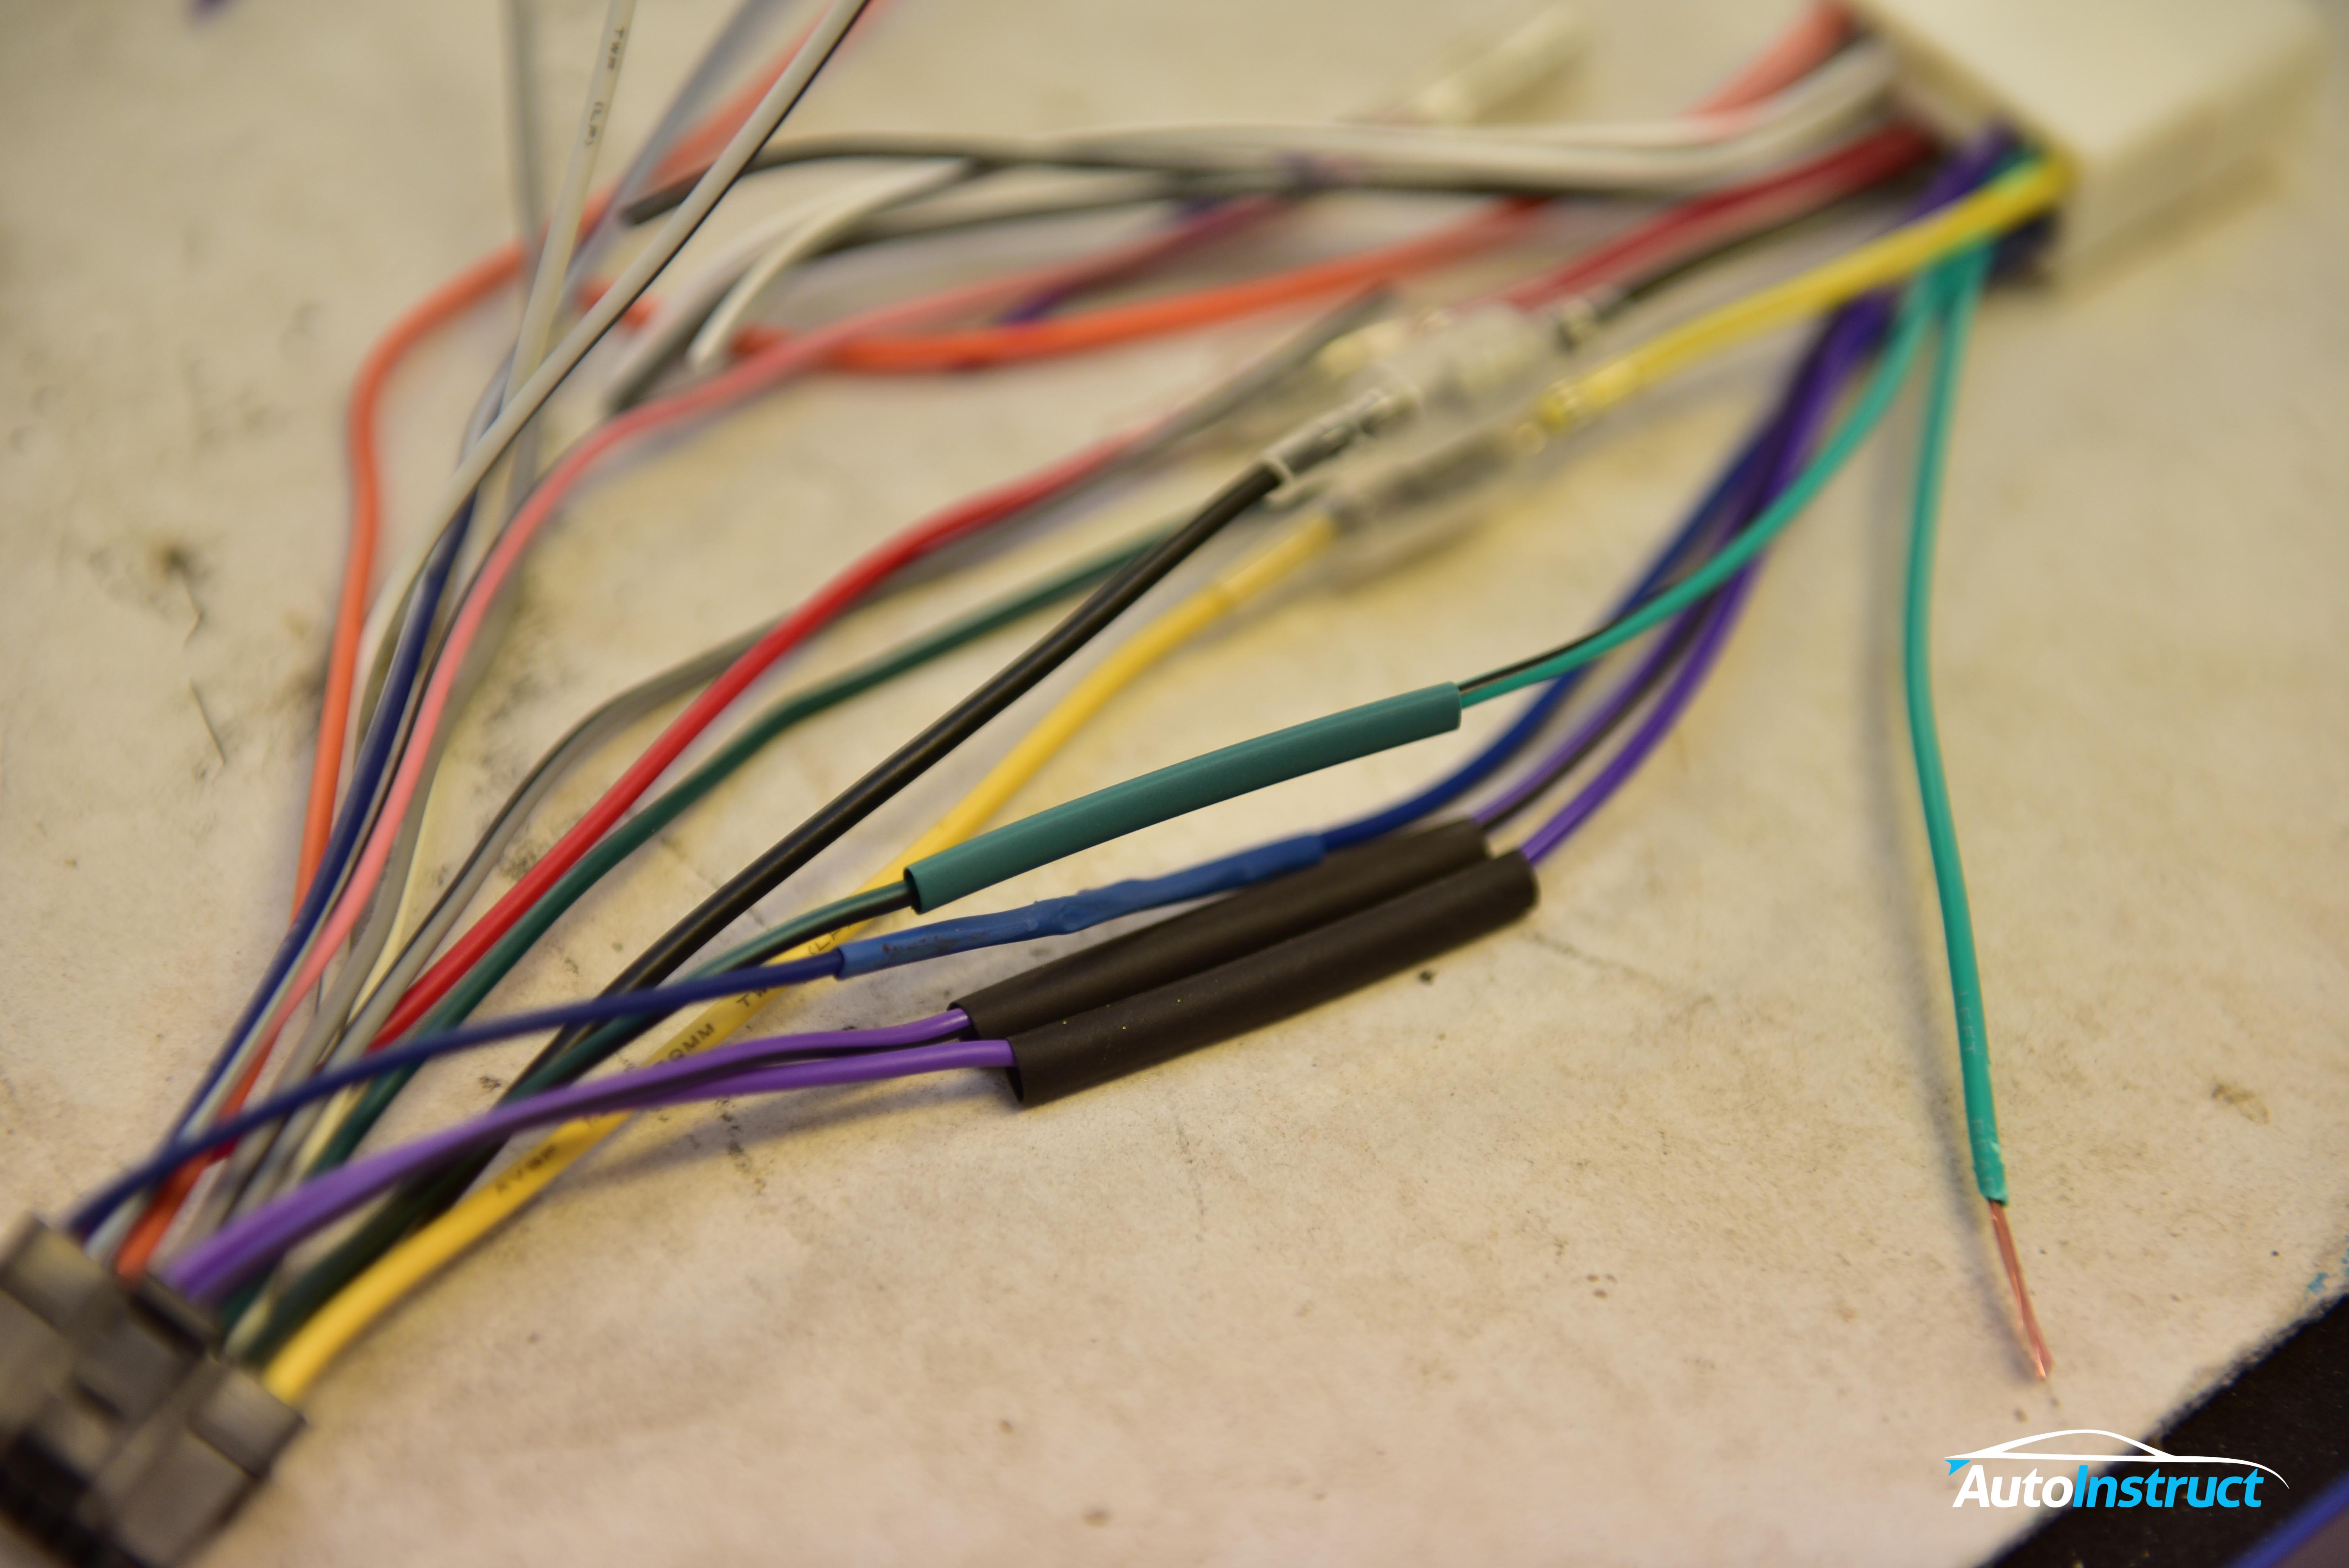
Step 6
Repeat this process for every wire you need to join, the end result will look something like this.
Step 7
Lastly you can use cable ties to tidy up the loom, and protect the wires from being snagged. All finished!
Did you find this guide helpful? Consider sharing it to help other car enthusiasts