This guide will show you how to change your Stater Motor on a 2.0L MK4 Golf.
Why are we replacing the starter motor? We identified a whirring noise after starting the vehicle, which is the result of the starter motor not retracting after starting the vehicle. You can rebuild the motor, however we simply chose to replace it.
Difficulty Rating
Hard
Tools/Parts Required
Socket Set with extensions
Torx Set
Replacement Starter Motor
Warning
Work at your own risk. This work is inherently dangerous and must only be carried out by a qualified mechanic. AutoInstruct will not be held responsible for damage to your vehicle or personal injury / death as a result of the information we provide.
Step 1
Before starting ensure you disconnect the battery.
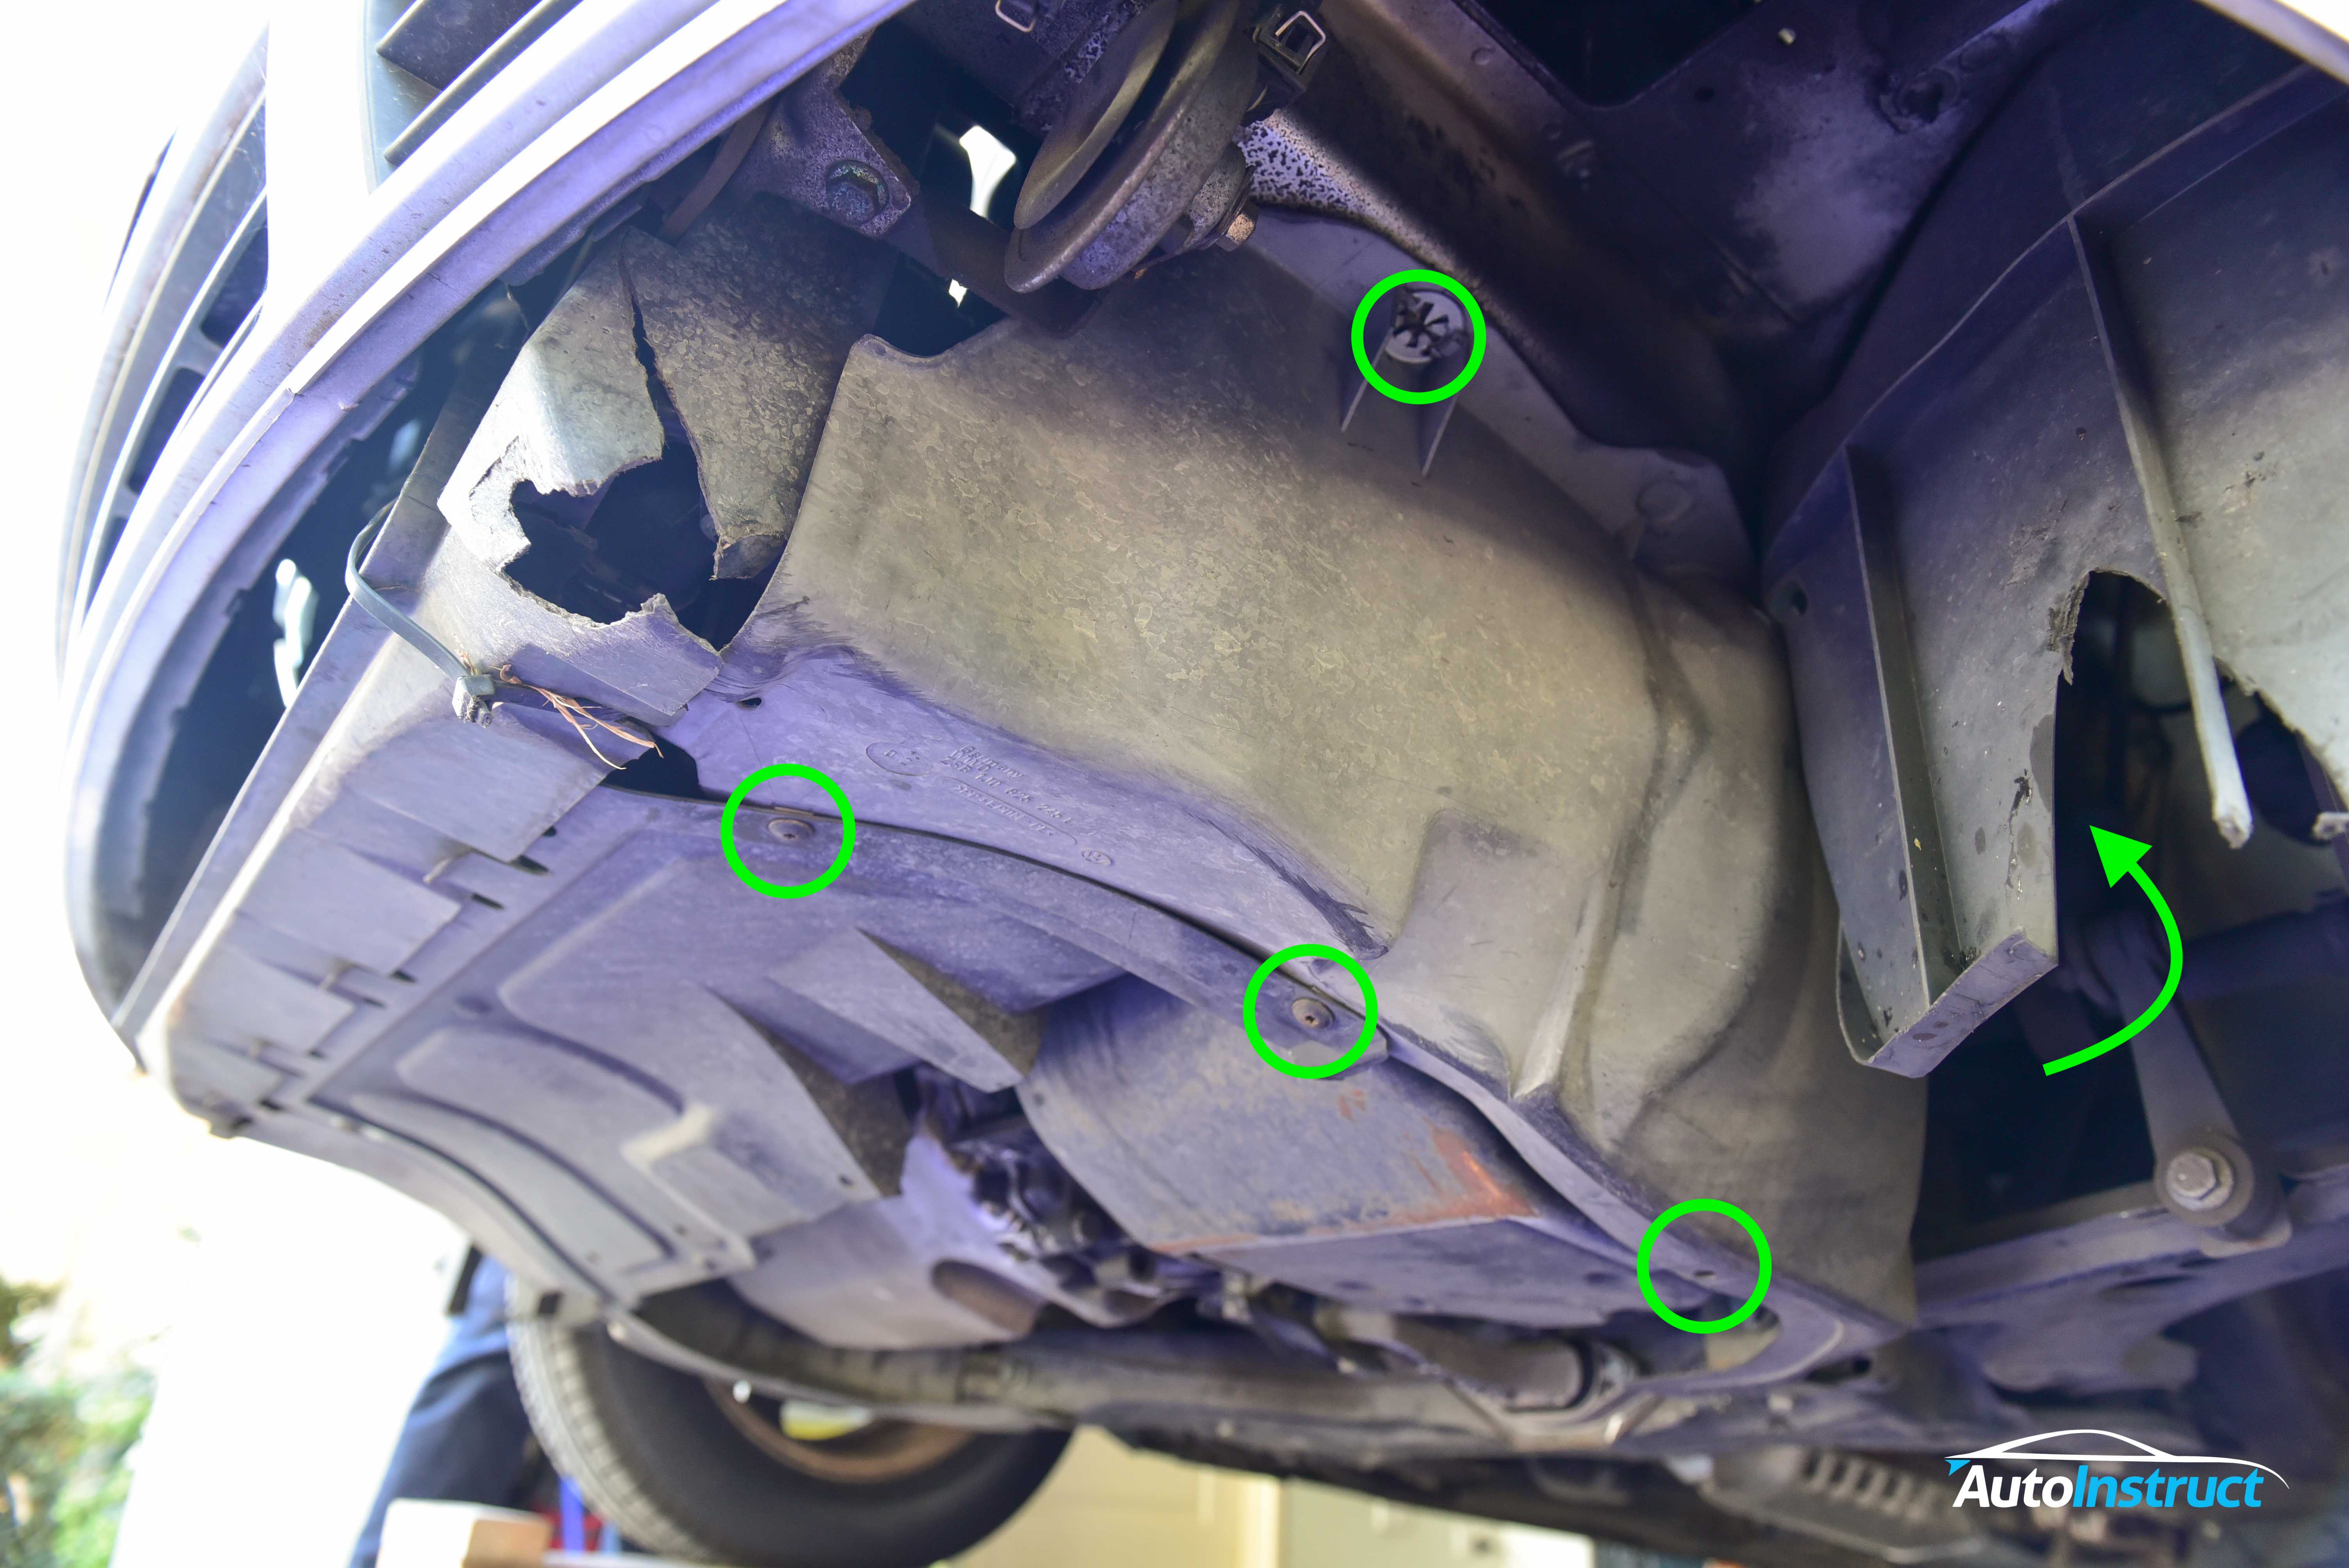
Remove the left hand side engine cover. There are a number of torx screws and retaining clips holding this in place.
Step 2
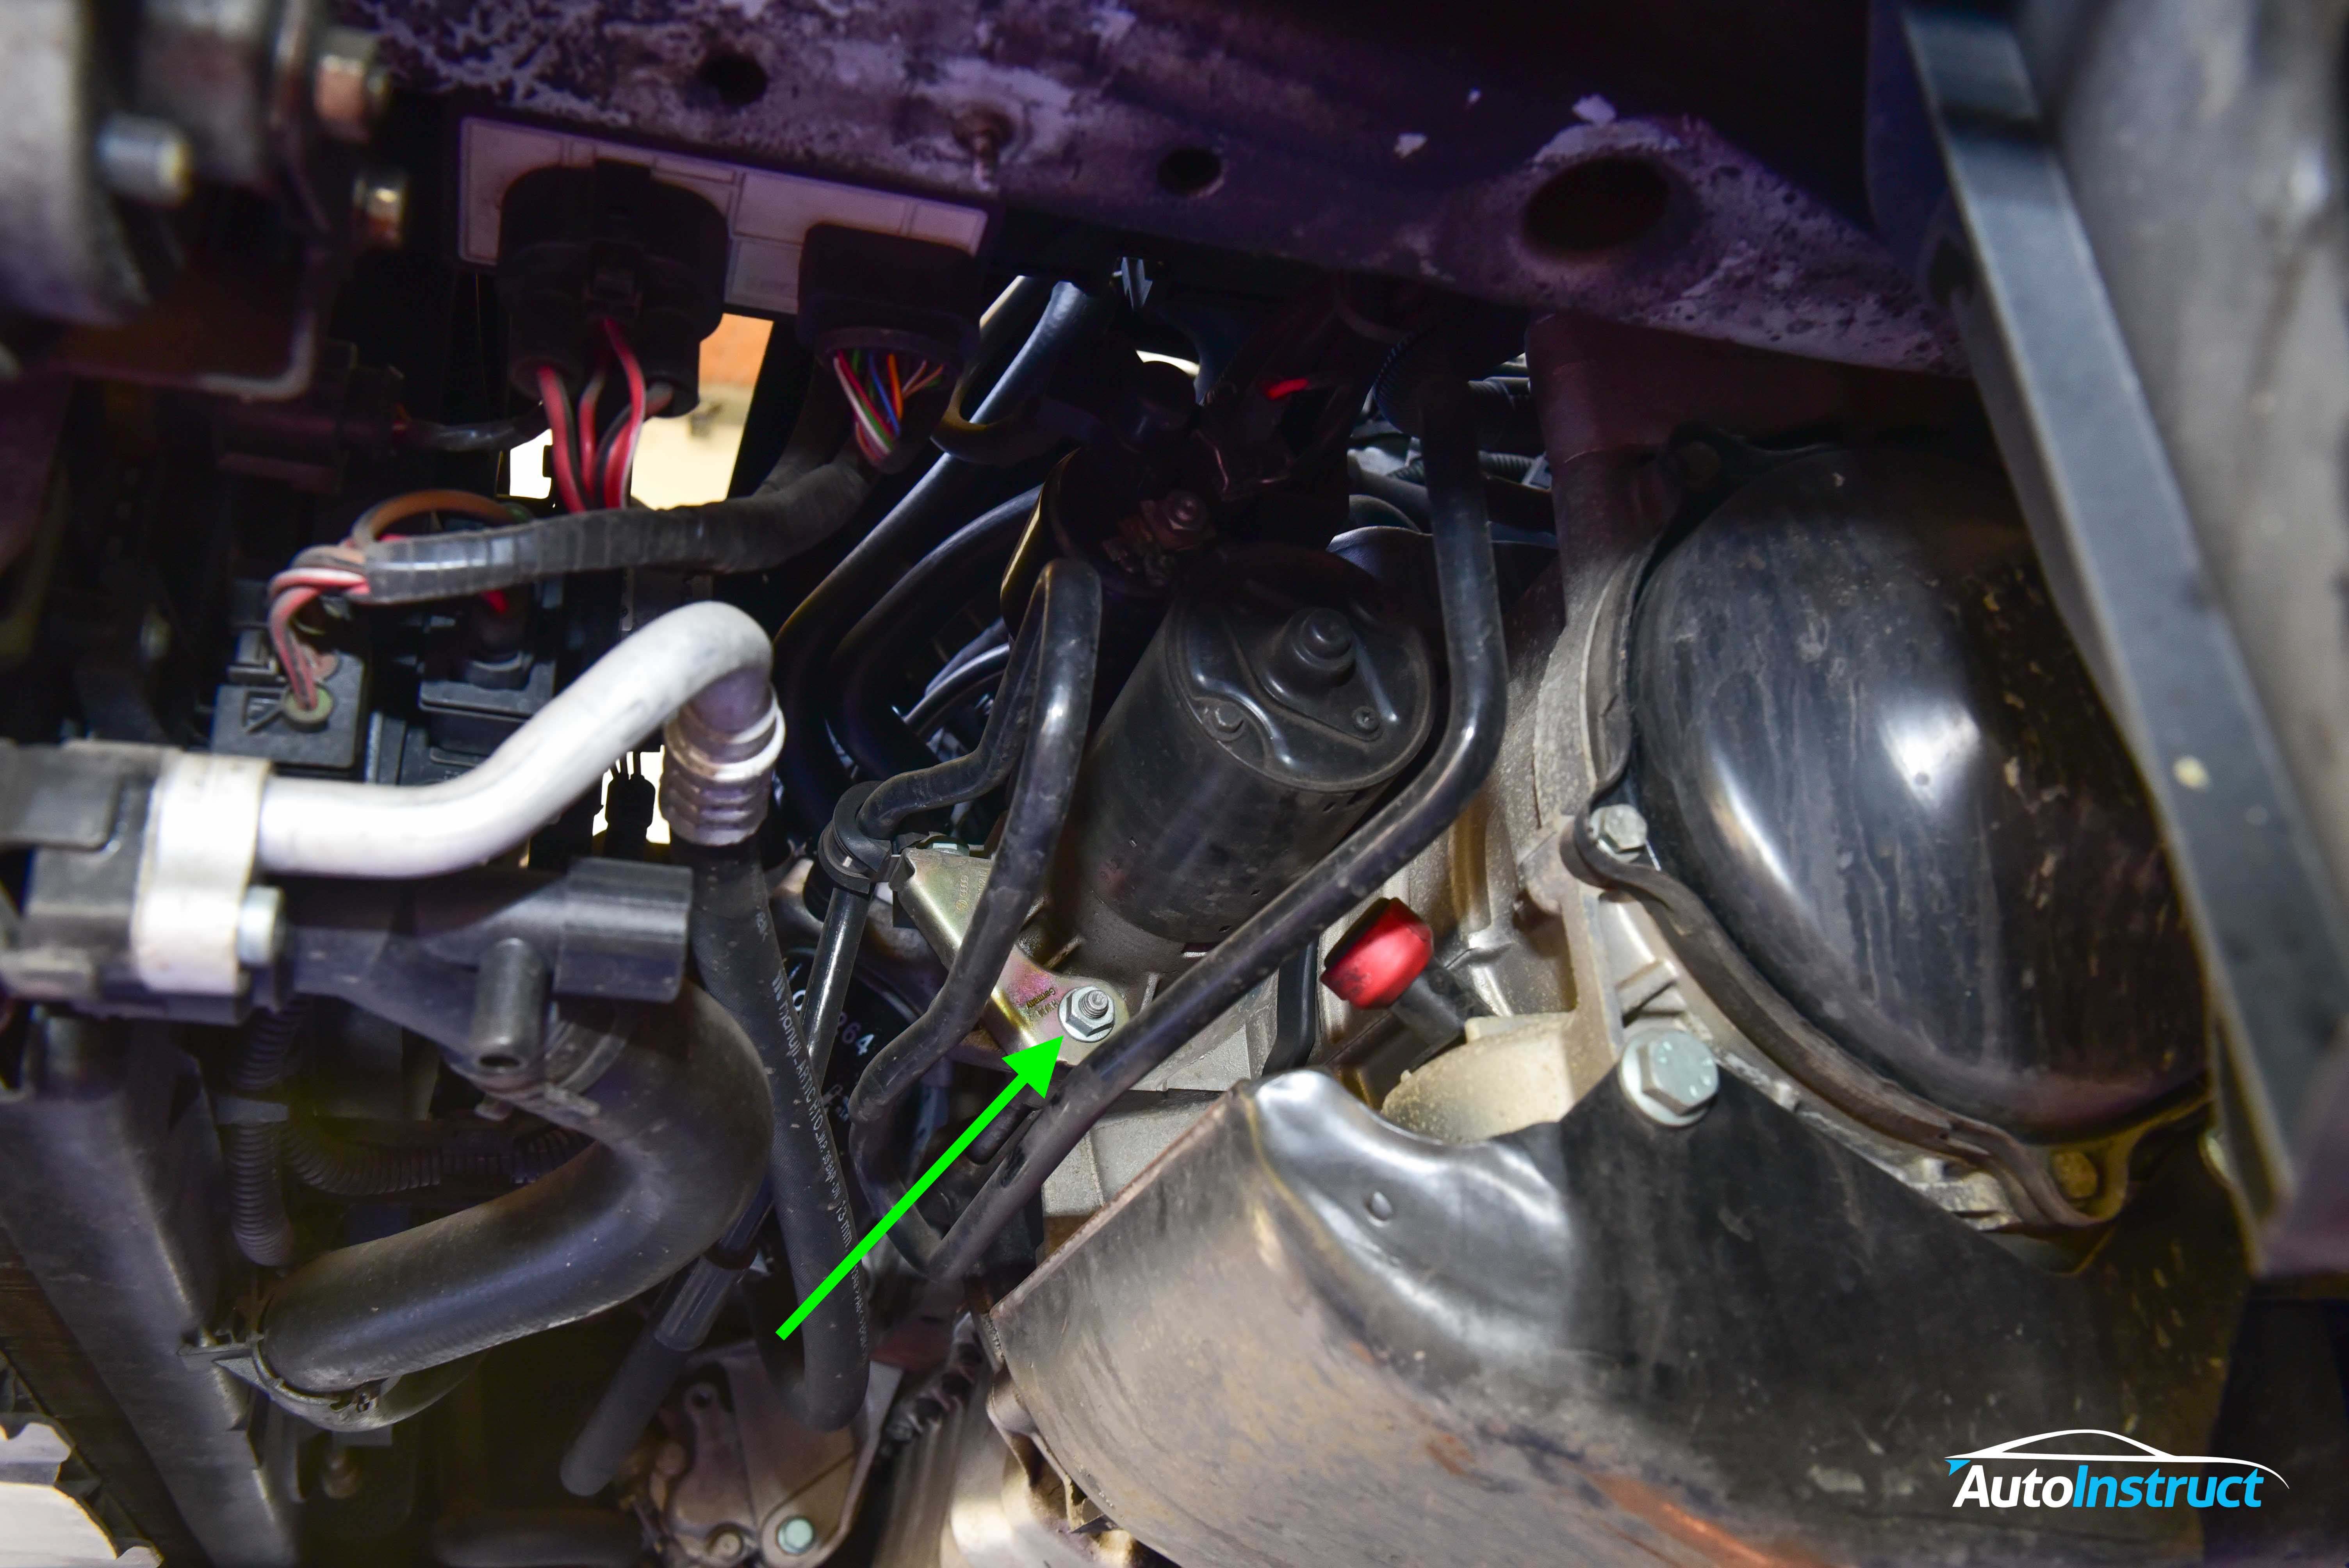
Unbolt the bracket which supports the steel hose line.
Step 3
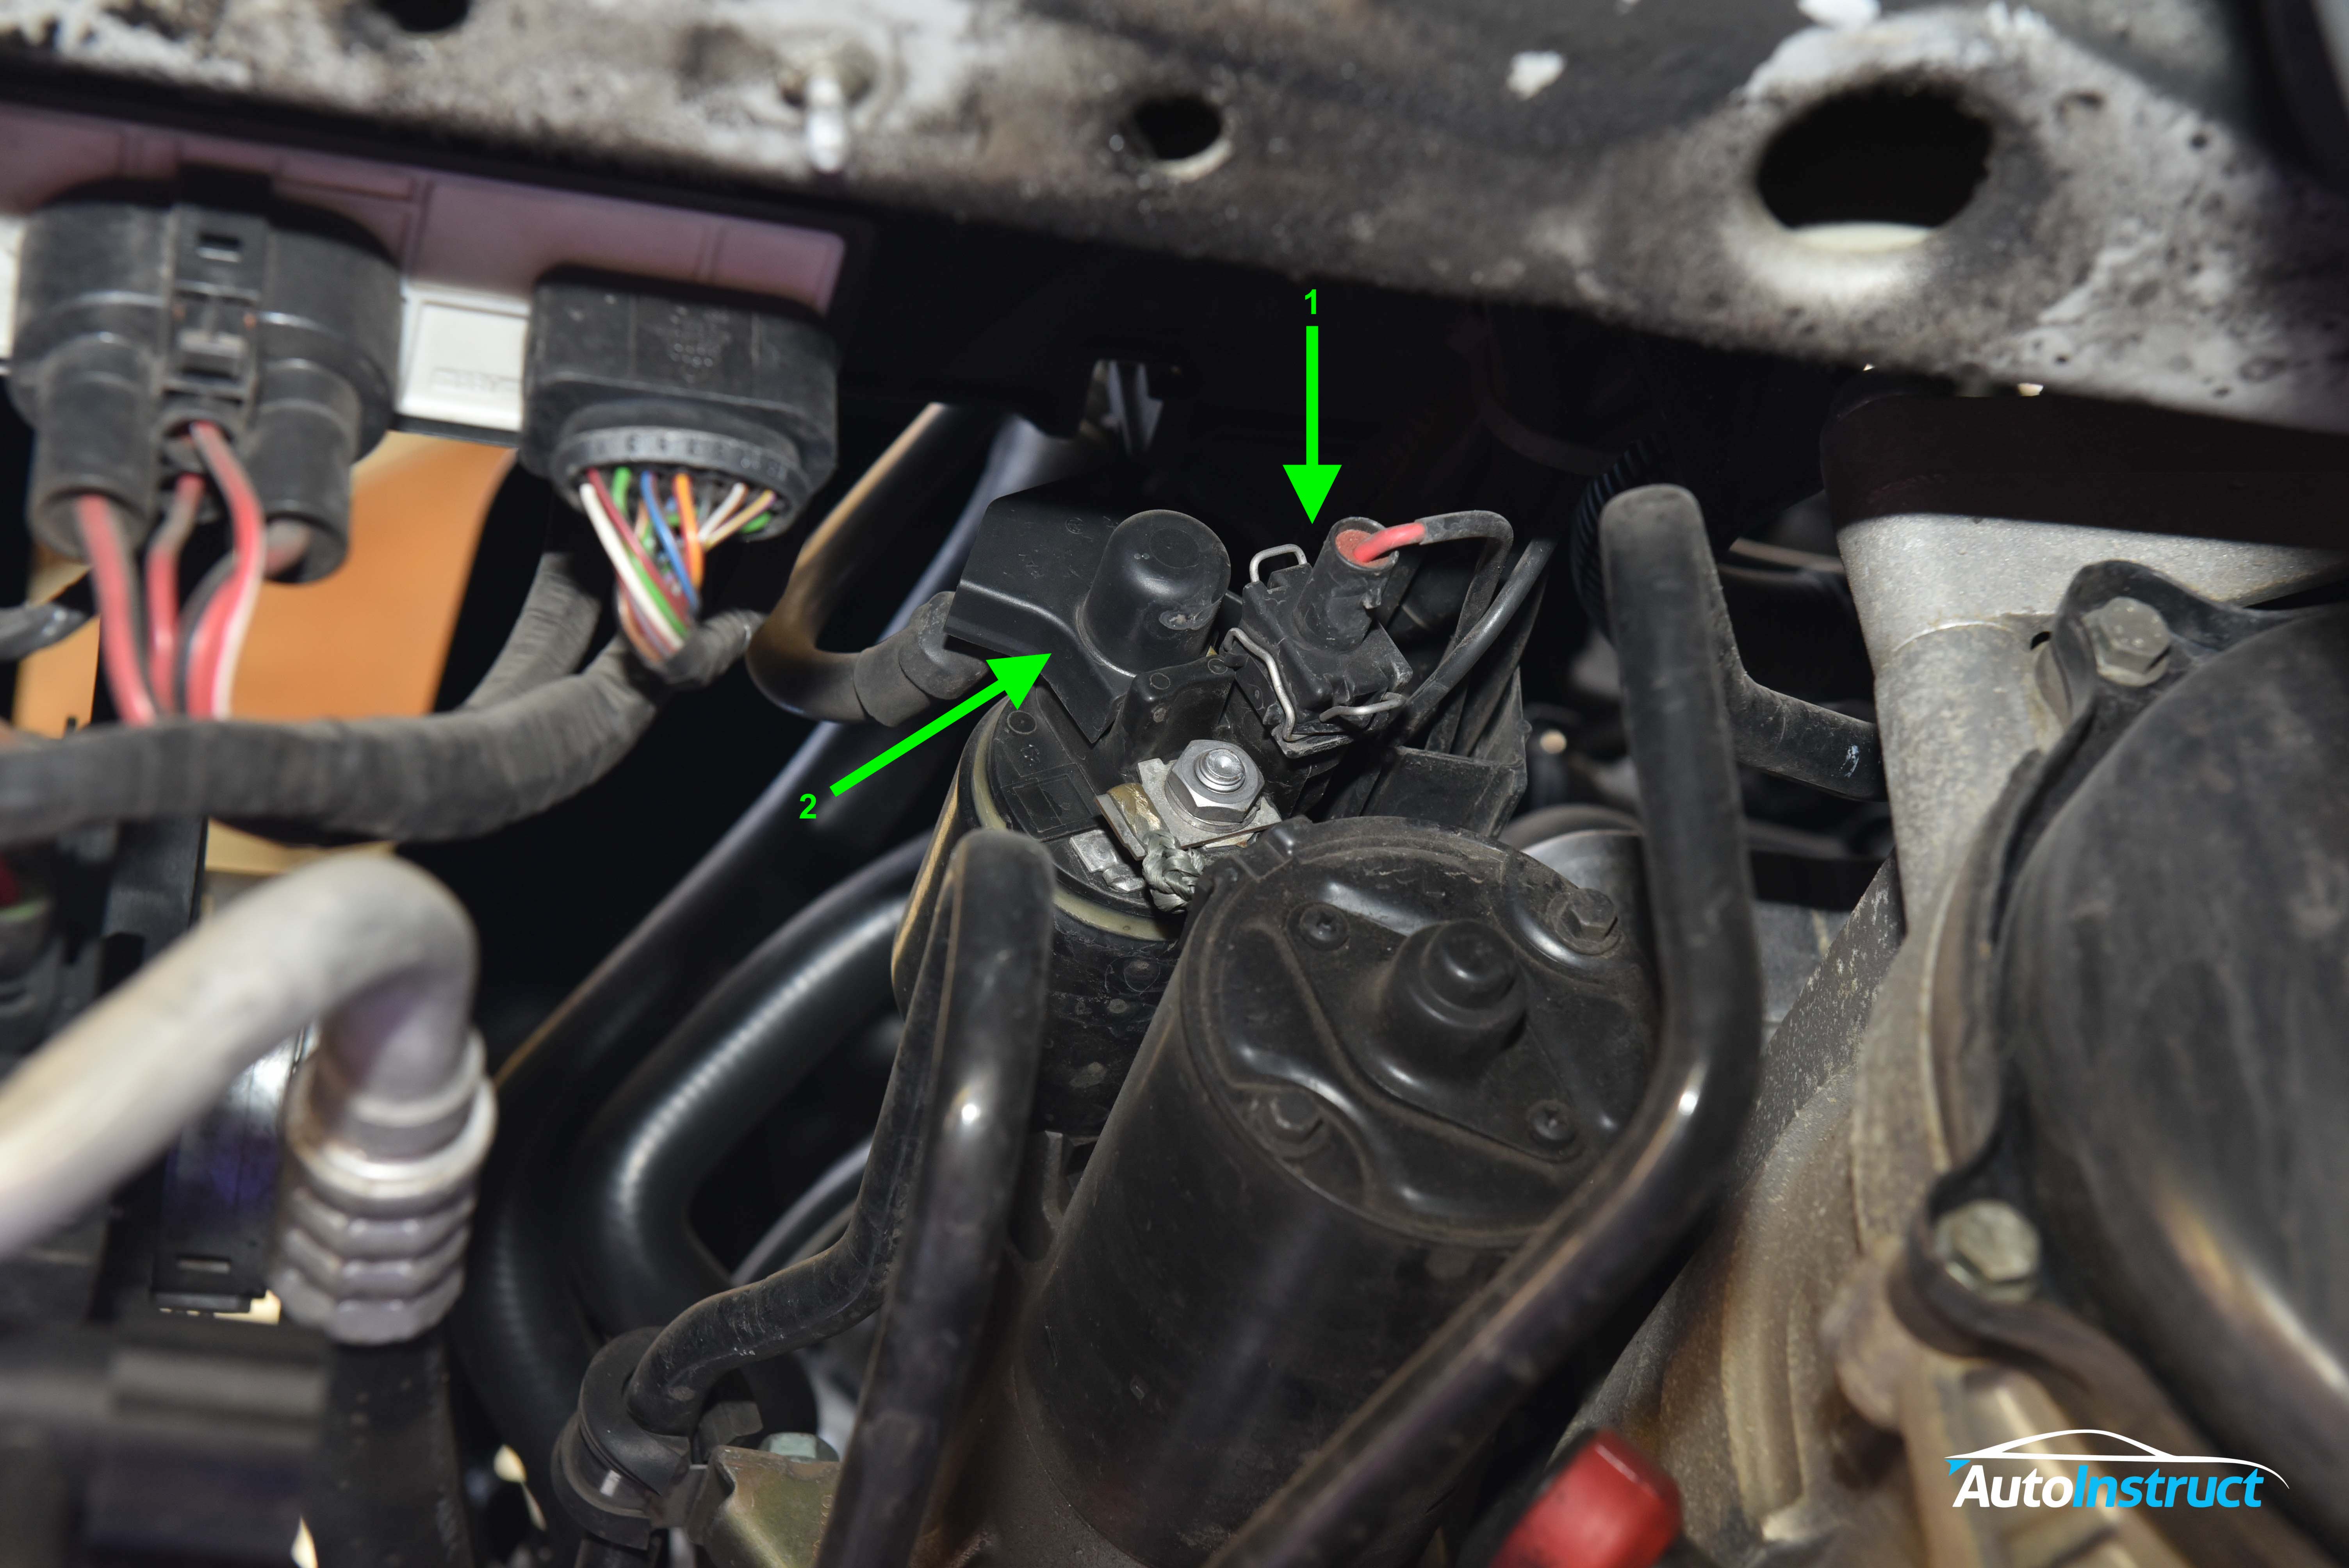
Unclip the red wire by squeezing the two metal tabs.
Remove the dust cover on the positive terminal.
Step 4
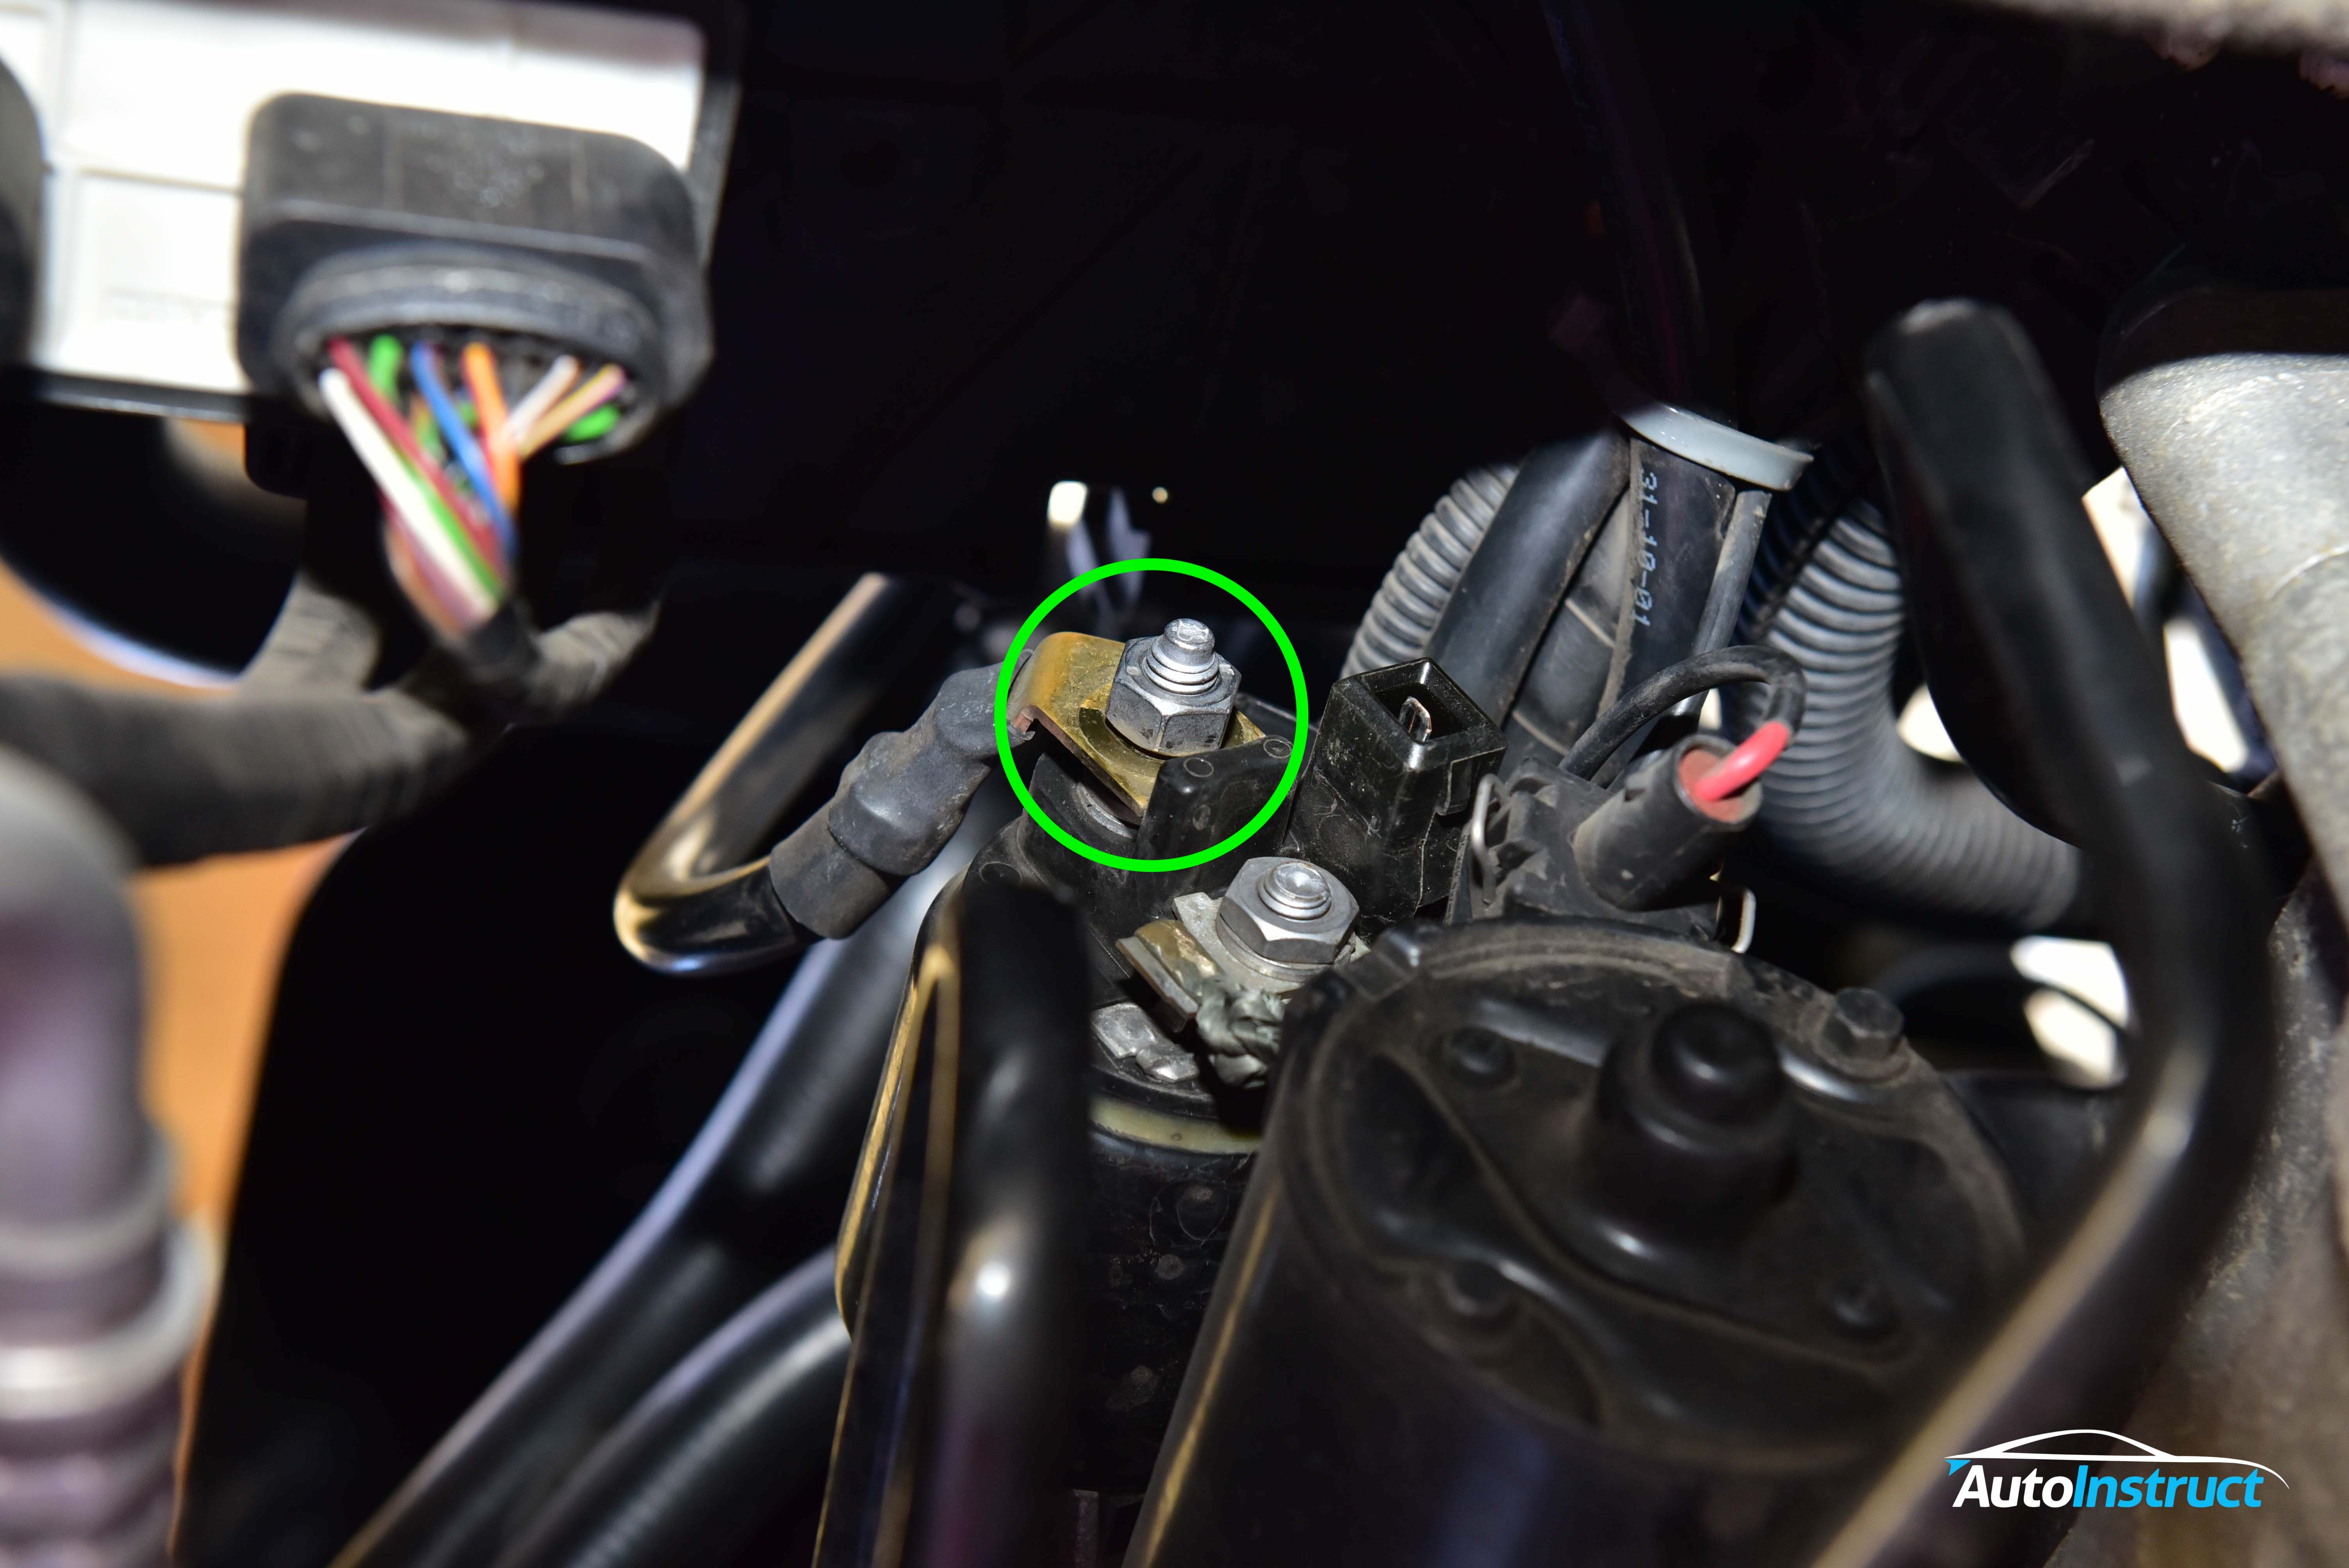
Unbolt the positive terminal from the starter motor.
Step 5
Looking down from the top, you’ll find a plastic cable tray securing a few cable looms in place. This sits directly above the starter motor.
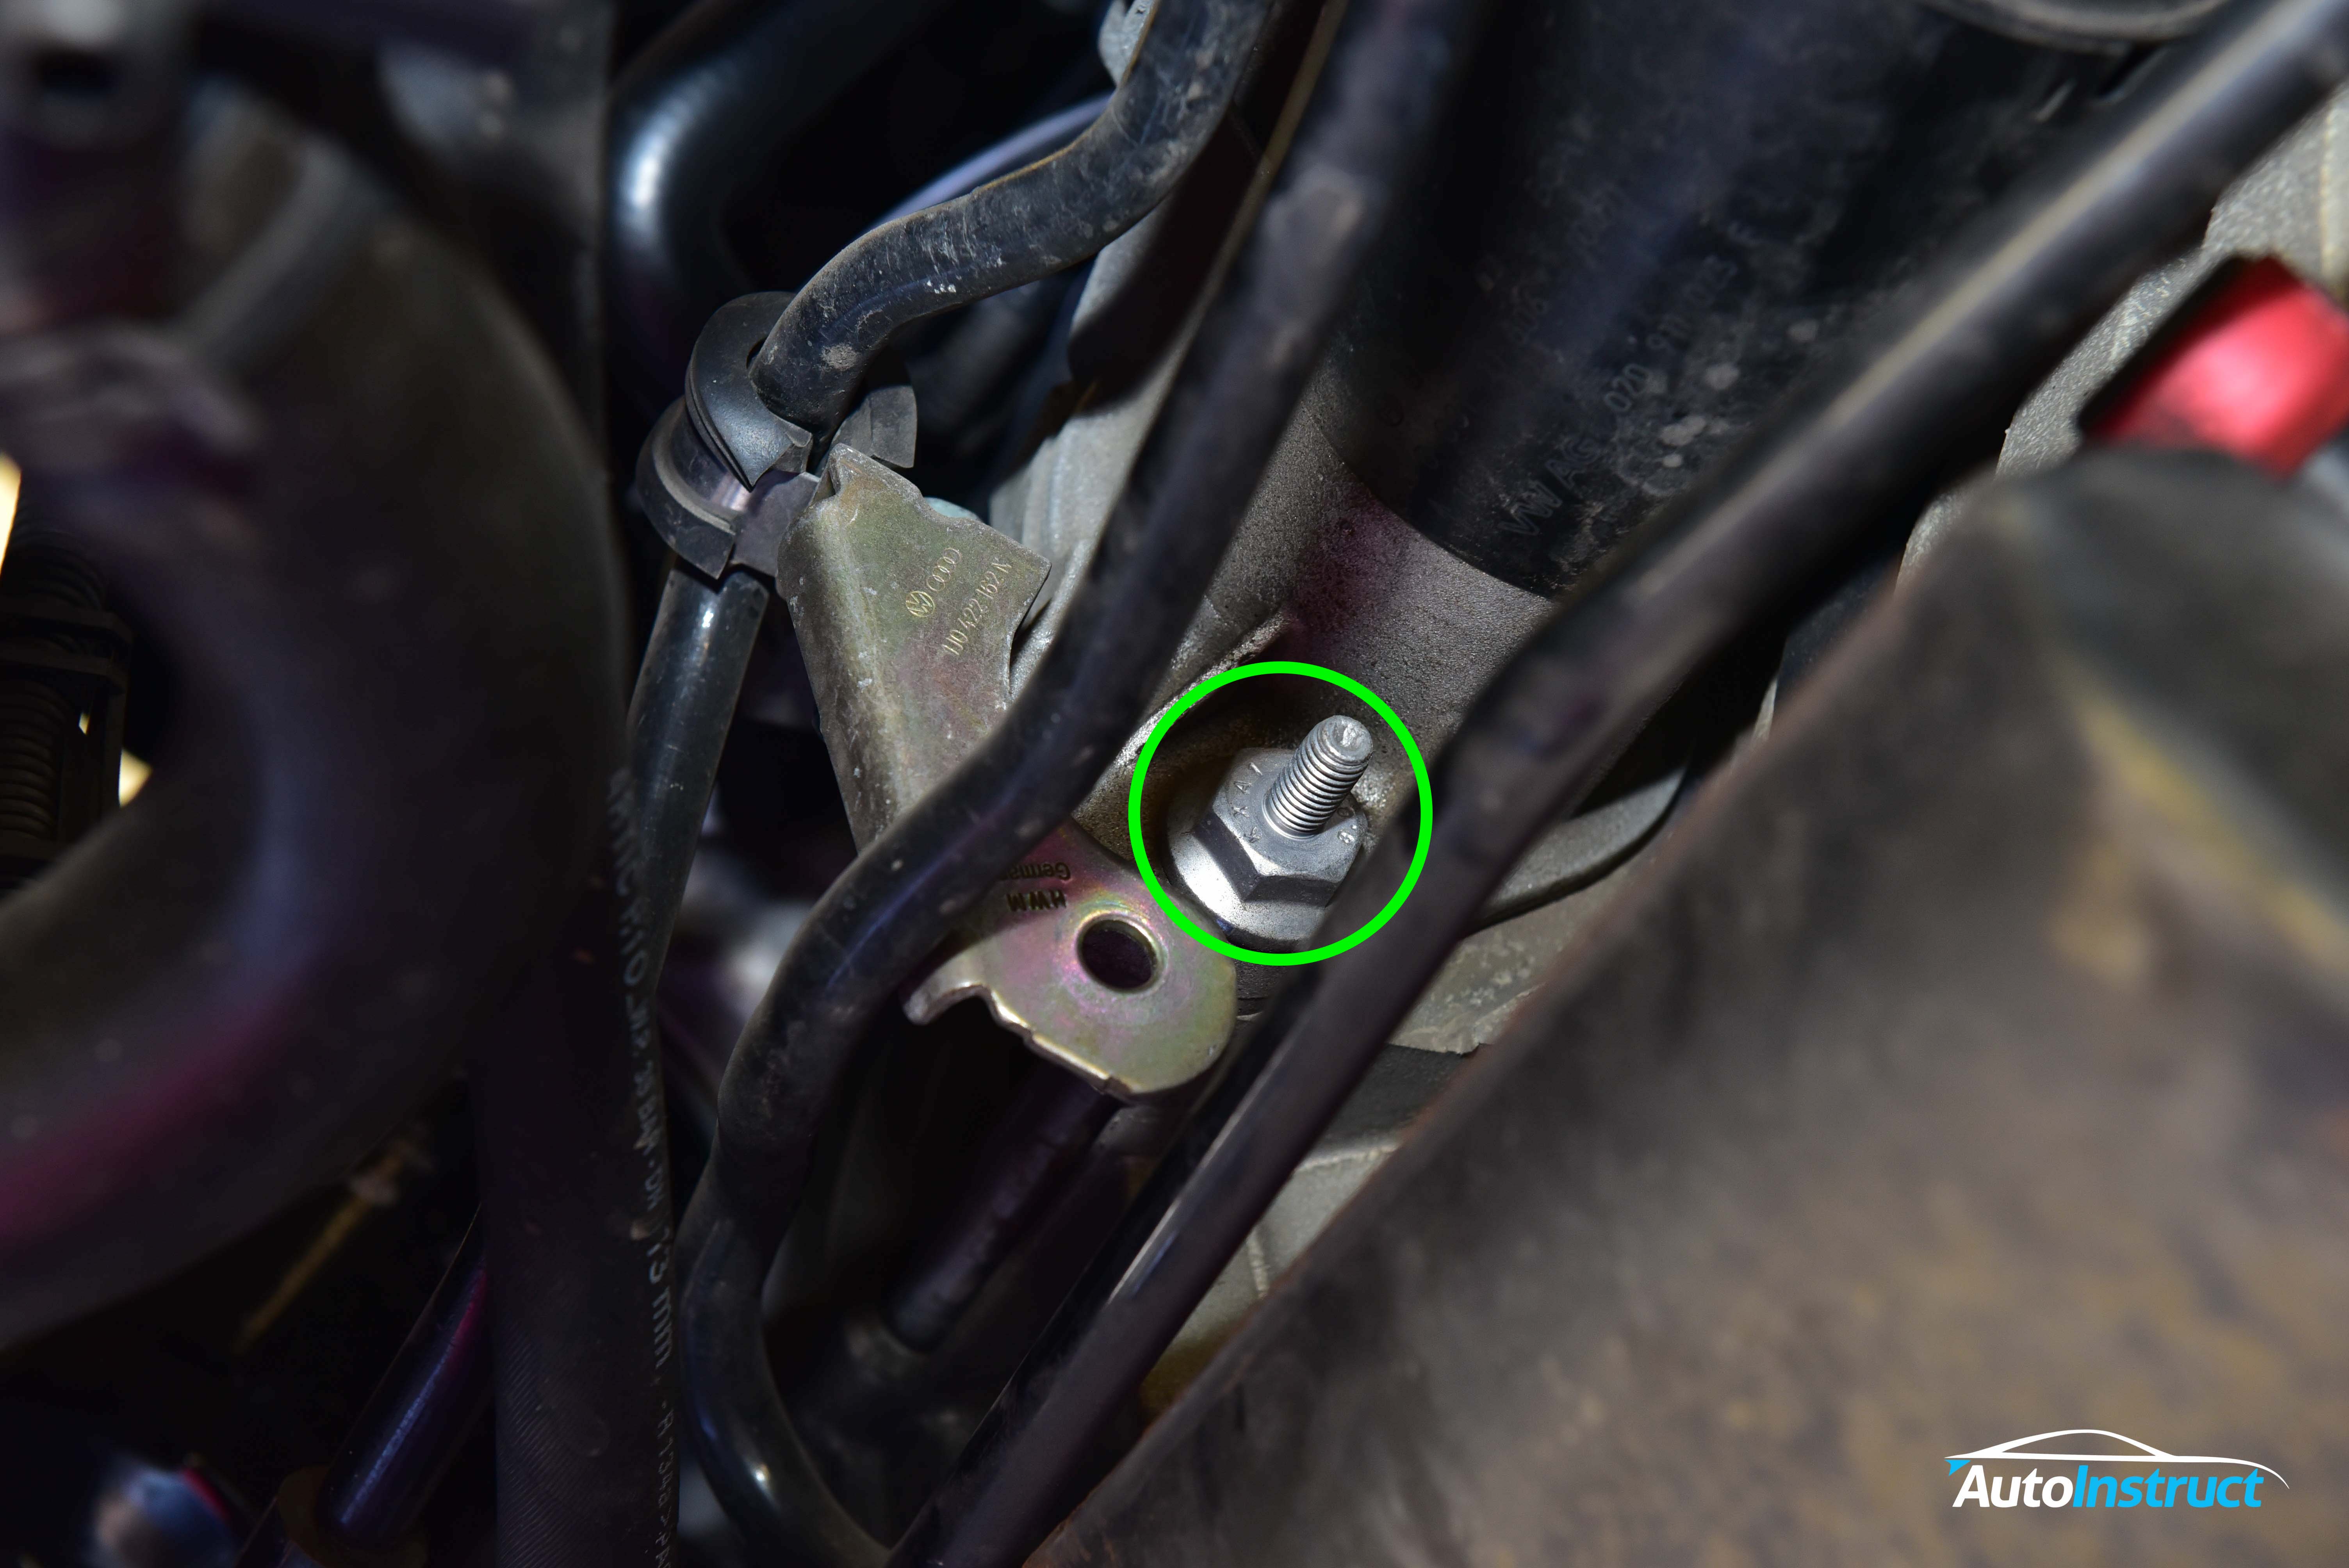
Remove the cables from the tray, and unbolt the tray. The tray is actually attached to one of the bolts that secure the starter motor, and is held in place by a nut.
This will need to be done from underneath, and you will need a long extension. It can be hard to locate the nut, and a guide from above can be useful.
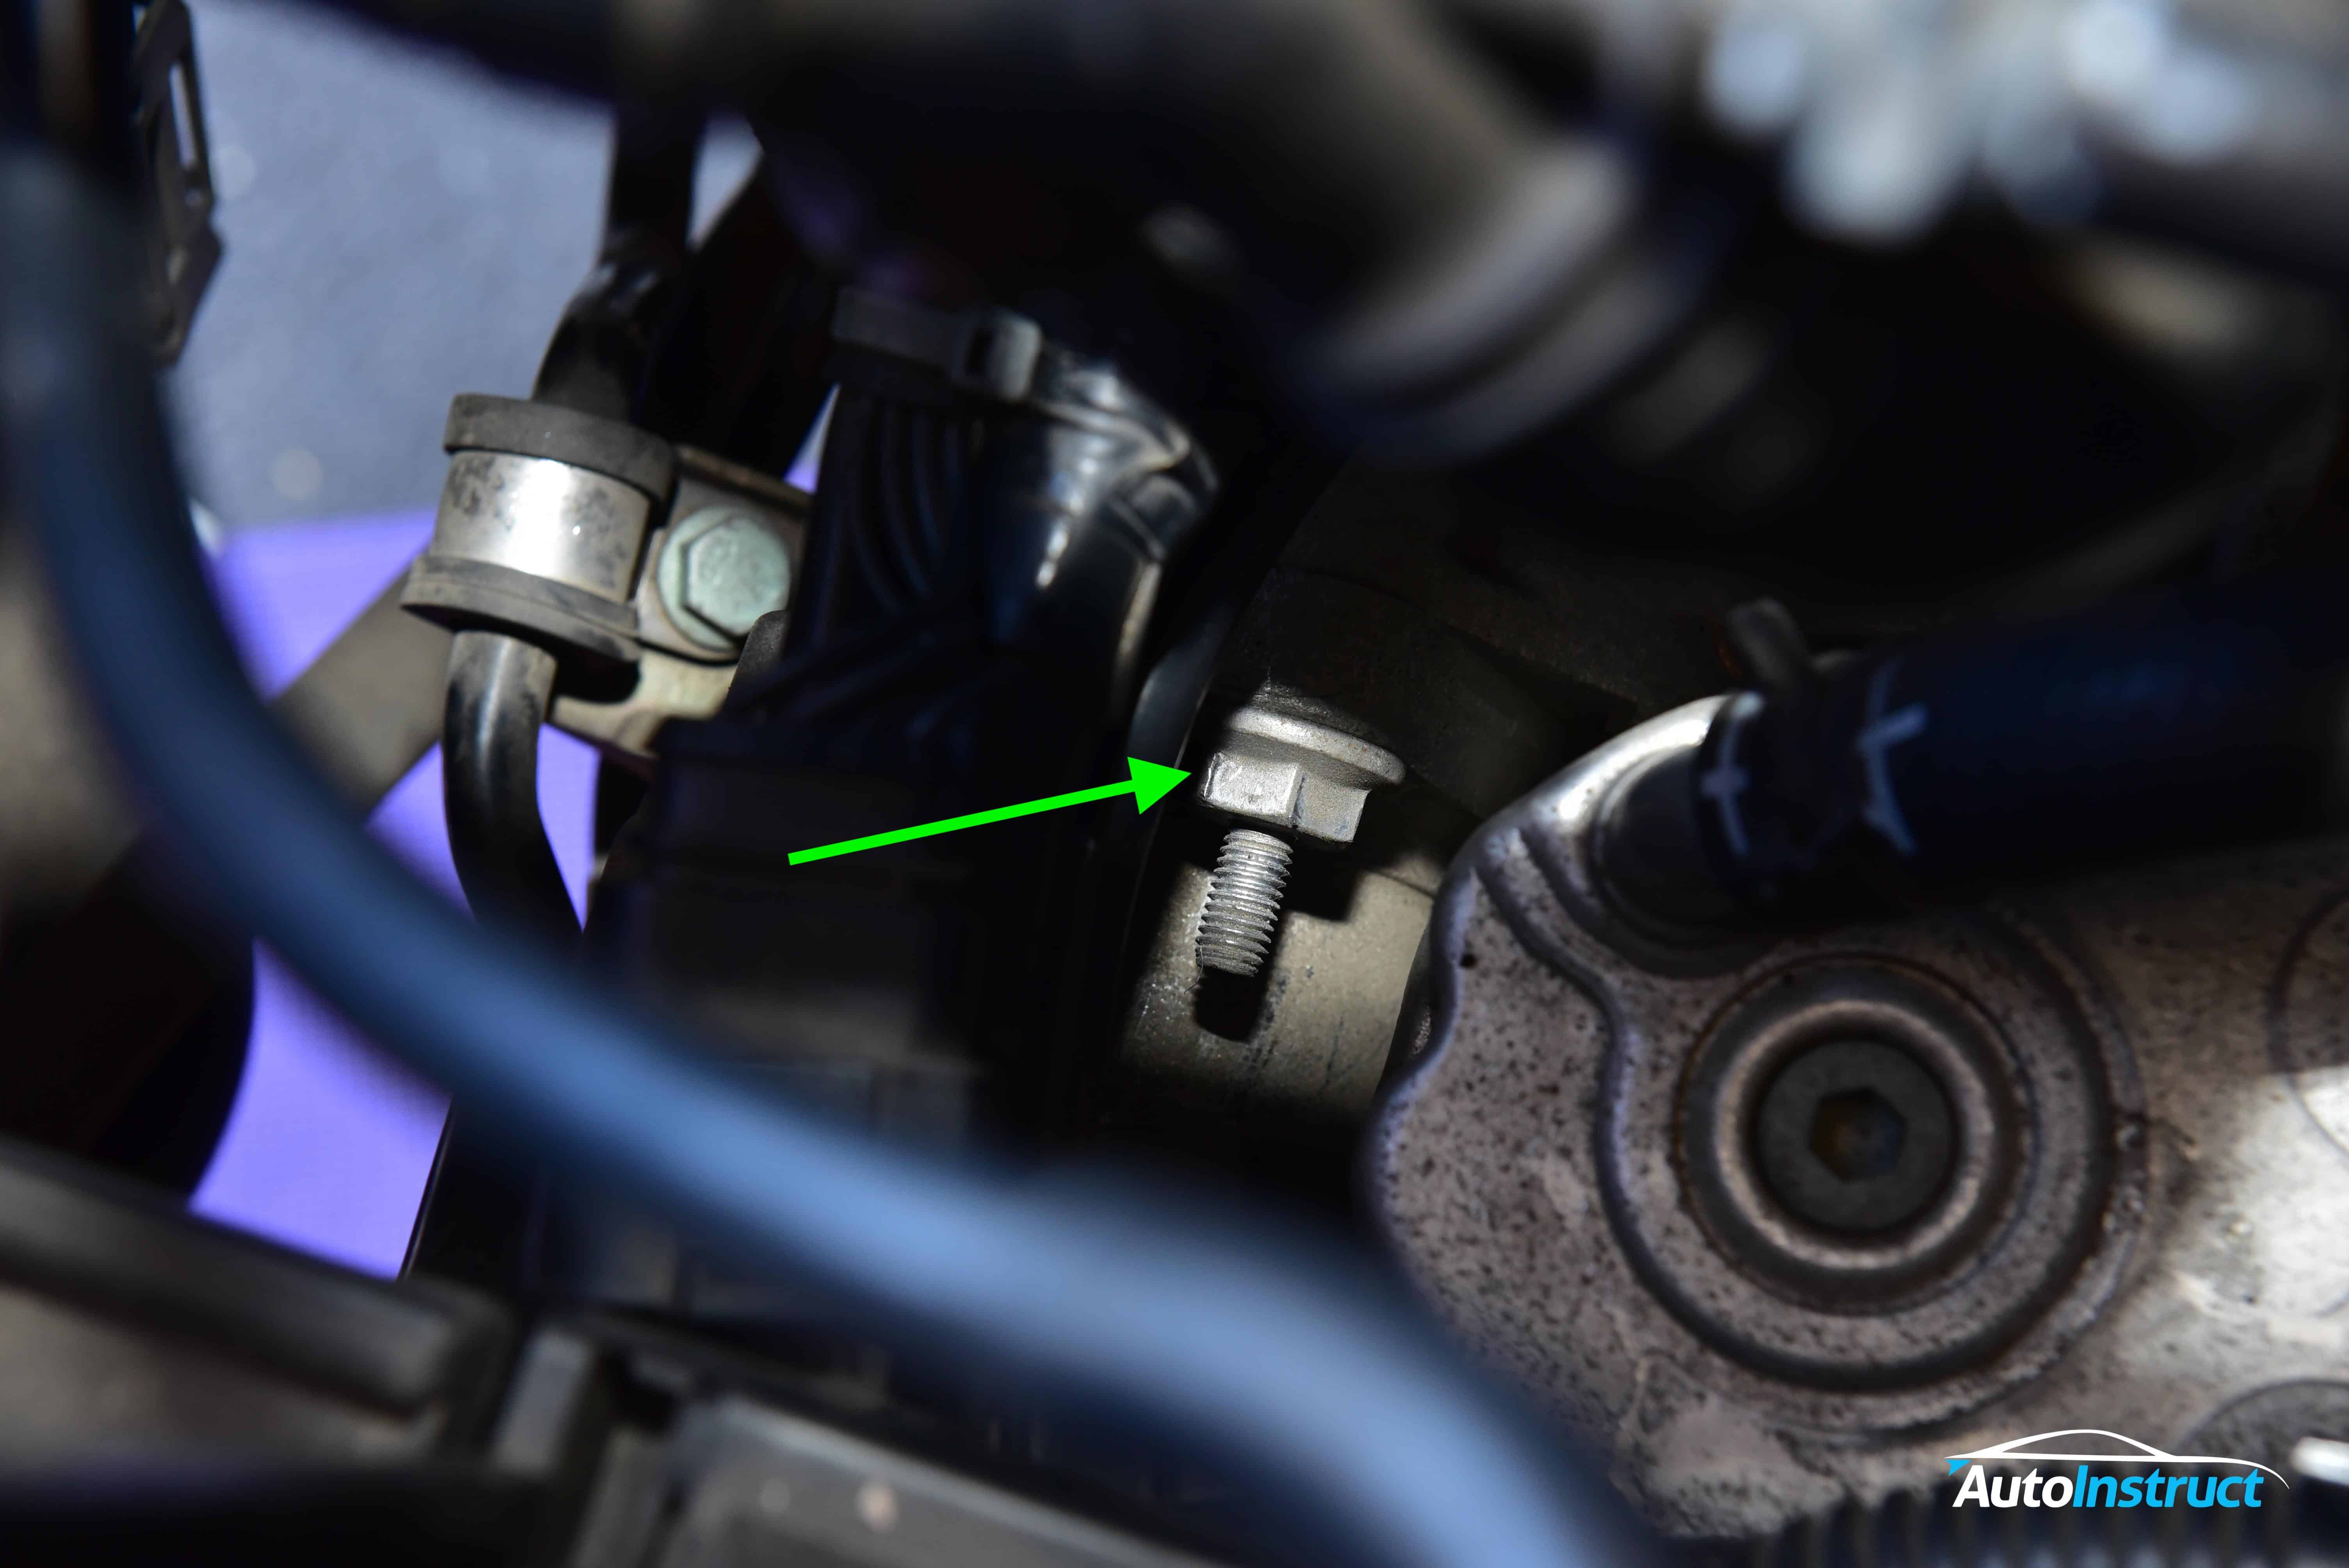
Once this first nut is removed, you can now unscrew the bolt which is securing the upper side of the starter motor.
Step 6
With the upper bolt removed, you can now remove the lower bolt. Ensure you support the starter motor as you do this.
Once this is done the starter motor can be removed.
You can now reverse these steps to install your new starter motor.
Did you find this guide helpful? Consider sharing it to help other car enthusiasts