This guide will show you how to replace your brake and indicator globes on a MK6 Golf.
Difficulty Rating
Moderate
Tools/Parts Required
Trim Removal Tool
Replacement Globe
Rear Indicators
T20A / W21W / 7440A 21W
Rear Position Light
T15 / W16W / 921 9W
Brake Light (Non – R)
T15 / W16W / 921 9W
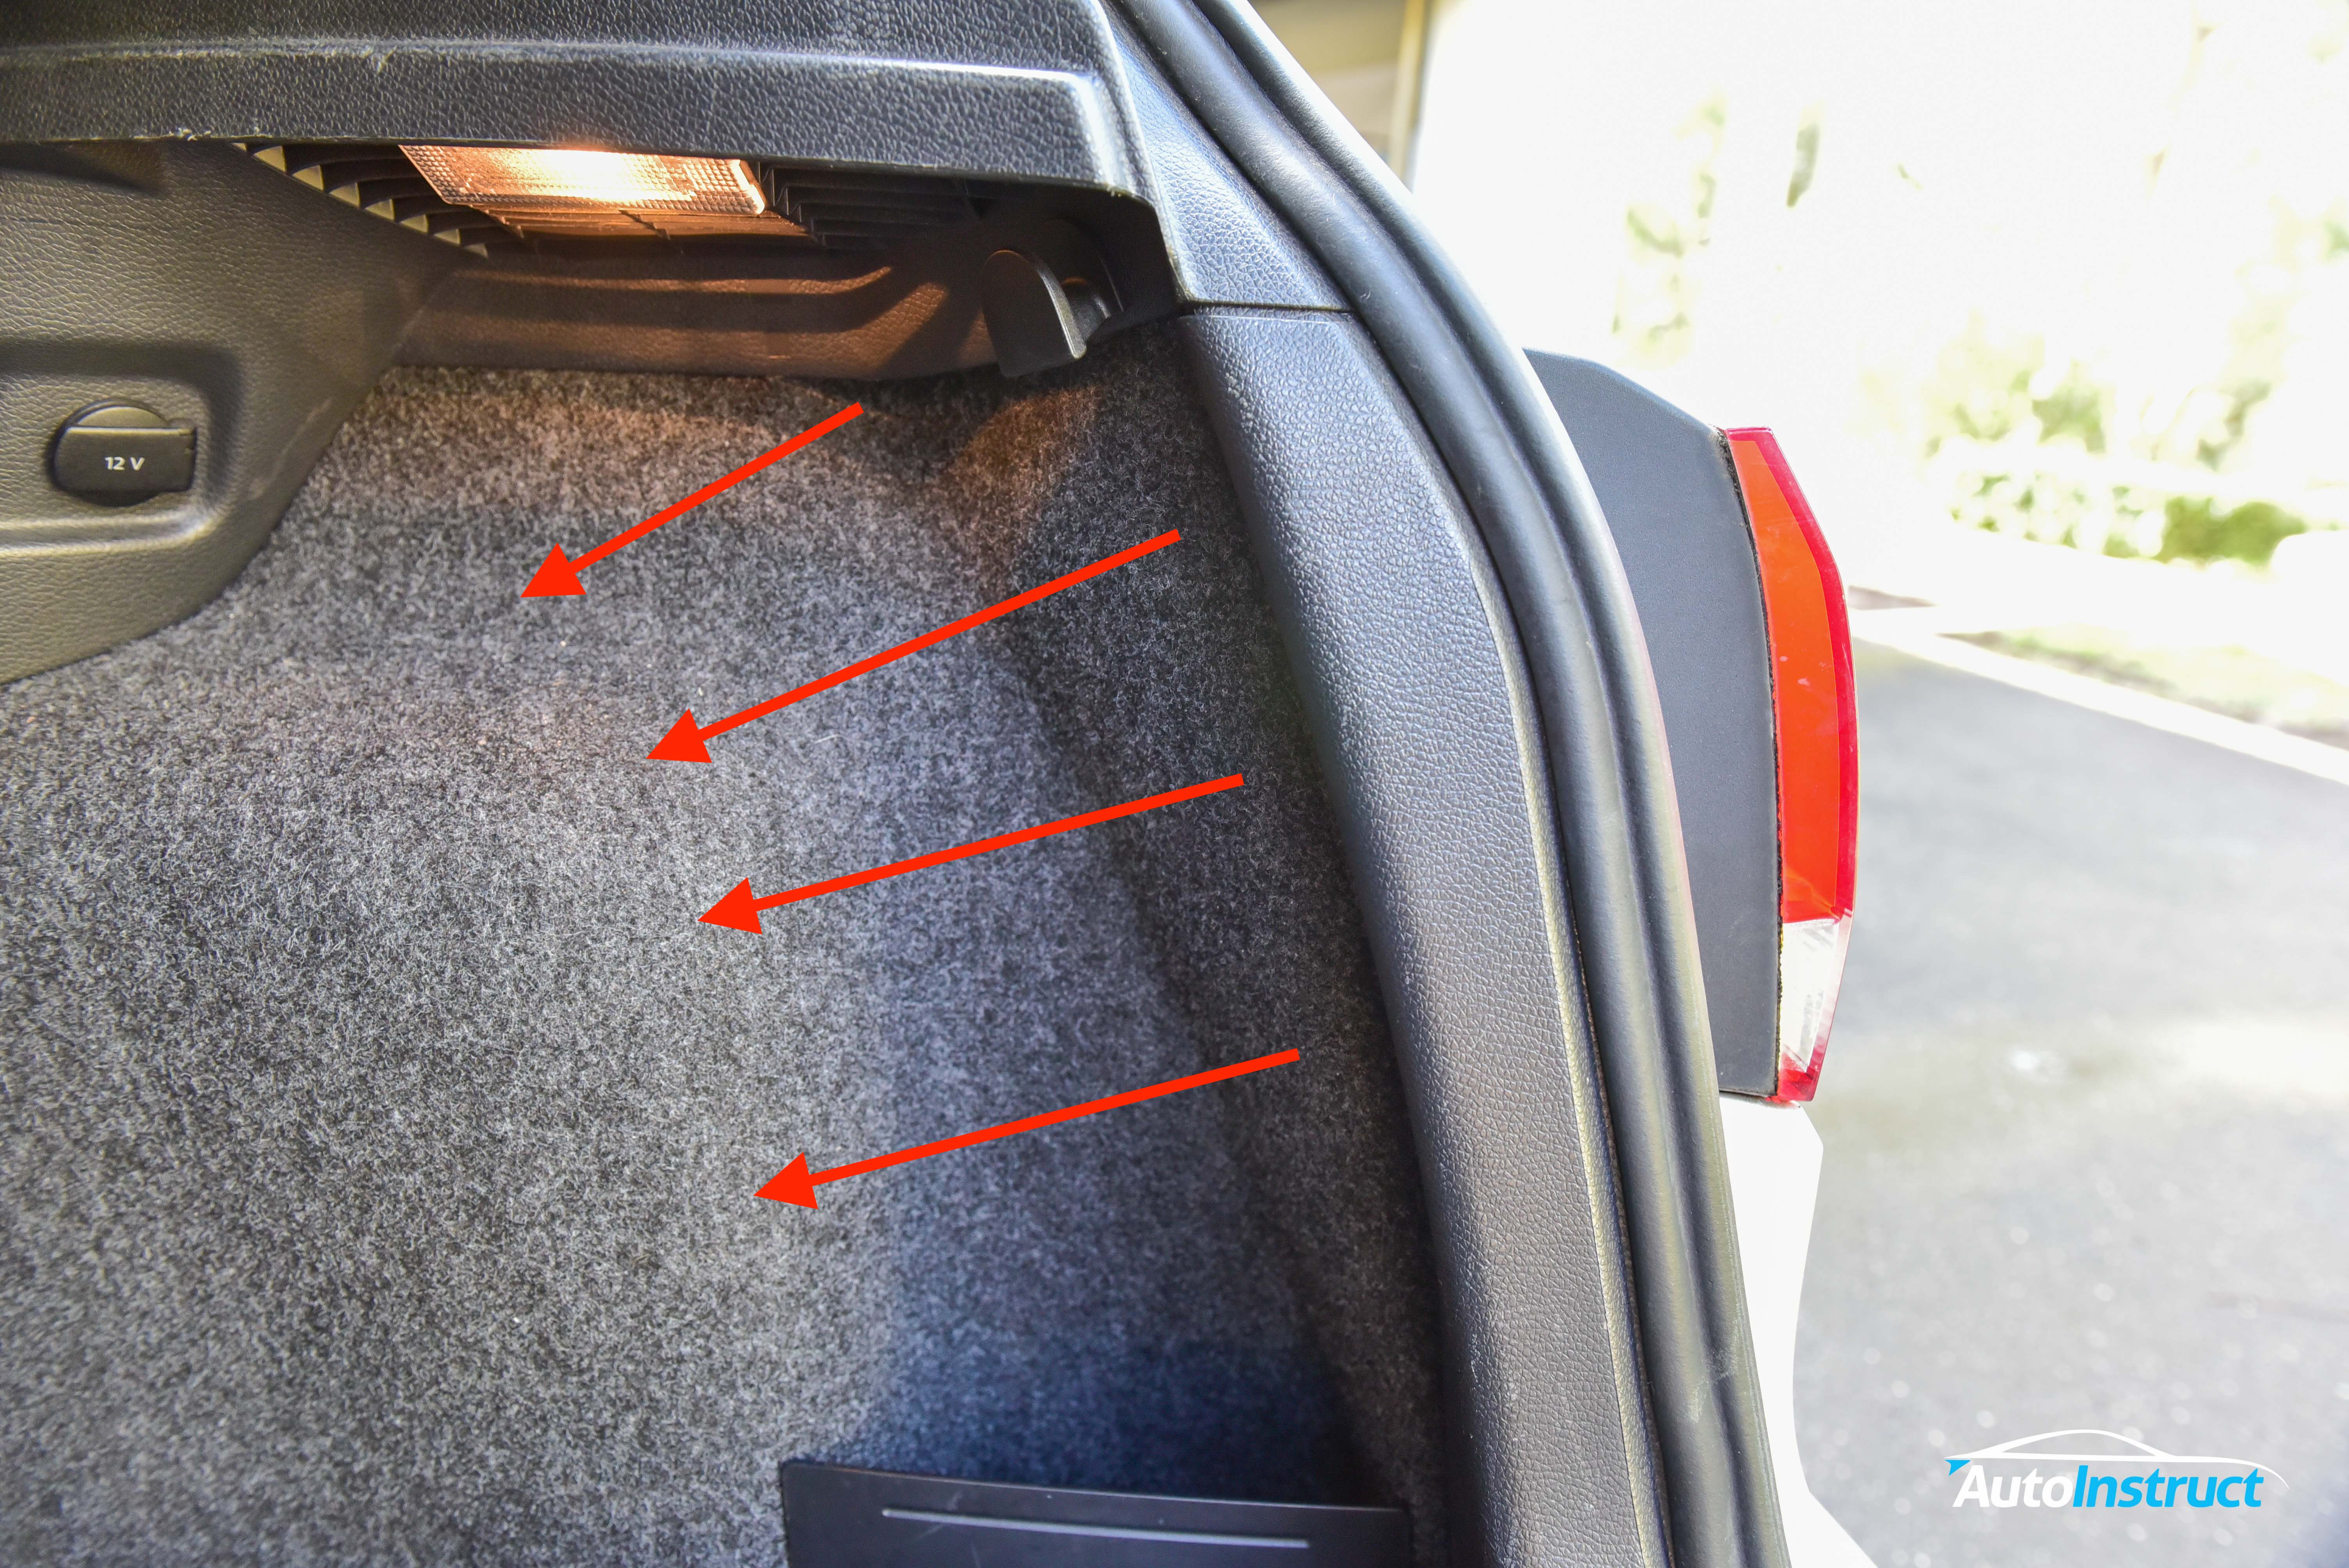
Step 1
To access the globes, we need to remove the entire tail light assembly. First, peel back the carpet inside the boot using a trim removal tool.
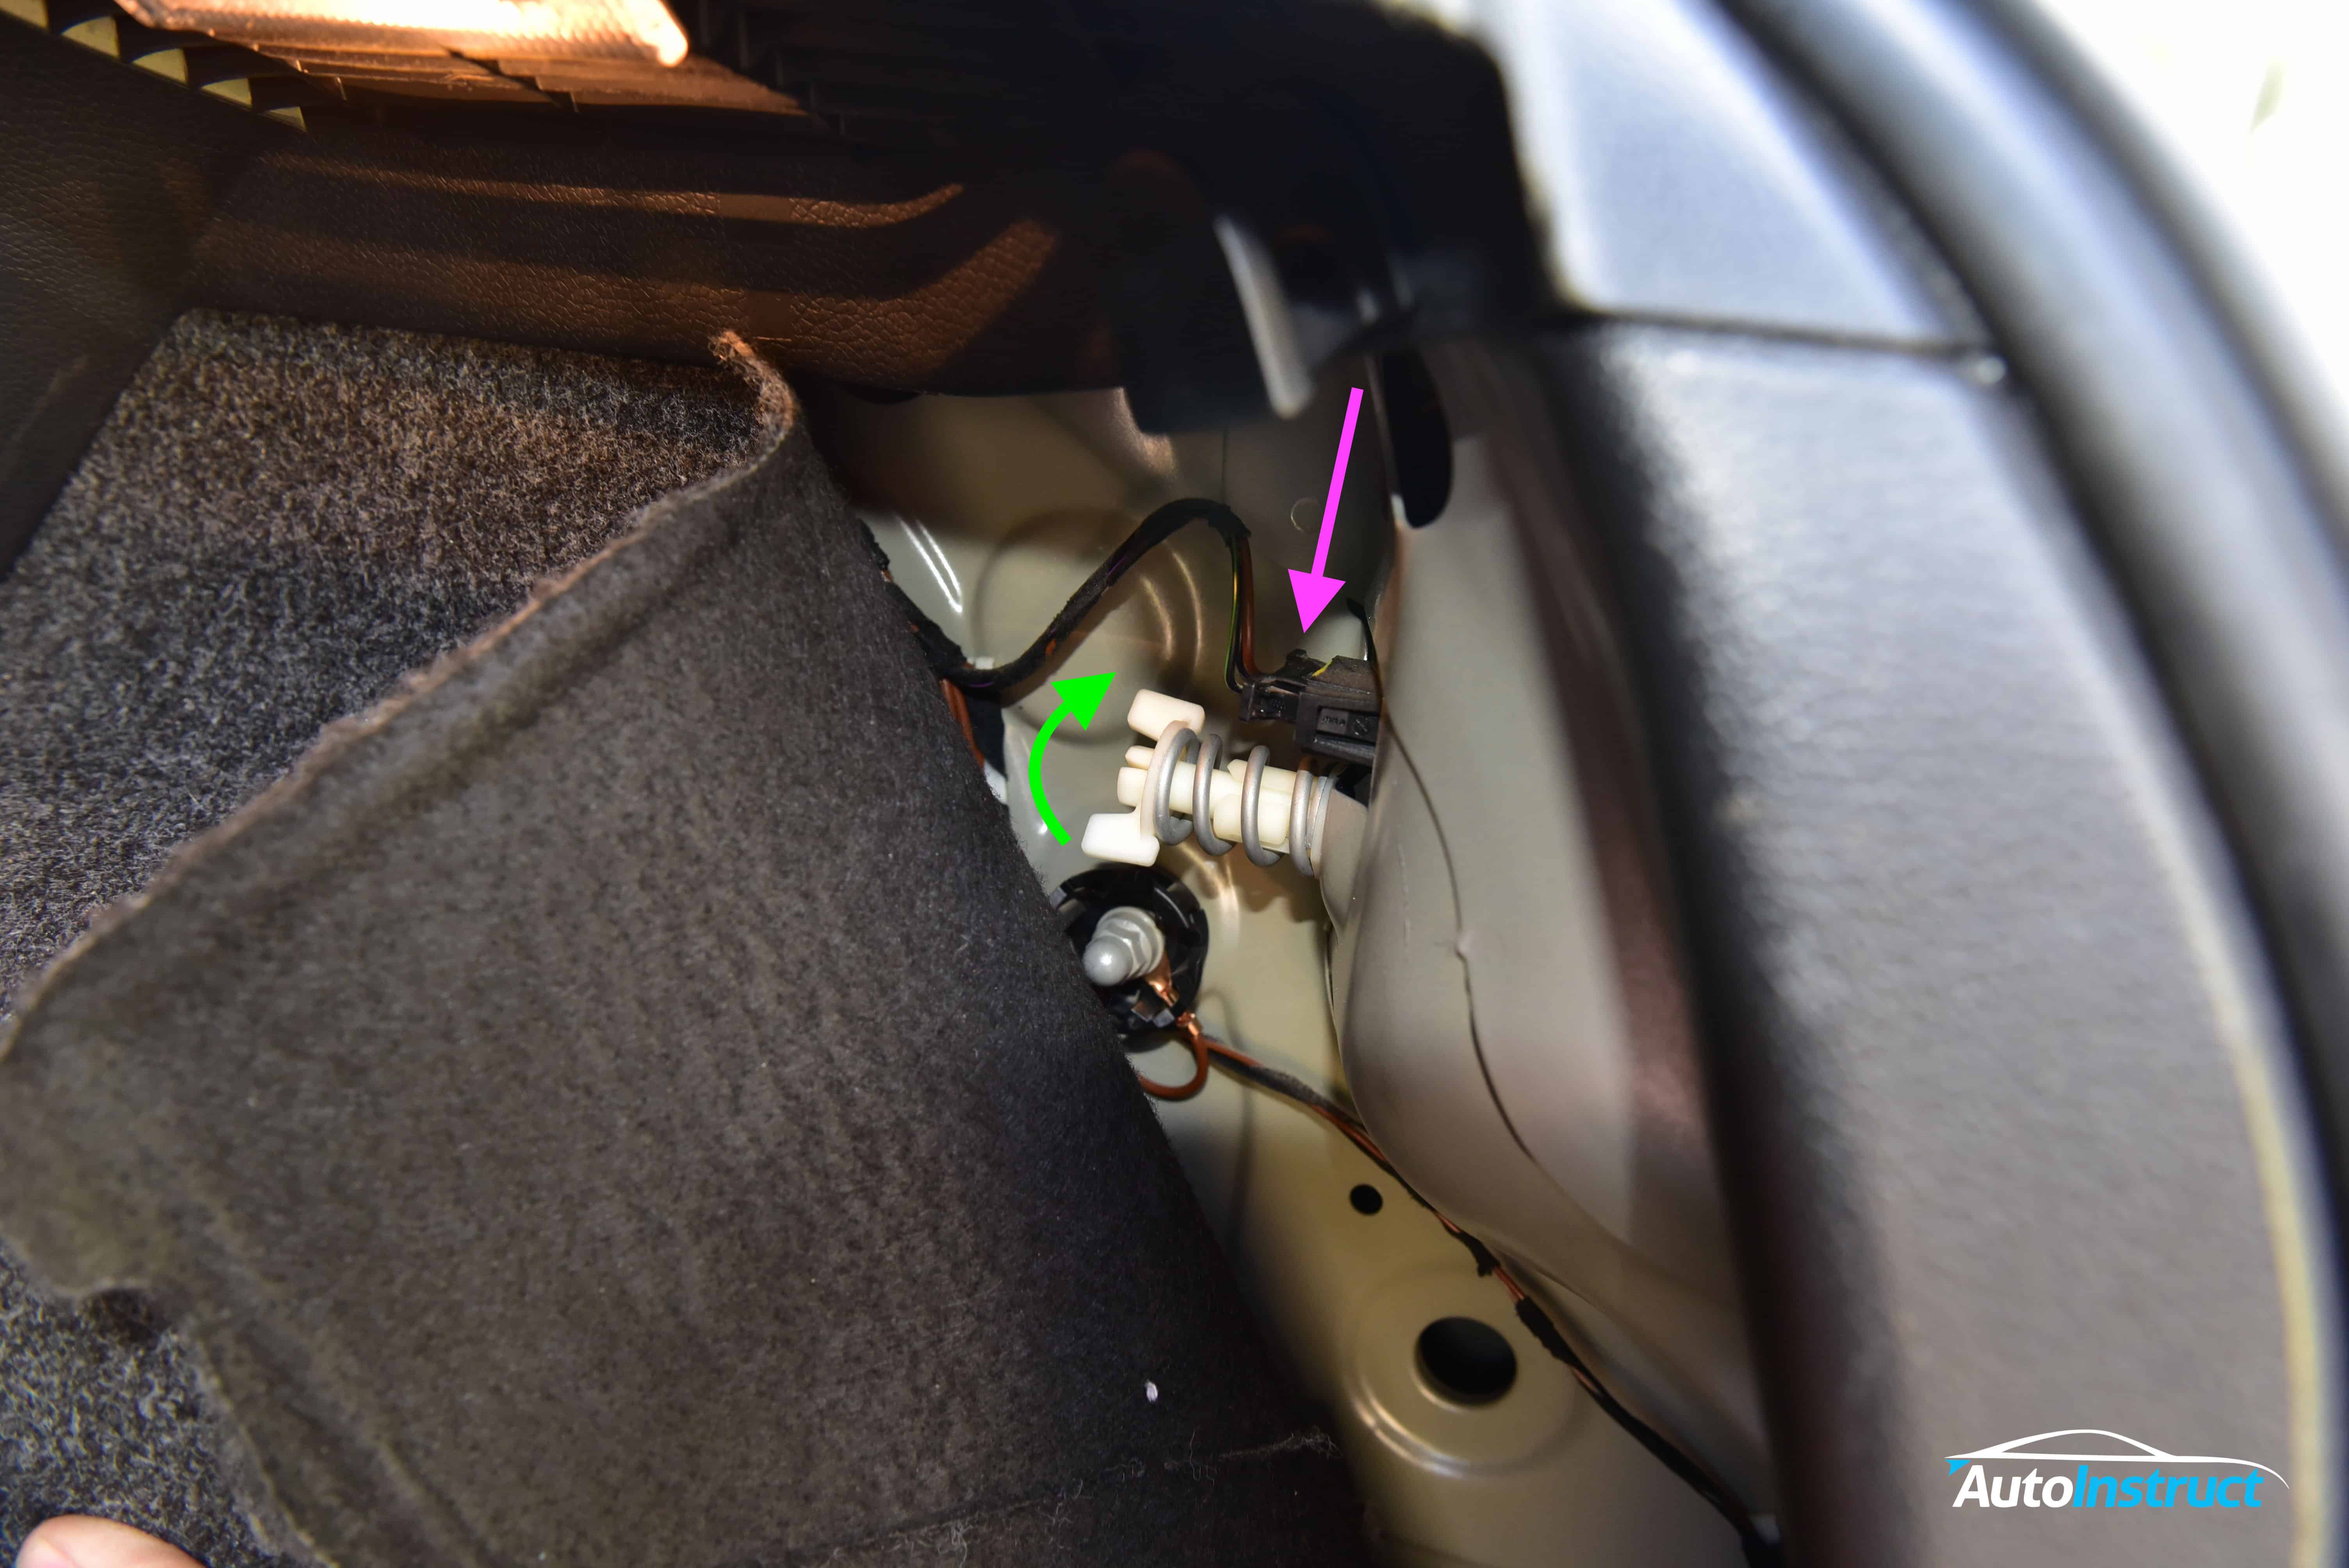
Step 2
Unplug the wiring loom as indicated by the pink arrow.
Next, support the tail light and begin to unscrew the white pin, by turning anti-clockwise. Remove the white pin entirely.
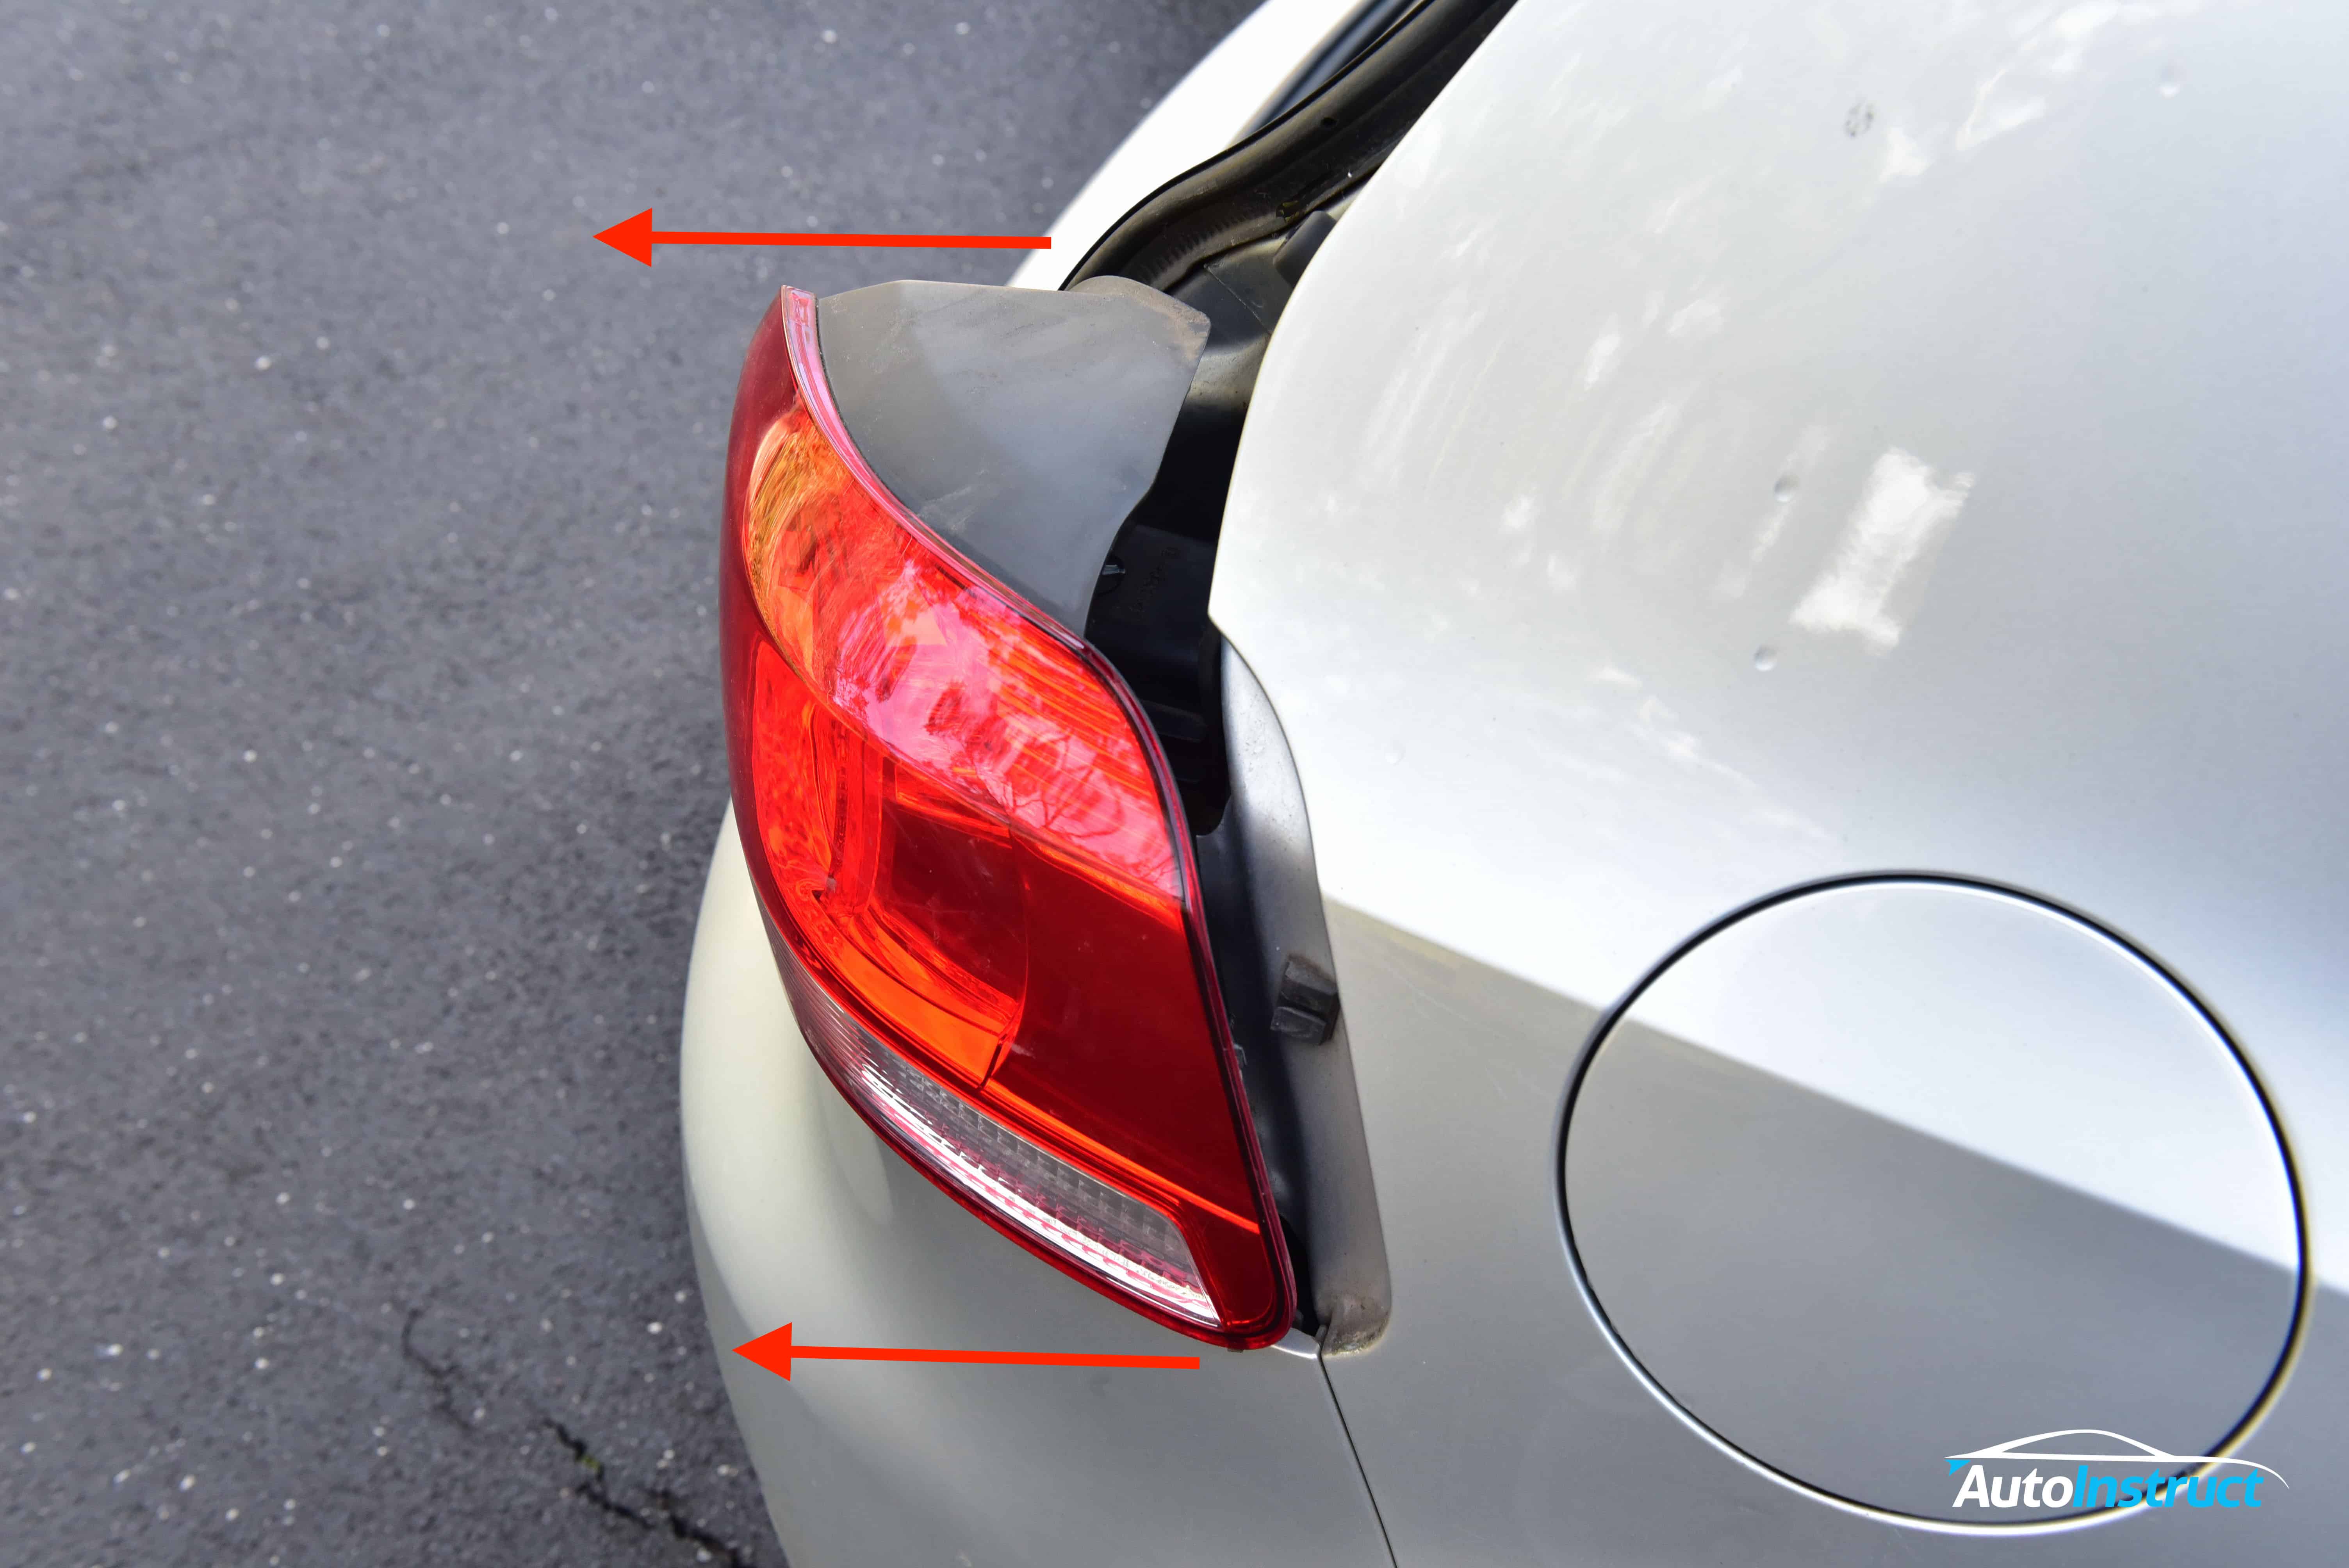
Step 3
You can now remove the entire tail light assembly.
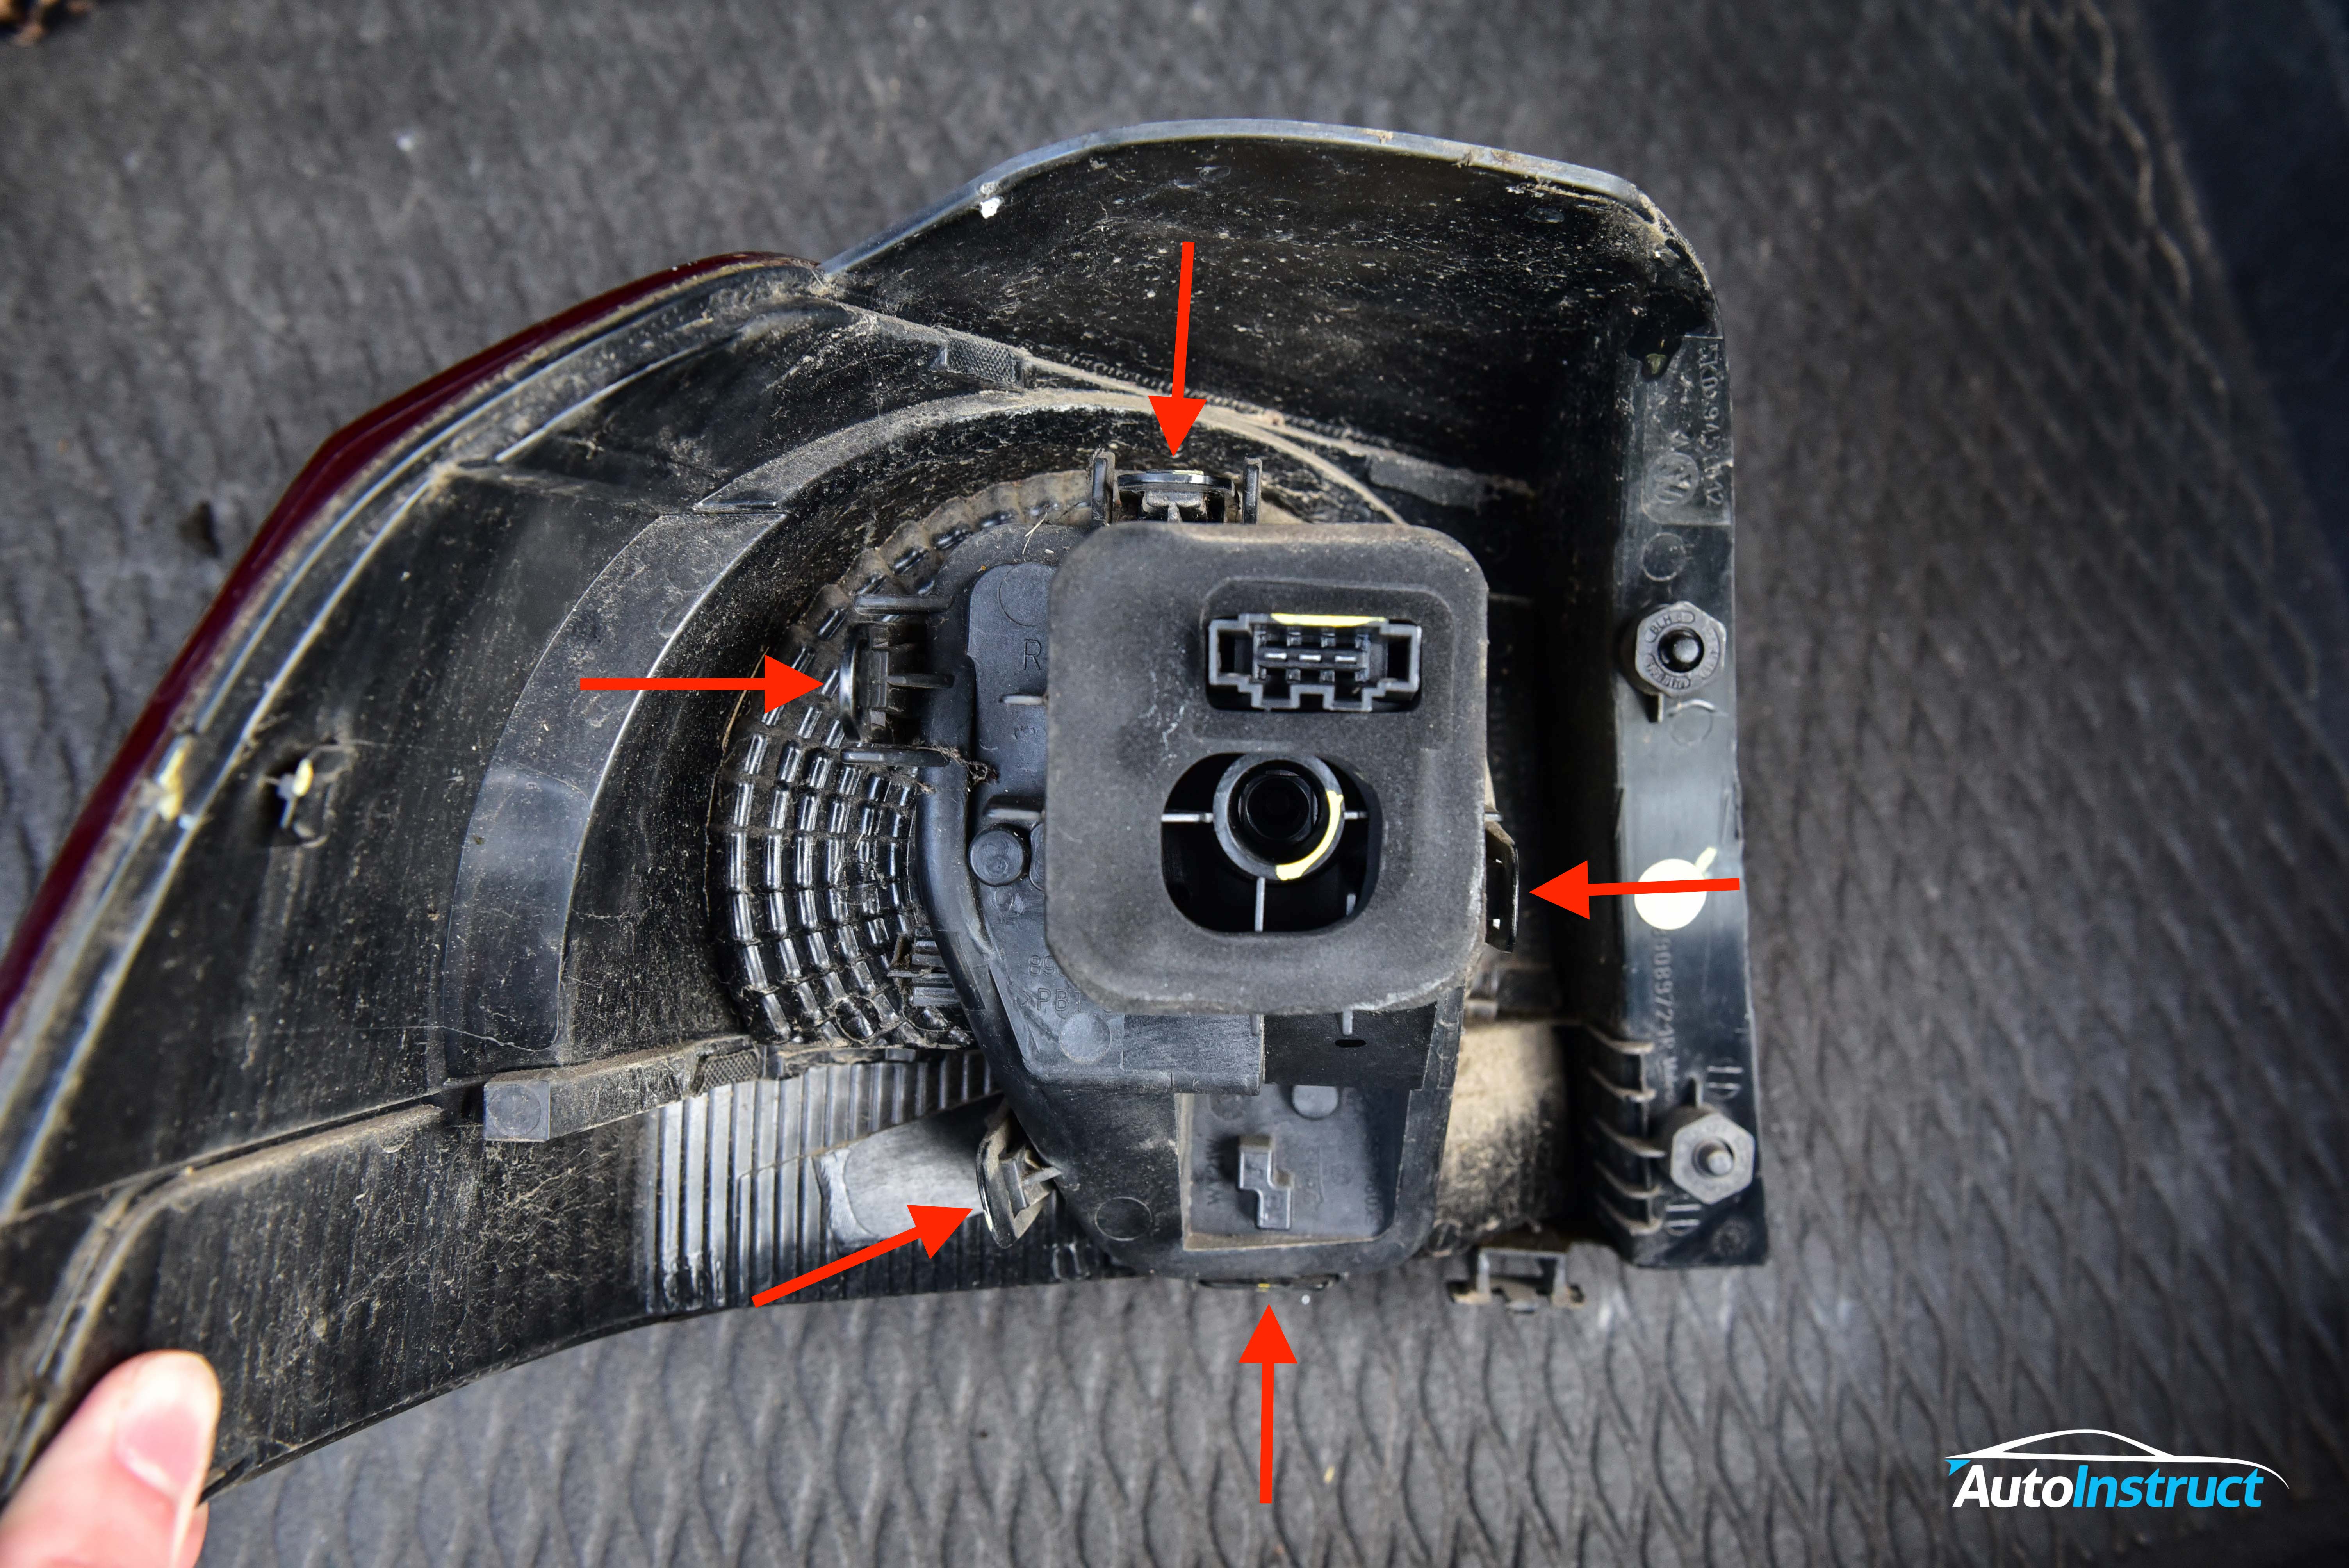
Step 4
Looking at the back of the tail light, you will find five tabs that secure the globe assembly in place. Gently release each tab and seperate the two pieces.
Step 5
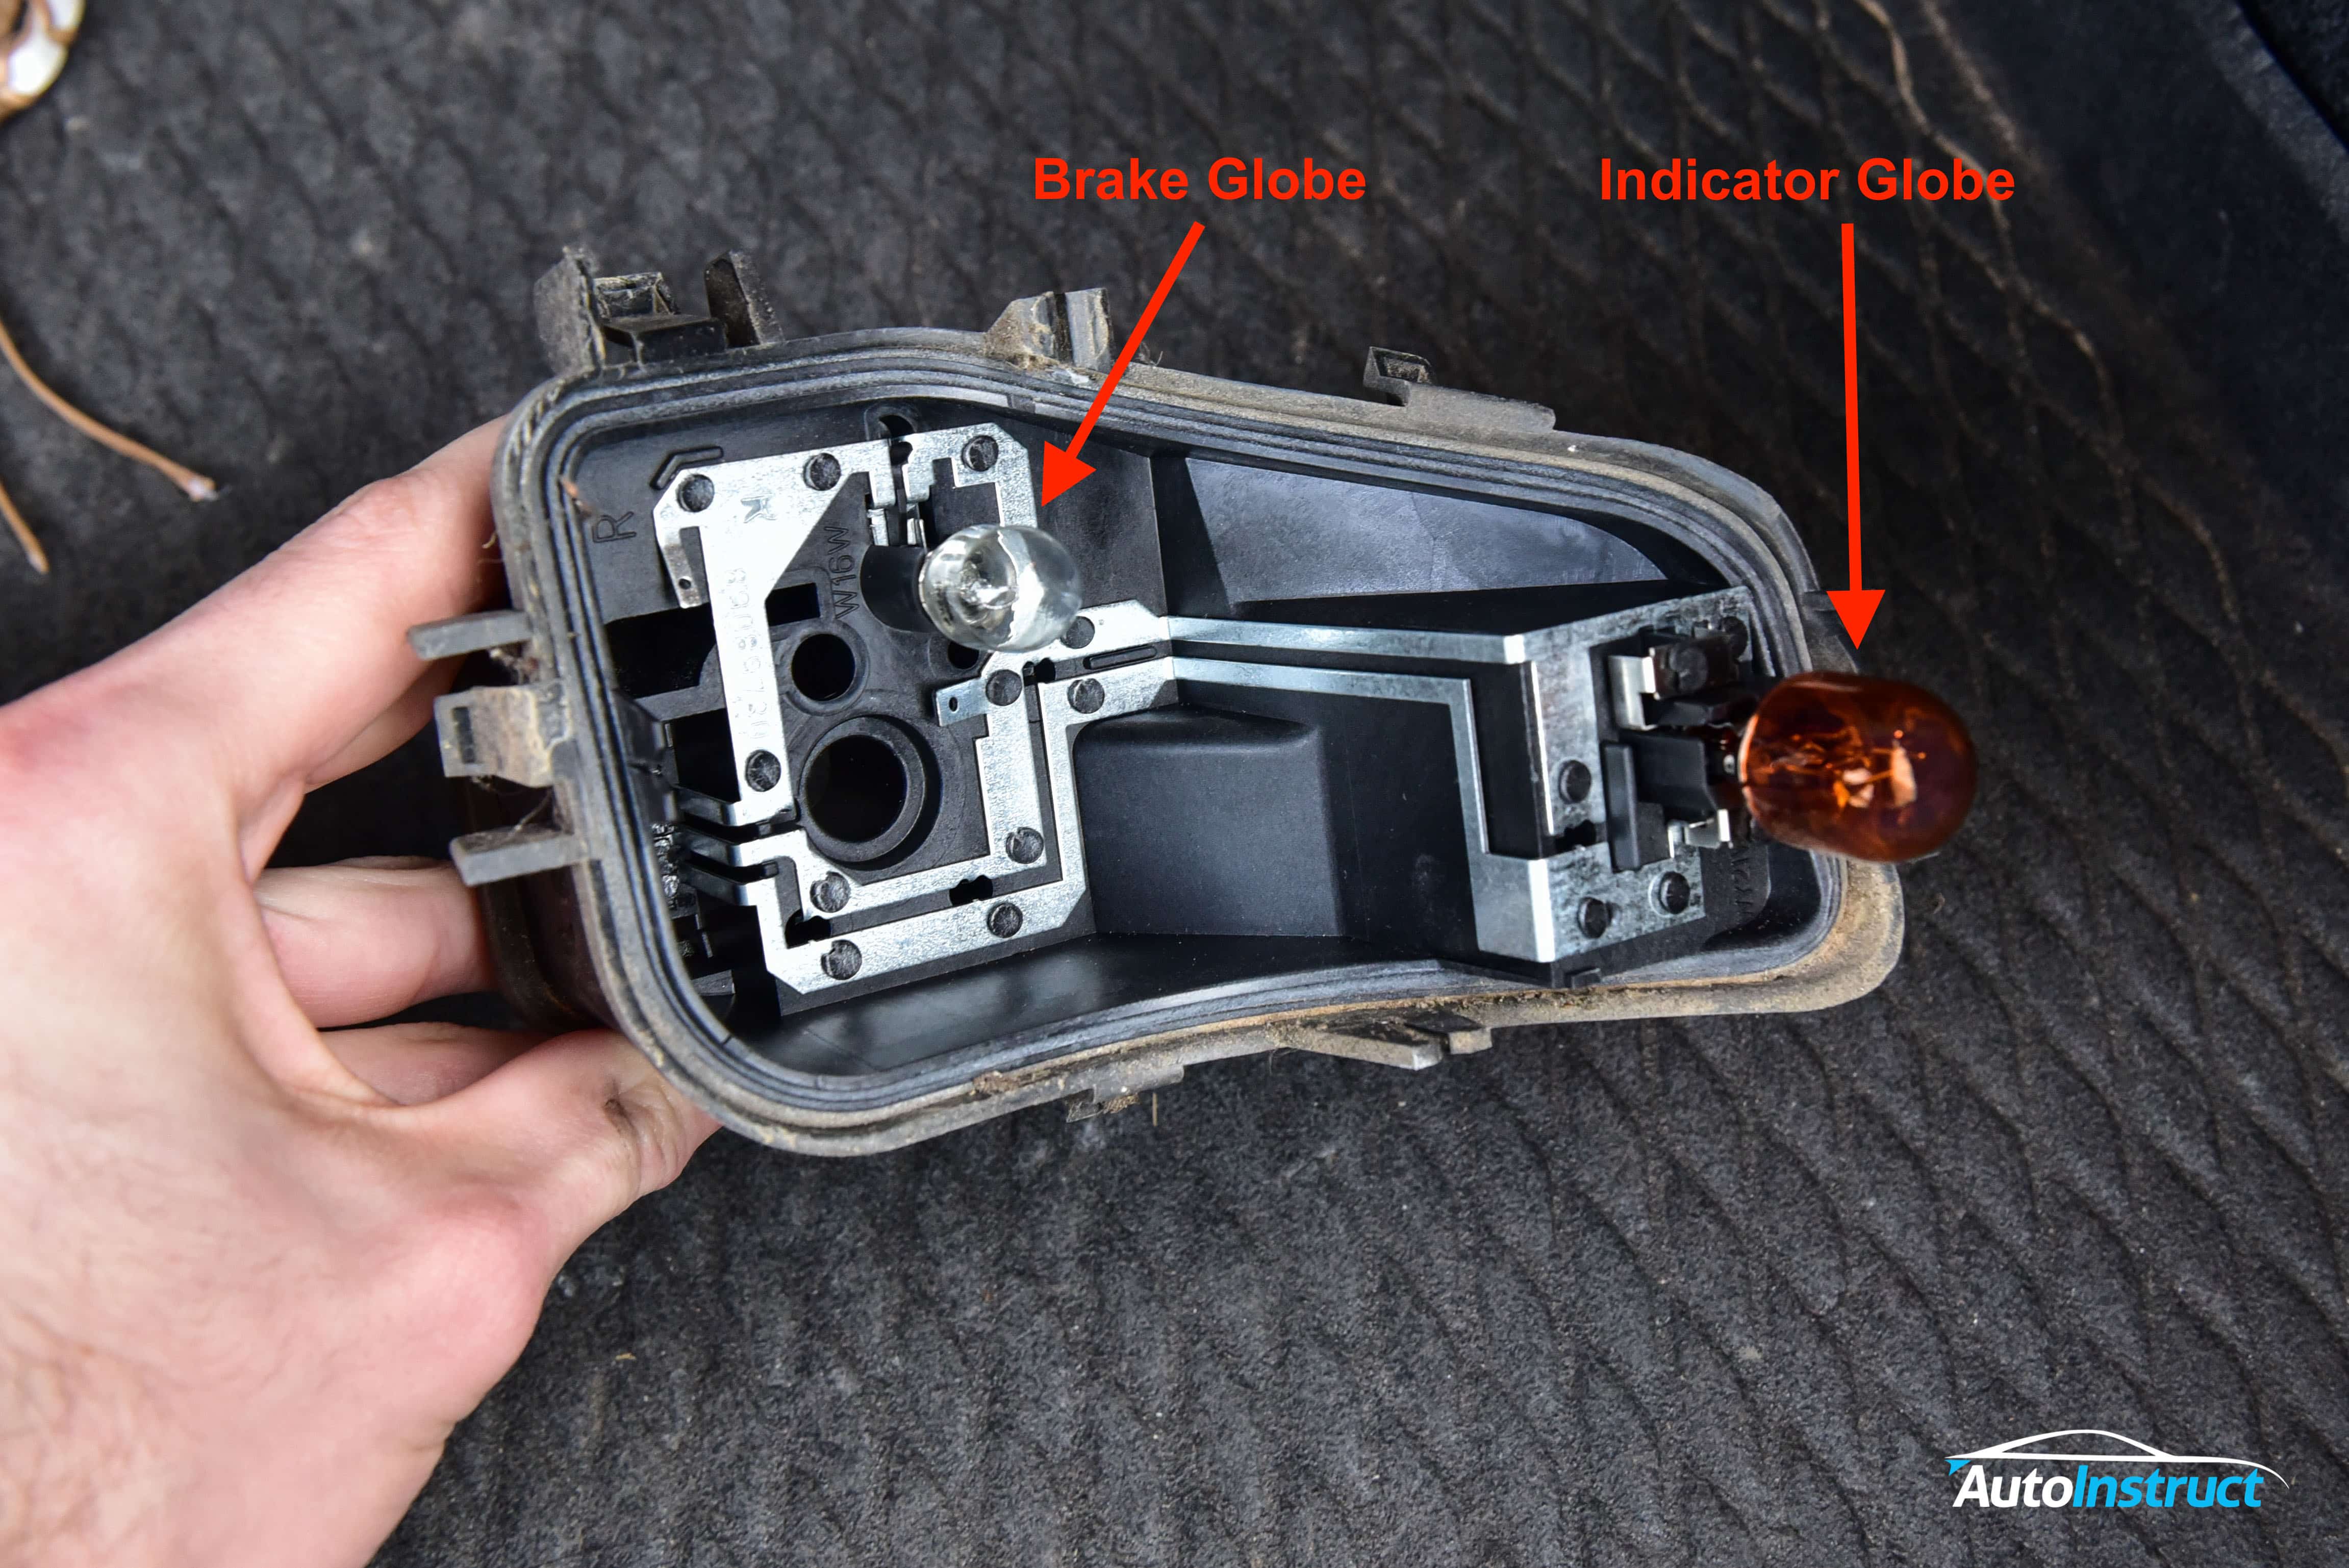
Here you can see the Brake Globe and Indicator Globe. Simply pull upwards to remove these globes.
Did you find this guide helpful? Consider sharing it to help other car enthusiasts