We’ll show you how to install a Burger Motorsports JB4 Performance Tuner on your E-Series vehicle fitted with an N55 Engine.
Please note, this tutorial is written for Right Hand Drive (RHD) vehicles. The process for Left Hand Drive (LHD) vehicles is very similar, however the JB4 needs to be mounted on the opposite side.
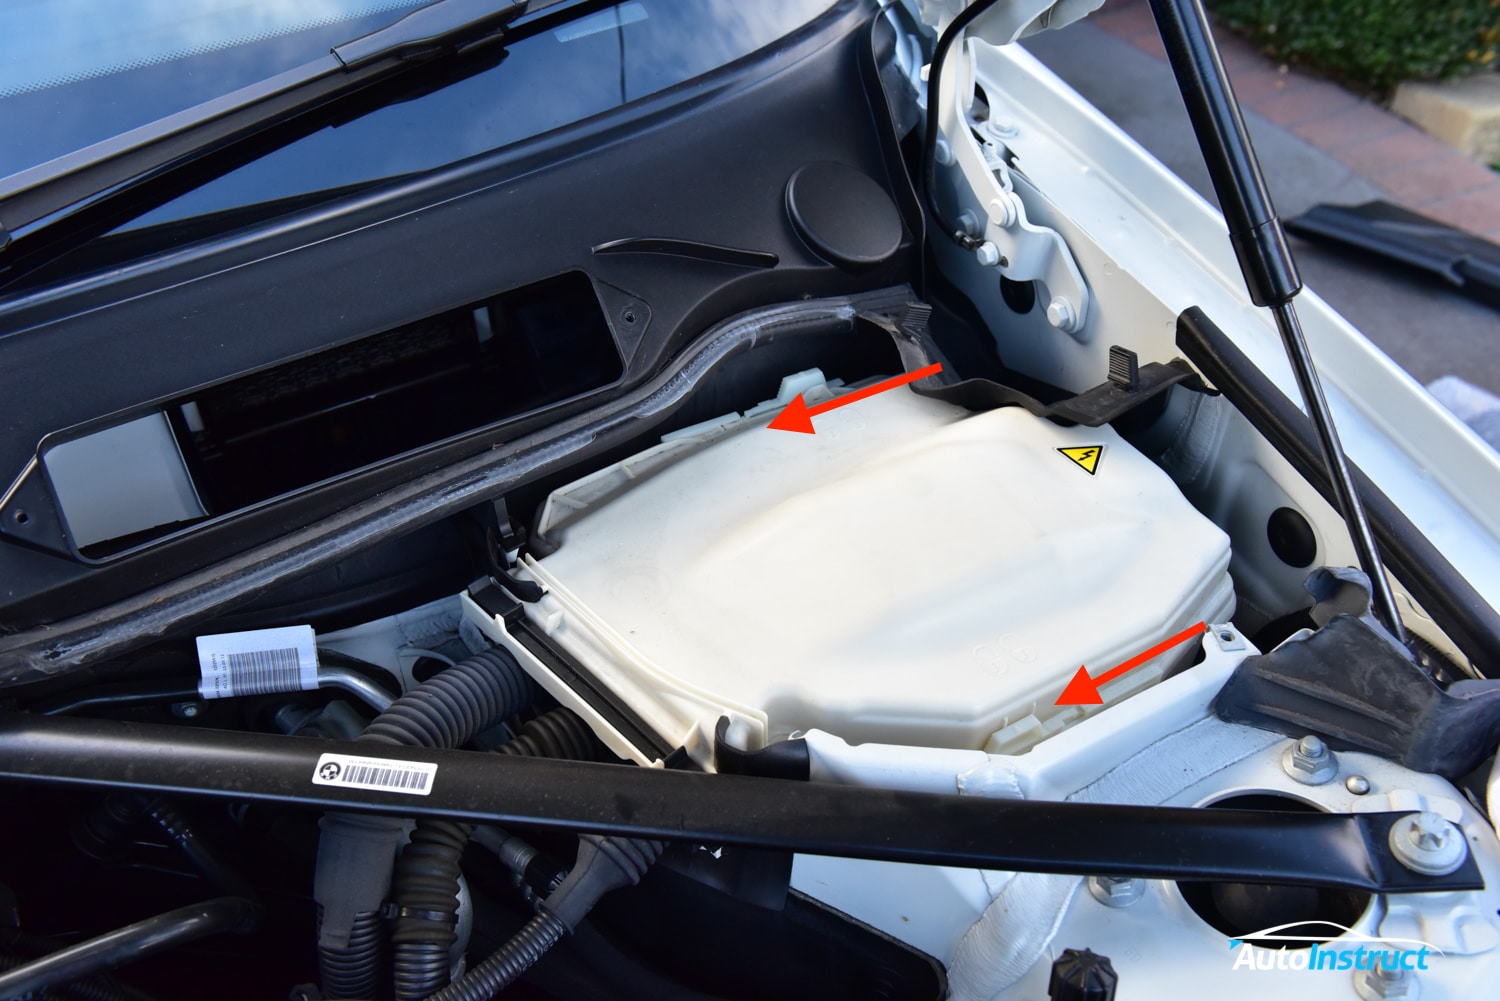
Disconnect the Air Quality Sensor from the engine cowling. Place aside.
Step 2
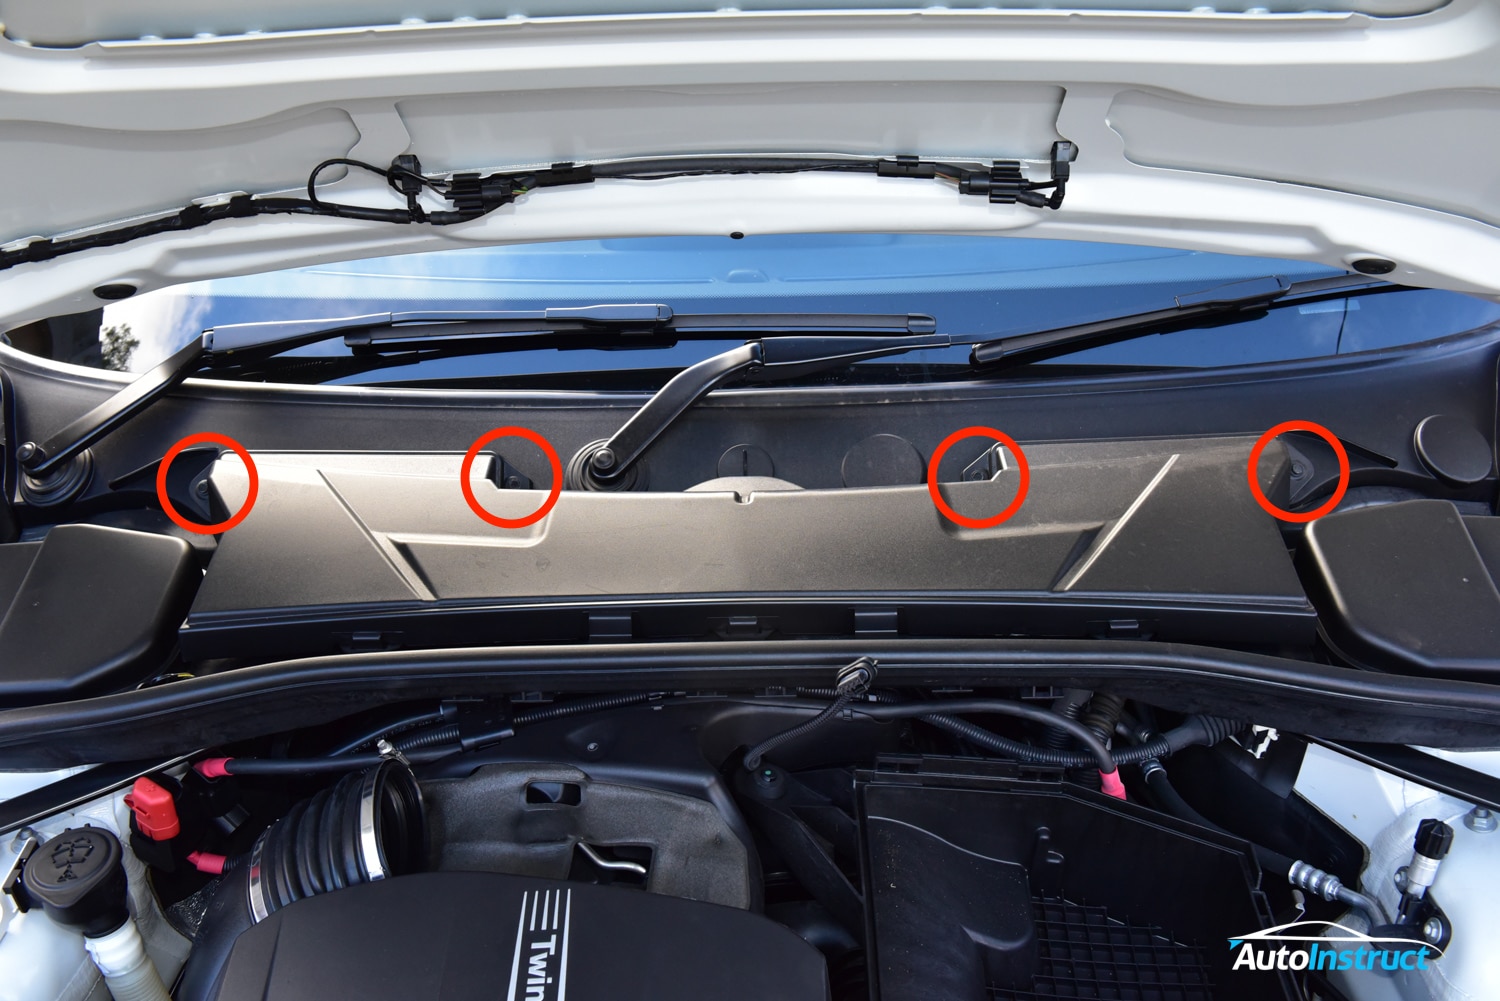
Unbolt the cabin filter housing.
Step 3
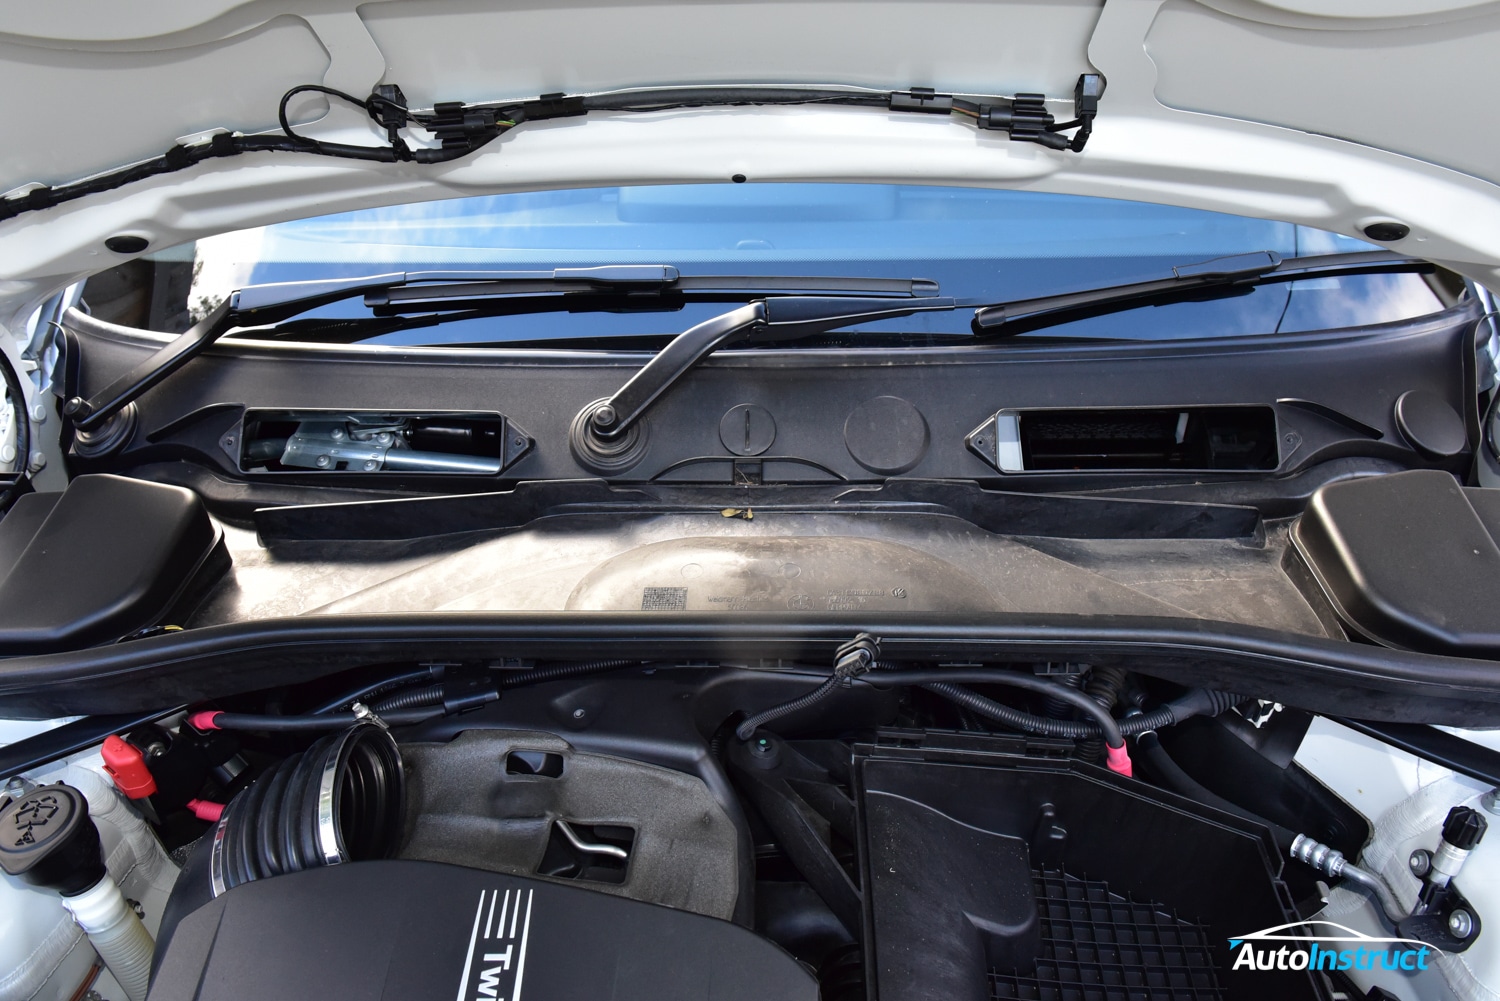
Remove the cabin filter housing from the vehicle.
Step 4
Unclip the left and right end covers, and remove from the vehicle.
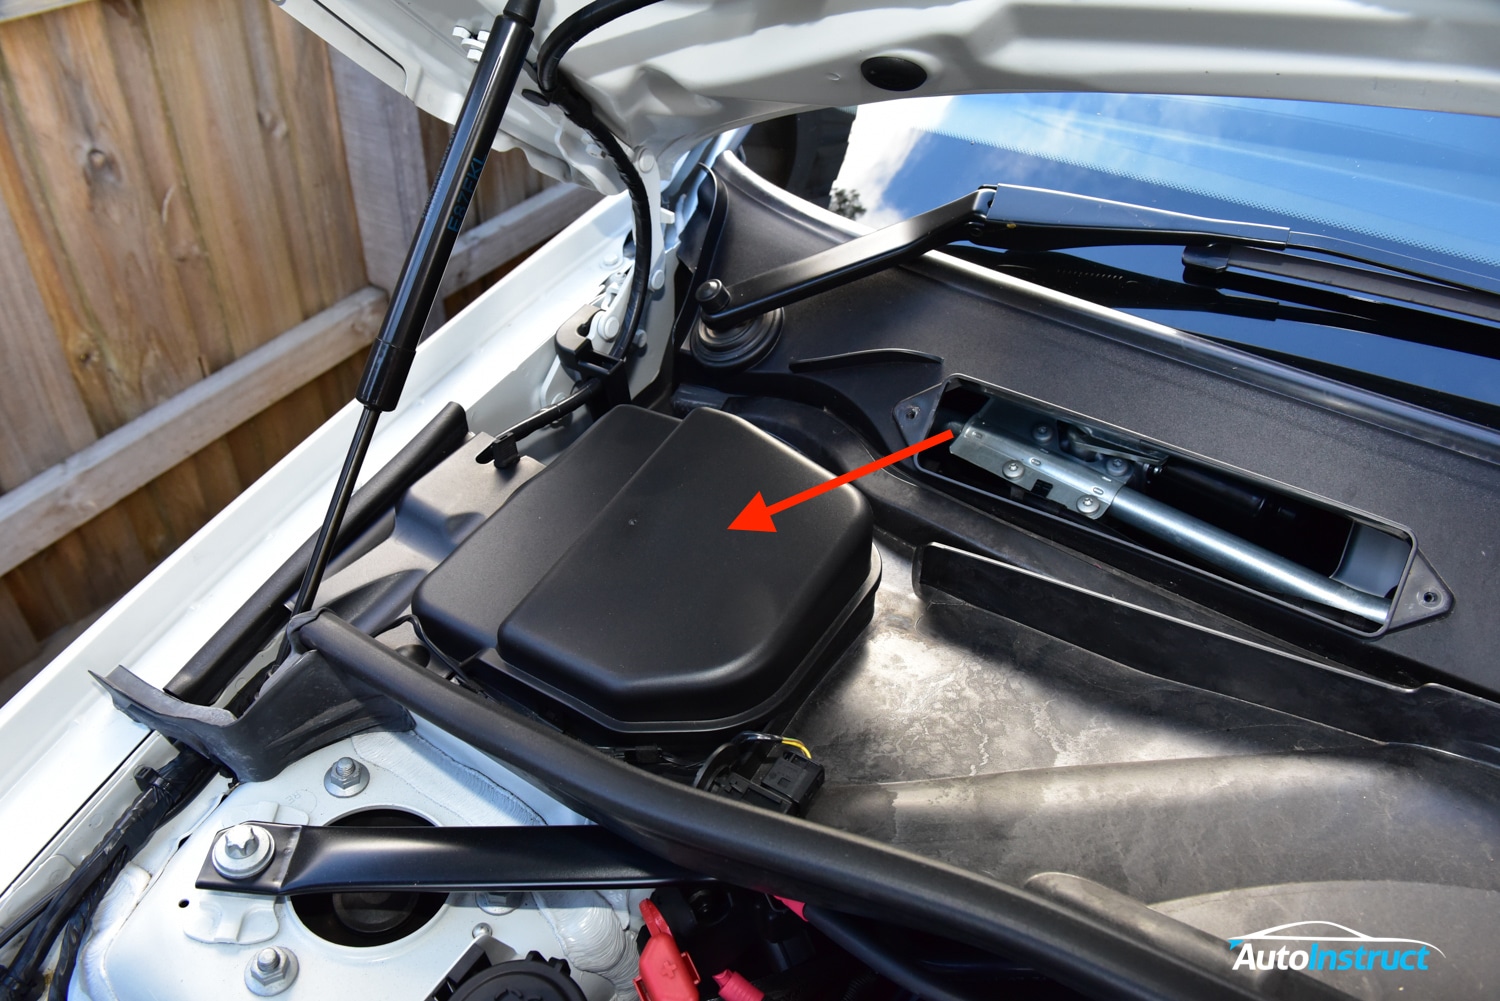
Step 5
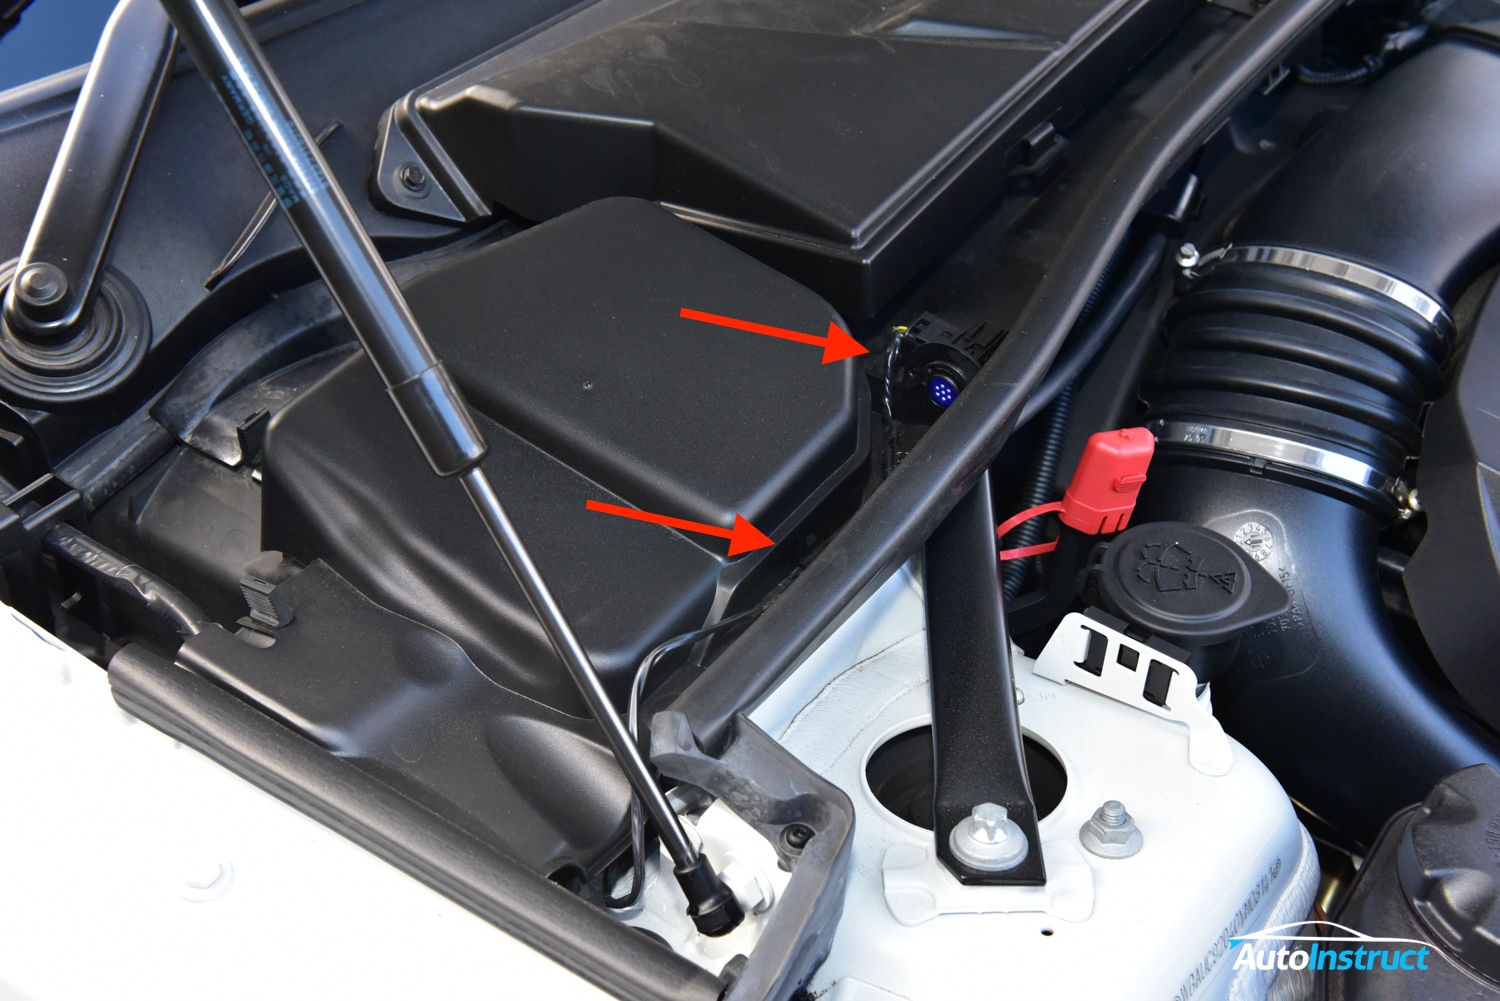
Remove the lid from the ECU wiring box. This can be done by sliding each of the tabs to the ‘Unlocked’ position. Refer to the markings on each tab to do this.
Step 6
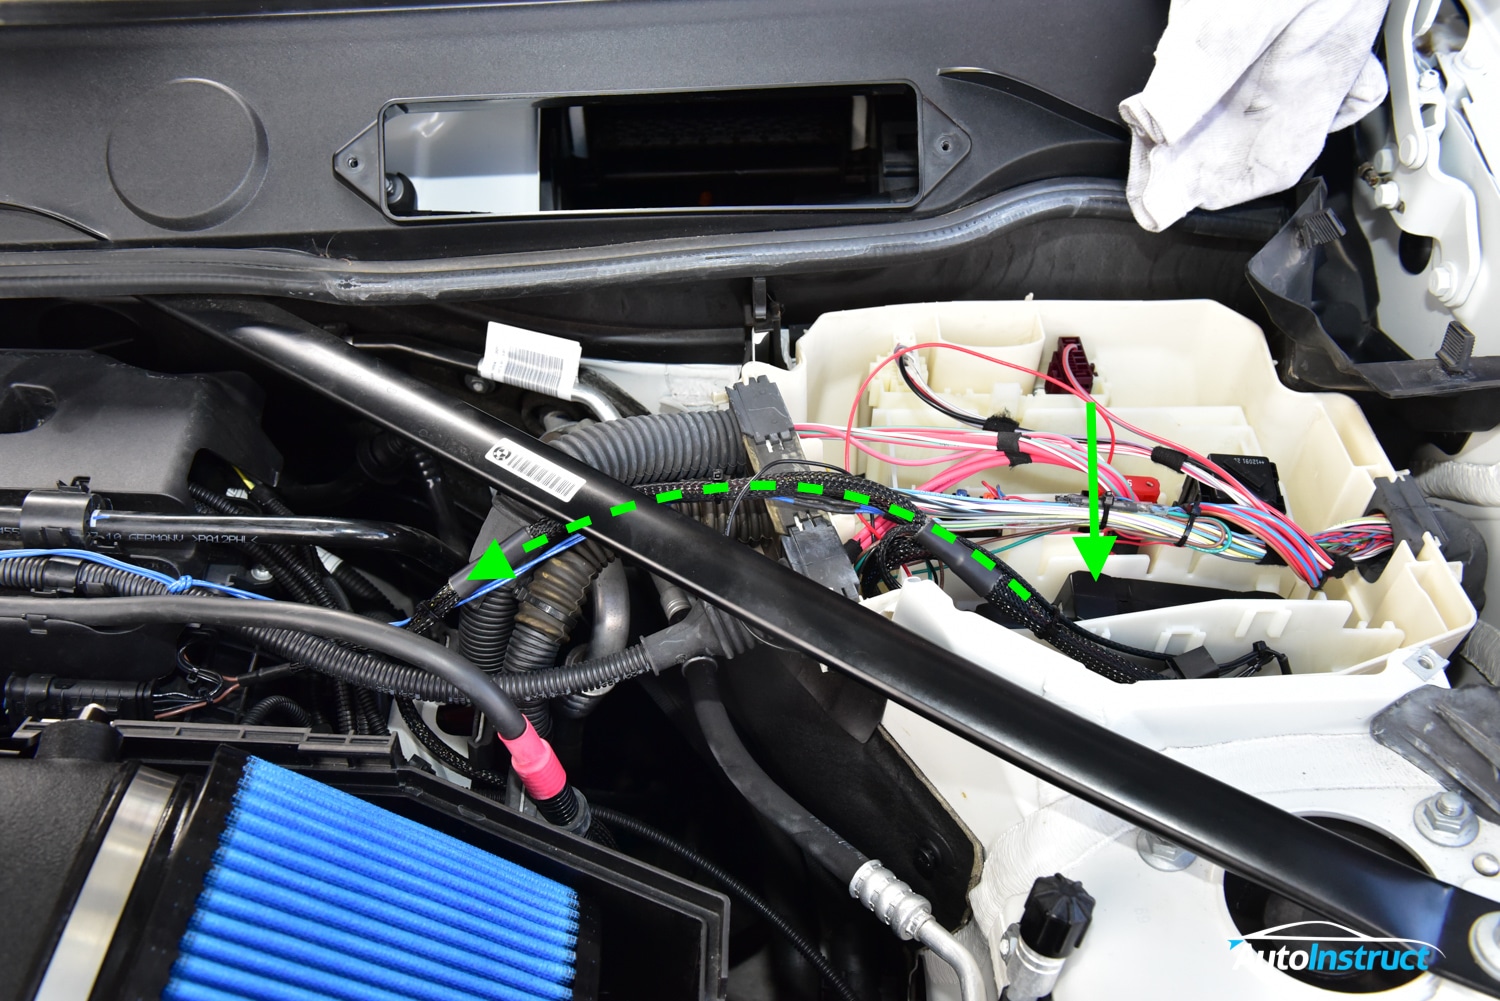
Install the JB4 into this box as shown, there is plenty of spare space. Feed the loom out of the box, and under the strut brace.
Step 7
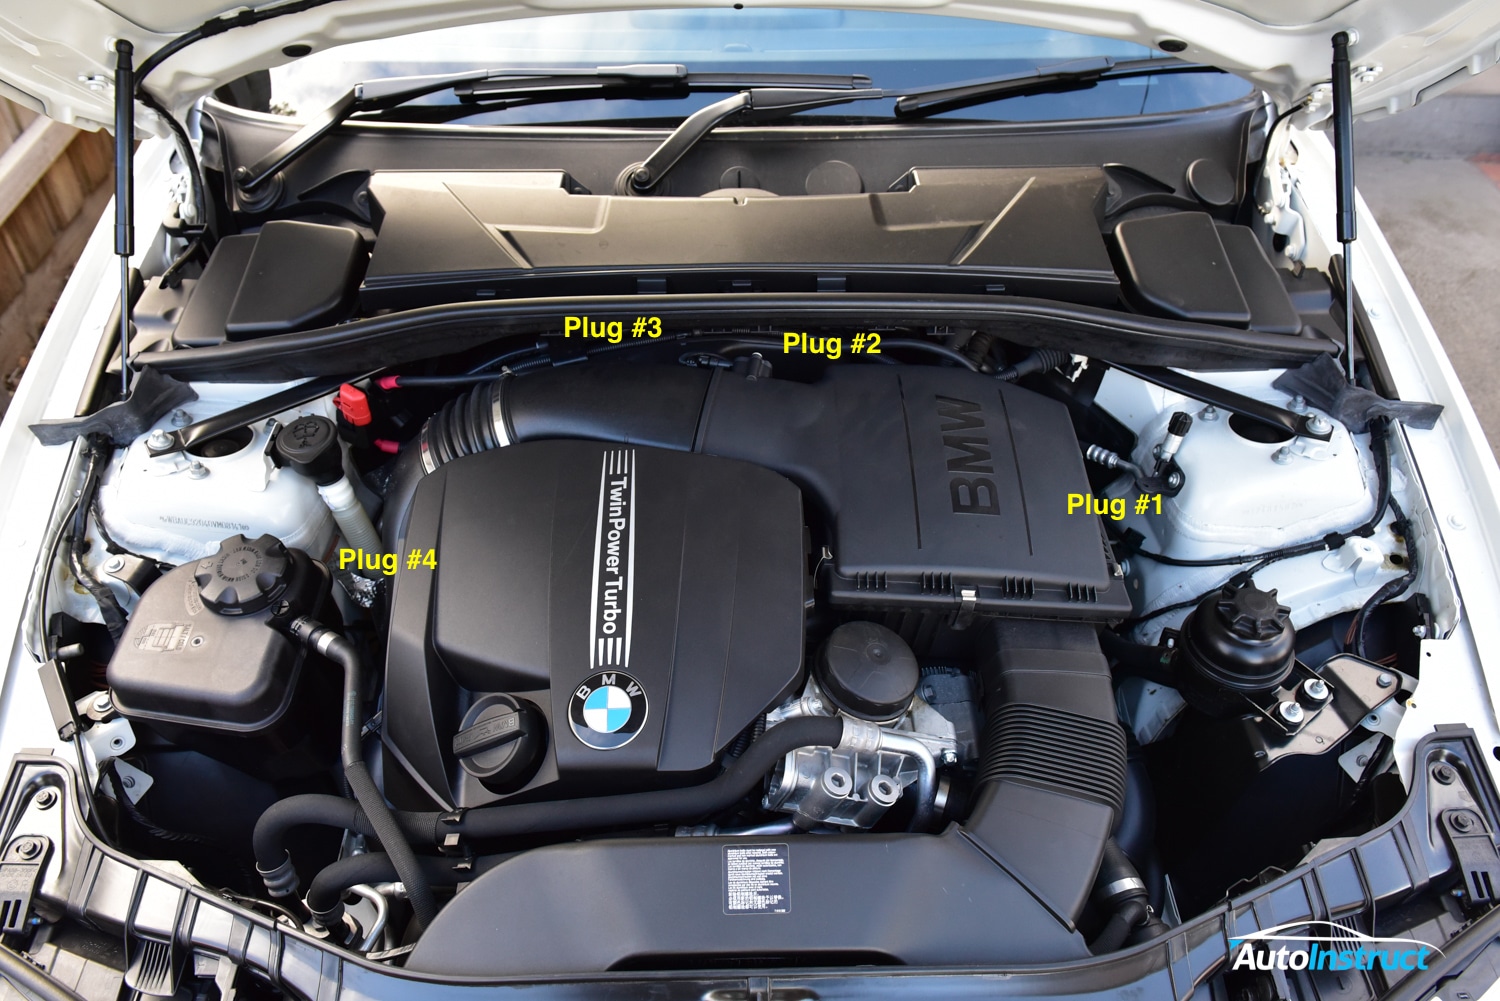
We’re now ready to connect each of the JB4 connectors.
Plug #1) TMAP Sensor. Rainbow loom.
Plug #2) MAP Sensor. Brown loom.
Plug #3) Optional Fuel Pressure Connector*. Black loom.
Plug #4) Boost Solenoid. Blue loom.
*The Fuel Pressure Connector gives the JB4 a higher range of fuel trim adjustment which is useful for higher power levels and/or E85 fuel mixtures. Not generally required for Map1 or Map2 applications. Stow the connector inside the ECU wiring box if it is not required for your application.
Step 8
Plug #1) TMAP Sensor. Rainbow loom.
Disconnect this sensor, and connect both sides of the rainbow JB4 loom.
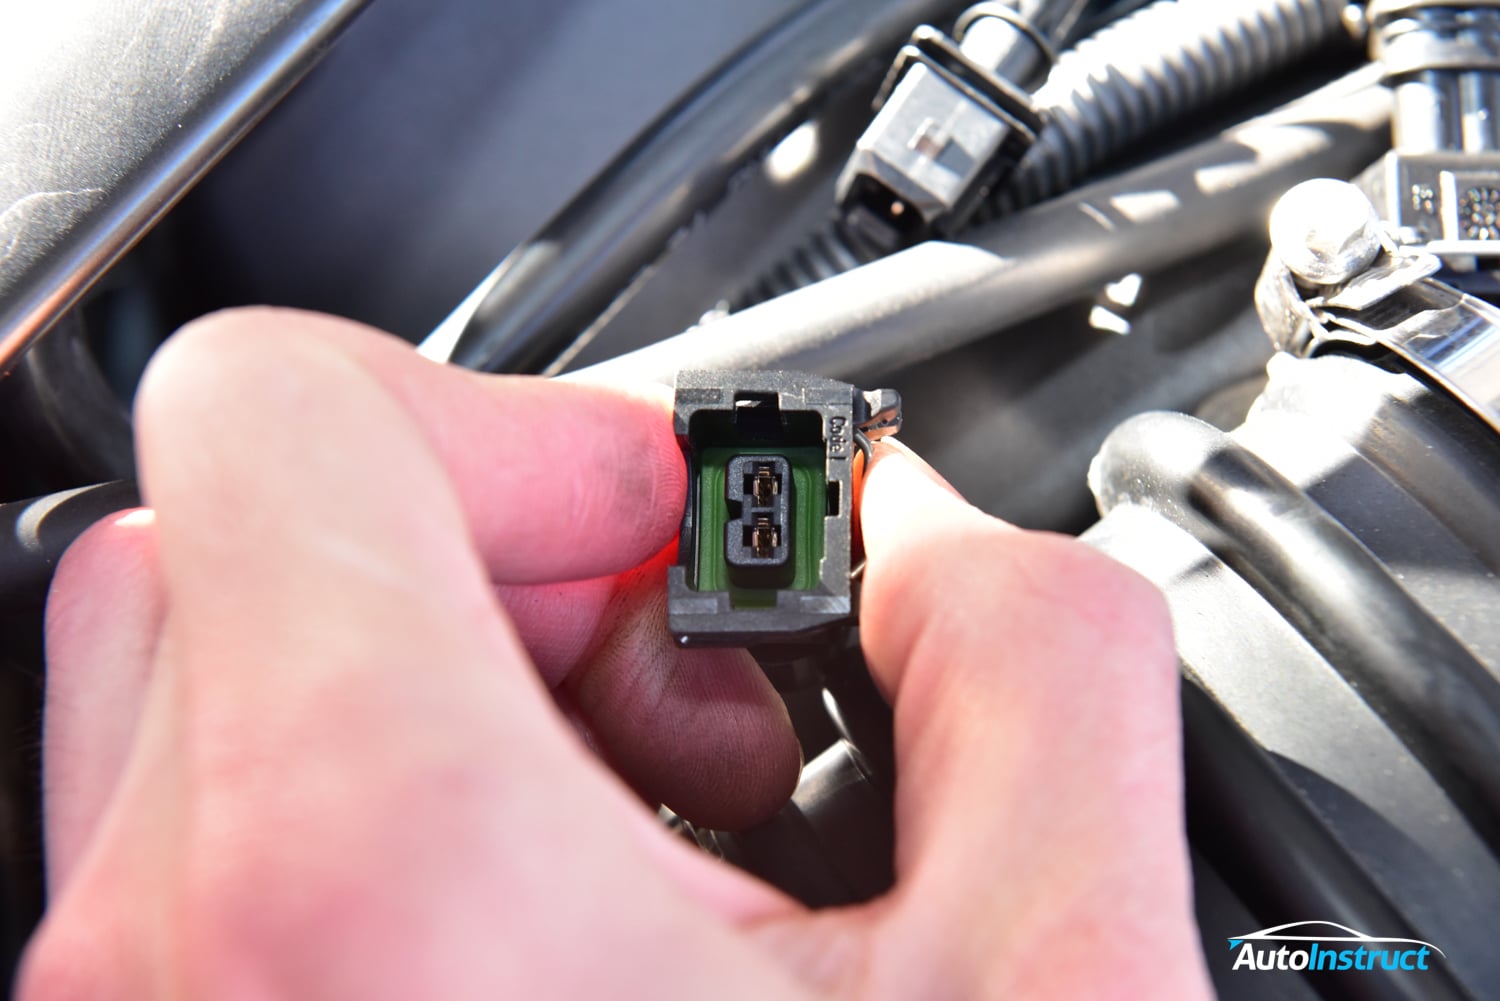
Step 9
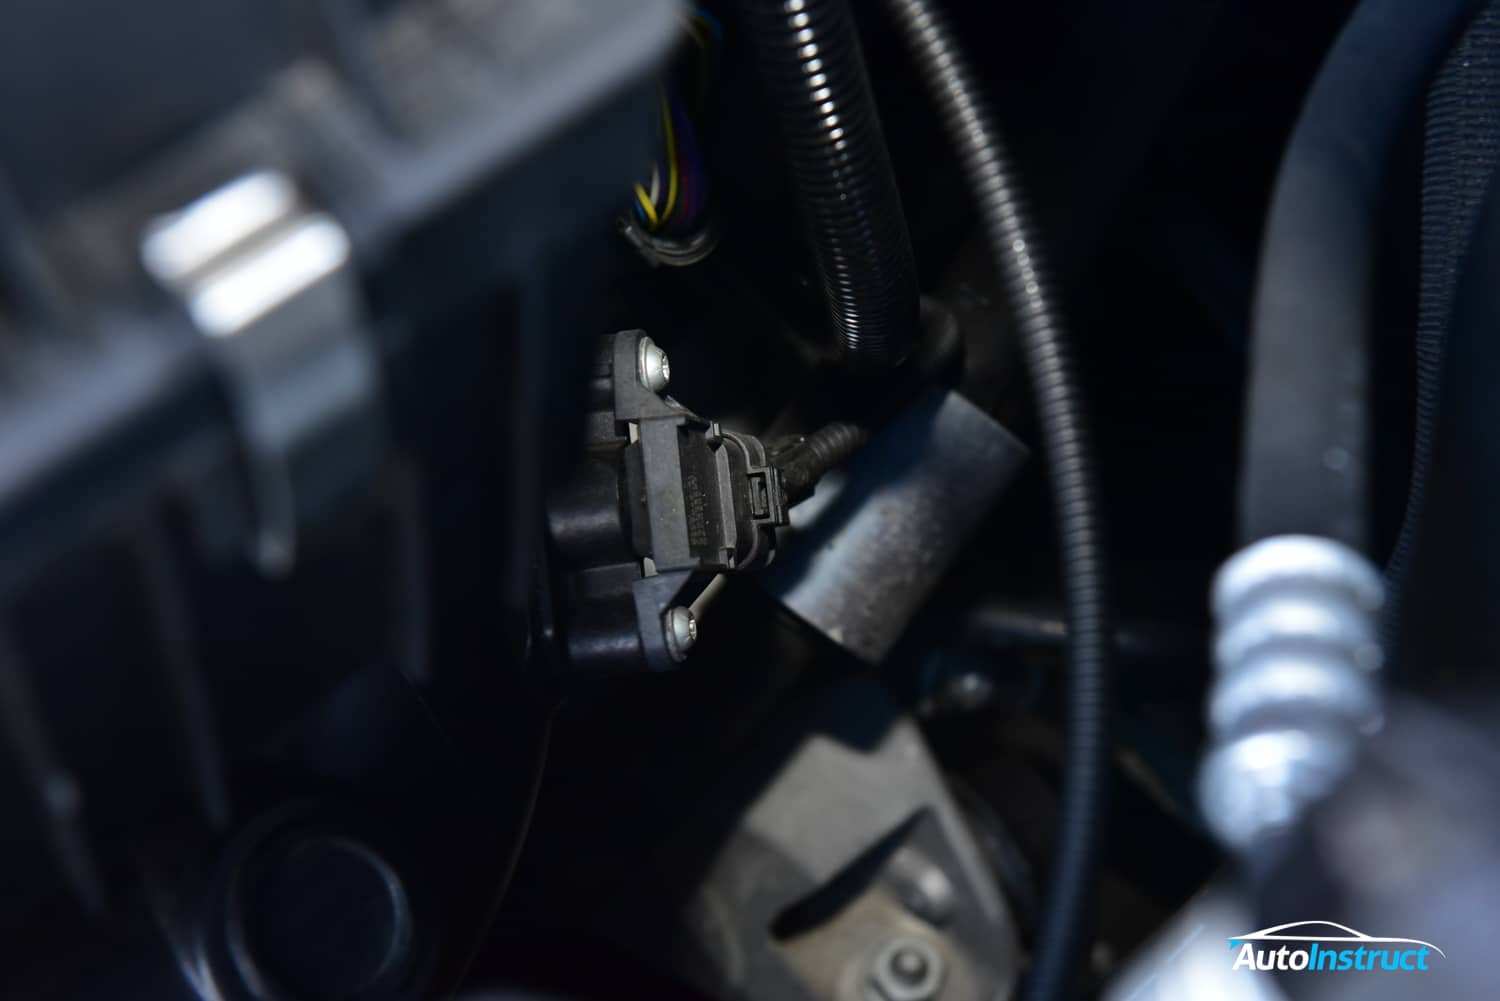
Plug #2) MAP Sensor. Brown loom.
Lift the plastic shroud, disconnect this sensor, and connect both sides of the brown JB4 loom.
Step 10
Plug #3) Optional Fuel Pressure Connector. Black loom.
Located under the black foam at the rear of the motor – Not Shown
Step 11
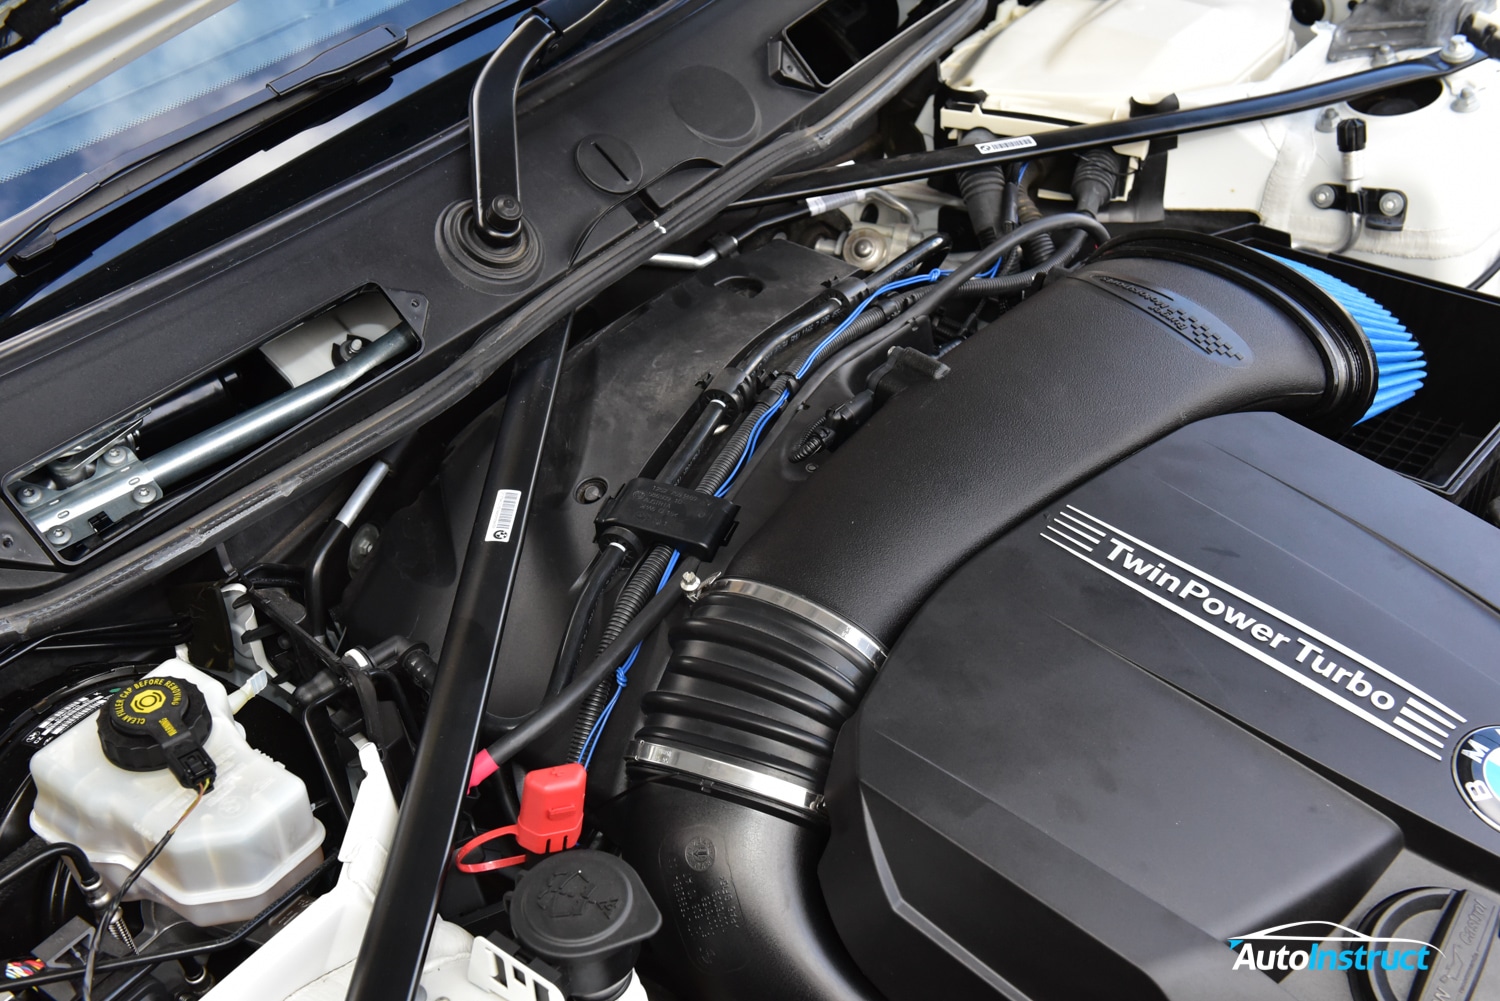
Plug #4) Boost Solenoid. Blue loom.
Run the blue loom across the top of the motor, and down past the washer bottle neck.
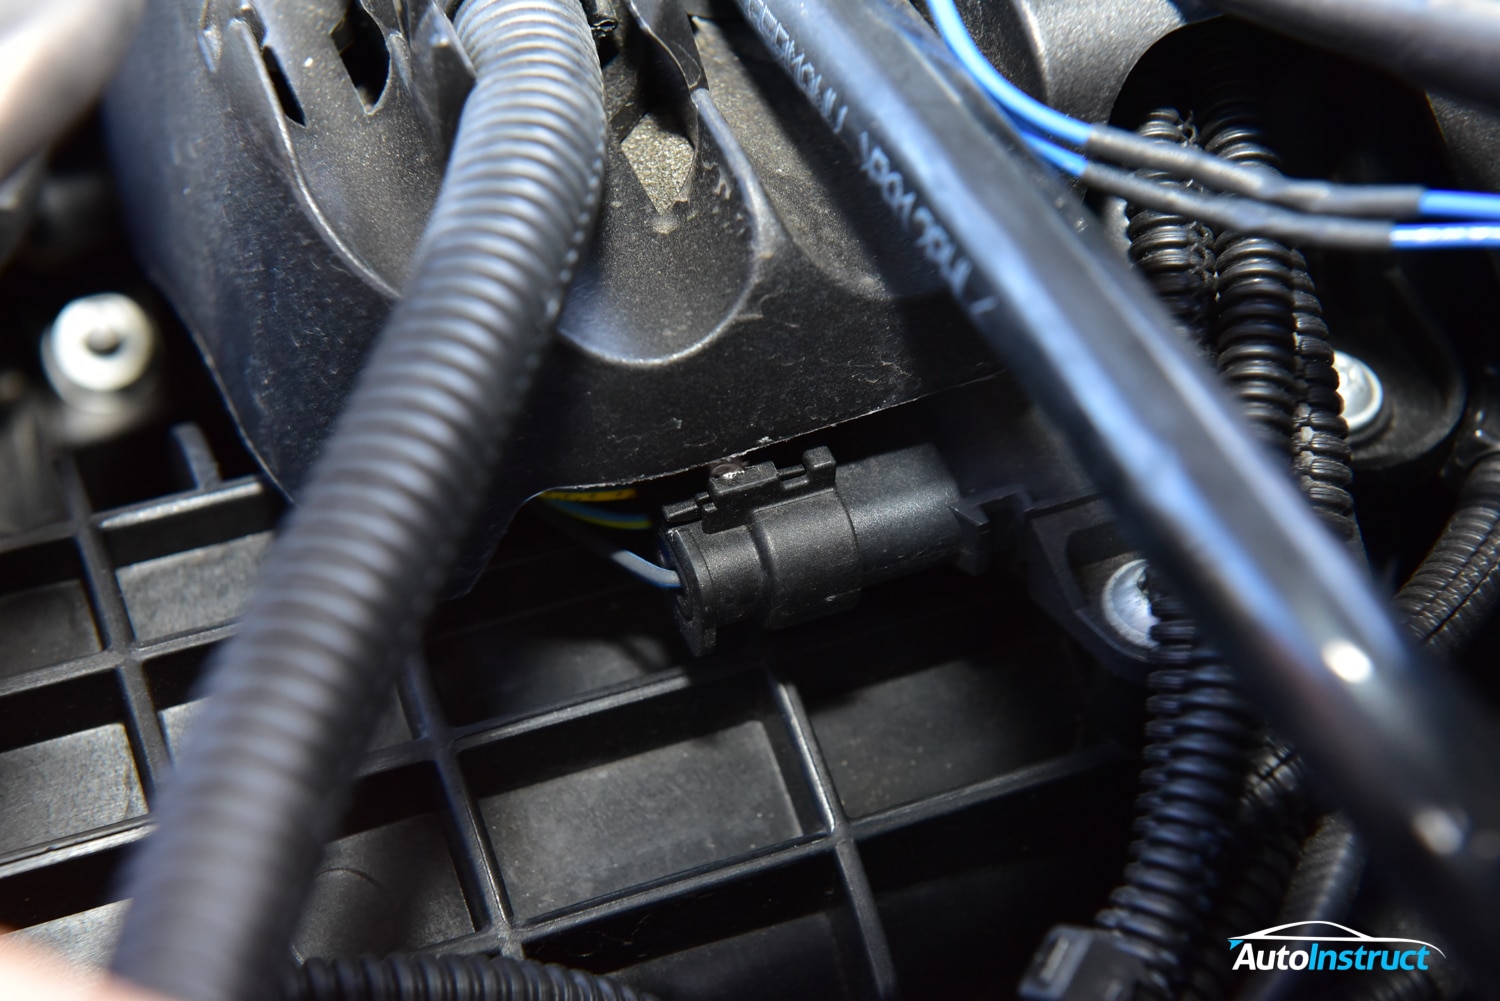
Step 12
Connect the blue loom to the boost solenoid. These clips require the metal sides to be squeezed as shown.
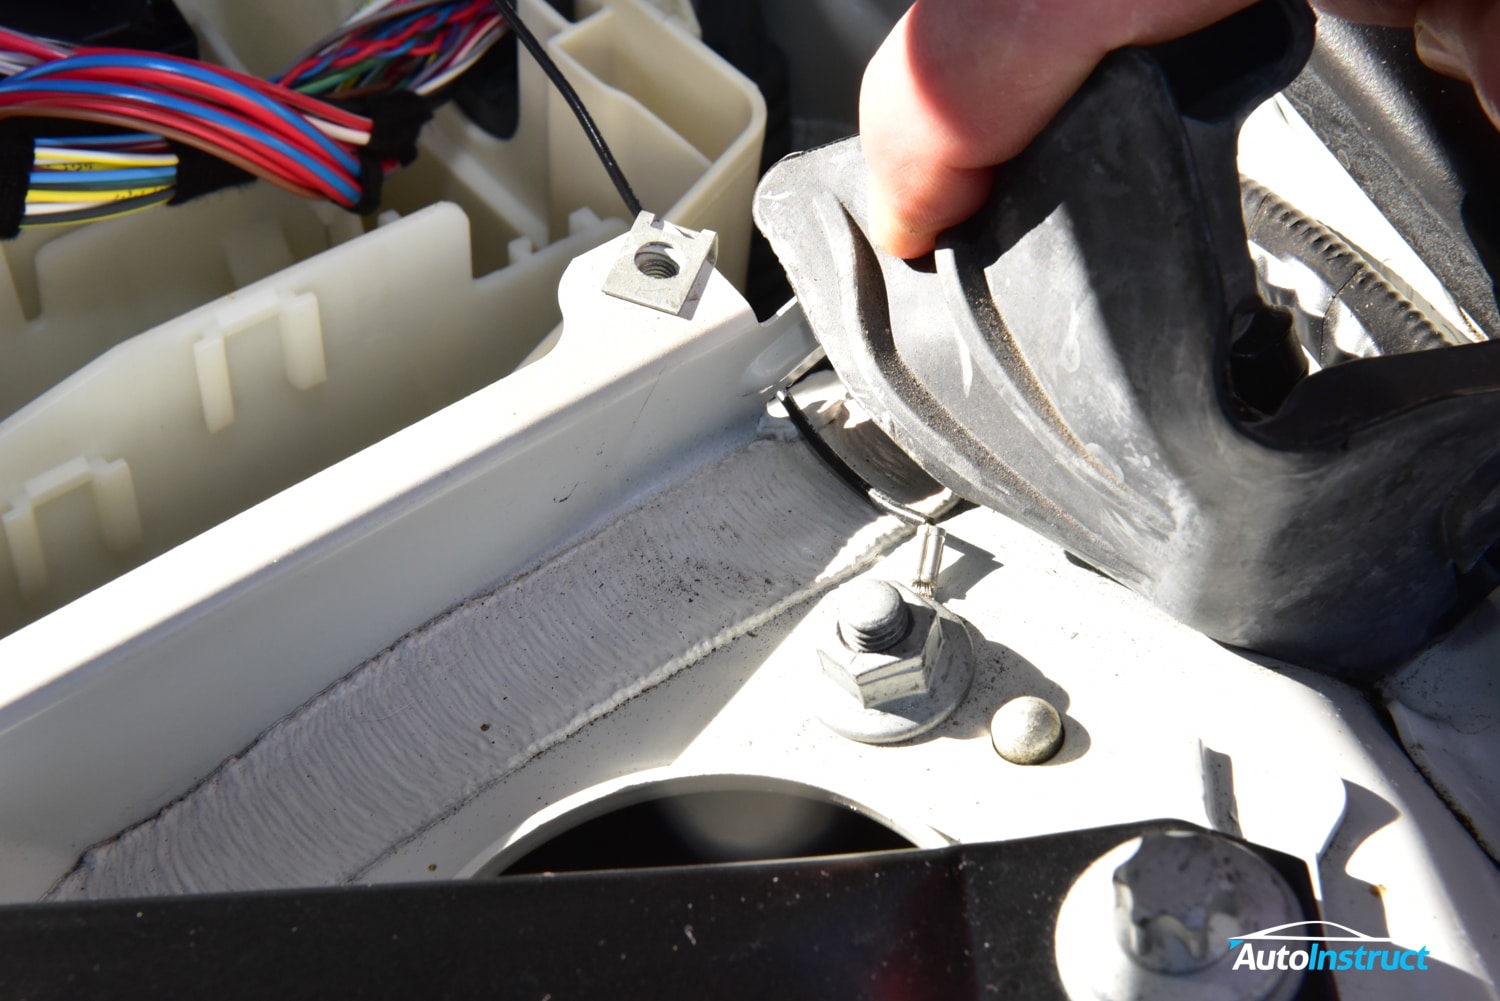
Step 13
Earth the JB4 grounding wire to the strut tower bolt.
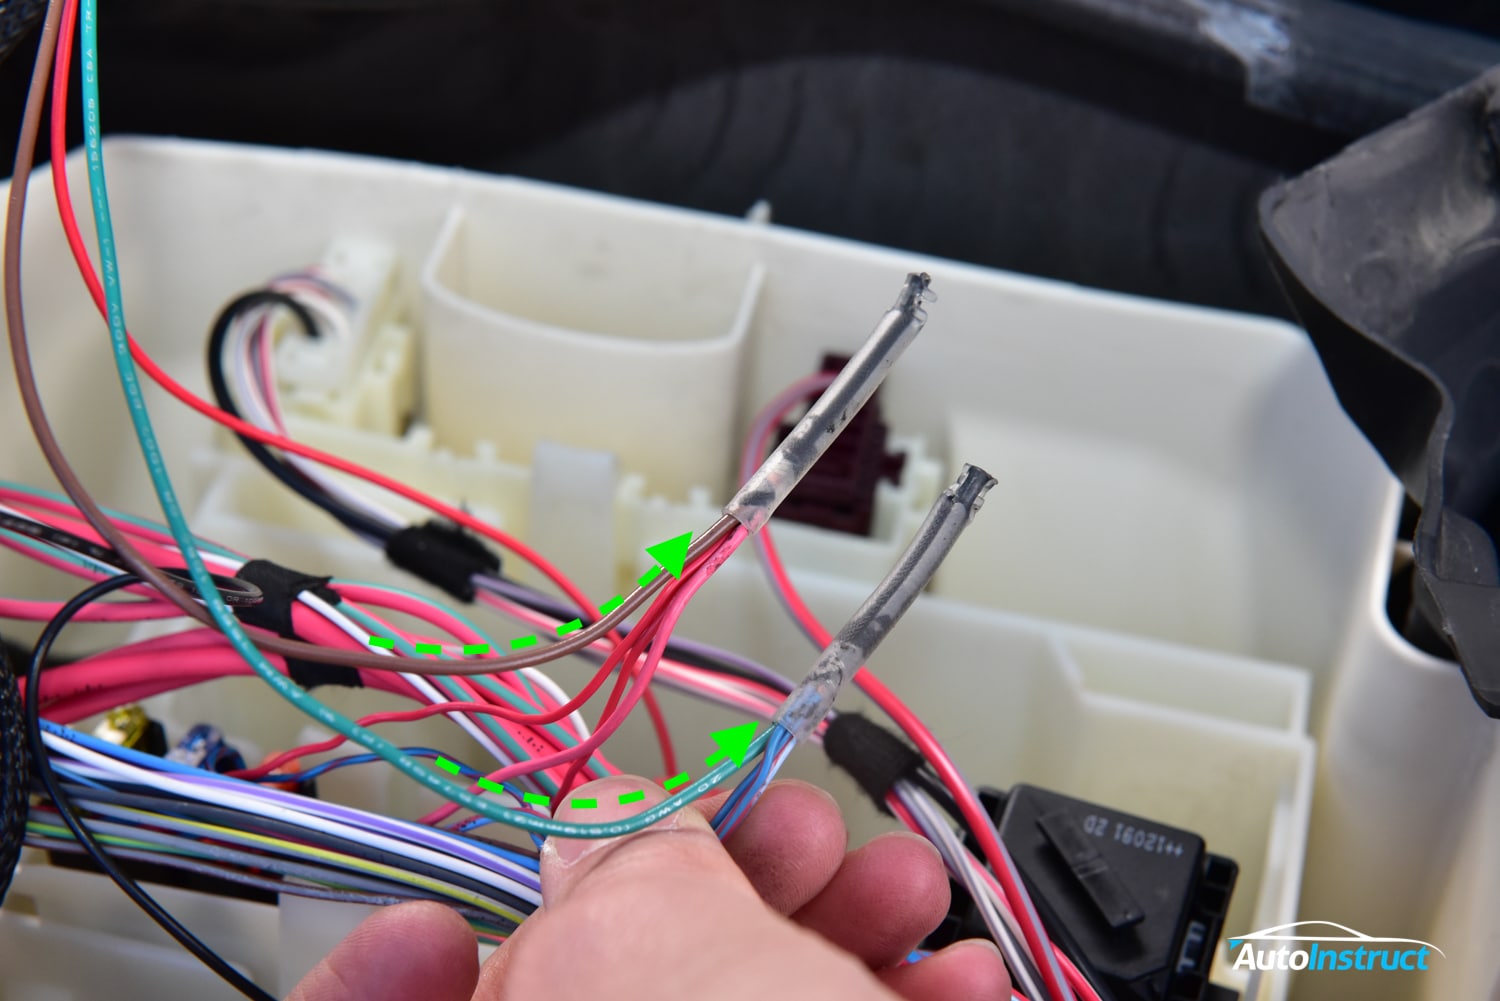
Step 14
The two JB4 CAN wires need to be connected to the vehicle.
Unwrap the felt which covers these connections. You will find two clear/black caps. These caps will pull off with a small amount of heat from a heat gun.
Once removed, wrap the corresponding JB4 wire around the bare wire bundle, and slide the cap back over the wires. Ensure this connection is secure.
JB4 Brown Wire -> BMW Red bundle
JB4 Green Wire -> BMW Blue bundle
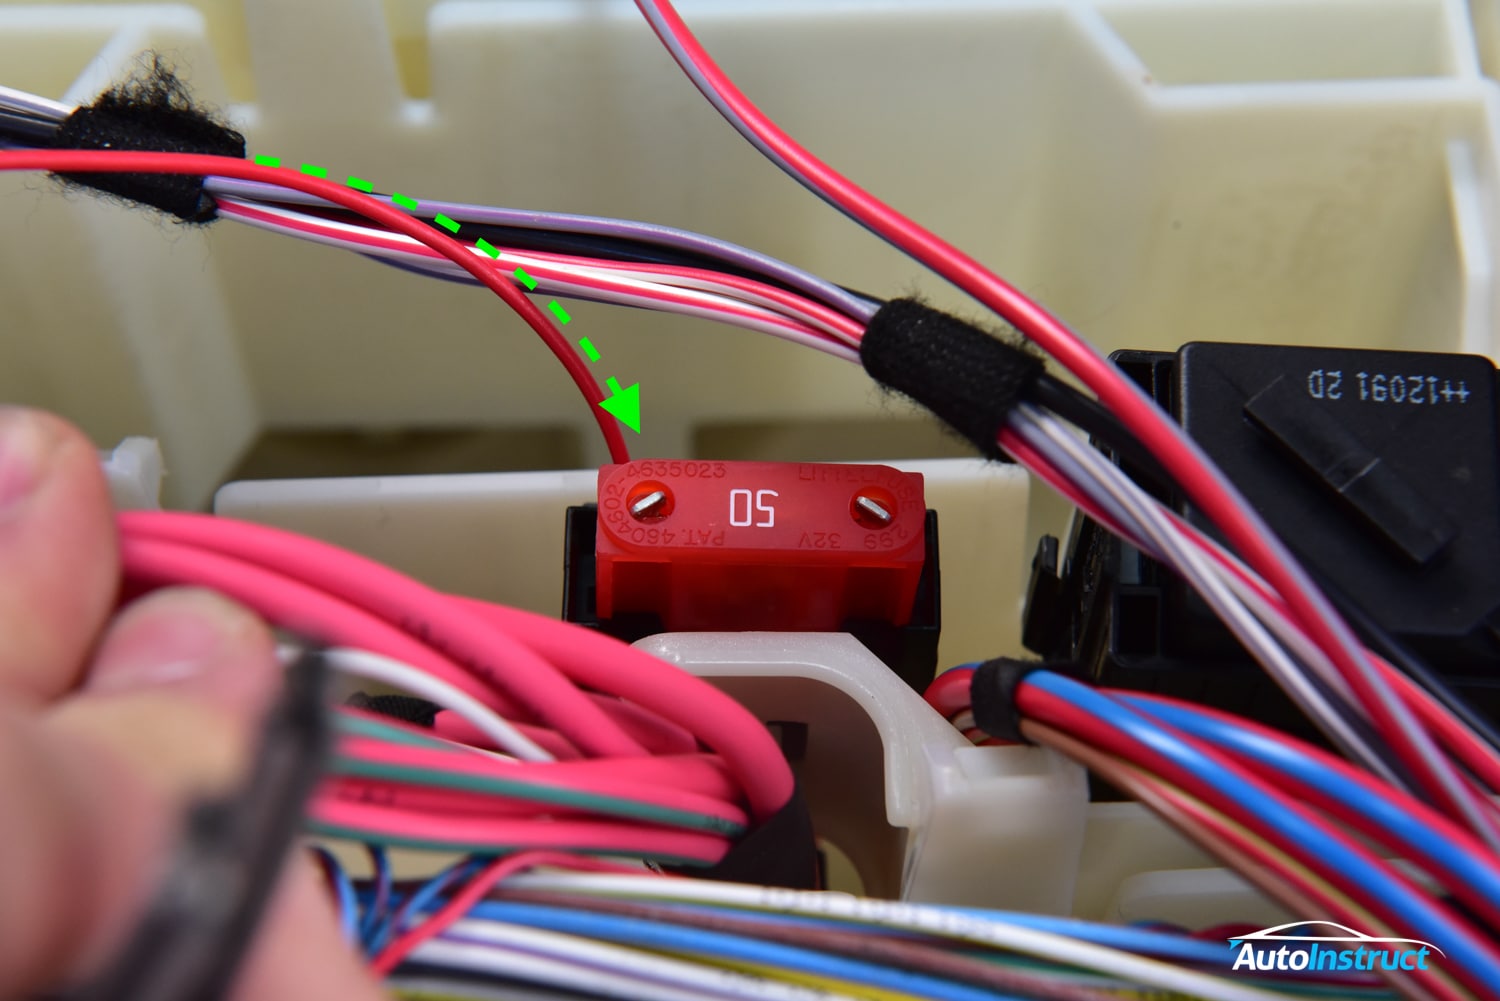
Step 15
Insert the JB4 Red power wire under the 50 amp fuse located in the ECU Box. Simply pull the fuse, lay the wire onto the terminal, and reinsert the fuse which will hold it firmly in position.
If your JB4 does not have a red power wire, skip this step.
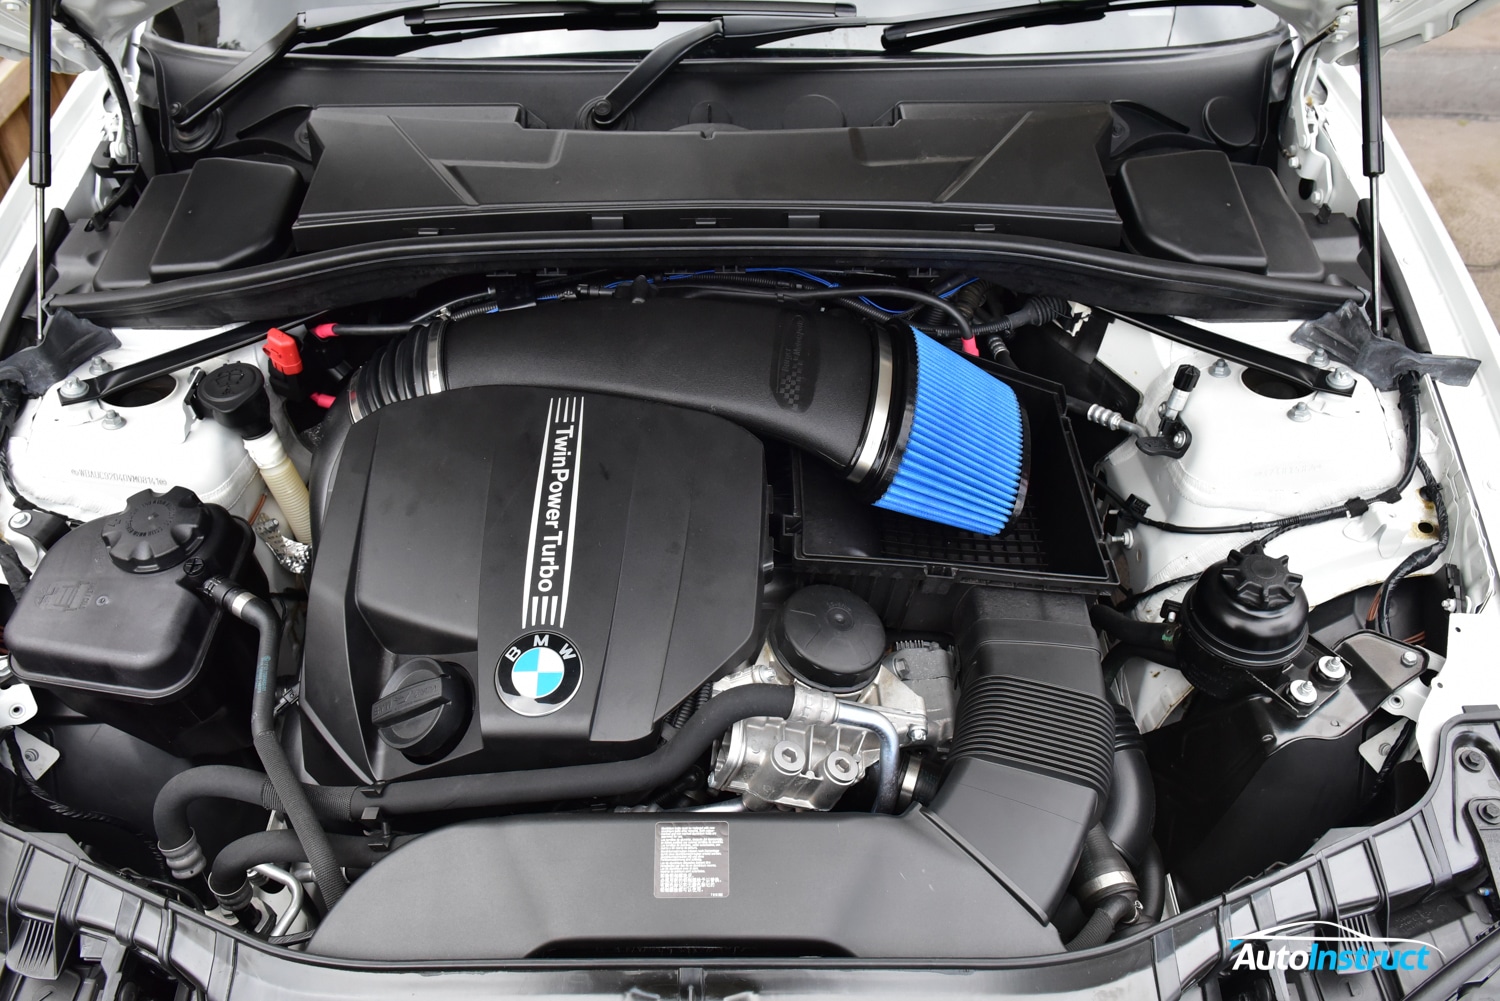
Step 16
Reinstall the ECU wiring box lid and all cowling accessories. This is a great opportunity to install a pair of Burger Motorsports Cowl Filters!