This tutorial will show you how to remove the front and rear sill trims on a MK7 Golf. These typically need to be removed when running wiring for additional accessories, or a sound system. The process is pretty simple, but care needs to be taken to not break or damage trims.
Once the seat has been removed, release the clip as circled by pushing upwards with your trim removal tool.
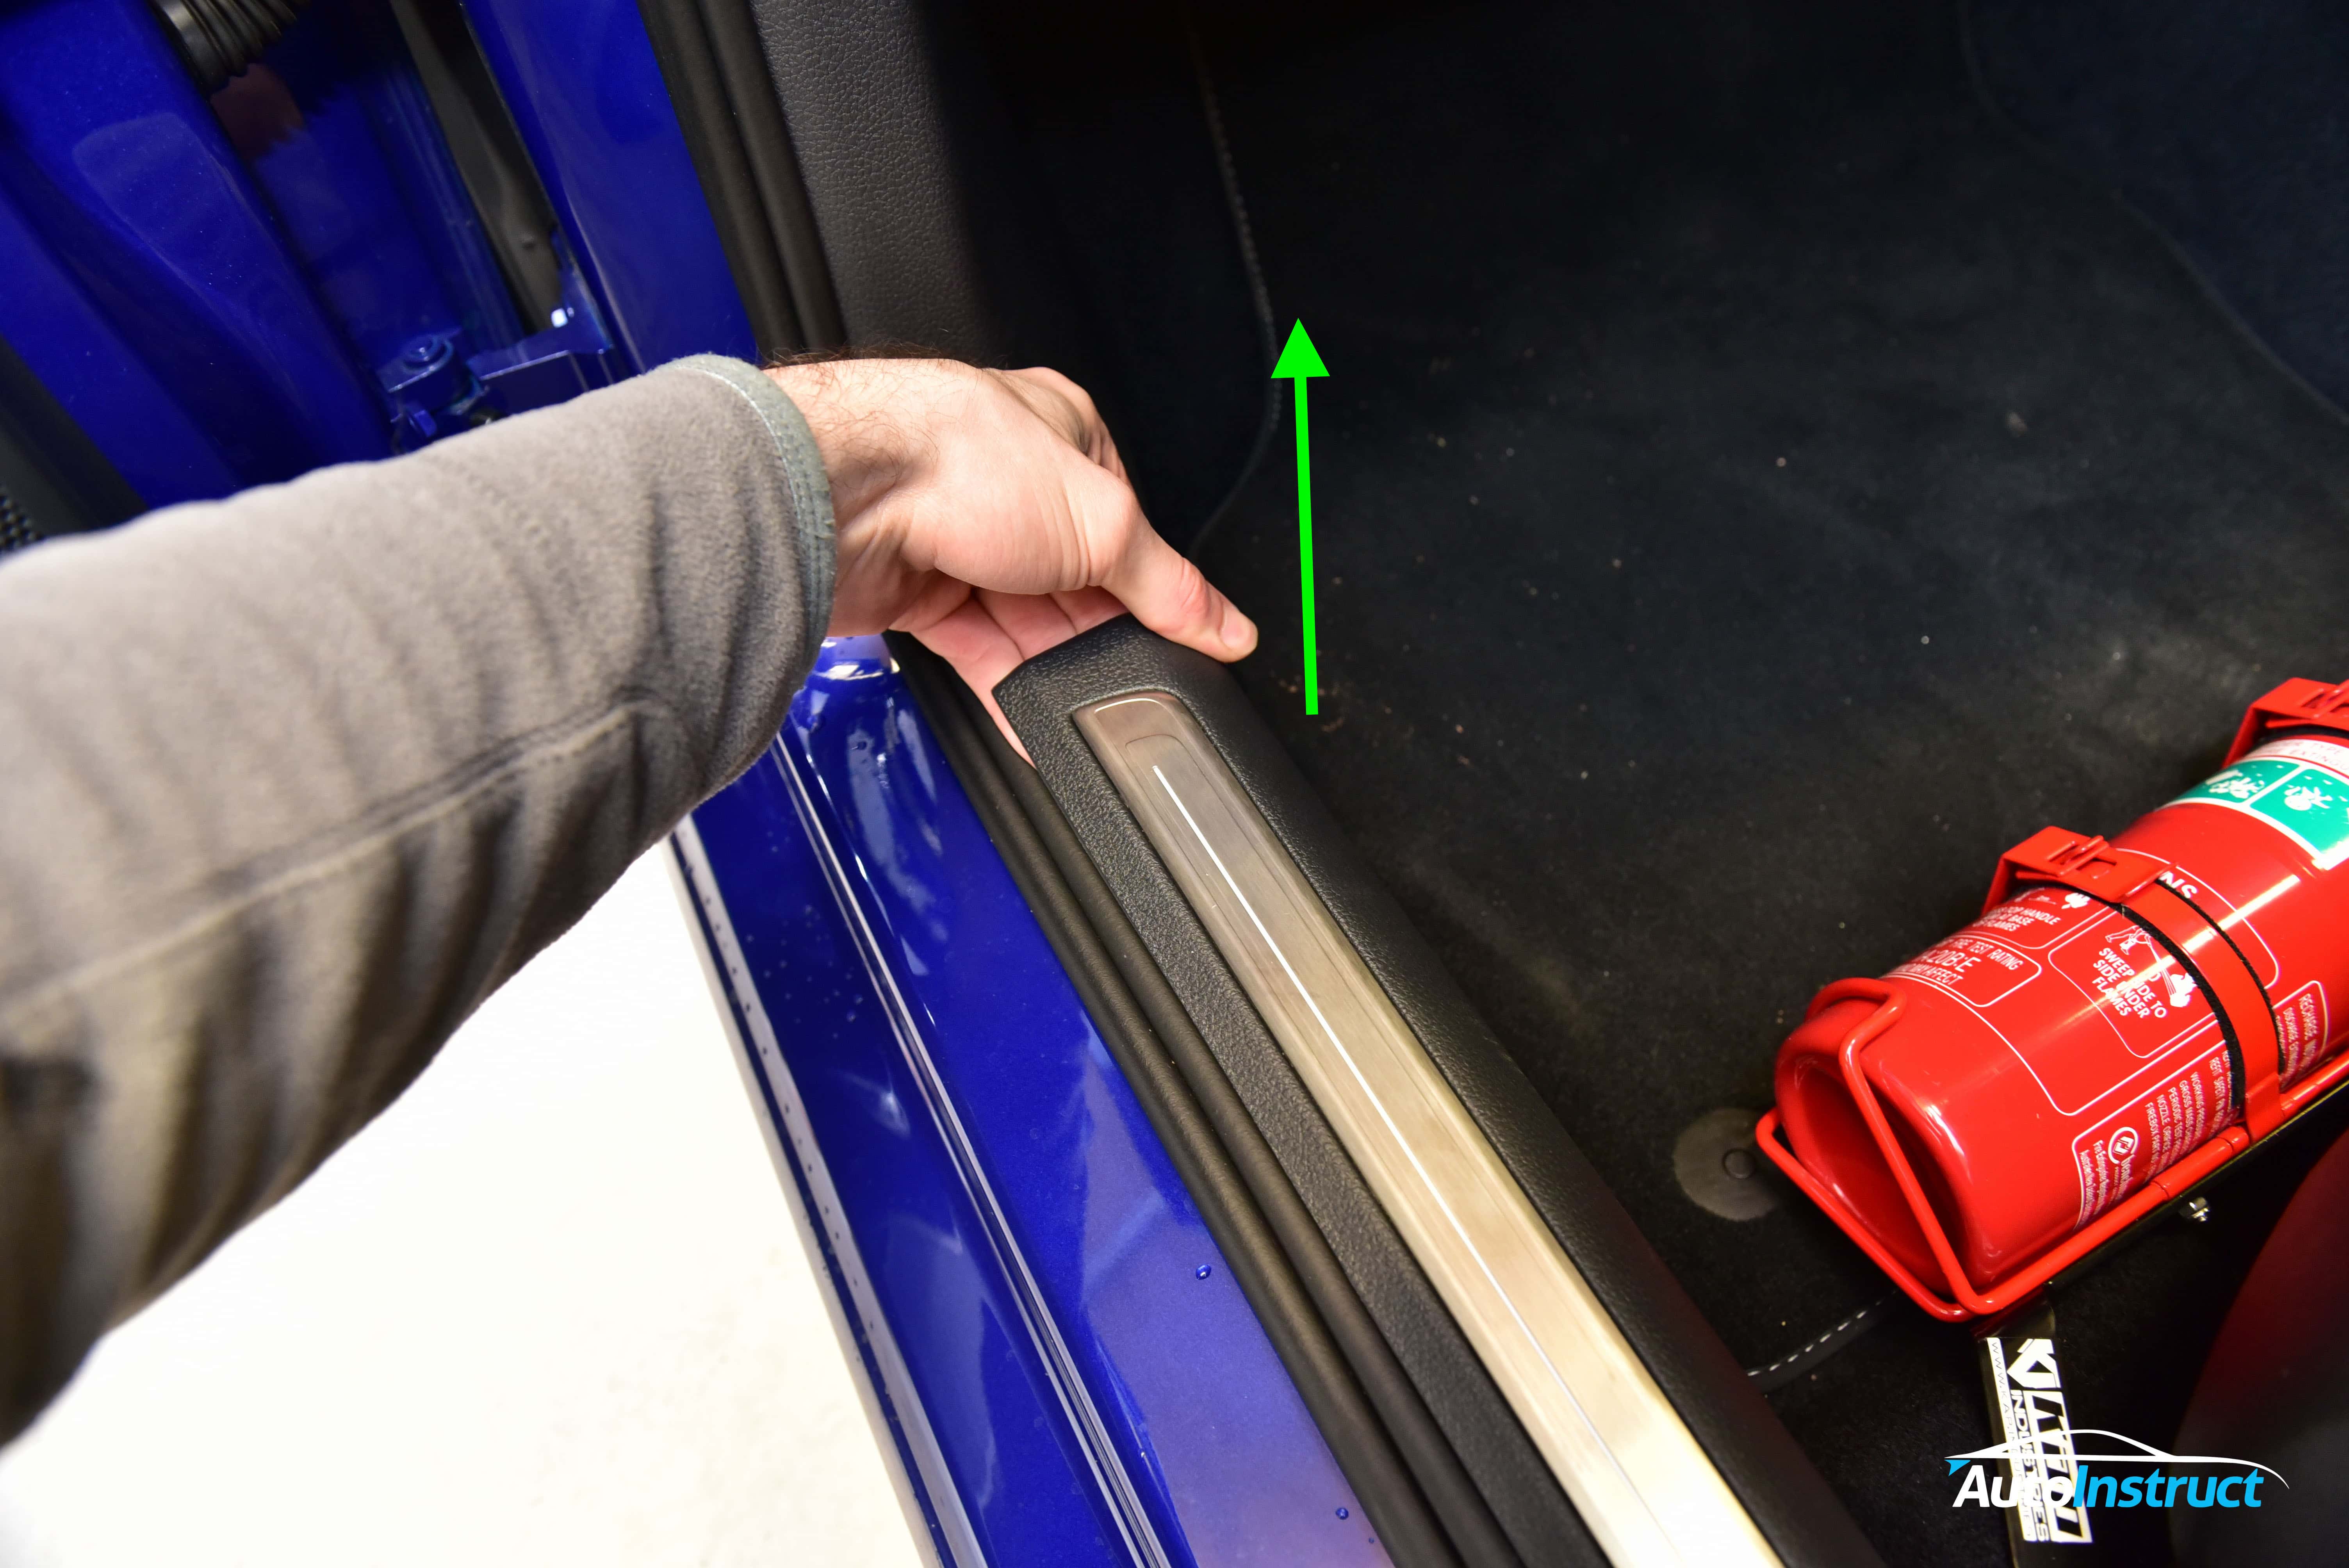
Step 2
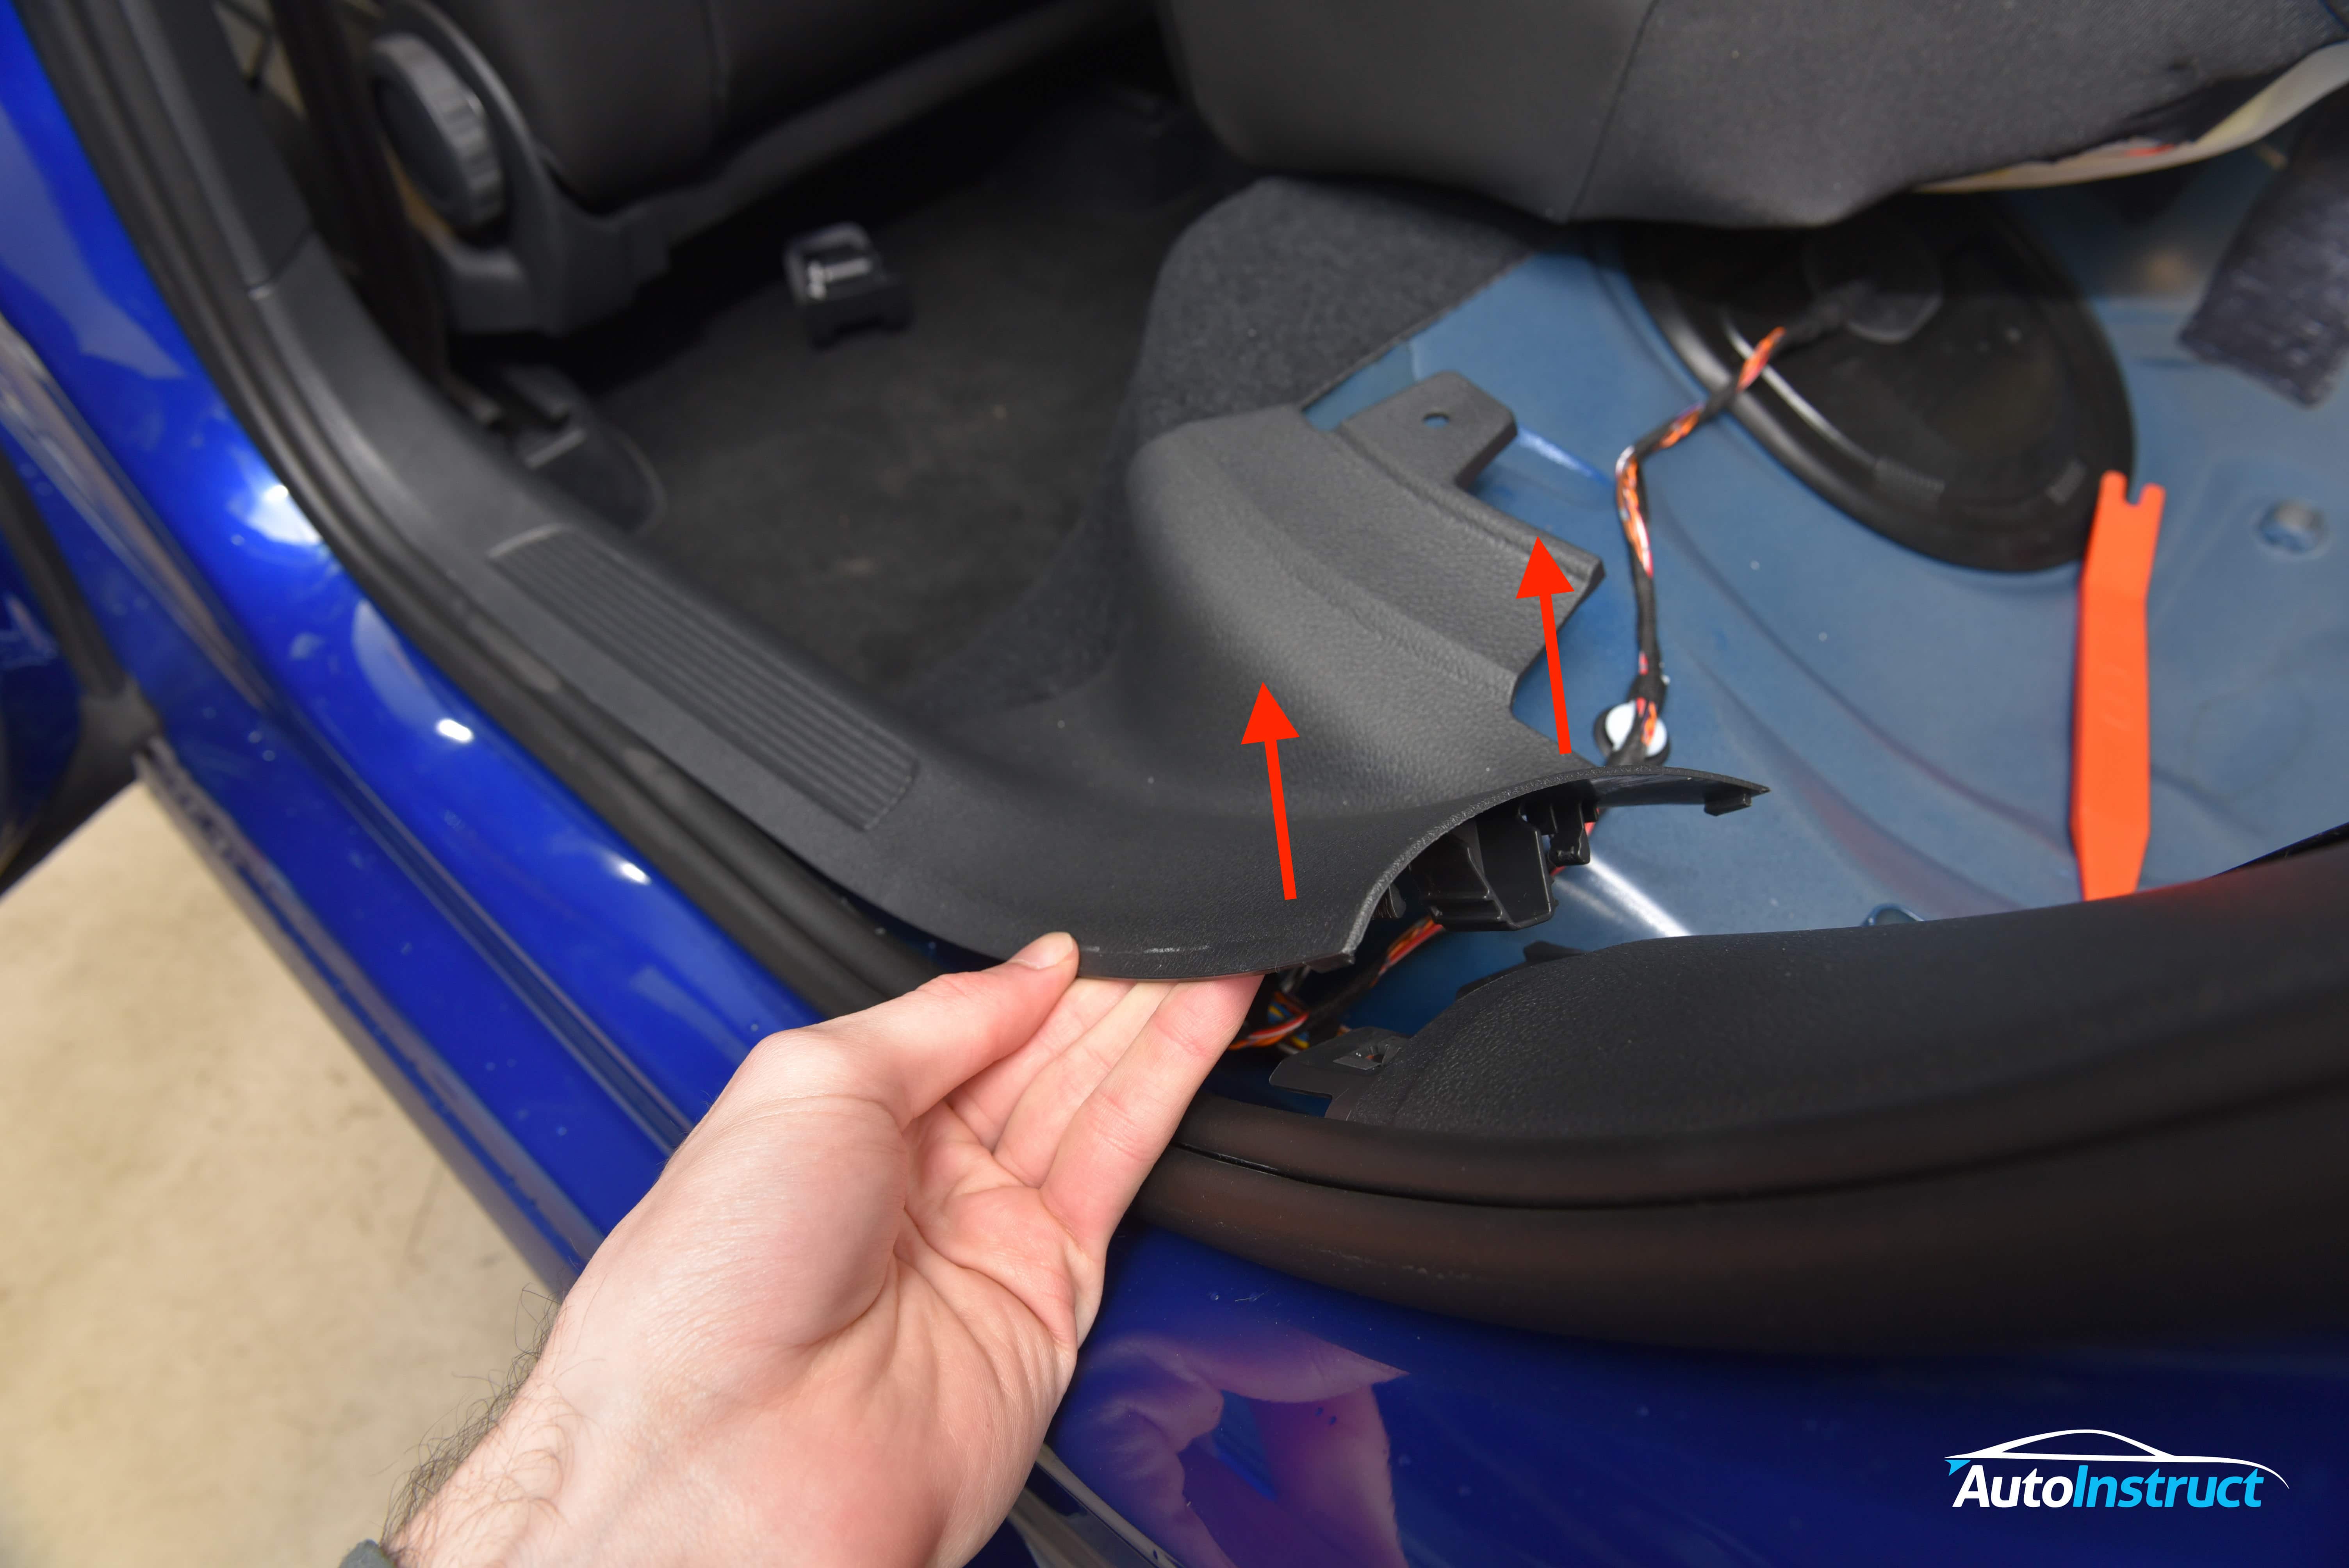
Using your hands and trim removal tool, seperate the sill panel trim from the side trim. Pull upwards in the direction shown.
Step 3
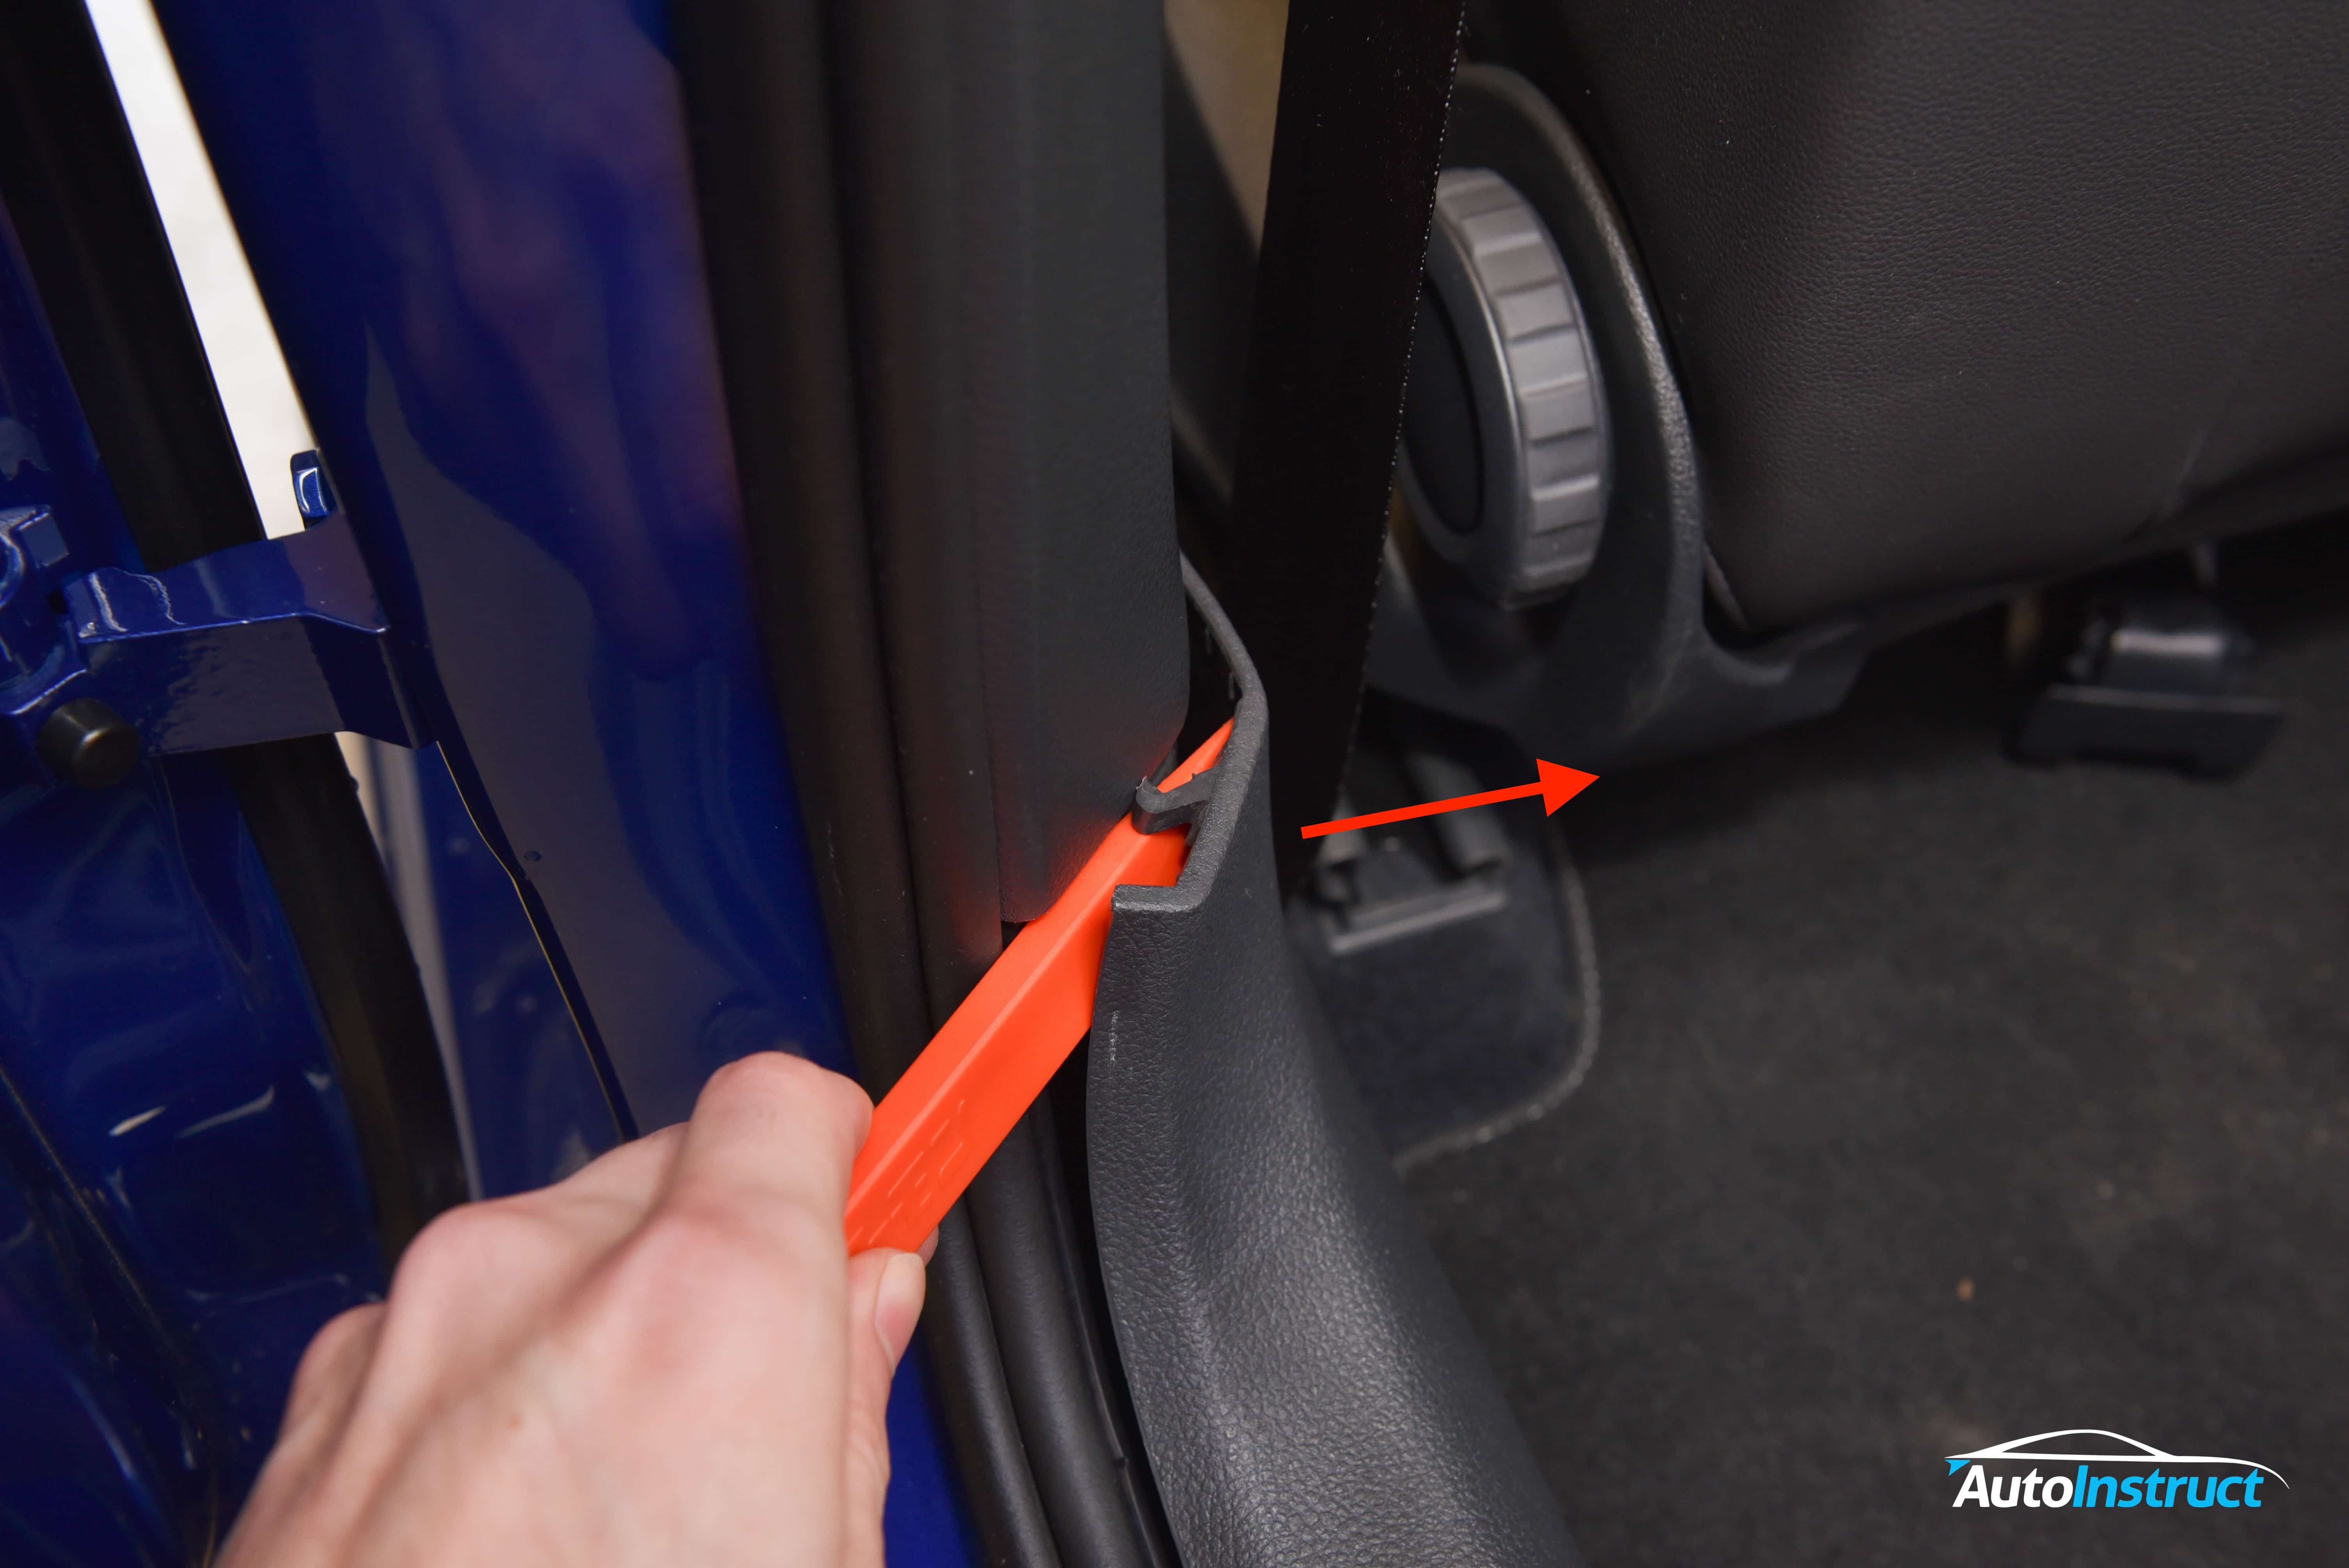
We now need to unclip the sill trim from the B-Pillar trim. Push the trim removal tool into the gap below the join, and the clip will release.
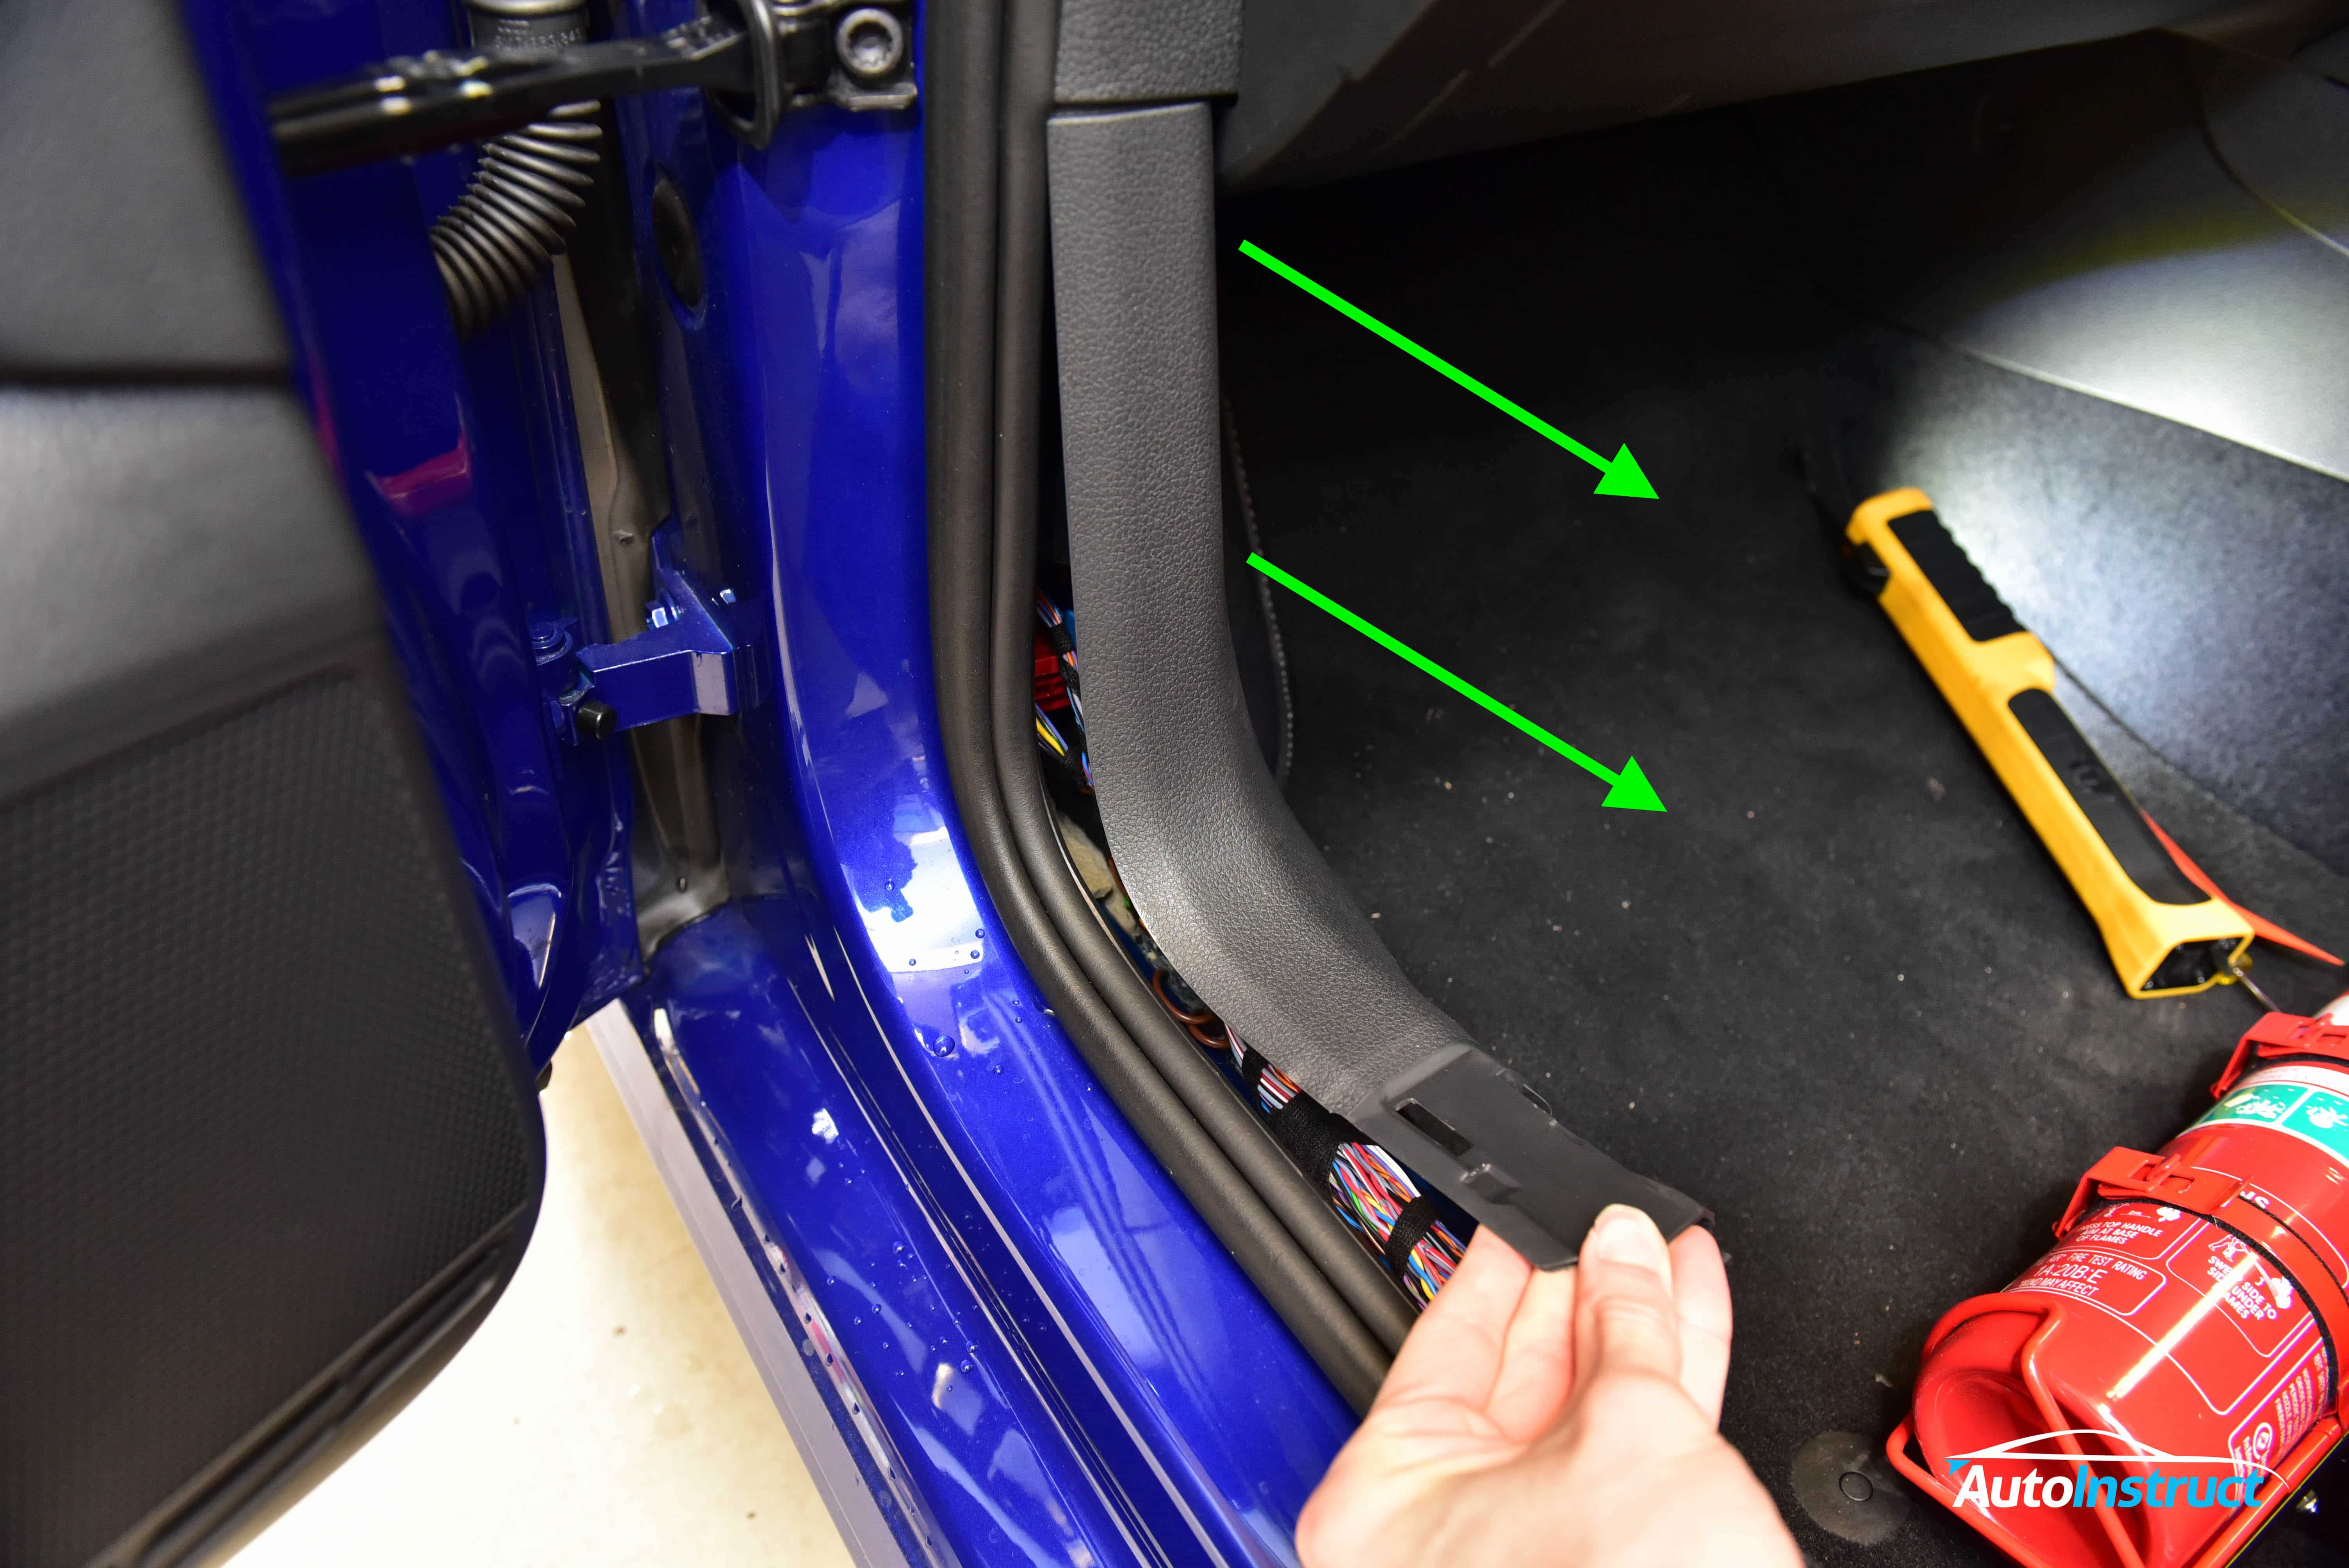
Step 4
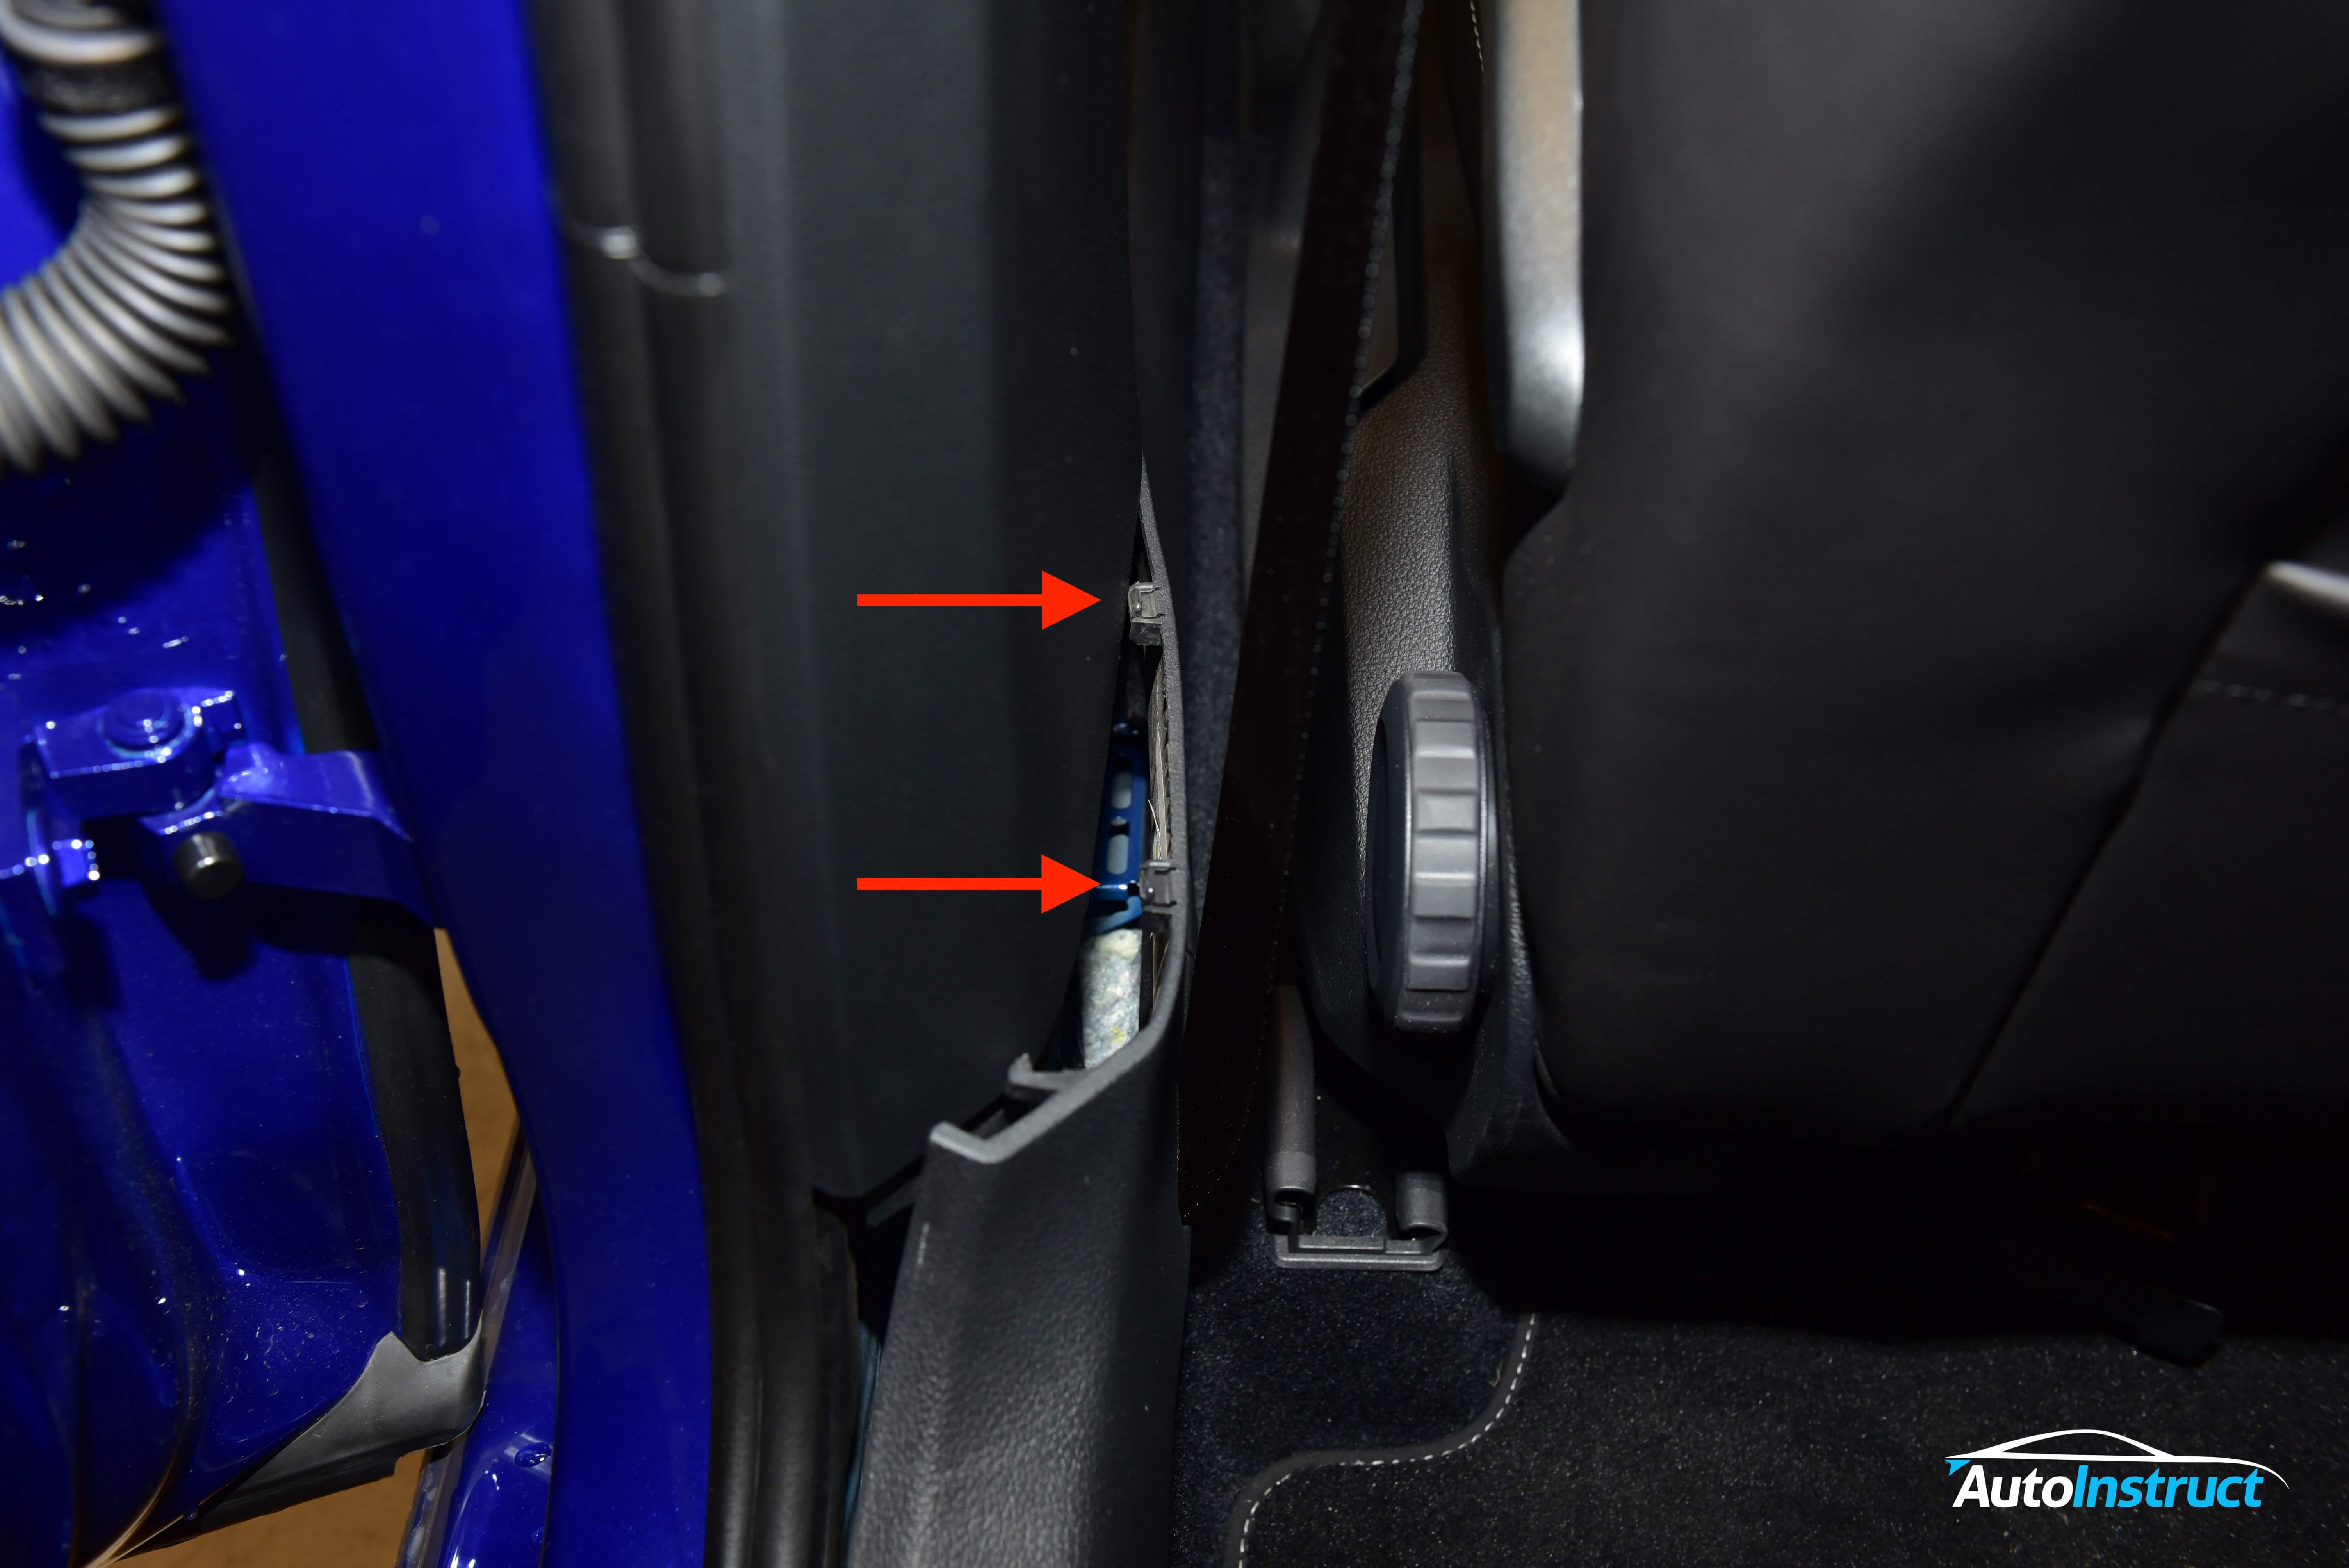
Continue working along the B-Pillar trim, and release the two clips in the middle as indicated. Push the trim towards the seat, as shown by the arrows.
Step 5
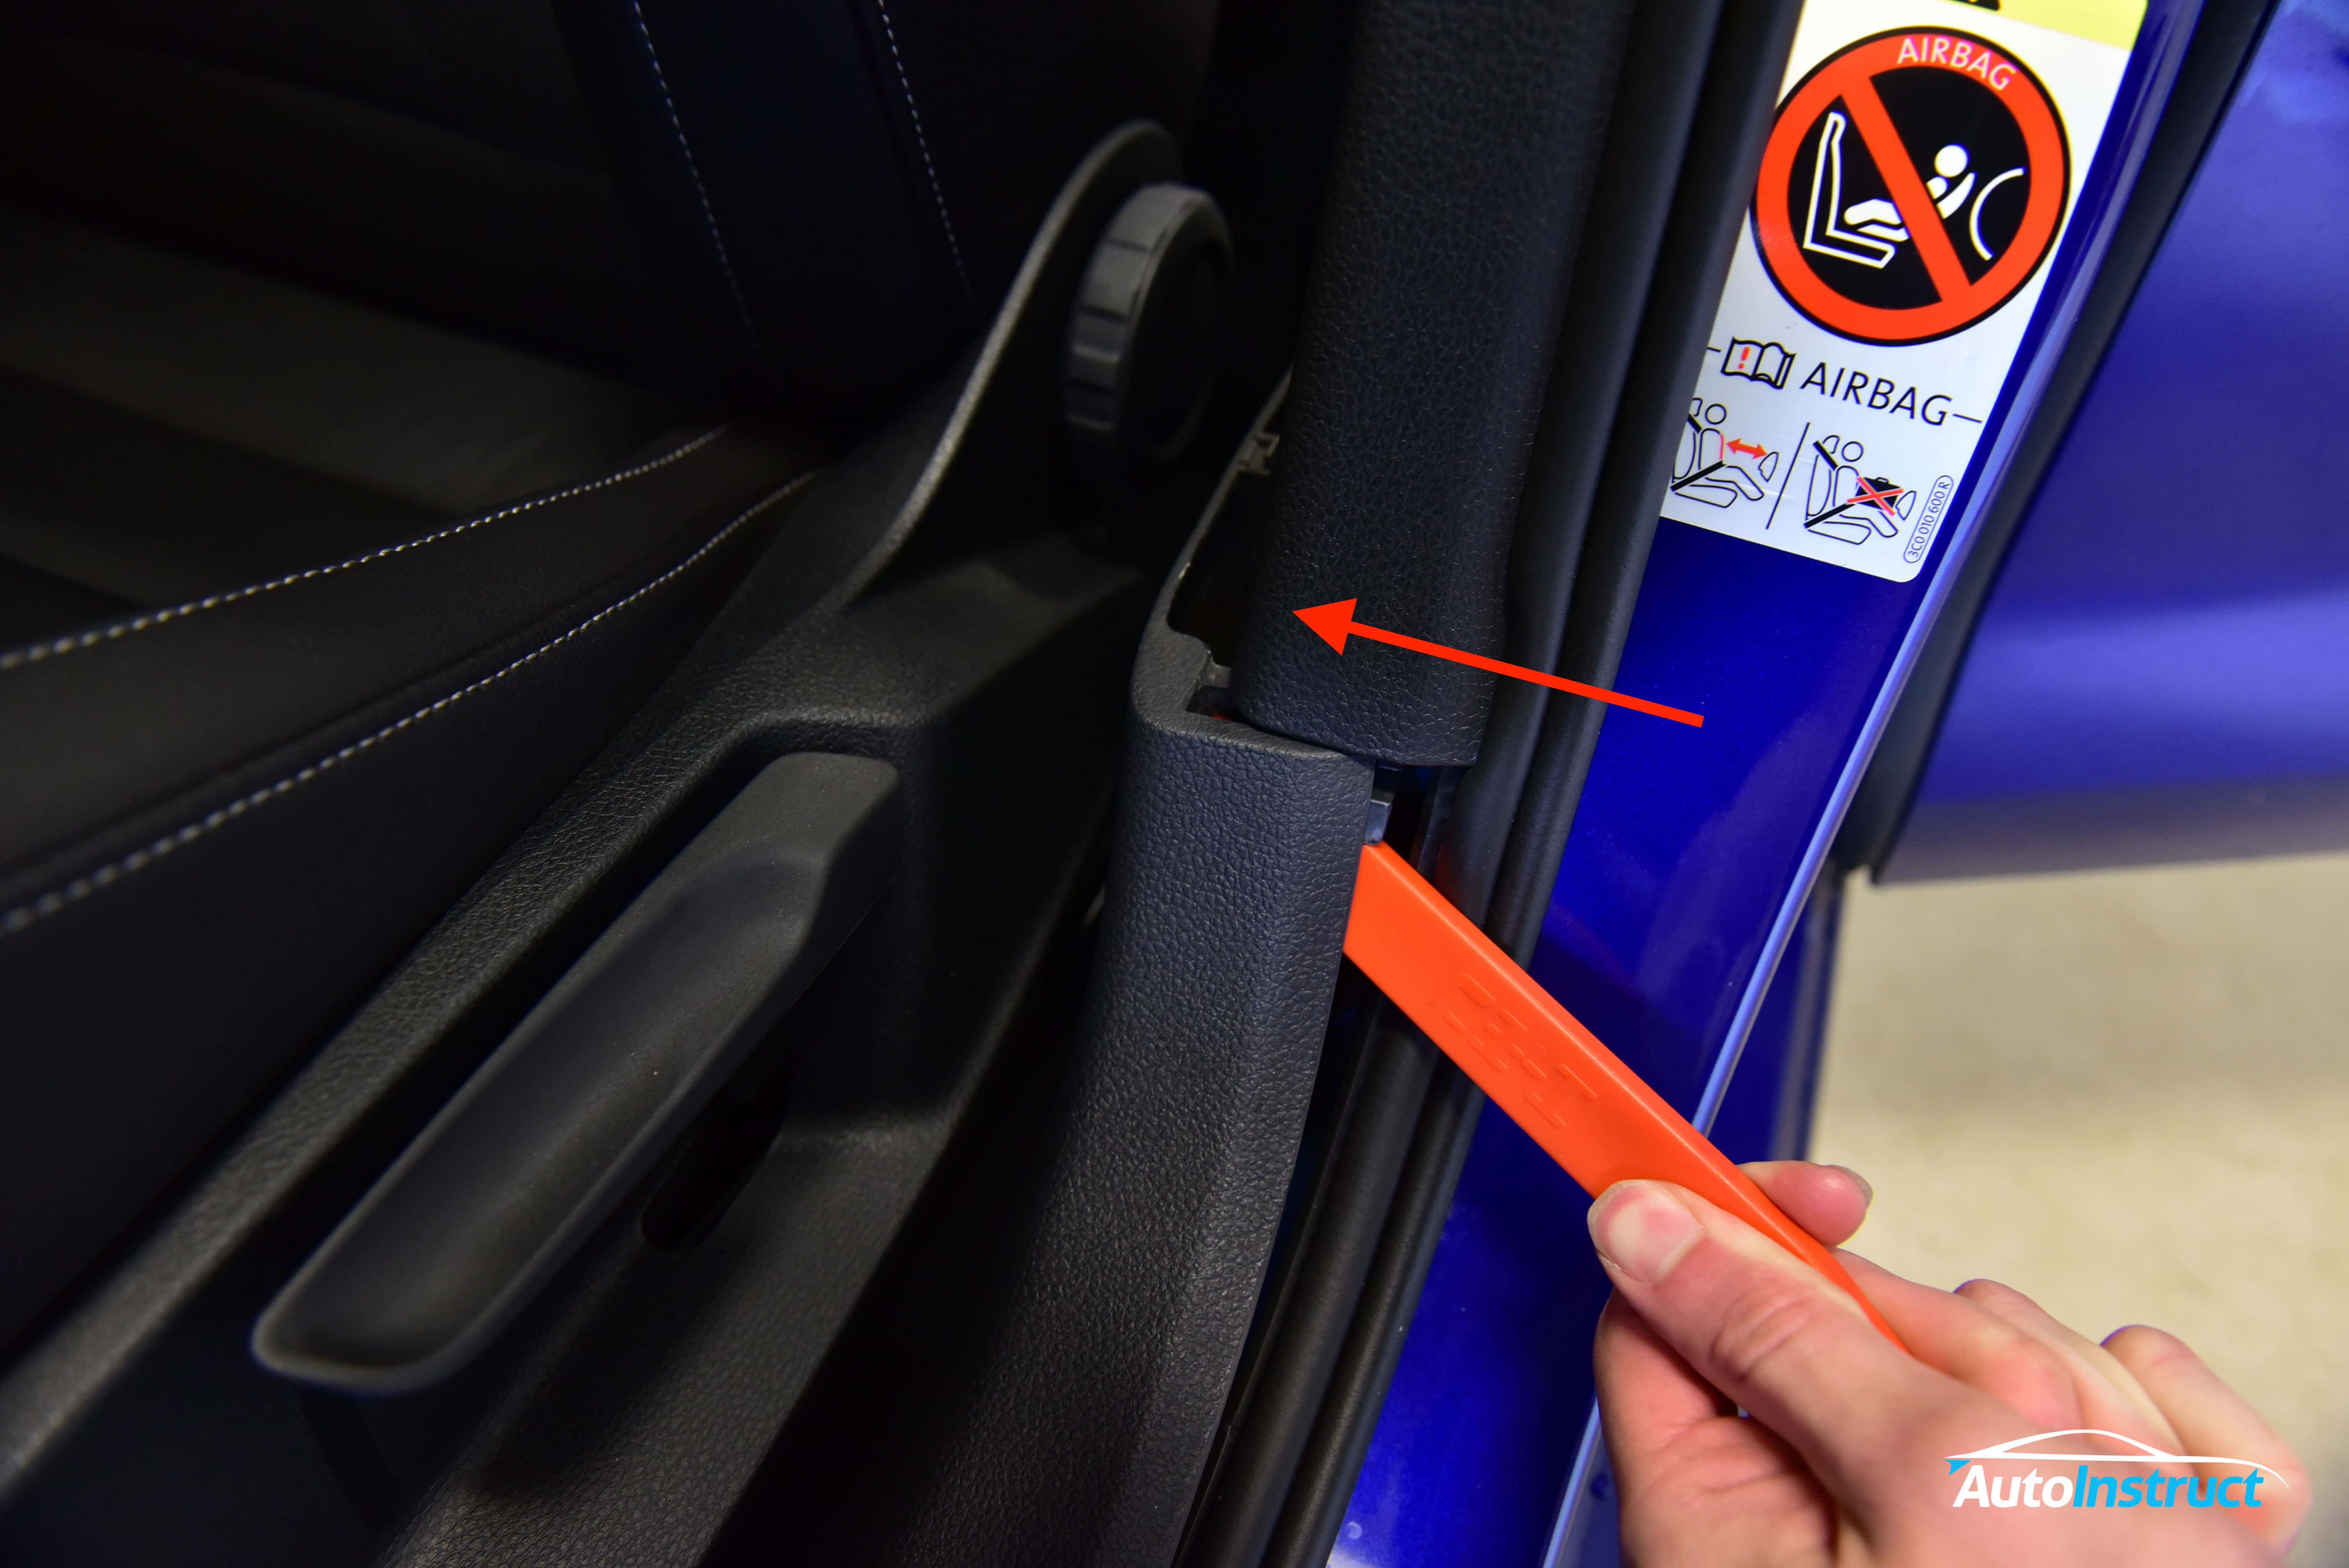
Move to the front of the vehicle, and perform the same process. Slide the trim tool into the gap and push towards the seat.
The entire B-Pillar trim will now be disconnected.
Step 6
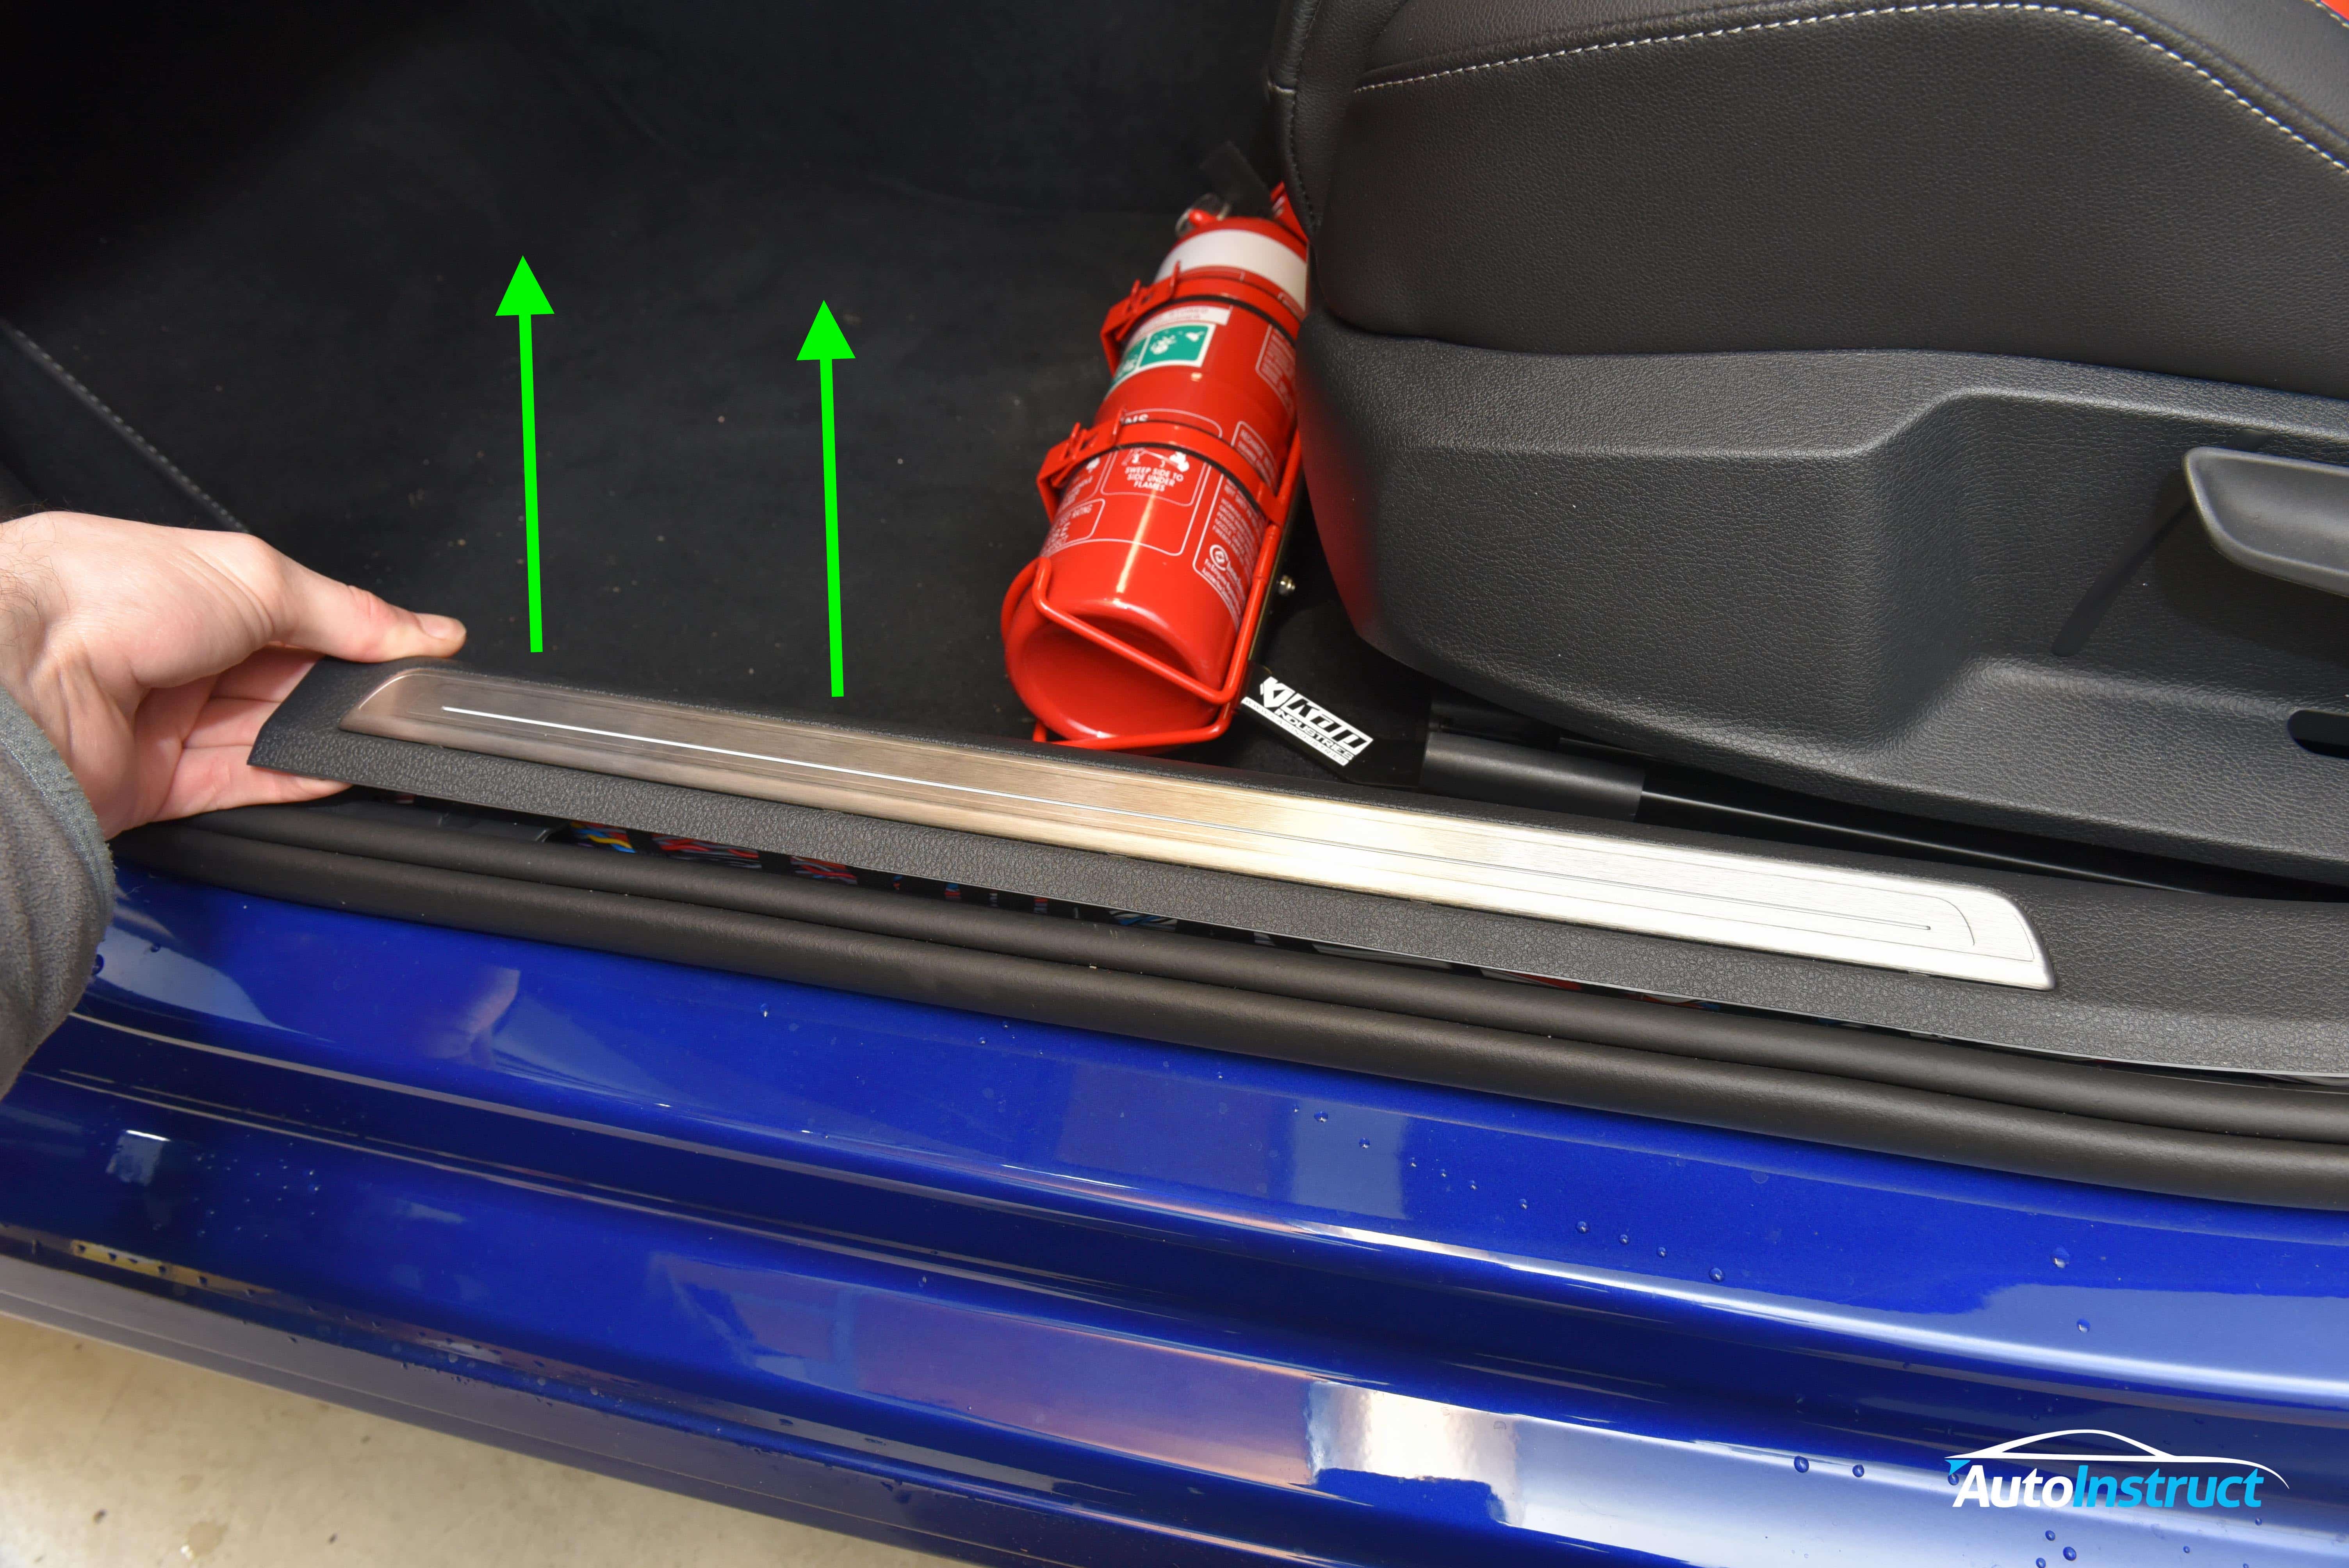
Using your fingers and a trim removal tool, lift the front edge of the sill panel trim and pull upwards.
Step 7
Work you way along the trim, gently pulling upwards to release the metal clips that attach to the sill rail. Some force is required.
Perform the same action on the rear section of the trim. The entire trim should now be loose from the vehicle, and as you’ll notice it is very long.
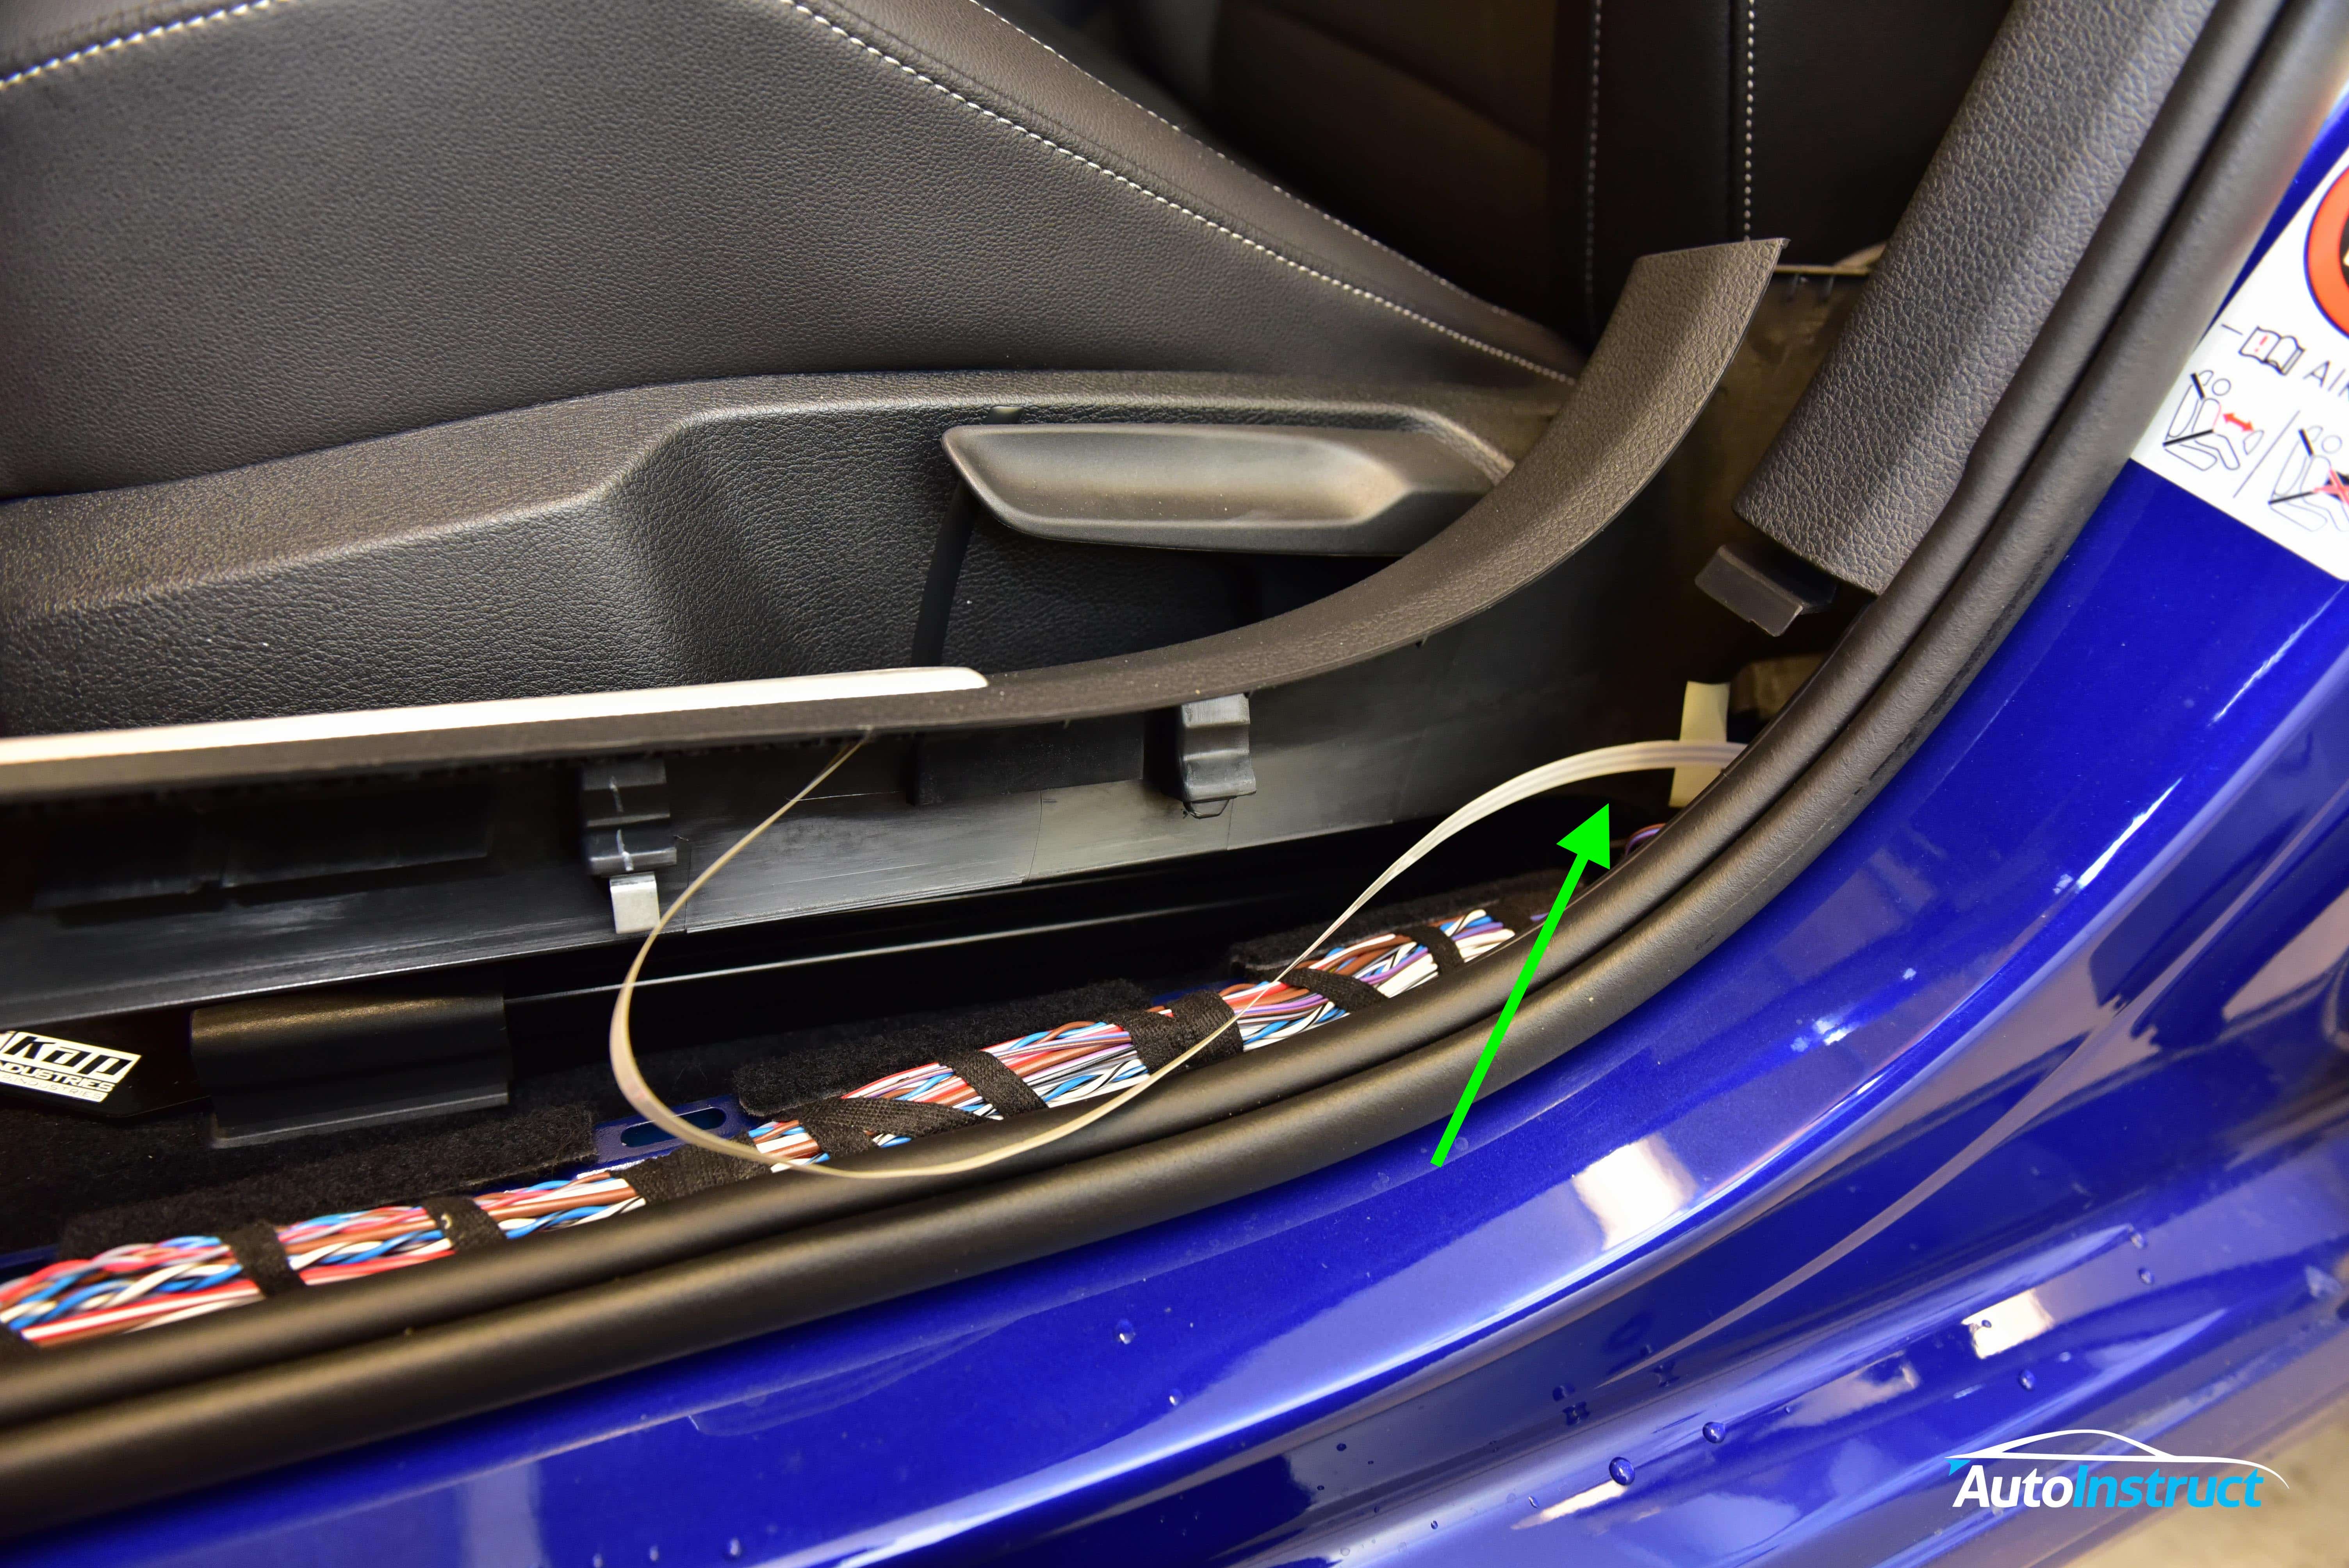
Step 8
Before completely removing the trim, you will need to disconnect the LED trim lighting (if fitted) which is connected by a long ribbon cable. There is a connector at the B-Pillar base which needs to be gently disconnected.
At the base of the seatbelt you will find a small slit in the trim, once unclipped you can slide the seatbelt out from the trim.
The trim is now completely free, and can be removed through the rear door.
Step 9
To remove the kick panel, simply pull towards the seat, using the assistance of a trim removal tool to separate the top clip near the glovebox, and a lower clip in the middle.
Step 10
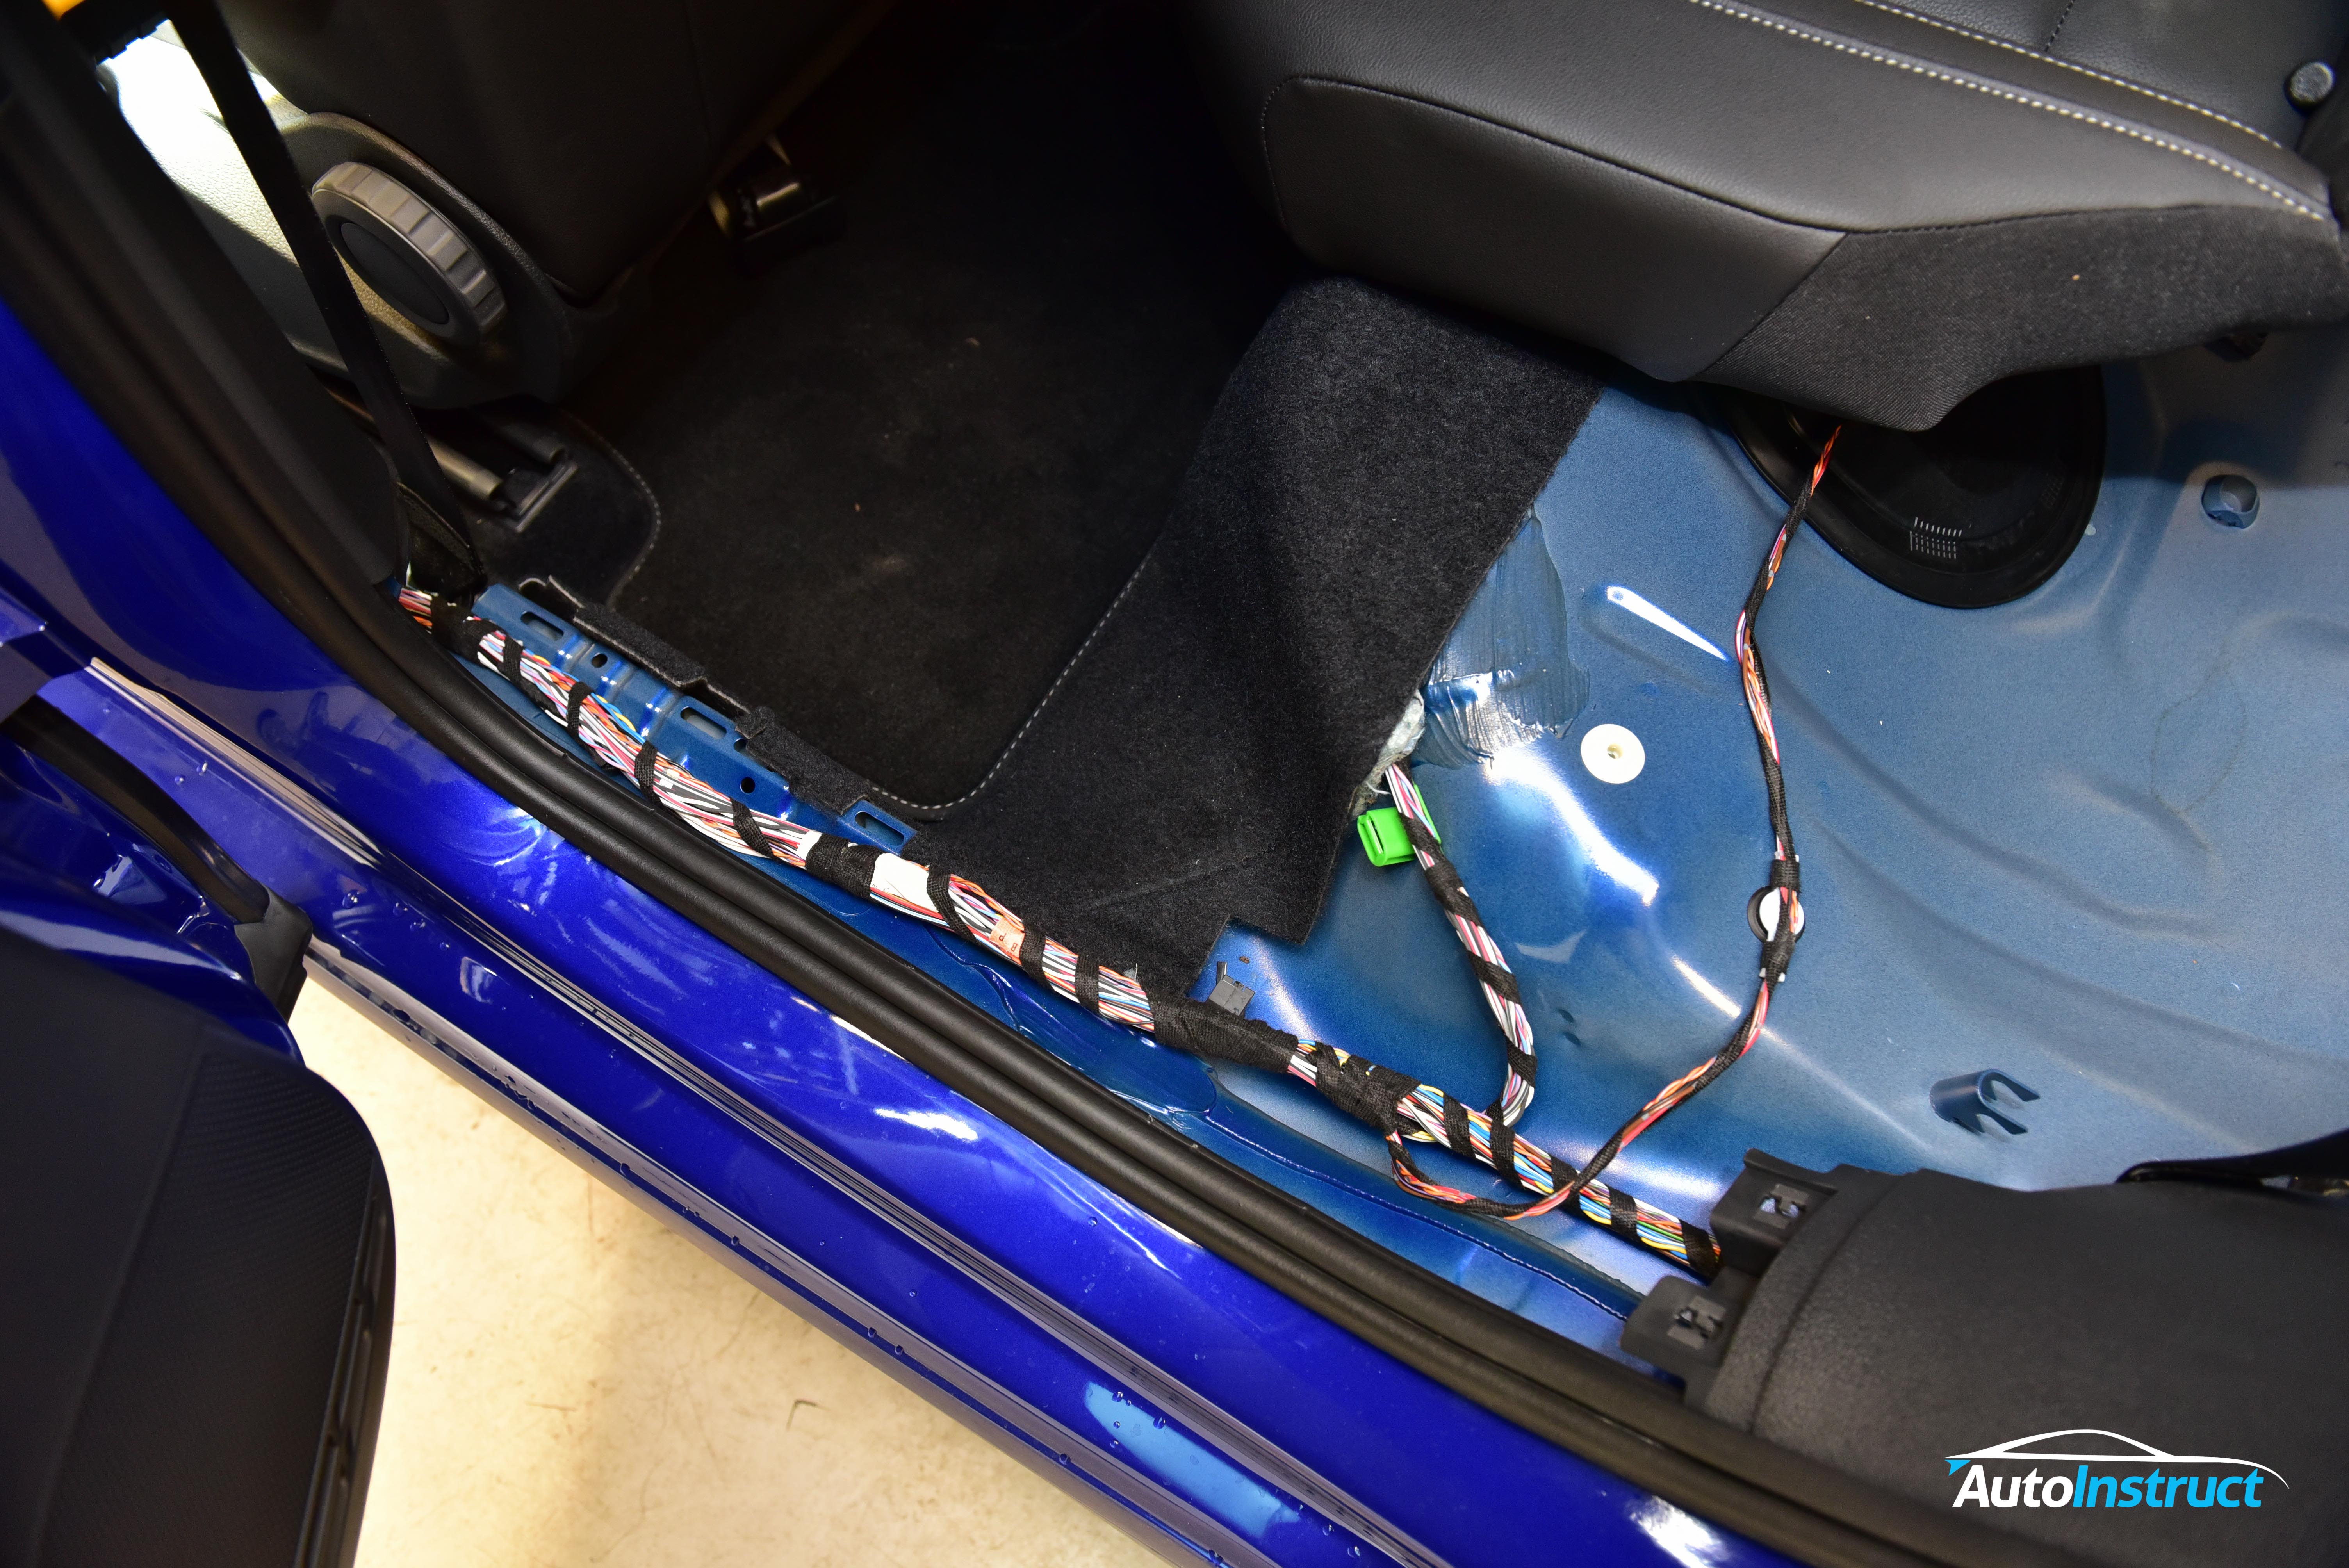
End Result – Rear
This is the rear footwell, with the sill trim removed.
Step 11
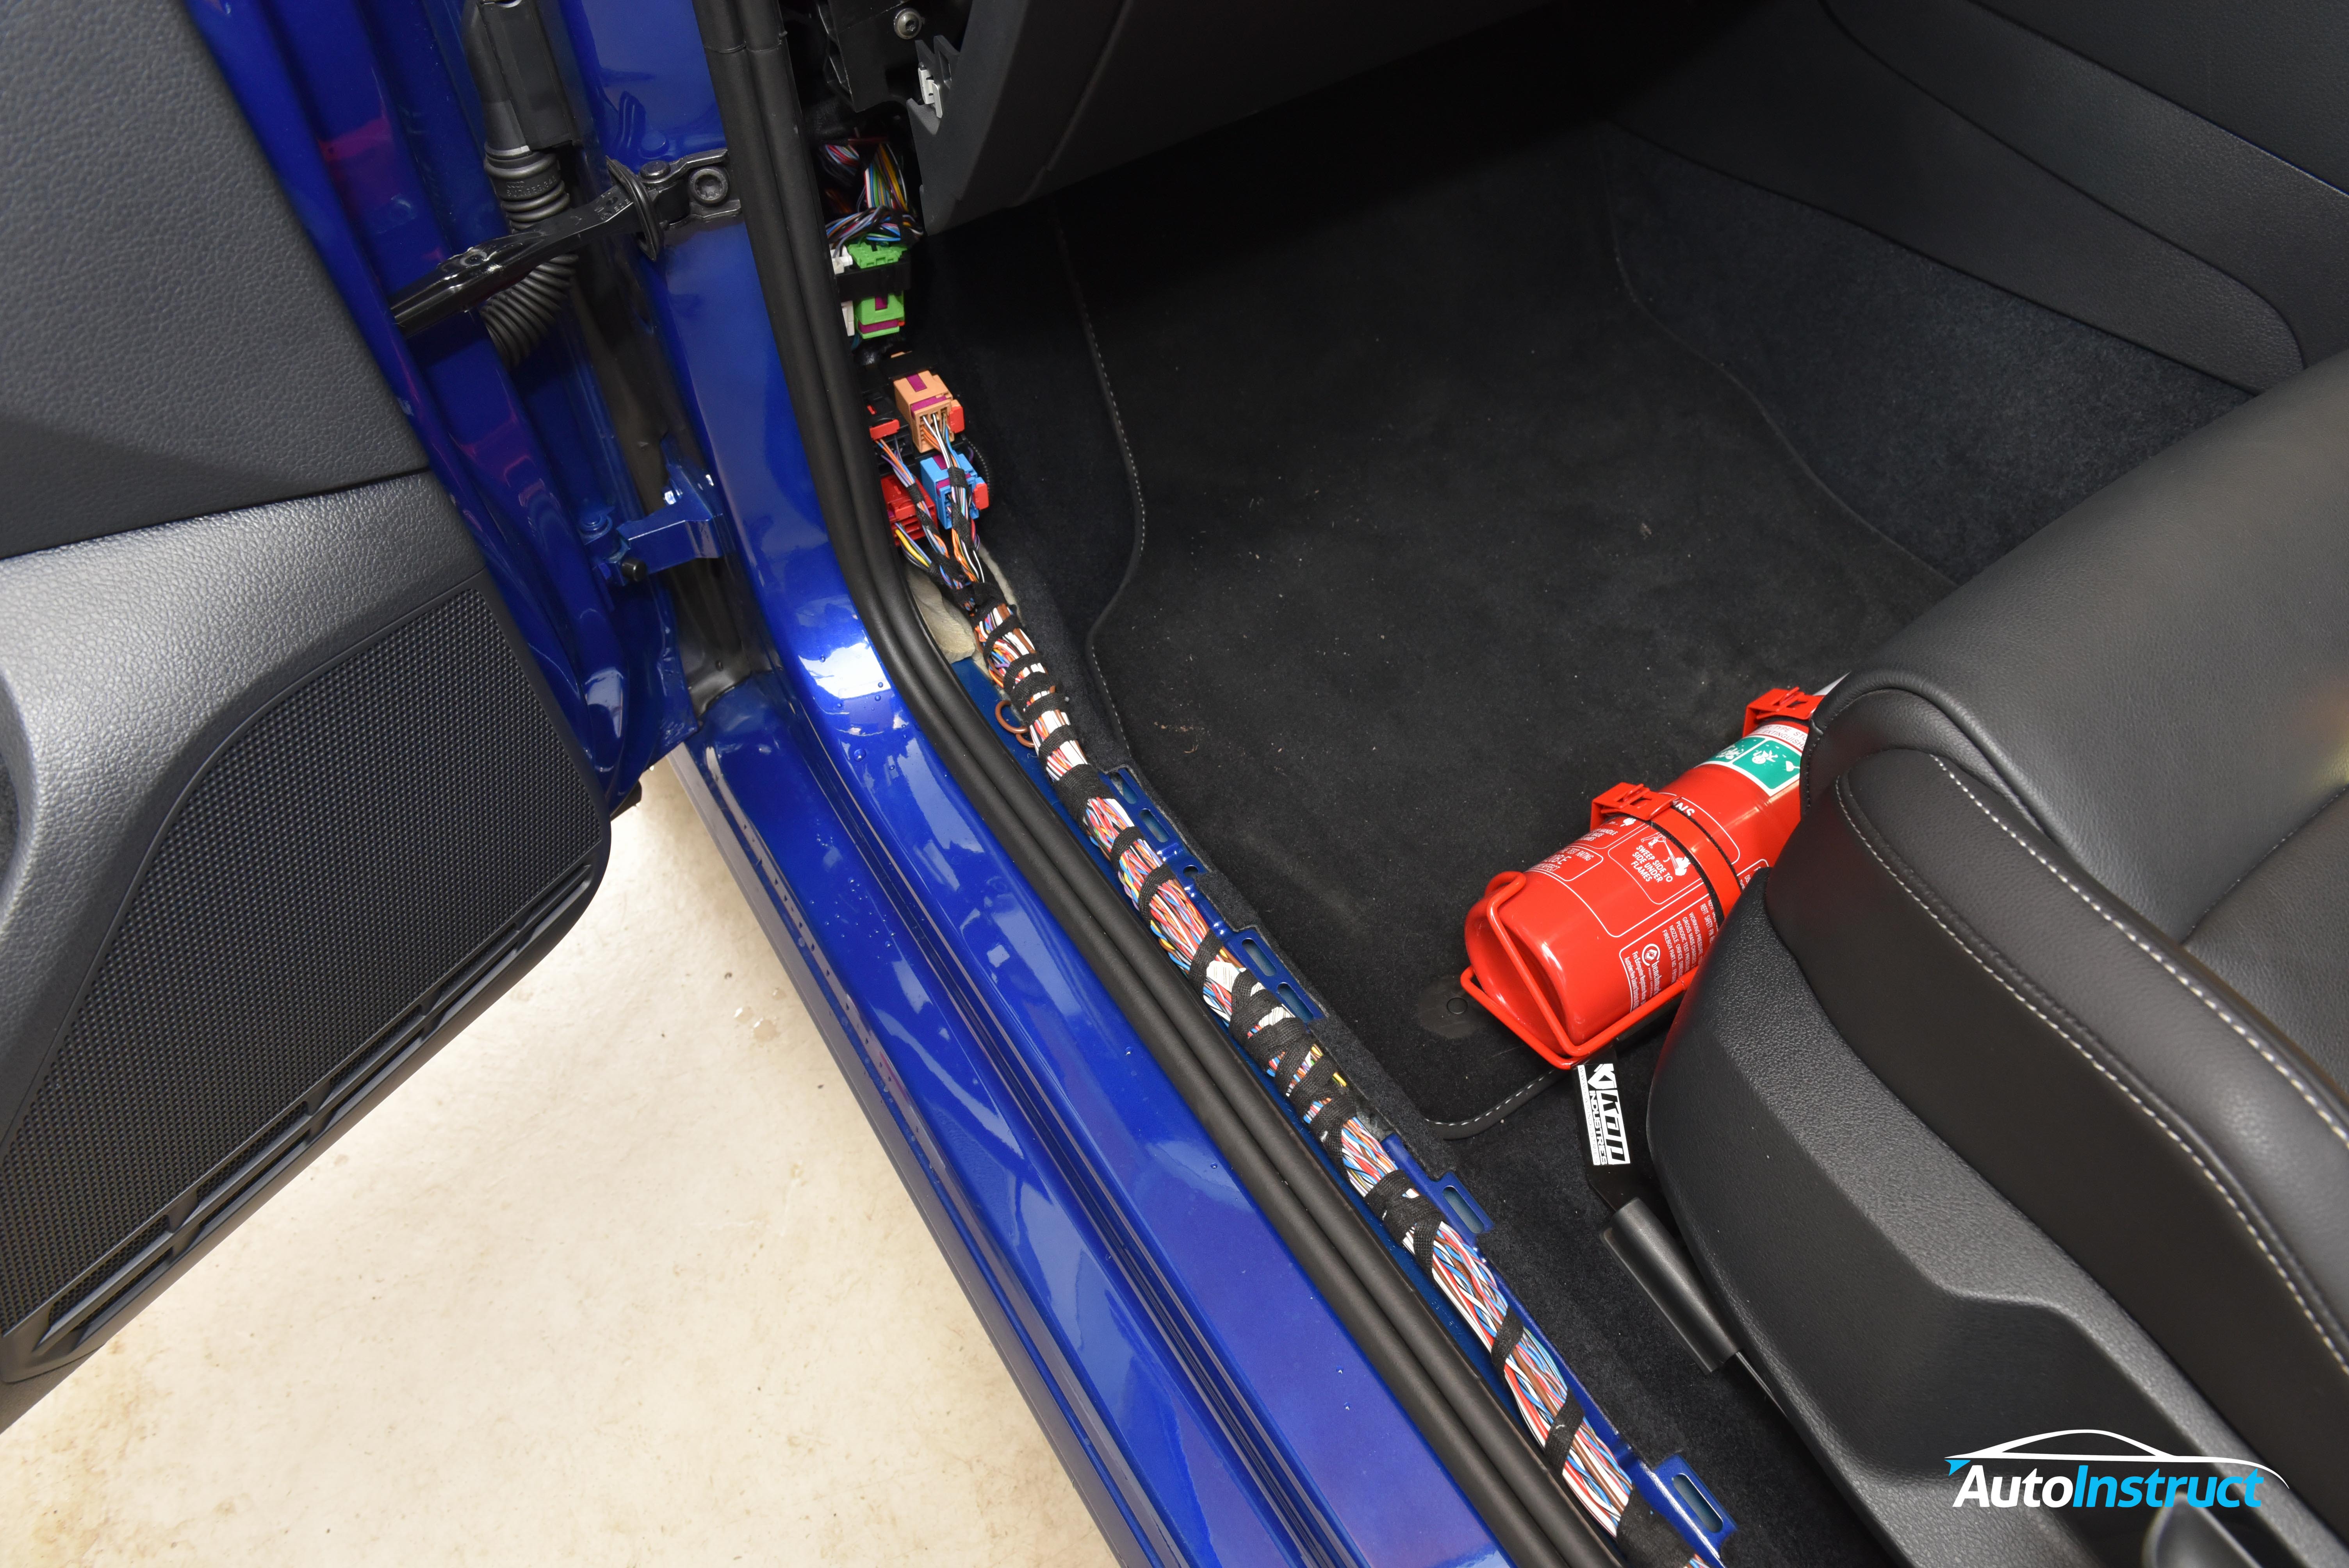
End Result – Front
This is the front footwell with the sill trim removed.
Did you find this guide helpful? Consider sharing it to help other car enthusiasts